Easy No-Knead Rosemary Christmas Focaccia
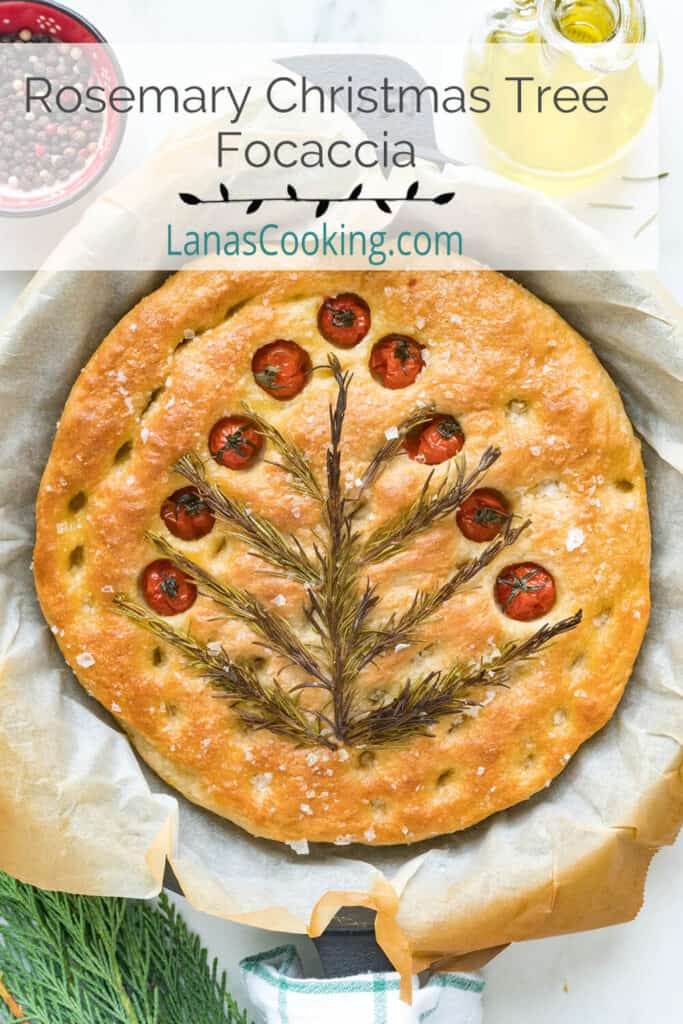


This Rosemary Christmas Foccacia bread is a work of art! Fresh sprigs of rosemary delicately arranged into a beautiful little Christmas tree adorned with cherry tomato ornaments make this no-knead homemade focaccia the perfect holiday centerpiece.
When most people think of Christmas treats, they think of cookies, candies, and cakes. But my thoughts go straight to this Rosemary Christmas Tree Focaccia!

We’re all right in the middle of preparations for Christmas. And while the “perfect” Christmas is often pictured as beautifully snow-covered, we can never count on that here in the South. Still, there are lots of ways to bring holiday cheer into our homes.
A great way to get into the spirit of the season is by baking this festive focaccia bread decorated with a fresh rosemary Christmas tree with cherry tomato ornaments.
It’s a savory treat that my family and I look forward to every year. Bake one and bring the taste of an Italian Christmas right to your kitchen table!
❤️ What You’ll Love About This Recipe
- It has easy-to-follow steps, and you will love the results!
- It makes a beautiful, festive (and delicious) centerpiece for holiday meals.
- Impress guests and family with your Christmas focaccia art.
- Fun for the family to make together. Kids love helping to make the festive Christmas Tree on top!
- It’s a yeast bread that requires NO KNEADING. That’s reason enough to make it for me.
WHAT PEOPLE ARE SAYING …
“Made this for a Christmas dinner yesterday, and it was a HUGE hit! Beautiful, and tasted great – will DEFINITELY make this again!”
— Diana
🥘 Equipment You’ll Need
This post contains affiliate links. Lana’s Cooking is reader-supported and earns a tiny commission at no extra cost to you when you shop from our links.
- Medium Mixing Bowl
- Plastic wrap
- Oven-safe skillet or baking pan
- Parchment paper
My Favorite Cast Iron Skillet

- Lodge cast iron cookware is the perfect kitchen tool for beginners, home cooks, and chefs. Cast iron can handle any kitchen cooktop, oven, grill, and open flame. Crafted in America with iron and oil, its naturally seasoned cooking surface creates an easy-release and improves with use.
- Lodge pre-seasons all cast iron cookware with 100% natural vegetable oil; no synthetic coatings or chemicals. The more you use Lodge the better the seasoning will get!
- The Lodge family founded the company in 1896, and they still own it today. Lodge products are made in the USA with non-toxic, PFOA & PTFE free material.
🛒 Ingredient Notes
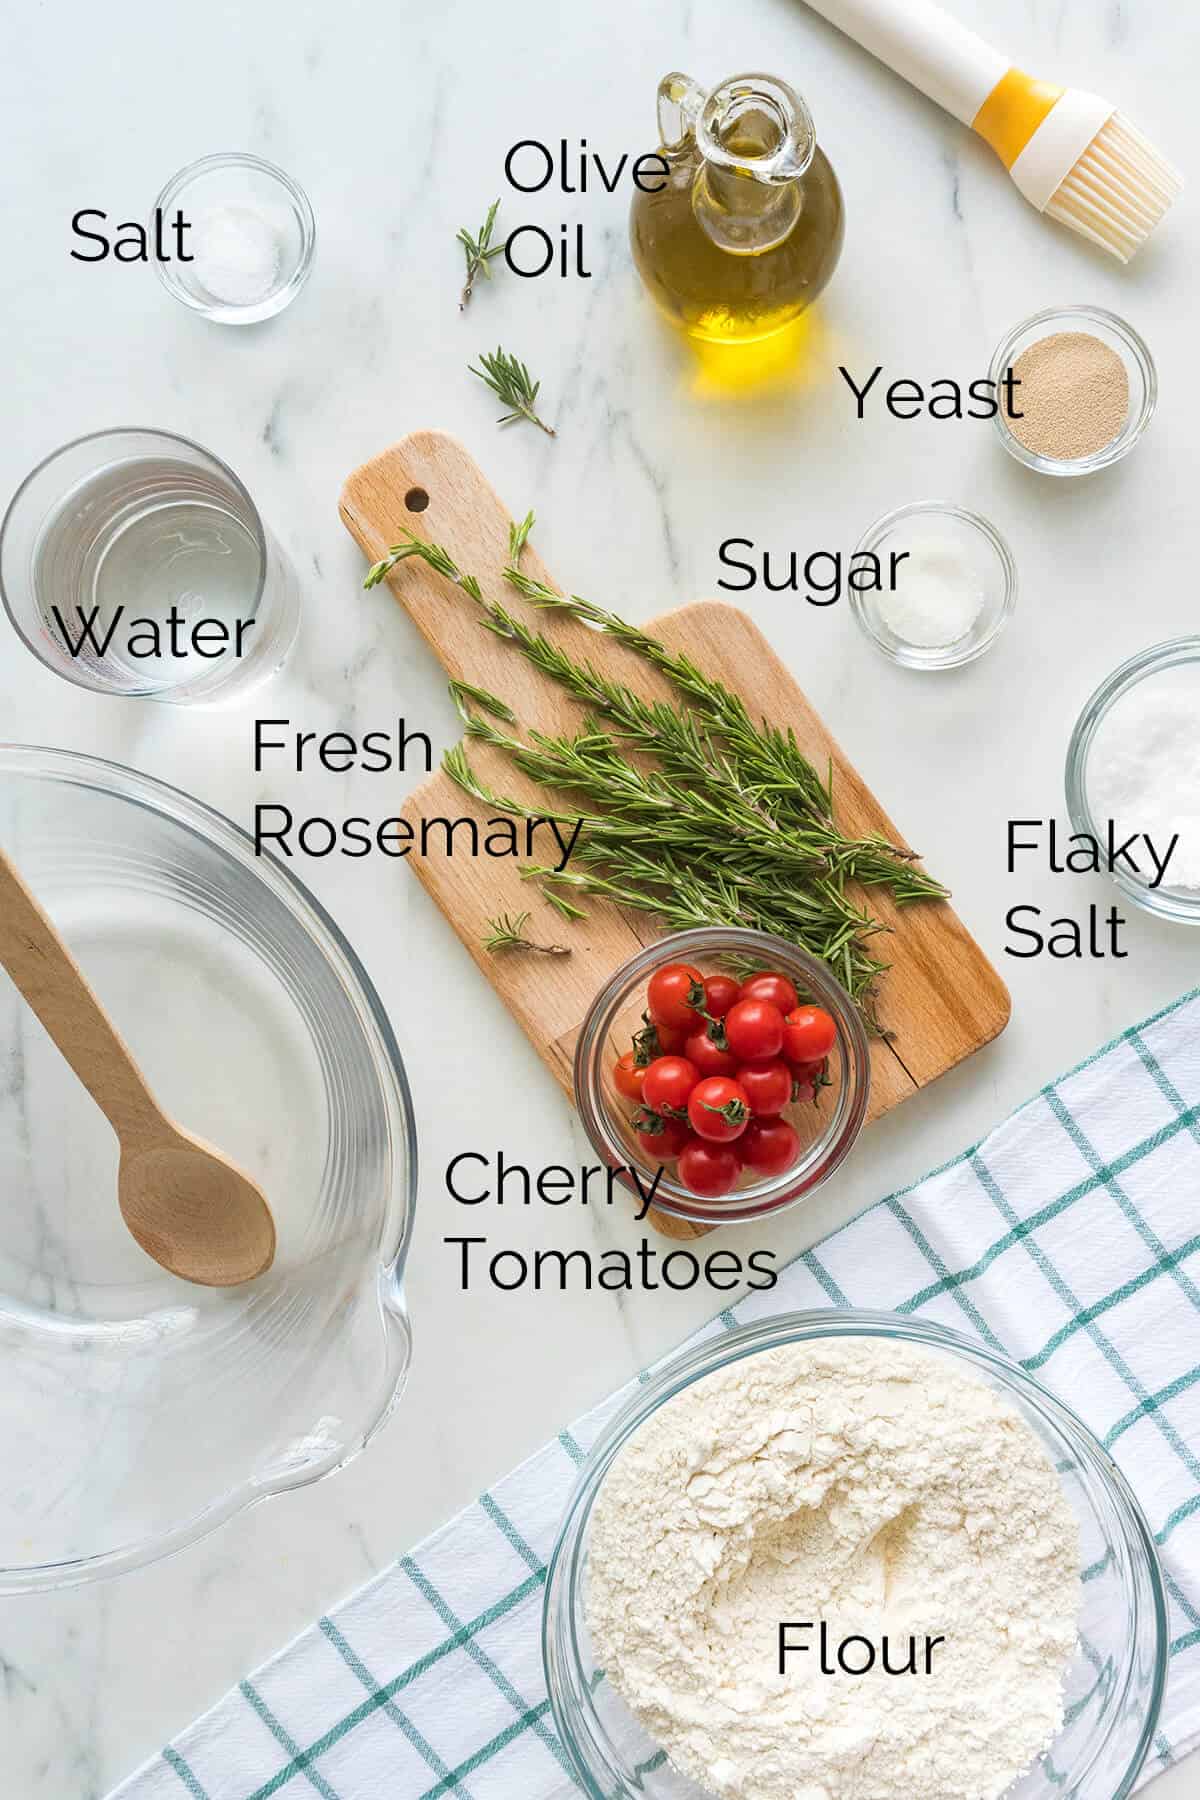
For the Focaccia:
- Yeast (If you’re unsure what kind of yeast to use, you can get a good overview from my Easy Homemade Bread recipe post.)
- Flour (If you have bread flour, you can use that. However, all-purpose flour works very well for focaccia.)
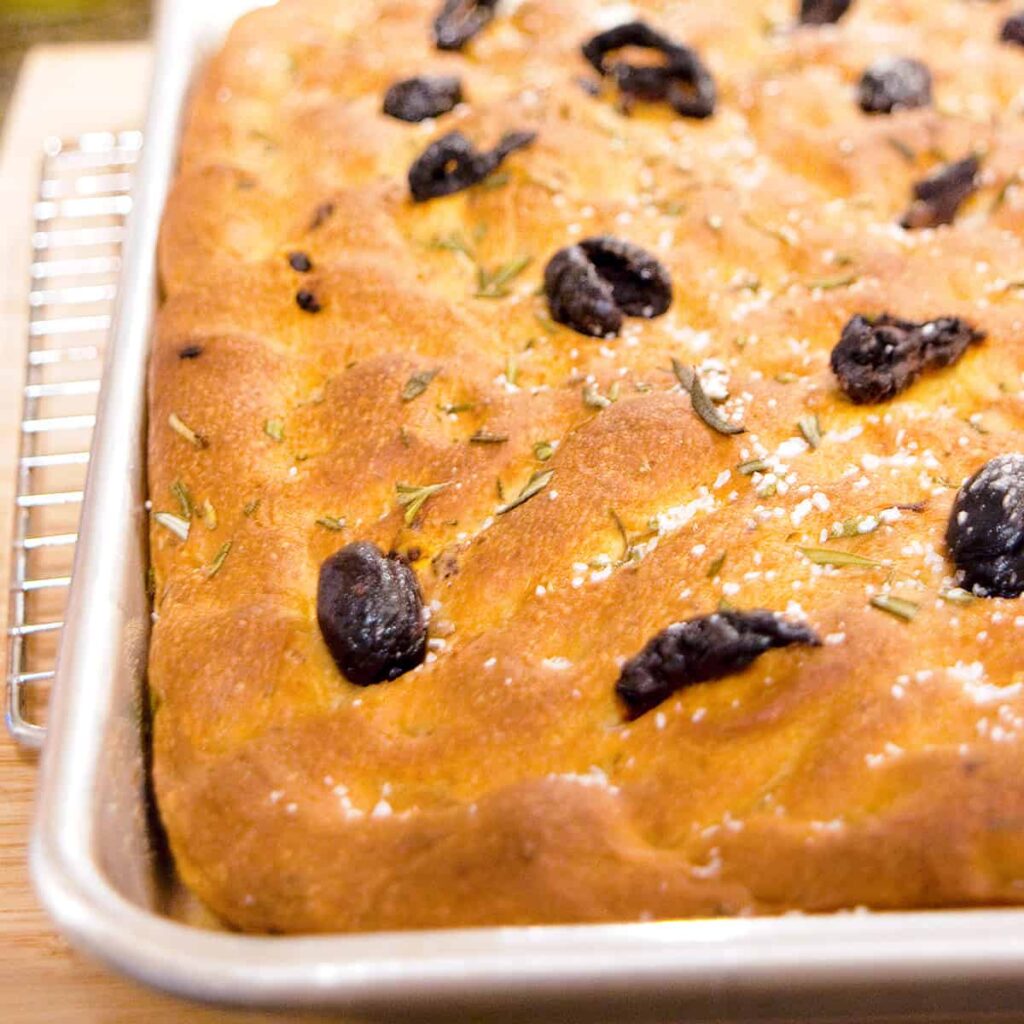
- Olive Oil (Use a good quality extra virgin olive oil.)
- Maldon Salt – or any flaky salt (Don’t run out and buy Maldon salt just for this recipe. Use any kind of flaky salt or sea salt.)
For Decorating:
- Fresh Rosemary Sprigs (Be sure there’s no water on the rosemary.)
- Whole Cherry Tomatoes (Small-ish ones are best.)
You’ll find detailed measurements for all ingredients in the printable version of the recipe at the bottom of this post.
🥄 How to Make No Knead Rosemary Christmas Tree Focaccia
Proof the Yeast
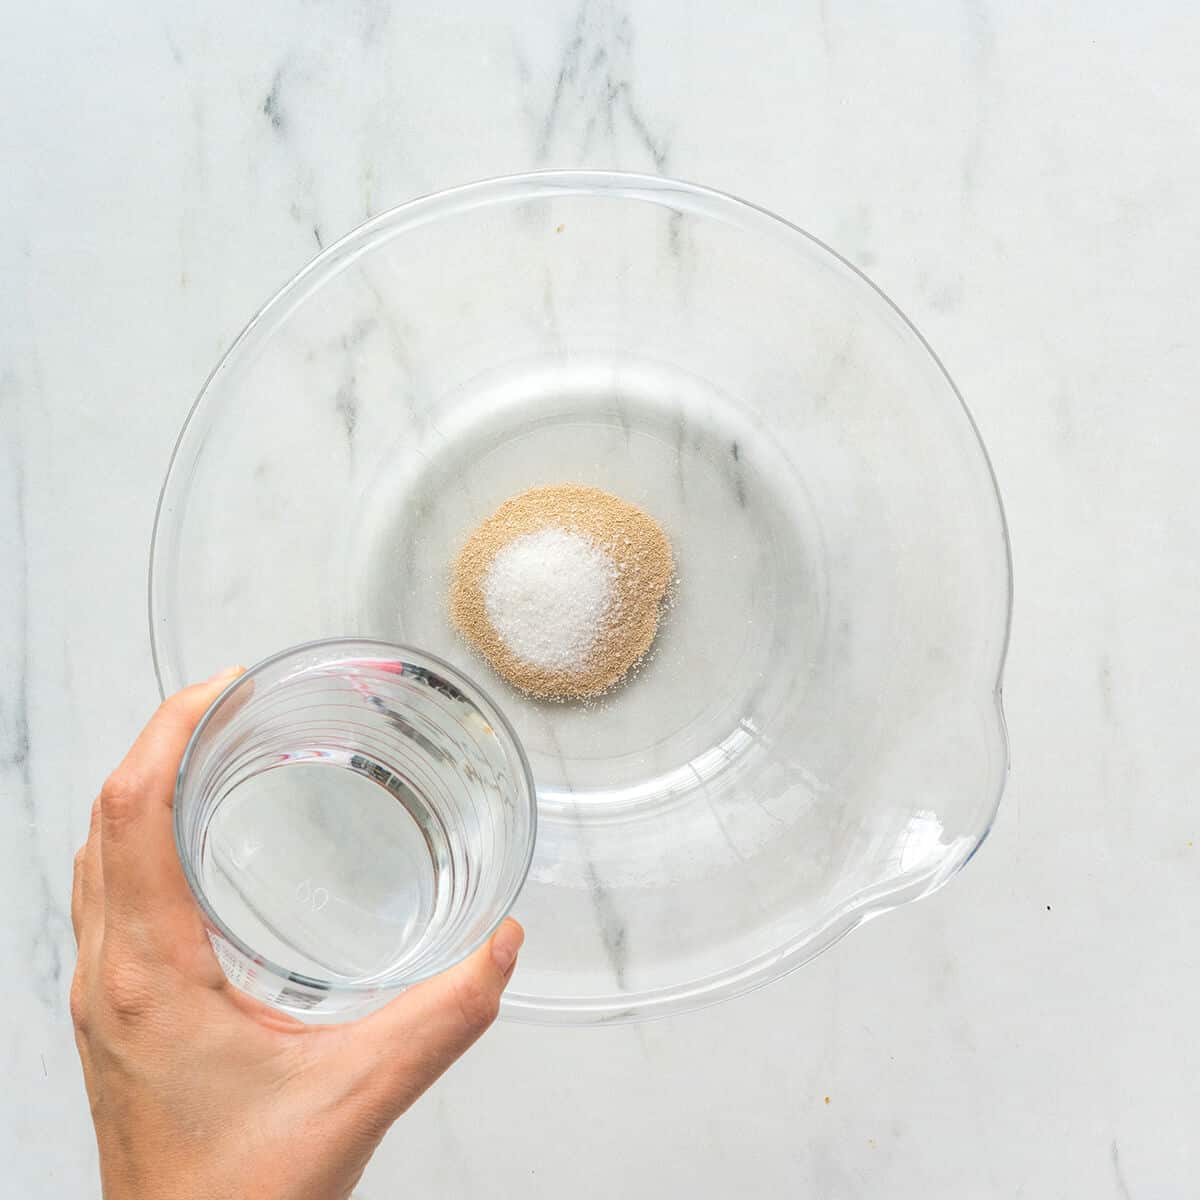
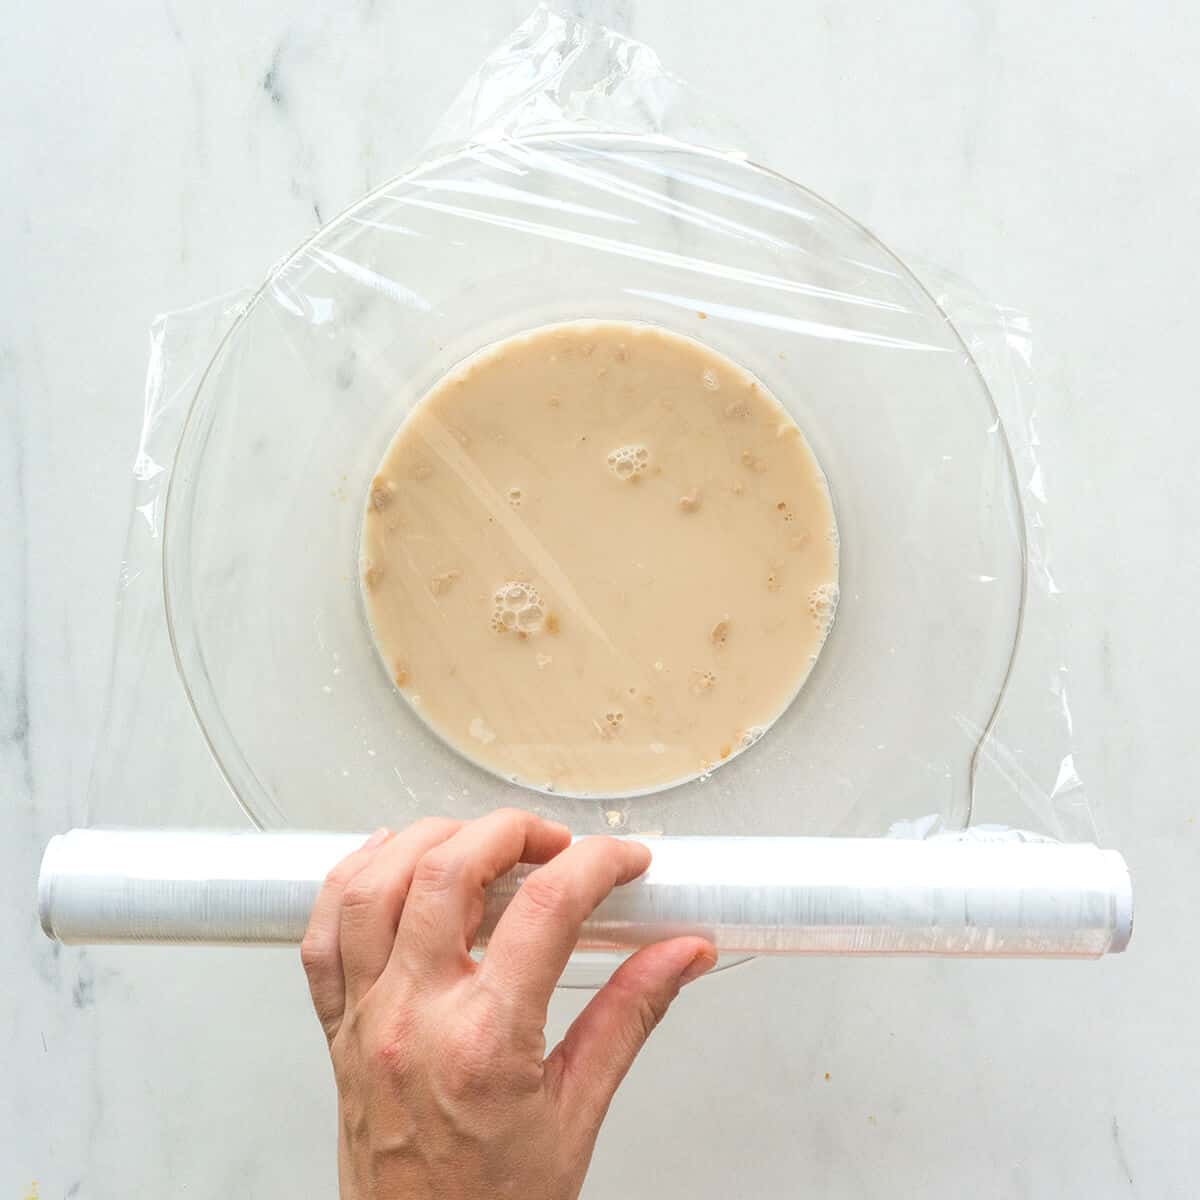
In a medium bowl, combine the warm water, sugar, yeast, and 1 tablespoon of flour. Mix well. Cover the bowl with plastic wrap and let it sit for ten minutes (this is called “proofing” the yeast).
👉 PRO TIP: The water should be lukewarm – between 105 to 115 degrees F. A rule of thumb is to use water warm enough that you could comfortably wash your hands in it.
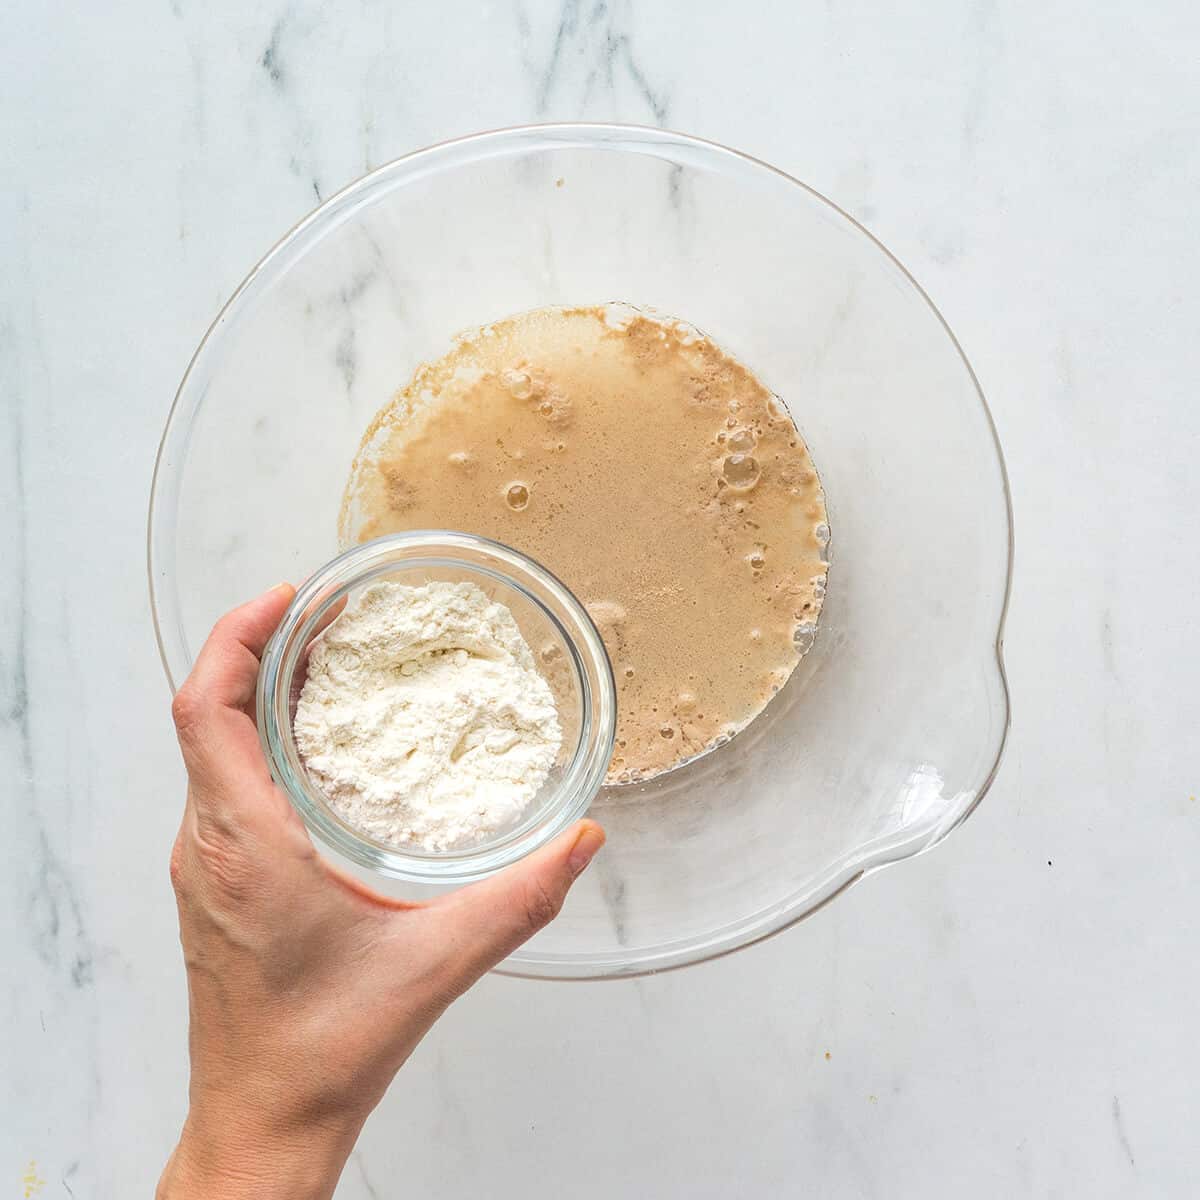
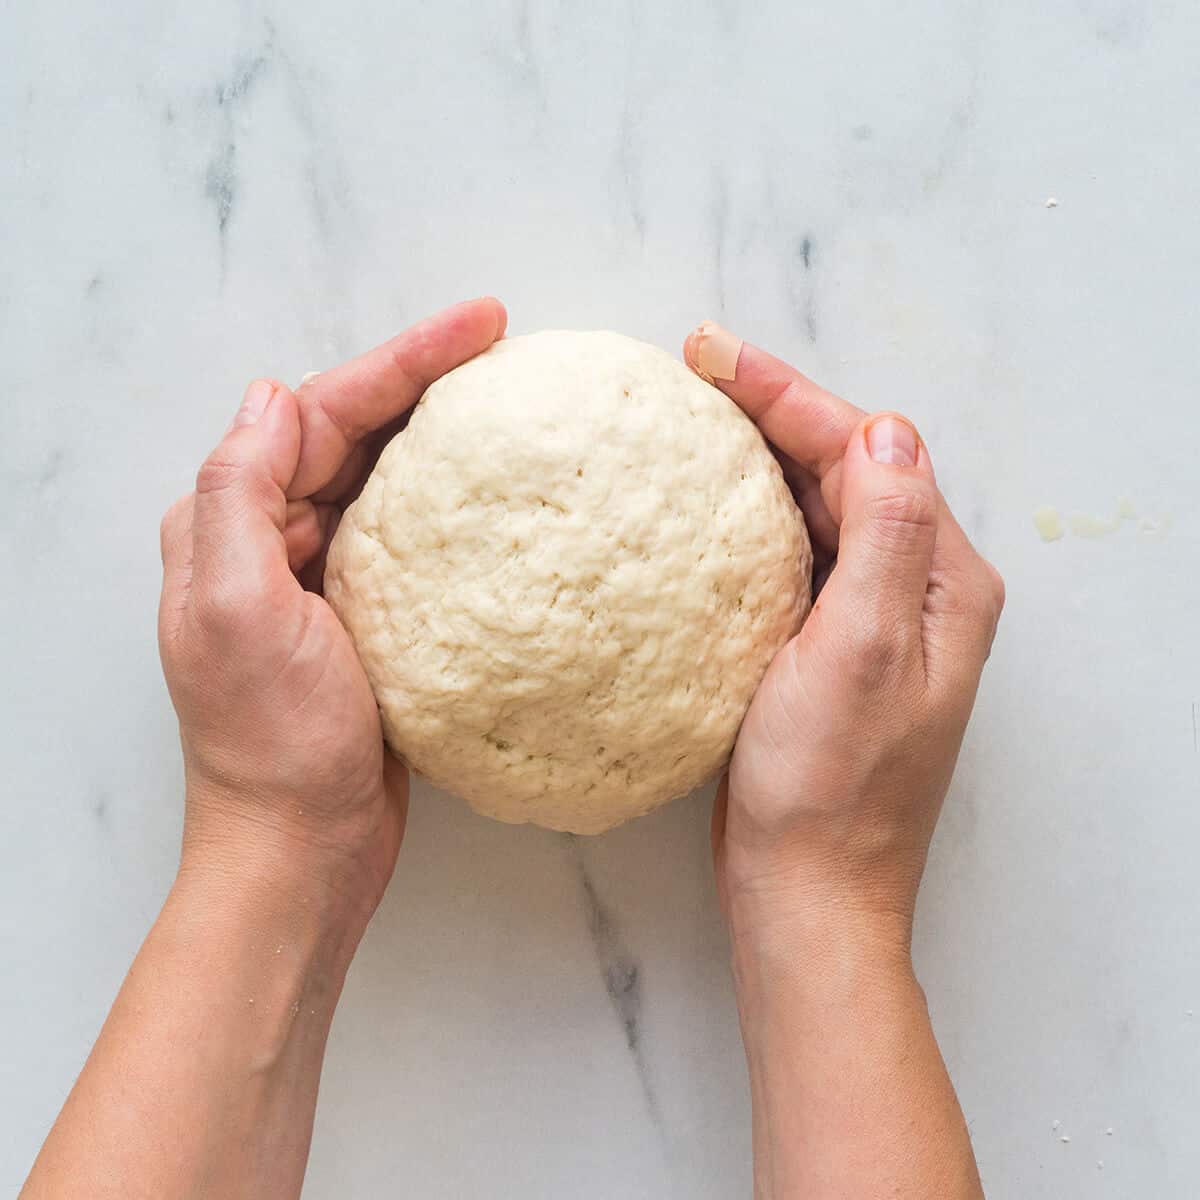
Mix the Dough
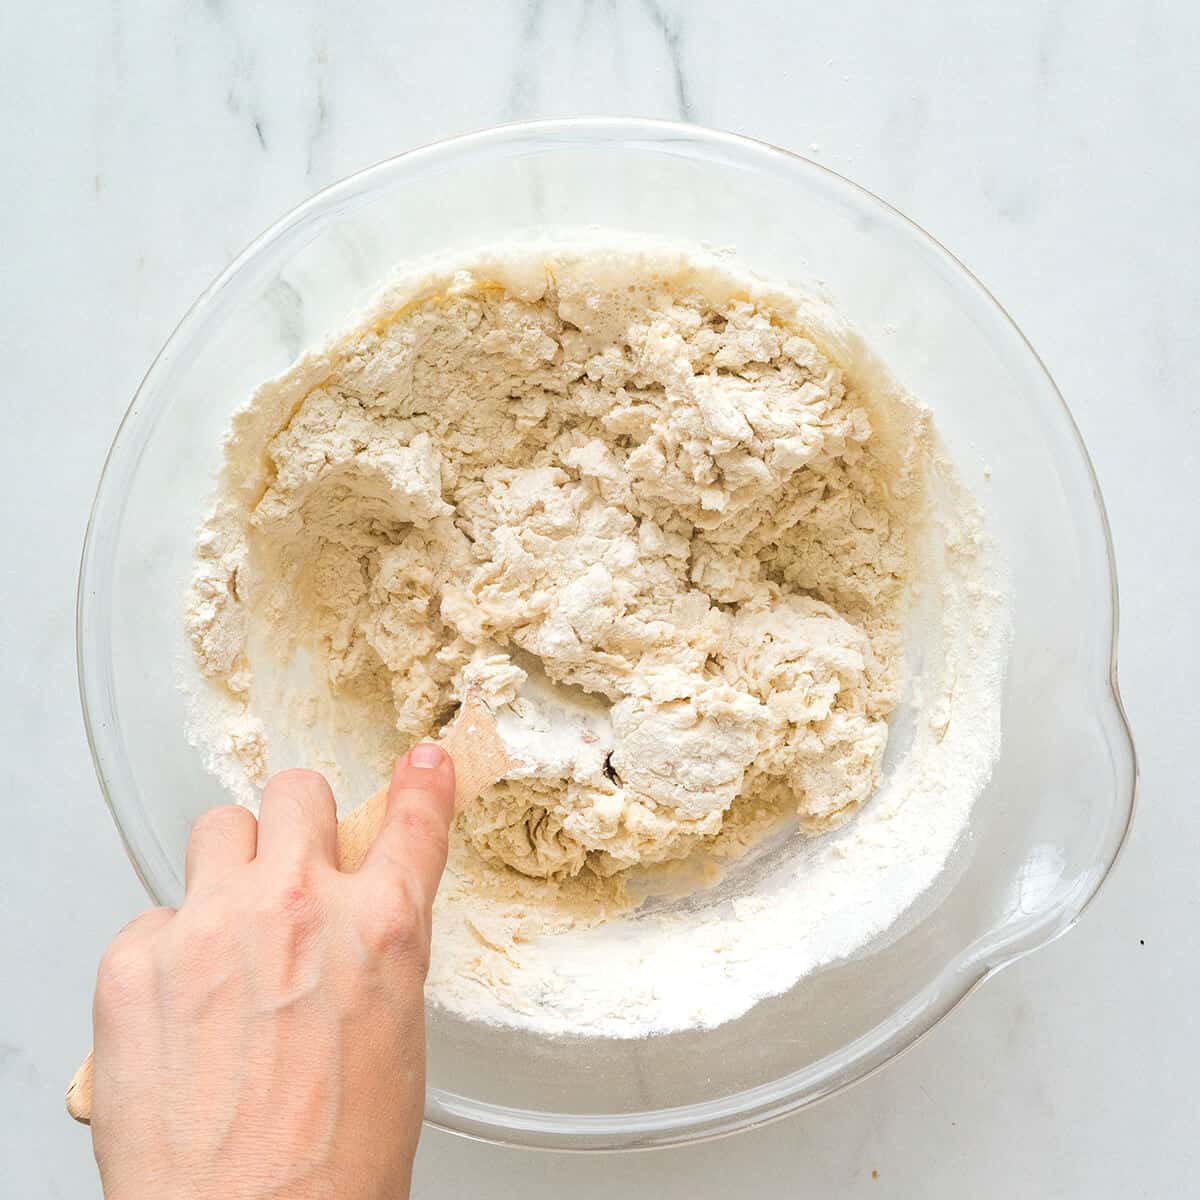
After 10 minutes, the yeast should be bubbly and active.
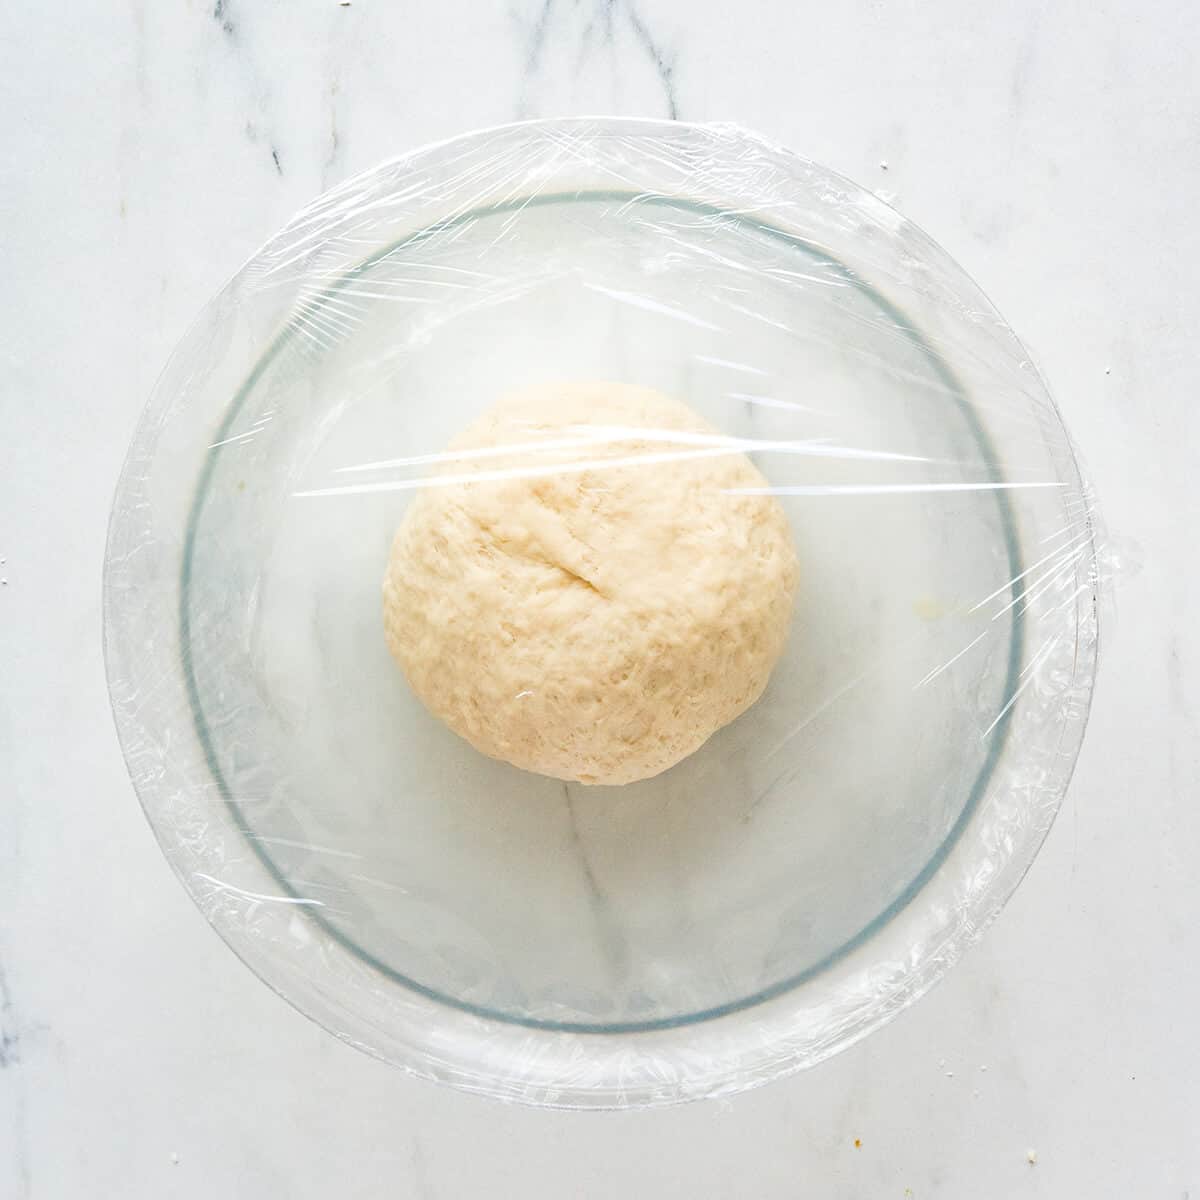
To the bubbly yeast and water mixture, add the flour and salt. Stir together to form a dough. Cover the bowl with plastic wrap and set it aside in a warm place (75 to 78 degrees F) to rise for one hour until doubled in size.
👉 PRO TIP: If the yeast doesn’t appear bubbly and frothy after ten minutes, then one of a couple of things could have happened. Either the water was the wrong temperature (too warm or too cold), or you need new yeast. Yeast is a living organism, and it’s important to use it before the expiration date on the packet.
Form the Focaccia
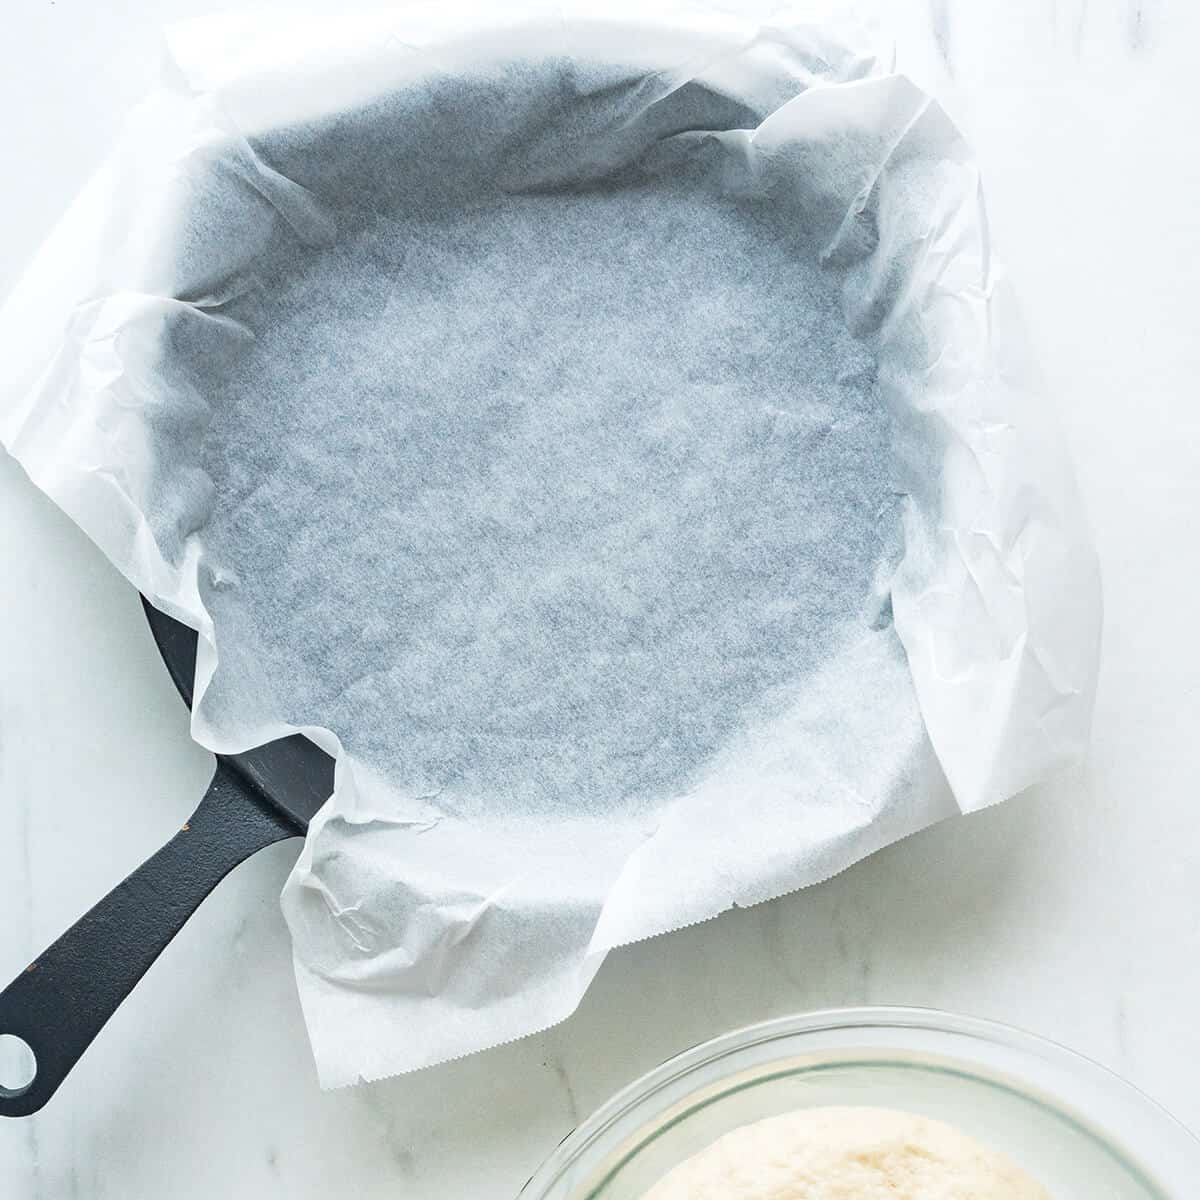
Line an oven-safe skillet or a baking pan with parchment paper.

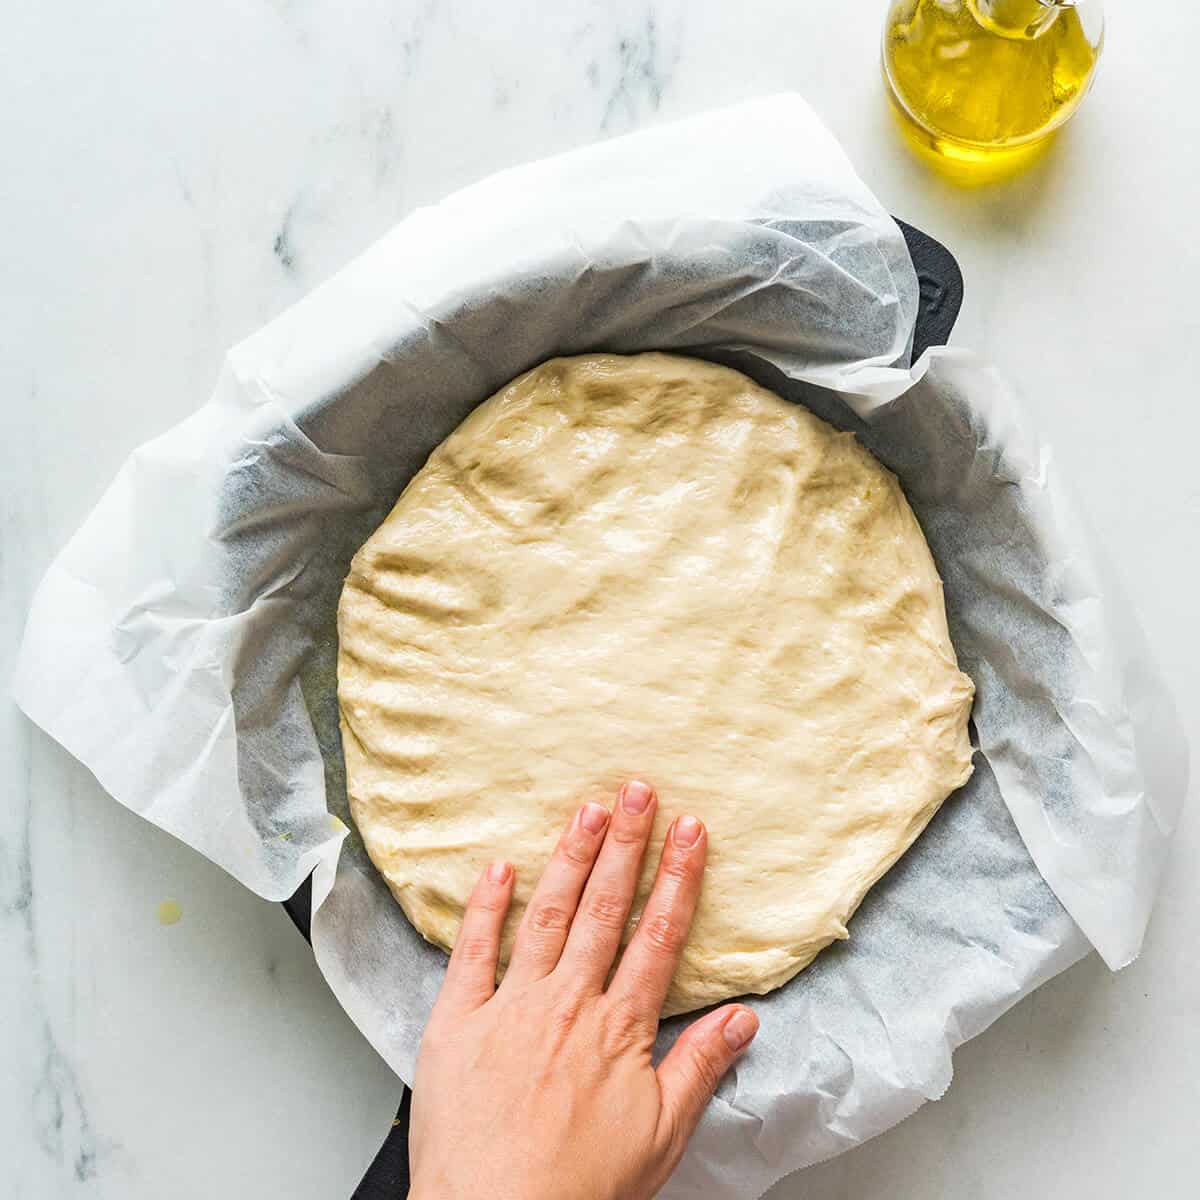

Spread half of the olive oil over the parchment paper. Turn the dough out onto the parchment paper shaping it roughly into a rectangle. Cover with a clean kitchen towel and let the dough rise for one hour.
Decorate
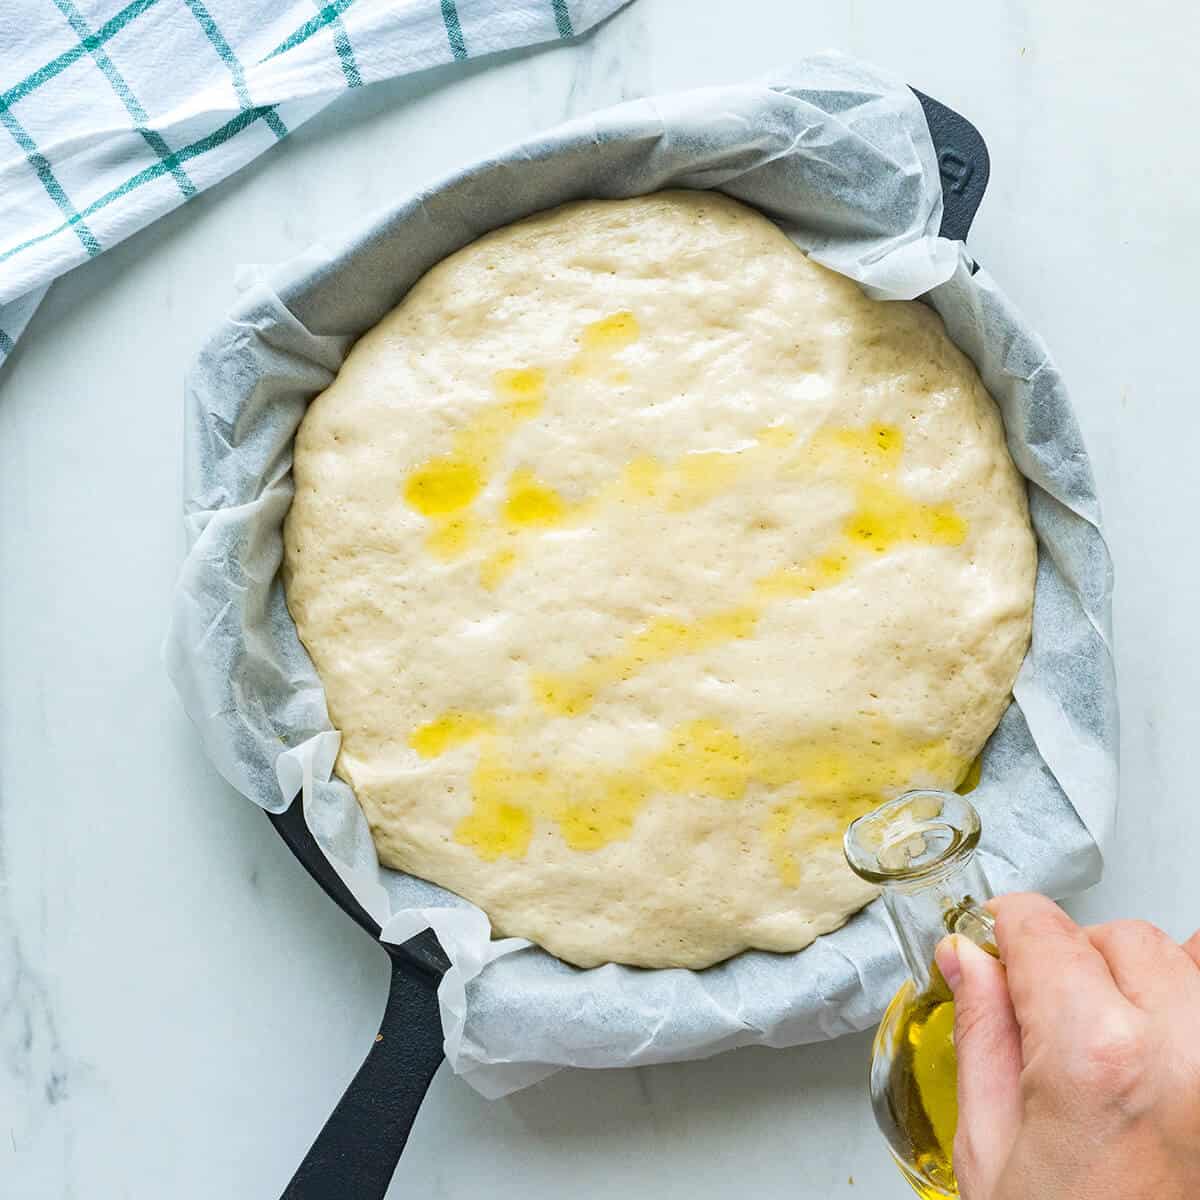
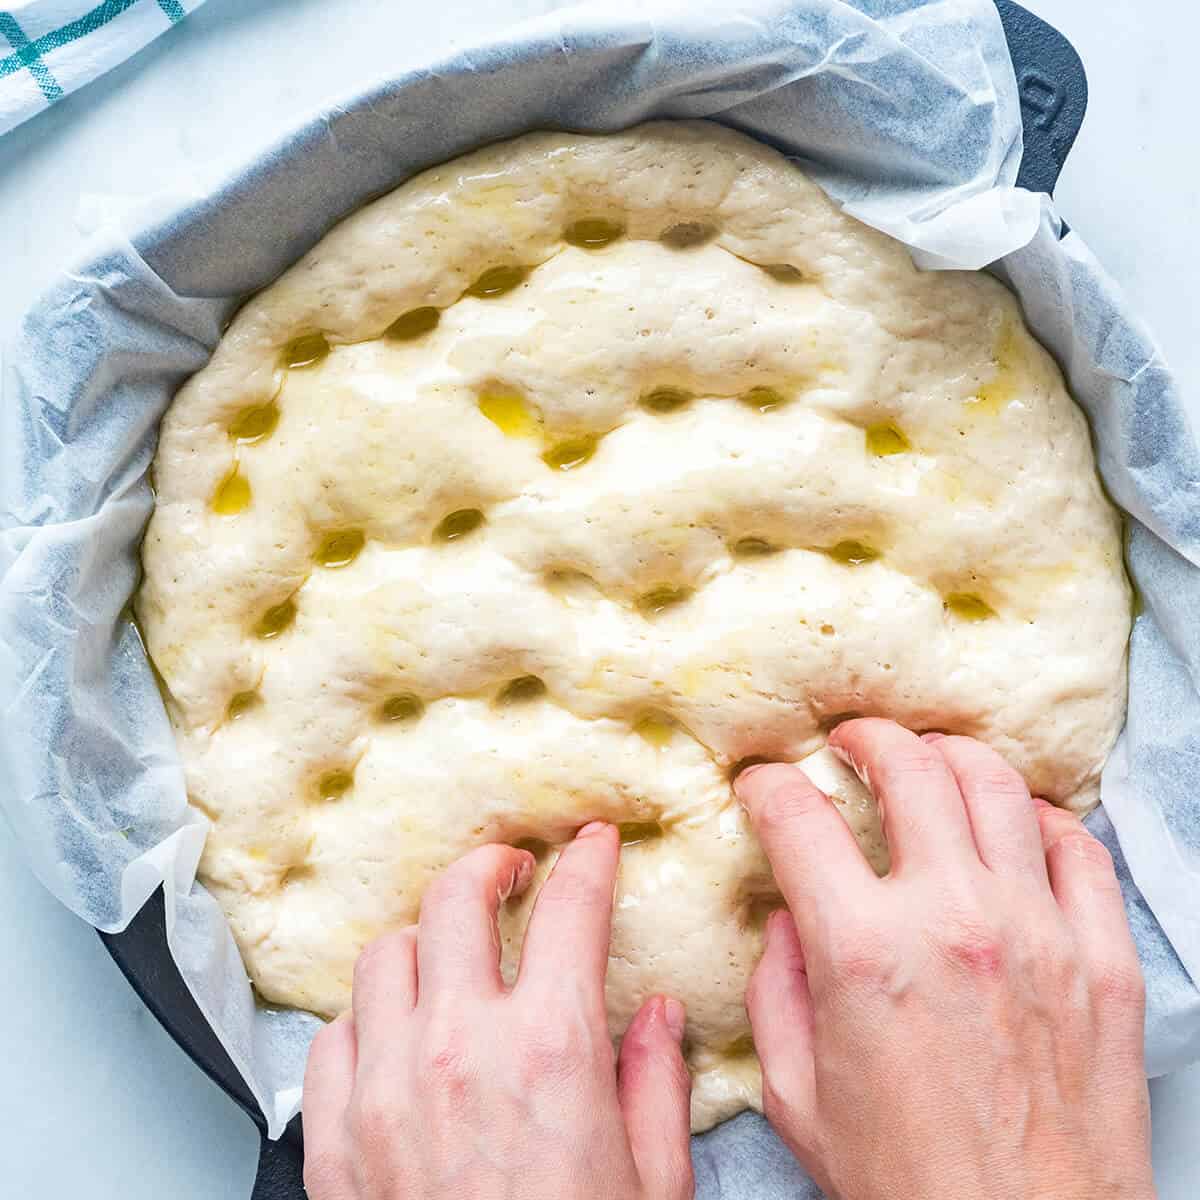
After the dough has finished rising, drizzle the remaining olive oil on top of the dough and a little onto your hands. Press your fingers into the dough to create dimples over the surface.
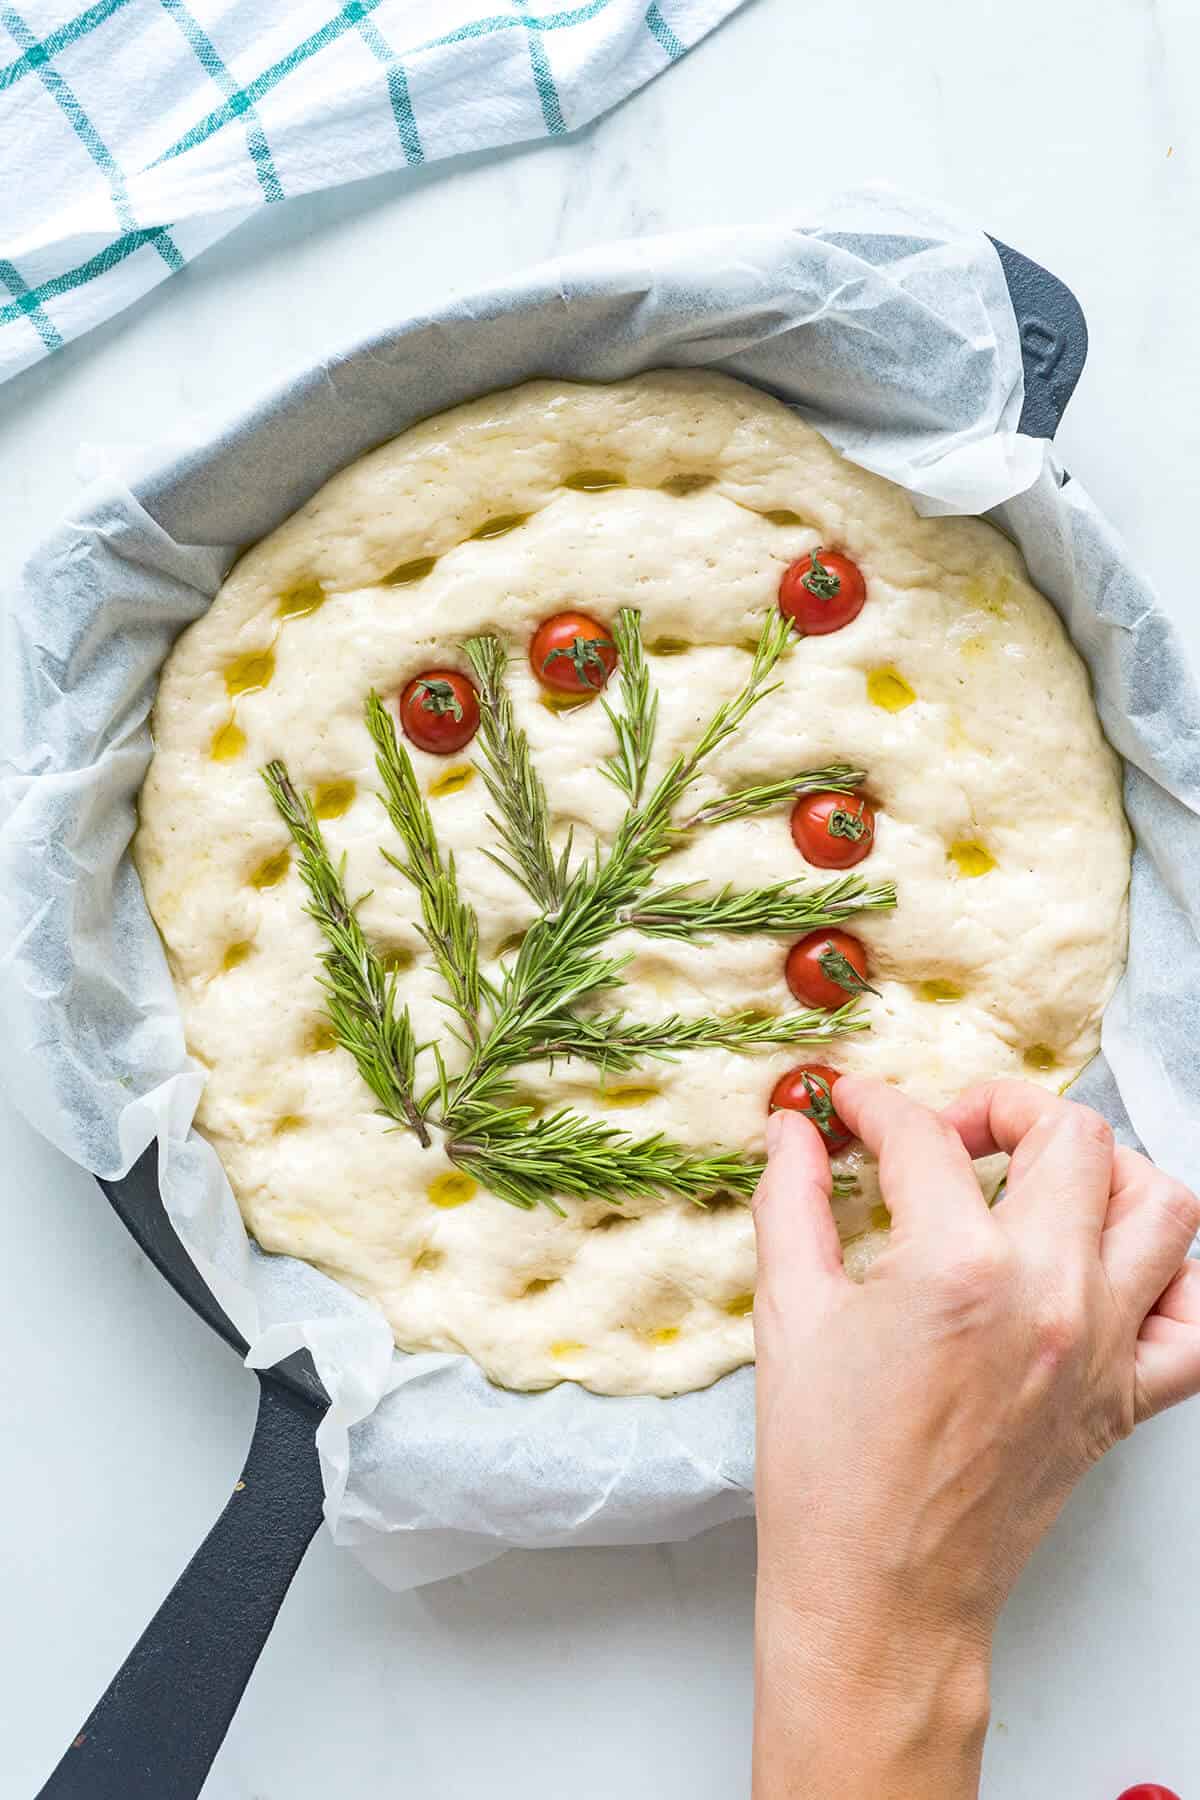
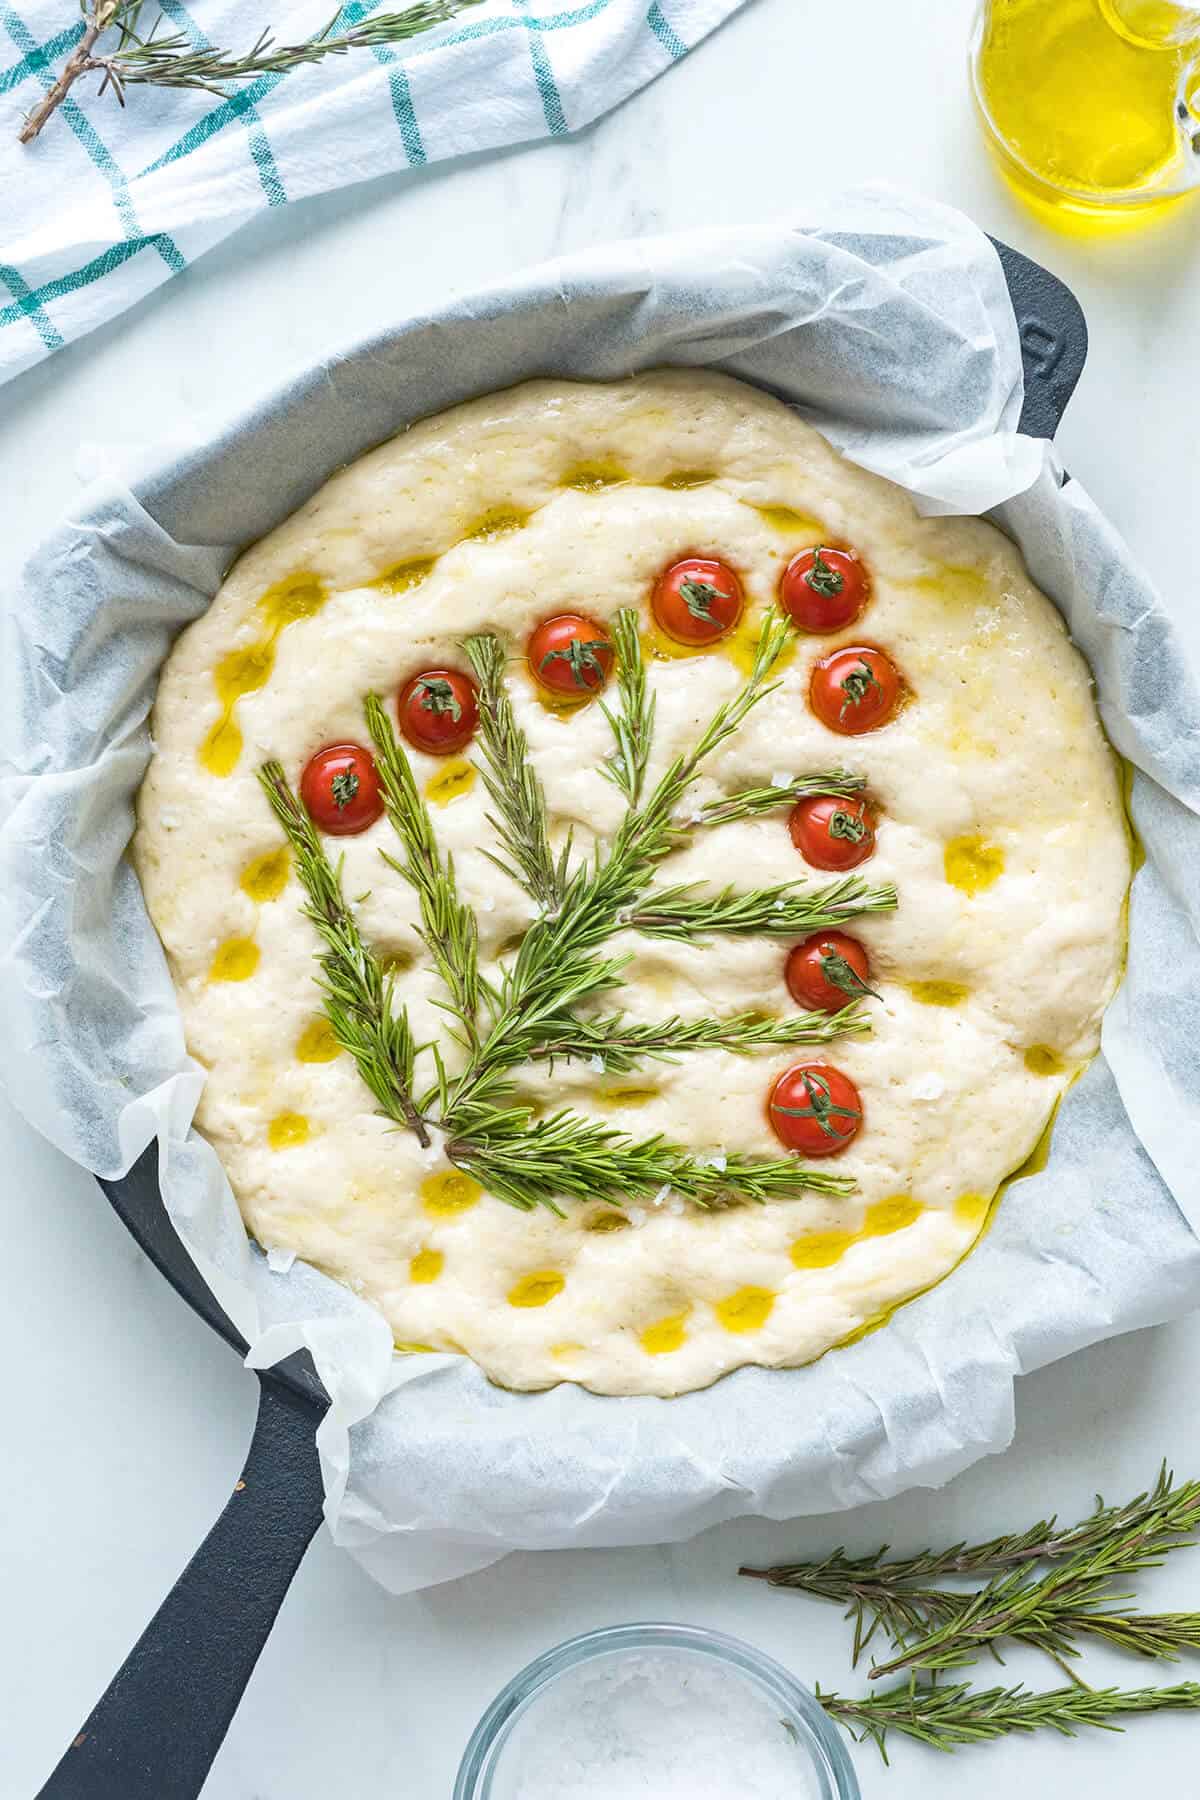
Arrange the rosemary sprigs and cherry tomatoes in the shape of a Christmas tree. Sprinkle salt lightly over the surface.
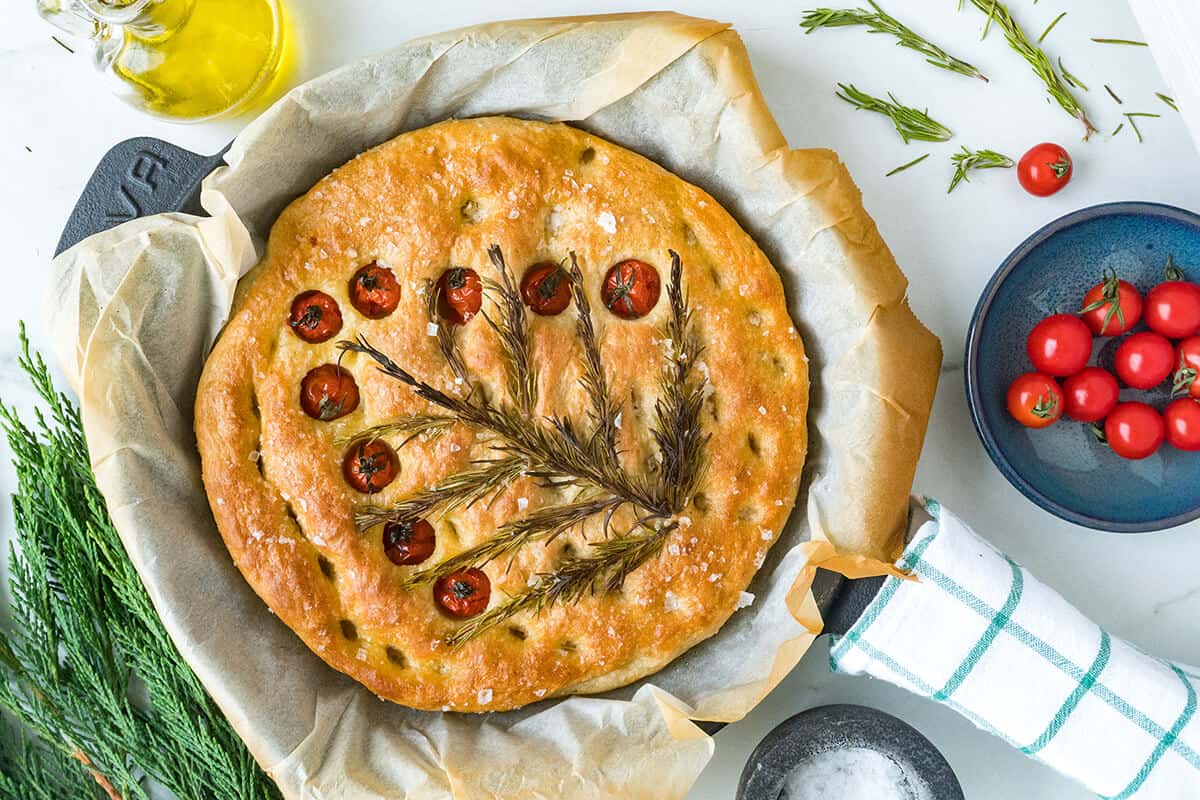
Bake
Bake in a preheated 350F degree oven for 20 minutes.
🍚 How to Store Focaccia
This Festive Christmas Tree Focaccia is best stored at room temperature. Wrap it tightly in plastic wrap and store it on your counter, in a bread box, or even in the pantry. Home baked breads don’t last as long as their store-bought counterparts. The focaccia will last for about two days at room temperature.
To prolong the life of the bread, it can be stored in a closed bag in the refrigerator for about five days. It can also be stored well wrapped in the freezer for up to a month. Be sure to wrap it well with plastic wrap followed by foil, and then place the wrapped bread in a zip top freezer-safe bag.
🔀 Recipe Tips and Variations
- Be sure to proof the yeast for the full ten minutes to ensure that it’s active in order to get a good rise from the dough.
- For easy clean-up, don’t forget to line your skillet or baking pan with parchment paper.
- If you’d like to add extra “decorations” to your tree, use chopped bell peppers for a dash of color.
💁♀️ What To Pair With Festive Christmas Tree Focaccia
- To make a full meal, pair the focaccia with a warm winter soup, such as minestrone or tomato soup.
- To present the focaccia as an appetizer, center it on a large board and fill the surrounding board with a variety of meats and cheeses.
- If you want something sweet to go with this easy no knead focaccia, oven-roasted figs with cinnamon, honey, and gorgonzola are an excellent pairing with the flavors of the bread and its toppings.
- For your holiday cocktail party, pair the Rosemary Christmas Tree Focaccia with a delicious cranberry cocktail.
❓ Questions About No-Knead Christmas Focaccia
When the focaccia has adequately risen, it will be about double in size from the dough ball you originally mixed.
Of course, you can add other toppings, such as diced bell peppers, to decorate your festive Christmas tree focaccia.
The dimples on the surface of focaccia bread mostly help keep the bread from rising too quickly. They also act as little pockets for catching the olive oil and seasonings.
You can make this recipe gluten-free by using a gluten-free flour blend.

Questions? I’m happy to help!
If you have more questions about the recipe, or if you’ve made it and would like to leave a comment, scroll down to leave your thoughts, questions, and/or rating!
Thanks so much for stopping by!
📖 Recipe
Want to save this recipe?
Enter your email below and get it sent straight to your inbox.
Easy Rosemary Christmas Focaccia
Ingredients
For the focaccia:
- 2 teaspoons yeast (one 1/4-ounce packet)
- 1 tablespoon sugar
- 1 cup warm water
- 2 ½ cups flour
- 1 teaspoon salt
- 6 tablespoons olive oil
- 1 tablespoon Maldon salt (or other flaky salt)
For decorating:
- fresh rosemary sprigs
- whole cherry tomatoes
Instructions
- In a medium bowl, combine the warm water, sugar, yeast, and 1 tablespoon of flour. Mix well. Cover the bowl with plastic wrap and let it sit for ten minutes.
- After 10 minutes the yeast should be bubbly and active.
- To the bubbly yeast and water mixture, add the flour and salt. Stir together to form a dough. Cover the bowl with plastic wrap and set it aside in a warm place (75 to 78 degrees F) to rise for one hour until doubled in size.
- Line an oven-safe skillet or a baking pan with parchment paper.
- Spread half of the olive oil over the parchment paper. Turn the dough out onto the parchment paper shaping it roughly into a rectangle. Cover with a clean kitchen towel and let the dough rise for one hour.
- After the dough has finished rising, drizzle the remaining olive oil on top of the dough and a little onto your hands. Press your fingers into the dough to create dimples over the surface.
- Arrange the rosemary sprigs and cherry tomatoes in the shape of a Christmas tree. Sprinkle salt lightly over the surface.
- Bake in a preheated 350F degree oven for 20 minutes.
Notes
- Be sure to proof the yeast for the full ten minutes to ensure that it’s active in order to get a good rise from the dough.
- If the yeast doesn’t appear bubbly and frothy after ten minutes, then either the water was the wrong temperature (too warm or too cold), or you need new yeast.
- You can make this recipe gluten-free by using a gluten-free flour blend.
- Store at room temperature, wrapped tightly in plastic wrap for up to 2 days.
- May be frozen for up to a month. Be sure to wrap it well with plastic wrap followed by foil, and then place the wrapped bread in a zip top freezer-safe bag.
Nutrition Information
Nutrition information is calculated by software based on the ingredients in each recipe. It is an estimate only and is provided for informational purposes. You should consult your healthcare provider or a registered dietitian if precise nutrition calculations are needed for health reasons.
I have never had much success making bread. It’s usually been an issue with the bread not rising, but this recipe worked for me and was incredibly easy. My only issue was that it took much longer to bake – more like 32 min not 20. I also put it under the broiler for a few minutes because it was very pale on top. I baked it in a small sheet pan and decorated the top with rosemary and diced red peppers and sea salt. Everyone loved it! I will definitely make this again.
I’m so glad to know you had success with the focaccia! And, yes, ovens vary widely — what takes 25 minutes in one oven may take 35-45 in another. I’m glad it turned out nicely!!
This is a wonderful quick and easy bread to brighten a holiday table. When I made it, the rosemary did seem to become unpleasantly brown and dried out though. Any suggestions for keeping it more appetizing while baking?
That’s a good question, Susan. If it’s important to you for the rosemary to retain some green, then I would recommend that you look for younger rosemary with less woody stems and make sure that it is well hydrated before placing it on the bread. Bring it home (or cut it fresh) several days in advance of using it. Put the cut ends in a glass of water (just like you’d do with flowers) and let it sit until needed. Make sure the stems and leaves are dried well before placing it on the bread. Hope this helps!
This was so easy and came out delicious but after 20 minutes at 350 as instructed, the bread still looked raw. So I baked the bread this closer to 30 minutes at 350 degrees and then added more olive oil to the top and stuck it under the broiler for a few minutes to get a crusty brown top. Then it was perfect!
Made this for a Christmas dinner yesterday, and it was a HUGE hit! Beautiful, and tasted great – will DEFINITELY make this again! Thank you!
Thanks for letting me know how much you enjoyed the recipe, Diana!
I used rice flour to make it gluten free and sliced black olives on the outer edges. Everyone loved it.
Good to know it worked with the rice flour, Diana. Happy you all enjoyed it.
That’s gorgeous. You know that I really love savory bites. I’m making this! Just gotta figure out which neighbor has rosemary!
It’s really good for breaking off pieces to dip into olive oil with herbs or into marinara. Or to serve with lasagna or spaghetti.