
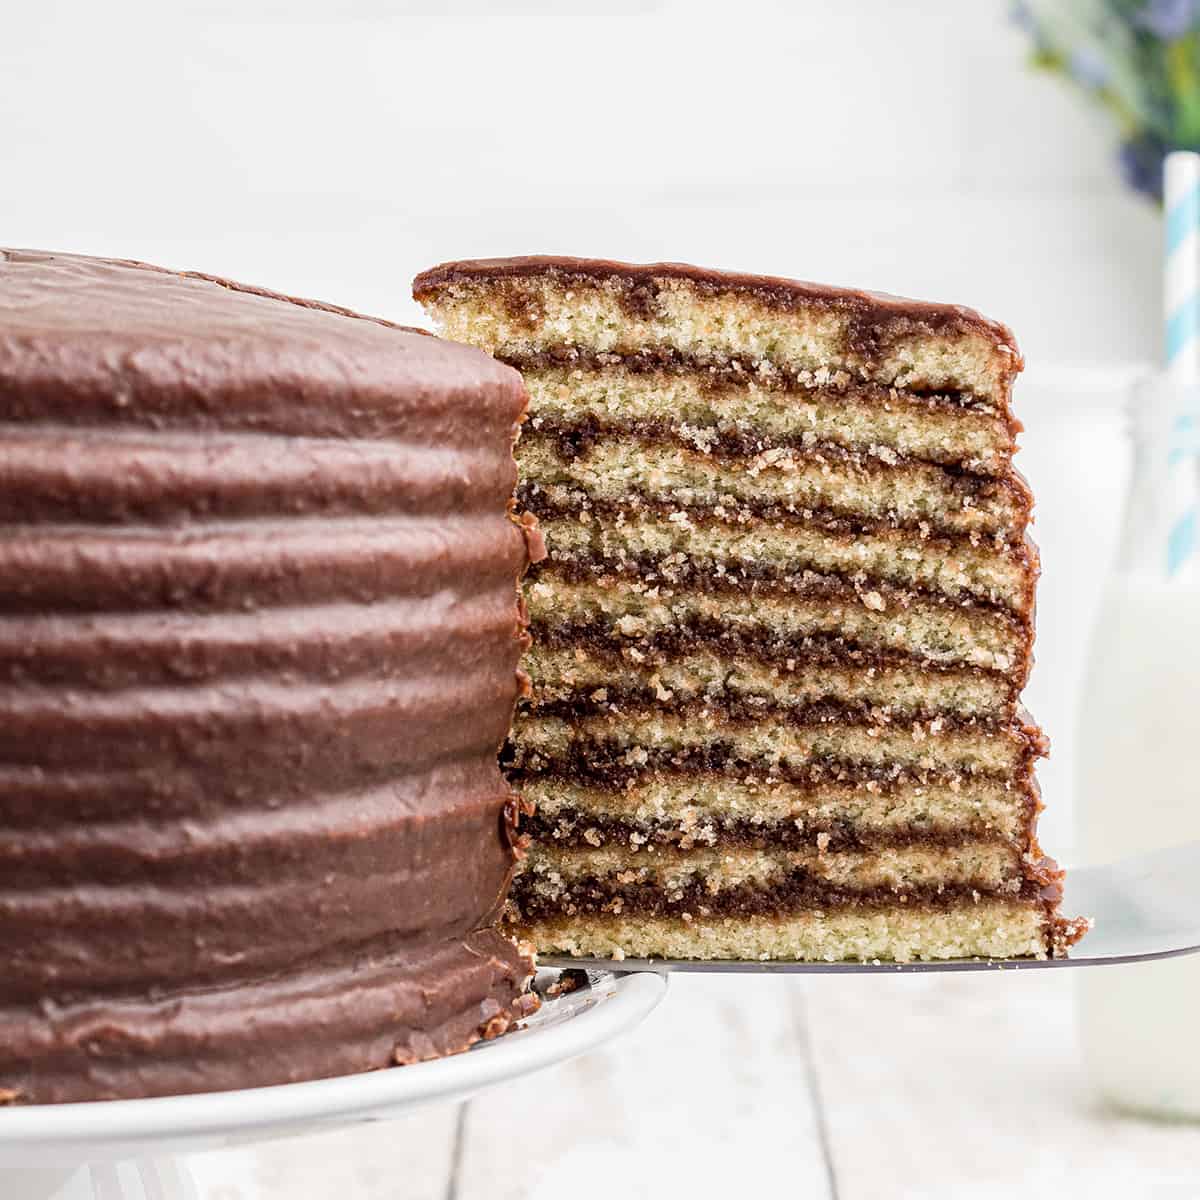
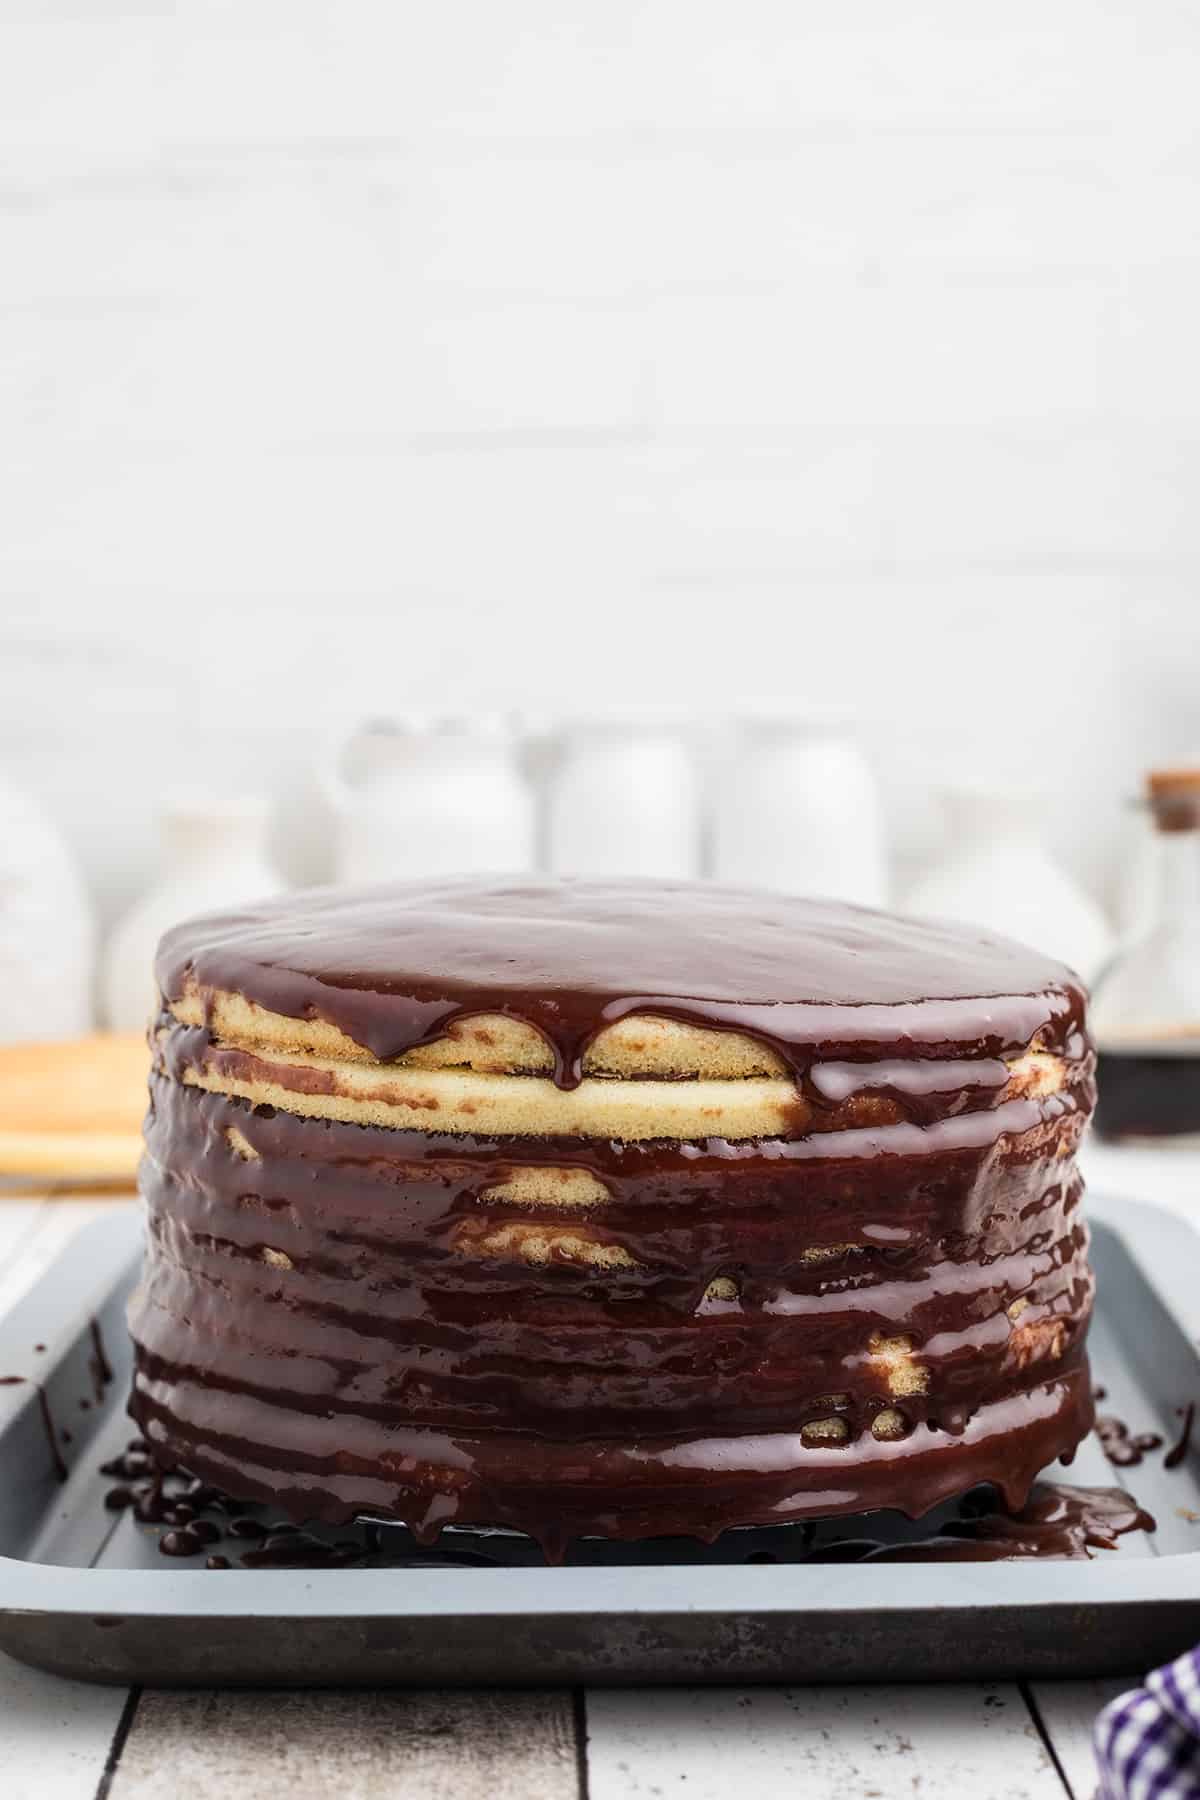
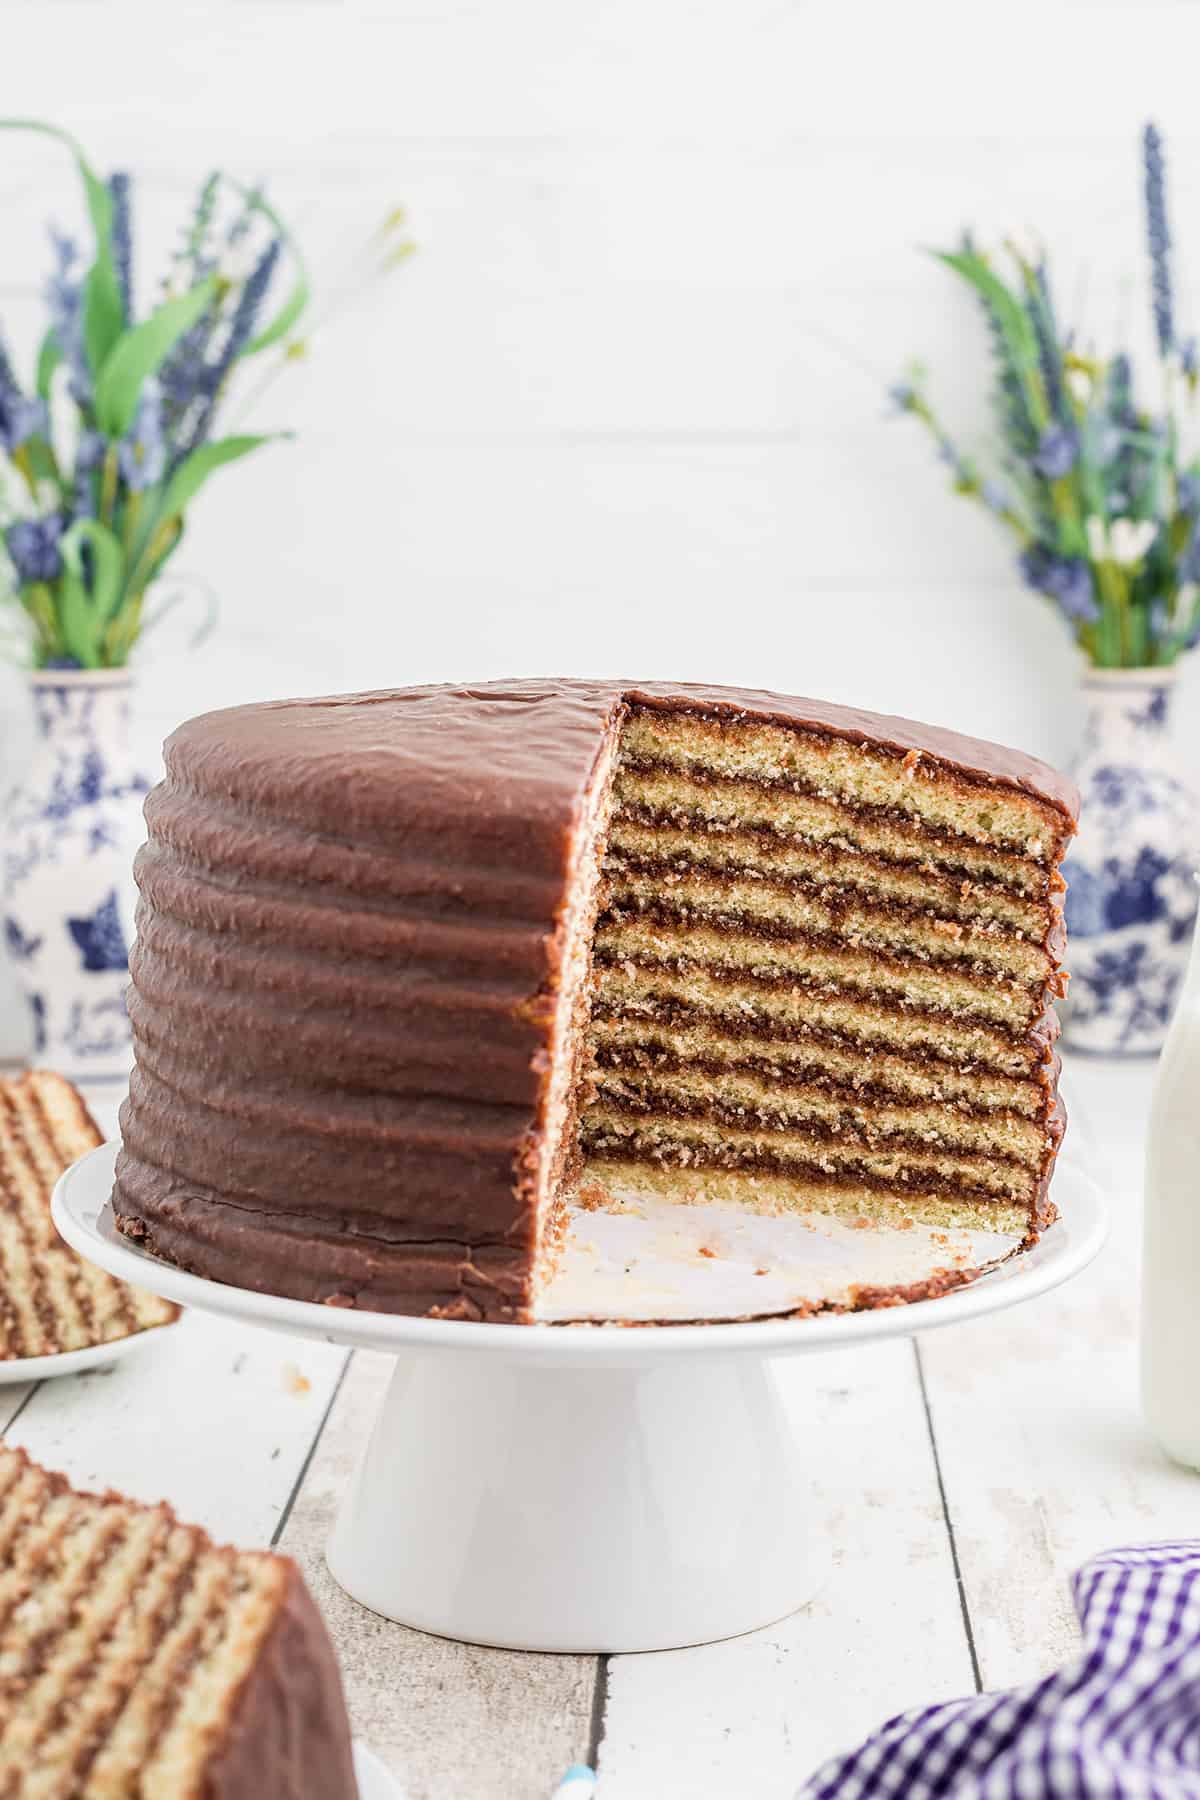
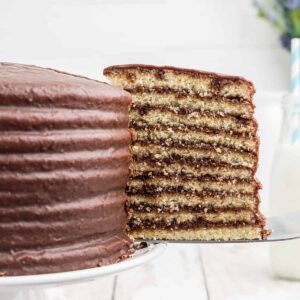
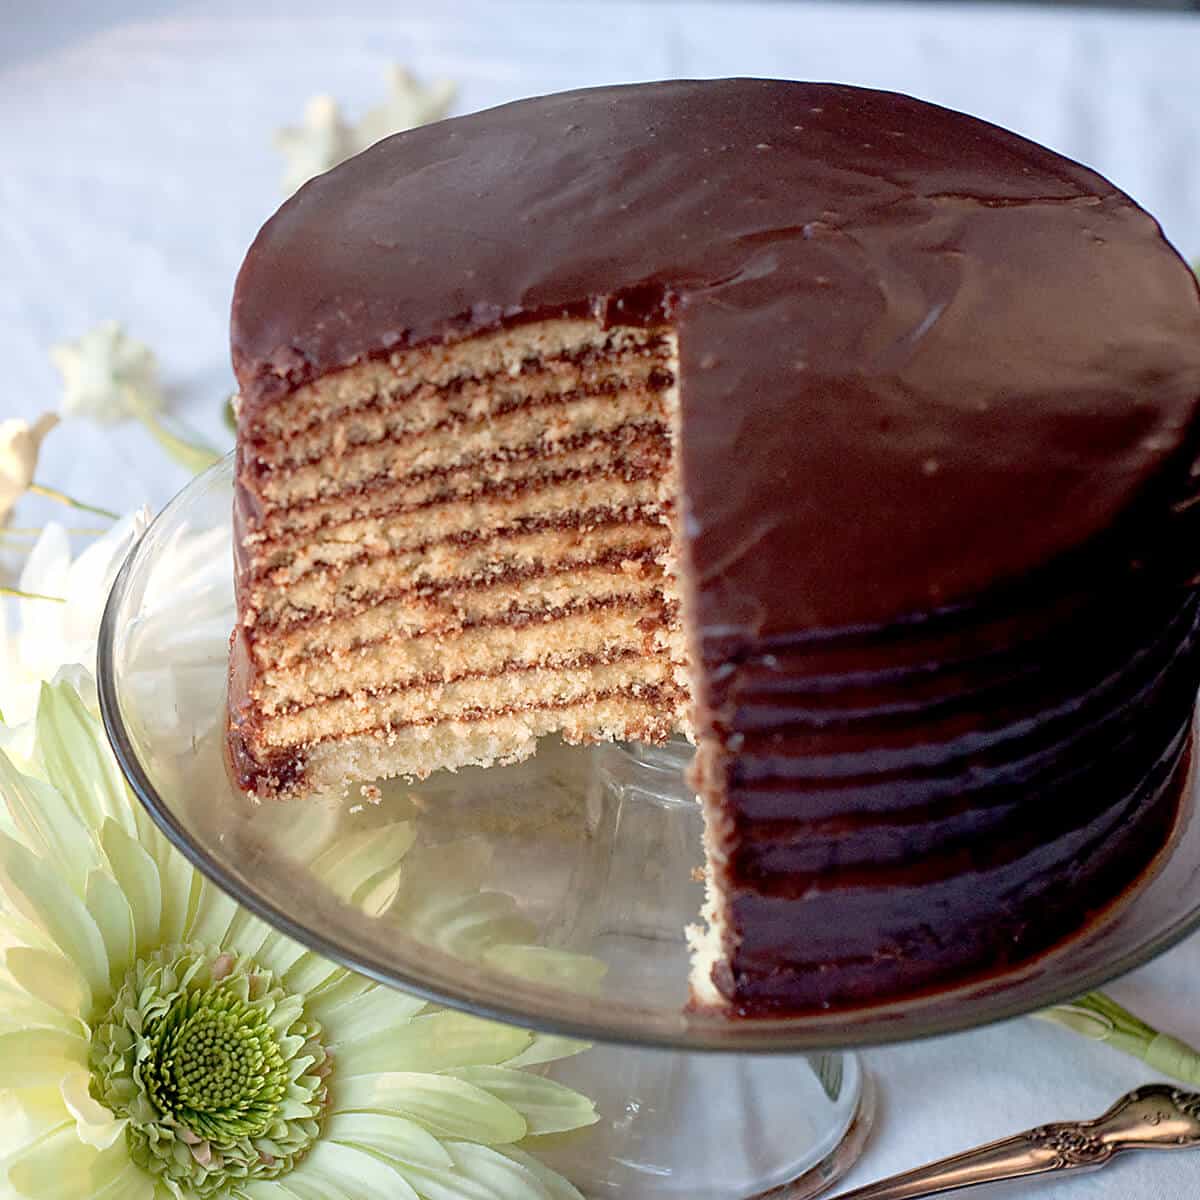
Part cake and part confection, this heritage recipe for Chocolate Little Layer Cake is made by home cooks throughout southwest Georgia. The cake consists of tiny yellow layers baked individually, then filled and topped with old fashioned boiled chocolate icing.
I really love the way technology connects us. It makes it possible for us to share special recipes like this Chocolate Little Layer Cake beyond our closest circle of friends and family. What we used to do through cards and letters, newspaper and magazine clippings, or simply by word of mouth, we can now accomplish within seconds.
Just a quick internet search and virtually any recipe ever thought of appears on your screen. I’m even more grateful that technology is helping us to preserve our old heritage recipes like this beautiful tiny layer chocolate cake.
Recipe Snapshot
Cuisine: Southern, Vintage
Cooking Method: Oven and Stovetop
Total Time: 1 hour, 50 Minutes
Servings: 24
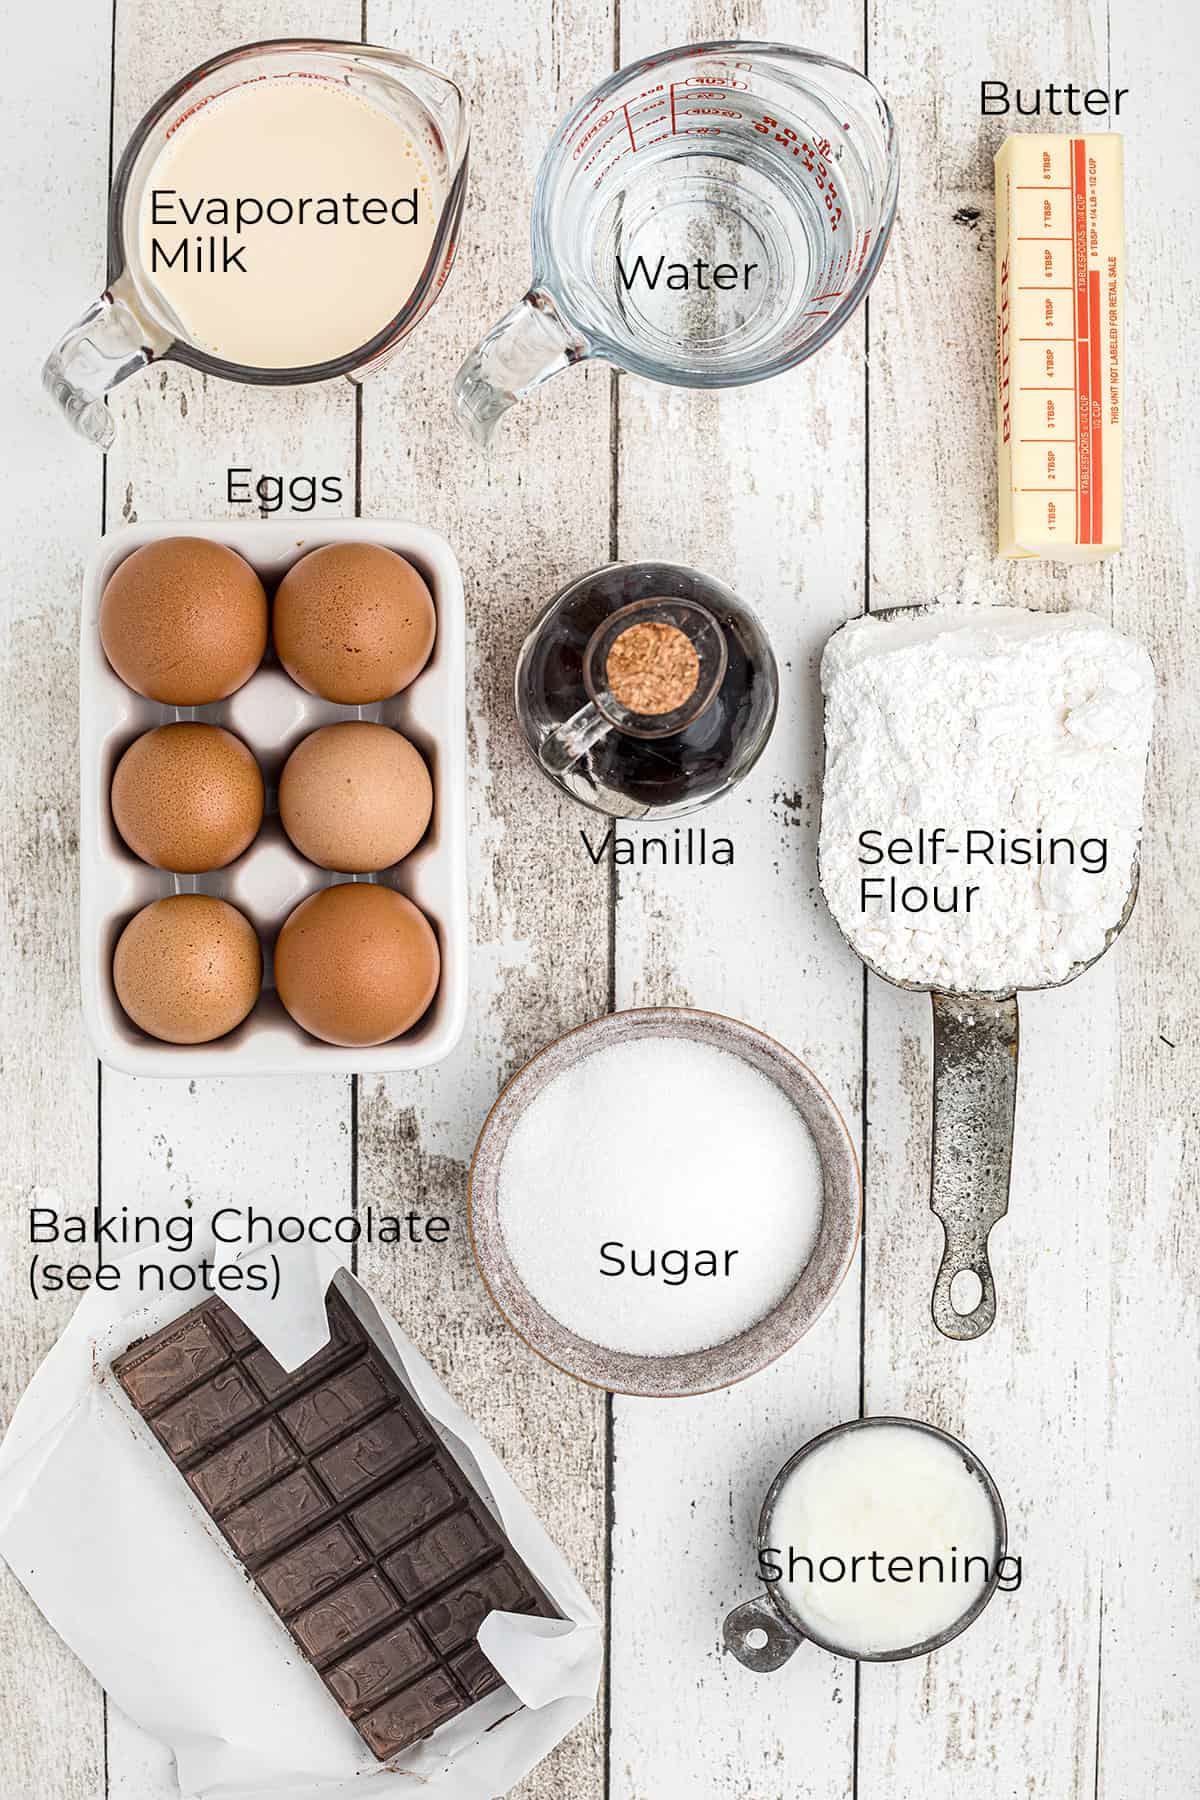
Primary Ingredient(s): Baking chocolate (see notes), sugar, flour, butter, evaporated milk
Skill Level: Intermediate
A Heritage Recipe
For as long as I can remember, these beautiful multi-layer cakes have been a part of family reunions, church dinners, and most holidays in the southwest corner of Georgia where I grew up. You might think at first glance that they’re standard cake layers that have been split and filled, but they’re not—not at all. Each little thin layer is baked separately.
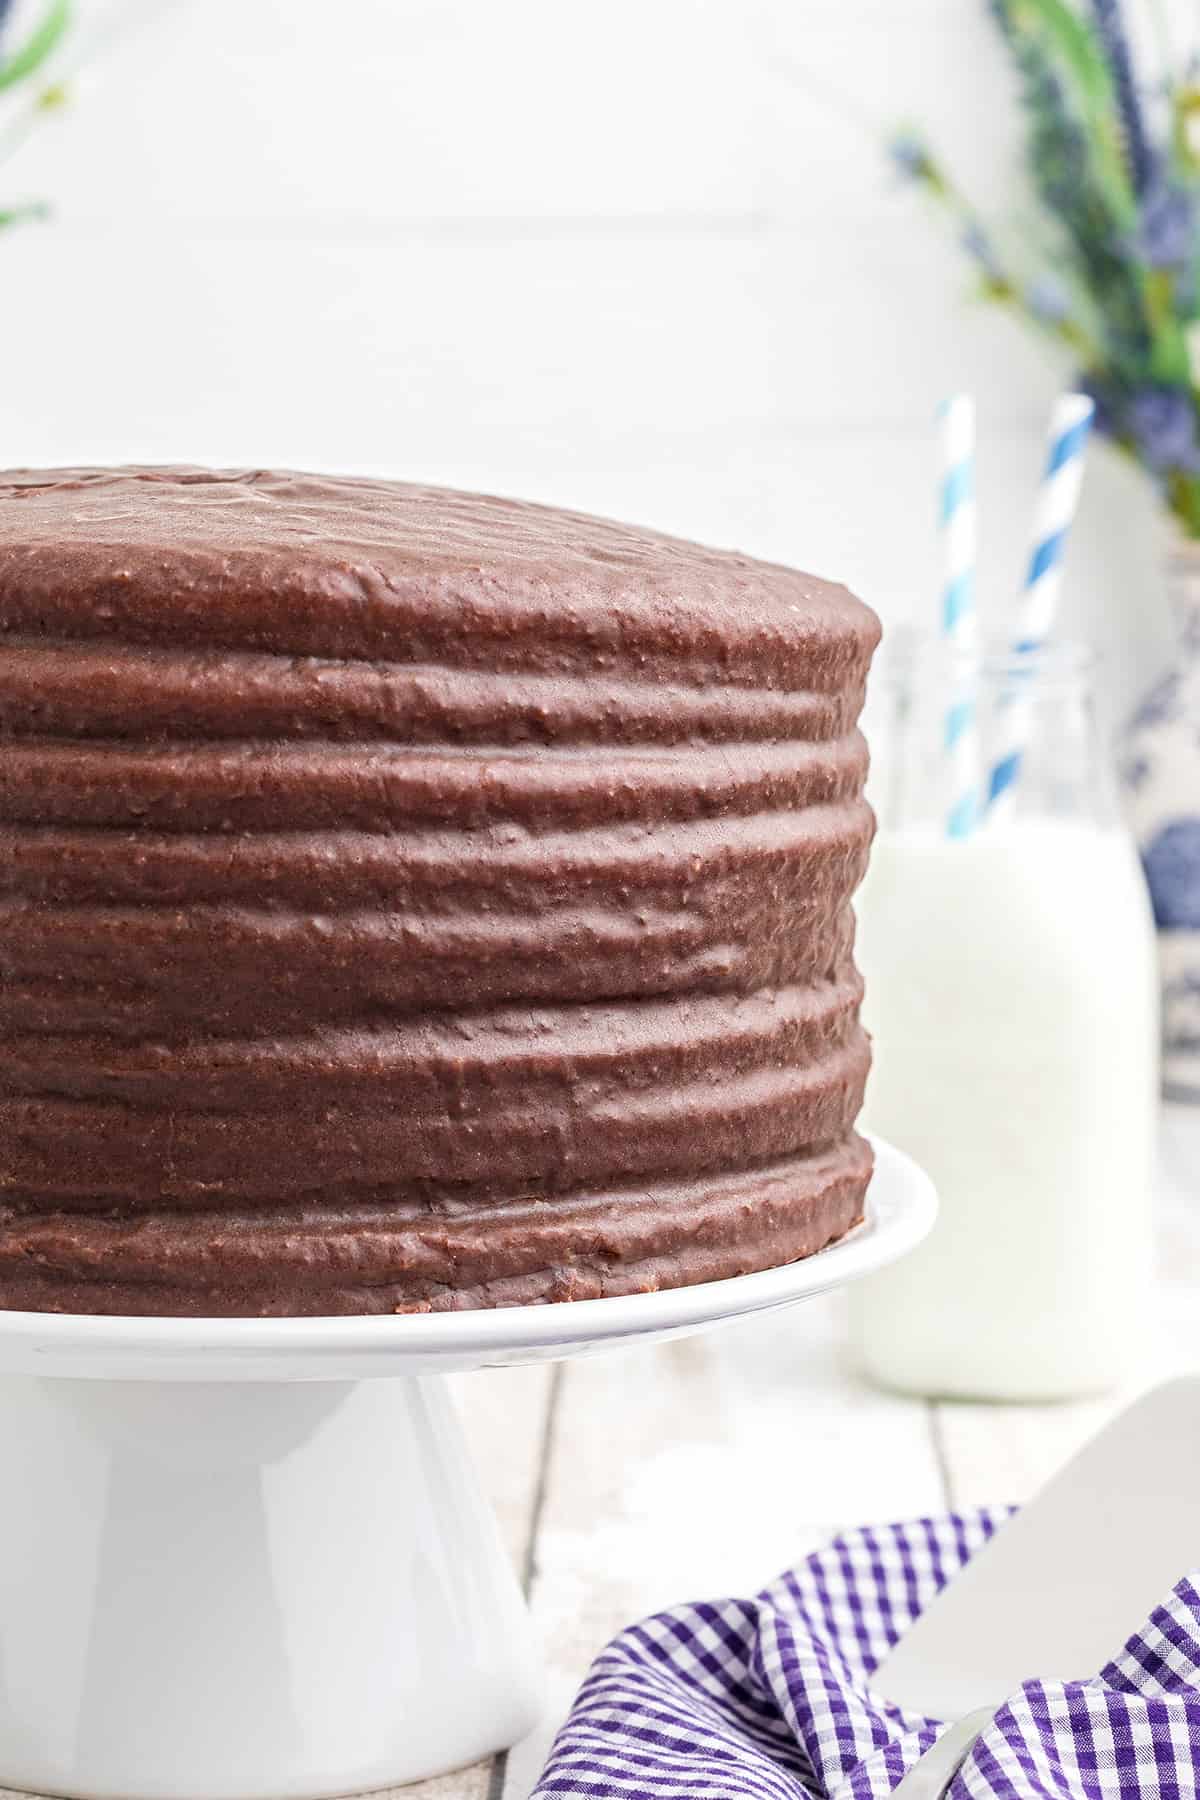
To make it even more different from traditional layer cakes, it’s iced with warm boiled chocolate icing while the layers themselves are still warm. Totally goes against the conventional method, doesn’t it?
Years ago, Kim Severson of the New York Times did a story on these little layer cakes. I had the pleasure of hearing Kim speak once at a food blogging conference. She’s a very accomplished food writer and has received numerous accolades, including several James Beard Awards.
In her NYT story, she talked about how the cakes were made only in one area in Alabama and on Smith Island near Maryland. Well, I can assure you that they are part of the fabric of at least one small southwest Georgia town as well :-)
In the small town where I grew up, lots of ladies make these cakes for a little extra income on the side. They come in two versions – chocolate or caramel. Some of them make a fairly brisk business of it, especially around Christmas.
Way back when, the thin layers for these cakes were made by cooking each layer in a hoecake pan or iron skillet on top of the stove, but now most everyone cooks the layers in the oven. It just goes faster when you can bake three or four layers at one time, you see.
If you’re really experienced with little layer cakes, you can get as many as fourteen layers from your batter. I usually get a ten-layer cake. I need to practice more. If you’ve never made this cake before, aim for about seven layers your first time and gradually increase as you improve your technique.
A Modernized Recipe For You
The original recipe that I have for little layer cakes is so typical of old-time recipes. It assumes that the cook pretty much knows what to do, and only the bare essentials are given.
For instance, the instructions for making the batter read, “Mix well. Grease 8″ pans with Crisco. Put 2 large cooking spoonfuls in each pan. Bake at 400 for 10 minutes.” That’s it.
And the instructions for the boiled icing are “Place over low heat until all is dissolved. Do not boil. Be sure all sugar is melted.” Well, alrighty then!
In the recipe below, I’ve tried to re-write and modernize the instructions a bit for you.
What You’ll Like About This Recipe
- It has a unique boiled chocolate icing.
- It tastes great and is pretty easy to make once you get the idea.
- It’s a very old, sentimental part of southern foodways.
WHAT PEOPLE ARE SAYING …
“I’m so glad to see this recipe! My aunt … made this cake many times, and it was always a hit and one of my all-time favorite desserts!!”
— Lucy
Ingredient Notes
This post contains affiliate links. Lana’s Cooking is reader-supported and earns a tiny commission at no extra cost to you when you shop from our links.
- Granulated Sugar – This is just plain old white sugar. We tend to use Dixie Crystals in the south.
- Baking Chocolate – It’s really important to use the right kind of chocolate for this recipe. You’ll need to purchase Baker’s Premium Unsweetened Baking Chocolate, which produces the distinctive look, texture, and taste required for this recipe.
- Evaporated Milk – Be sure you’re buying evaporated milk, NOT sweetened condensed milk.
- Butter – Like most old-fashioned southern cooks, I use salted butter in everything, including this recipe. I can’t remember the last time I purchased unsalted butter.
- Vanilla Extract – Use a quality extract such as McCormick’s.
- Eggs – The fresher, the better.
- Self-Rising Flour – Southerners love our White Lily flour for any type of baking. It’s made from soft winter wheat and produces very tender baked goods.
The complete ingredient list with detailed measurements is included in the printable recipe card at the bottom of this post.
You’ll also find this recipe in my cookbook!
You can see this recipe on pages 268-269 of my cookbook, My Southern Table! Get your signed copy today.

How to Make Chocolate Little Layer Cake
Prep the Pans and Ingredients

- Before starting your baking, make sure to have all the ingredients at room temperature. Preheat the oven to 400 degrees and go ahead and prep several 8-inch cake pans with shortening and set them aside.
PRO TIP: How many layers you bake at once depends on how many pans you have and can fit into your oven without them touching. Some people use disposable cake pans for this, but I don’t see the need. I just wipe the pans out and re-grease between each set of layers.
Make the Icing
Unlike other cakes, you actually start your little layer cake by making the icing first.
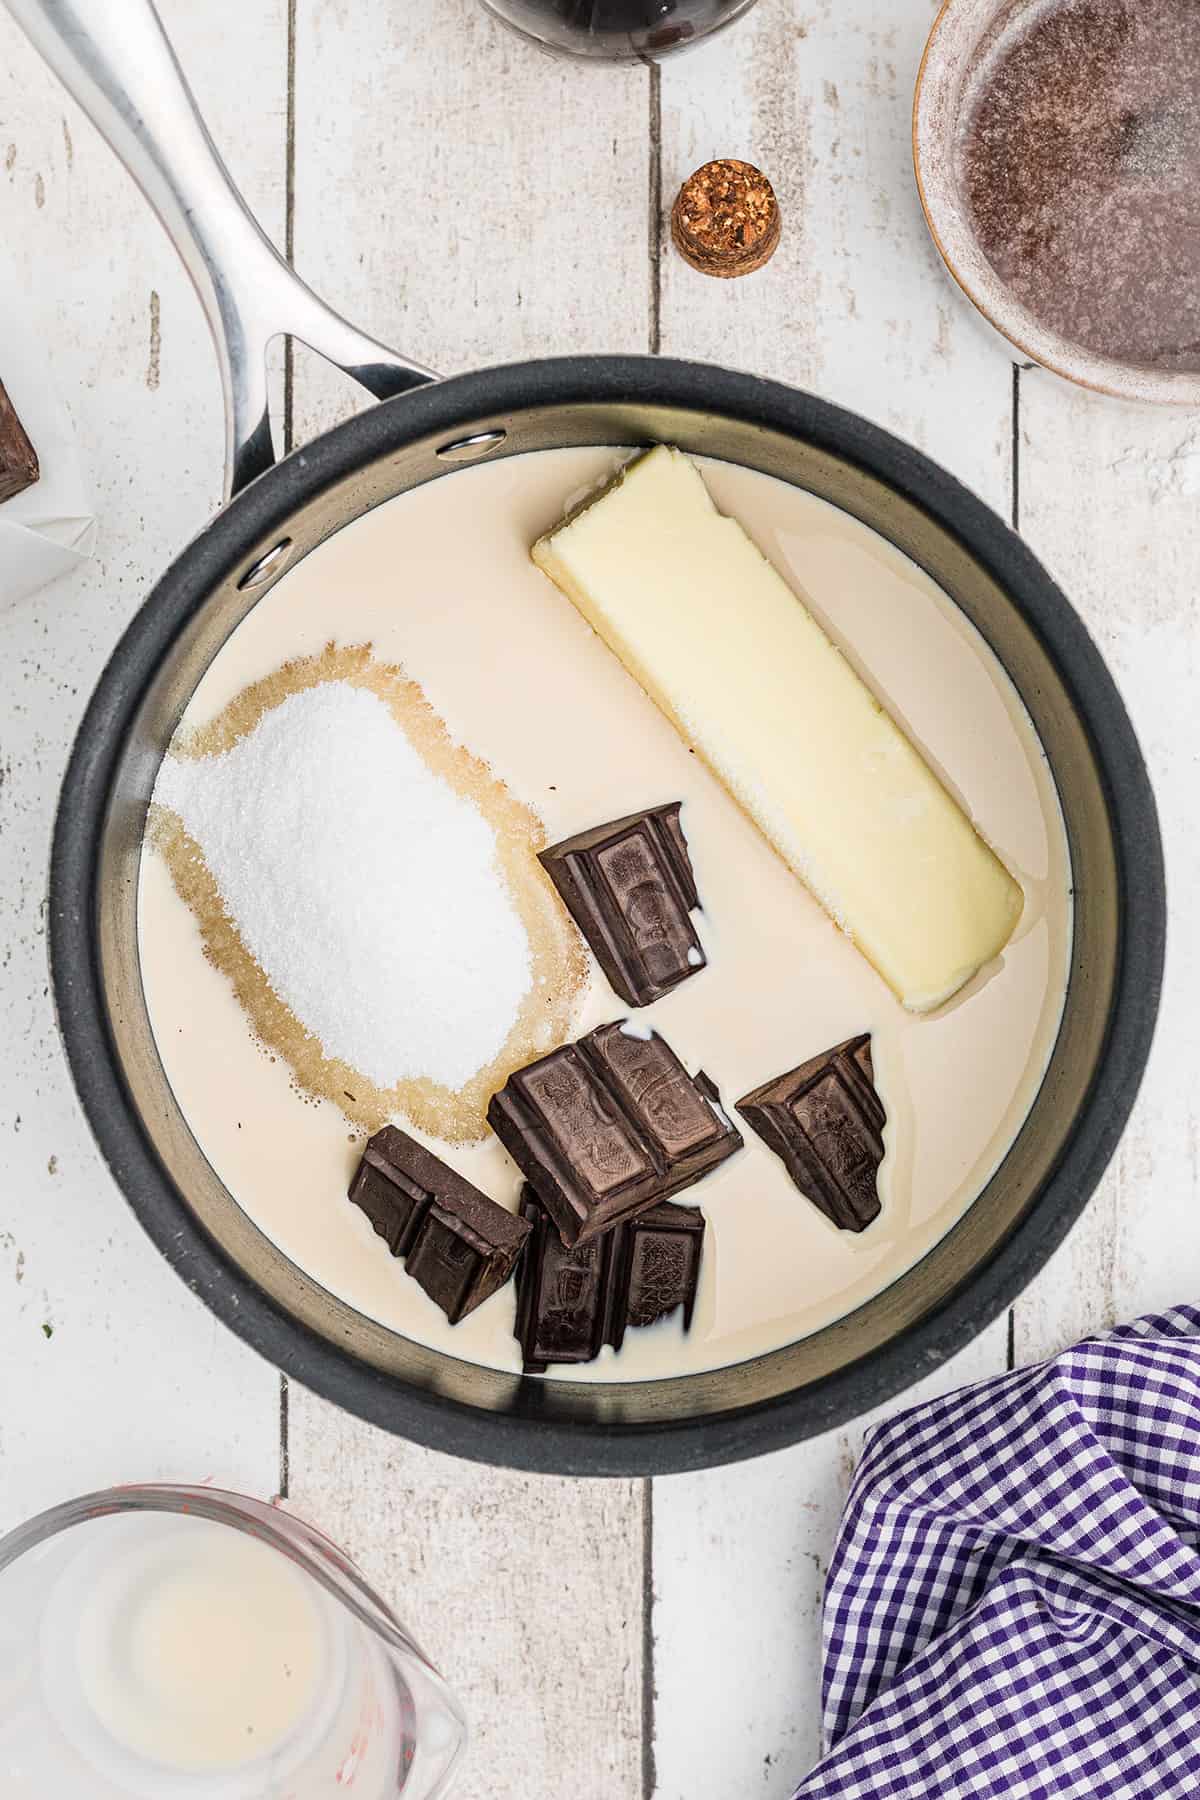
- Place a large, heavy-bottomed saucepan over medium-low heat. The heat should be barely medium-low. If in doubt, go lower.
- Add the sugar, baking chocolate, evaporated milk, butter, and vanilla all at once. Cook the mixture until the sugar is completely dissolved, stirring occasionally. It is important that the icing does not boil and that you make sure that the sugar is completely dissolved so that no grainy texture remains.
Make the Batter
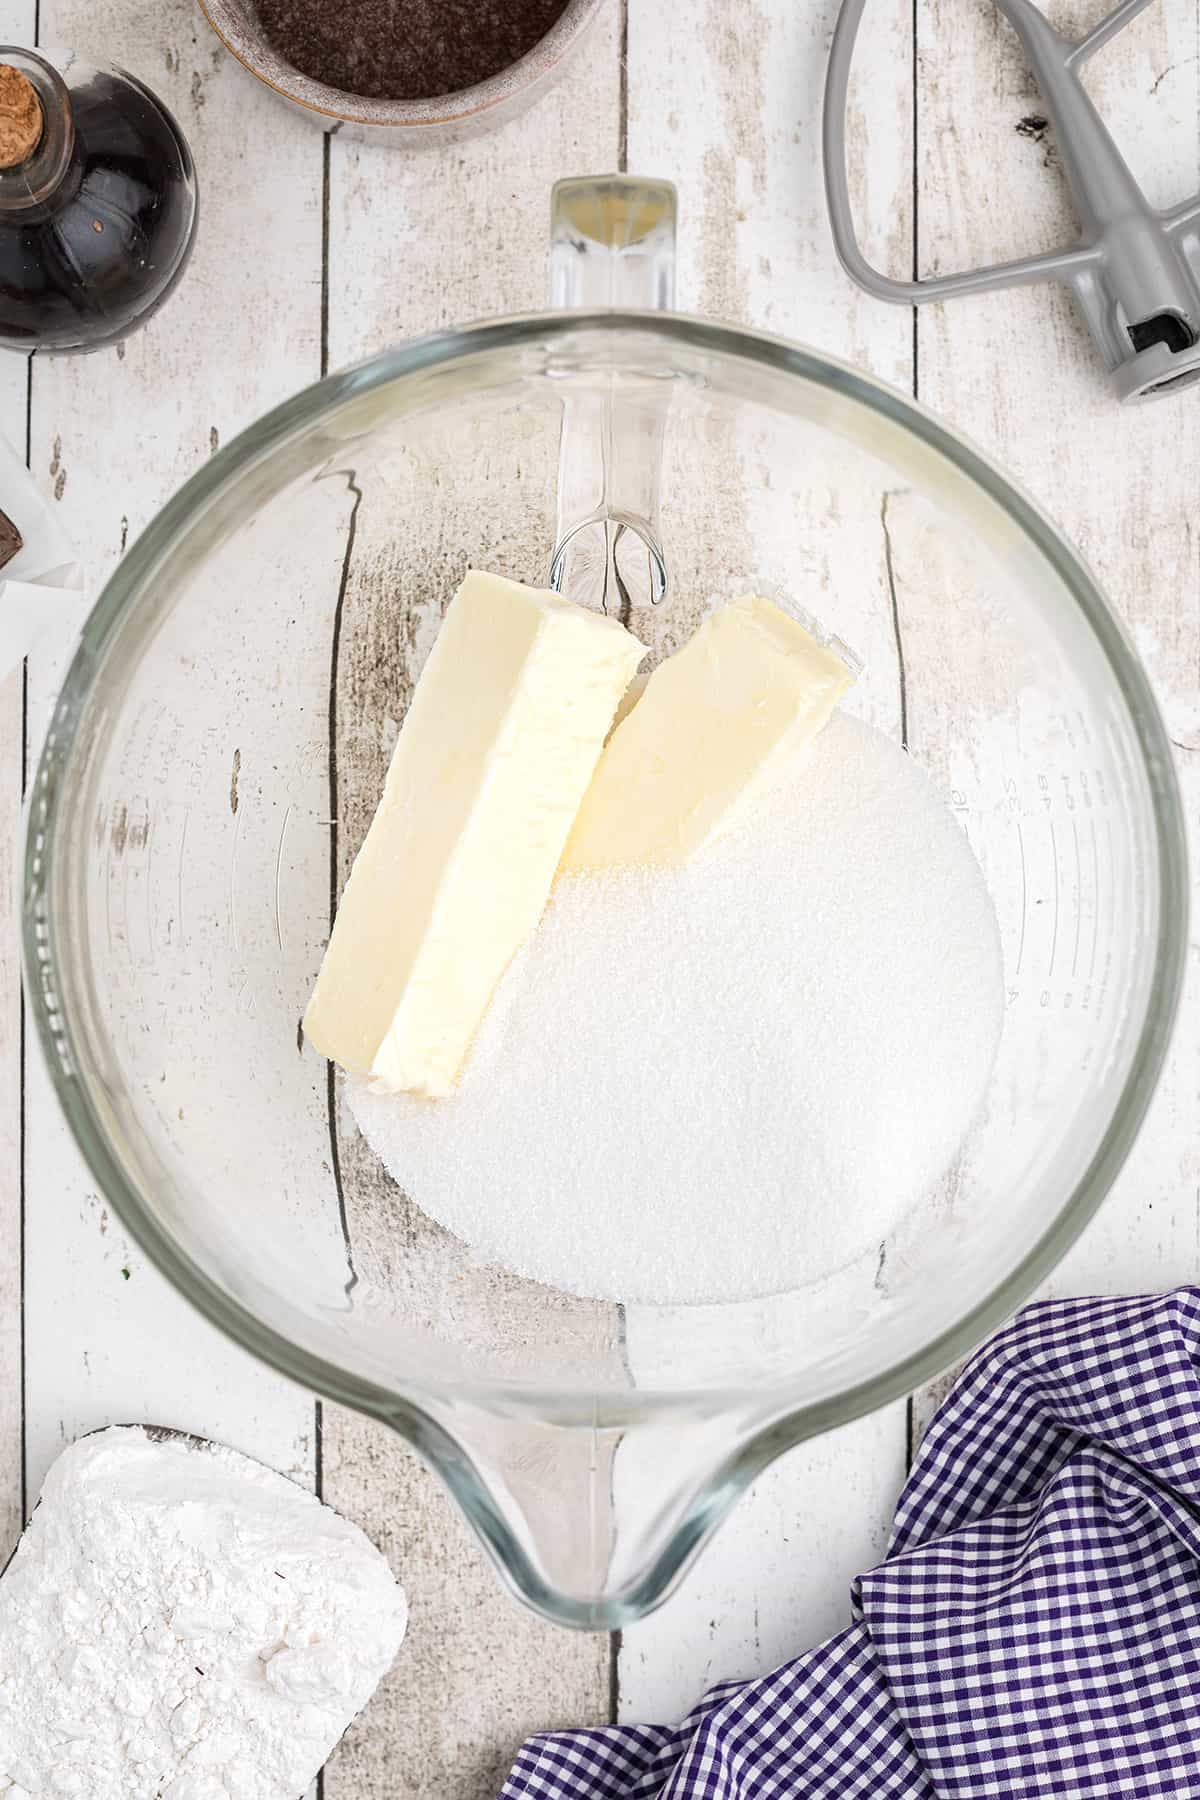
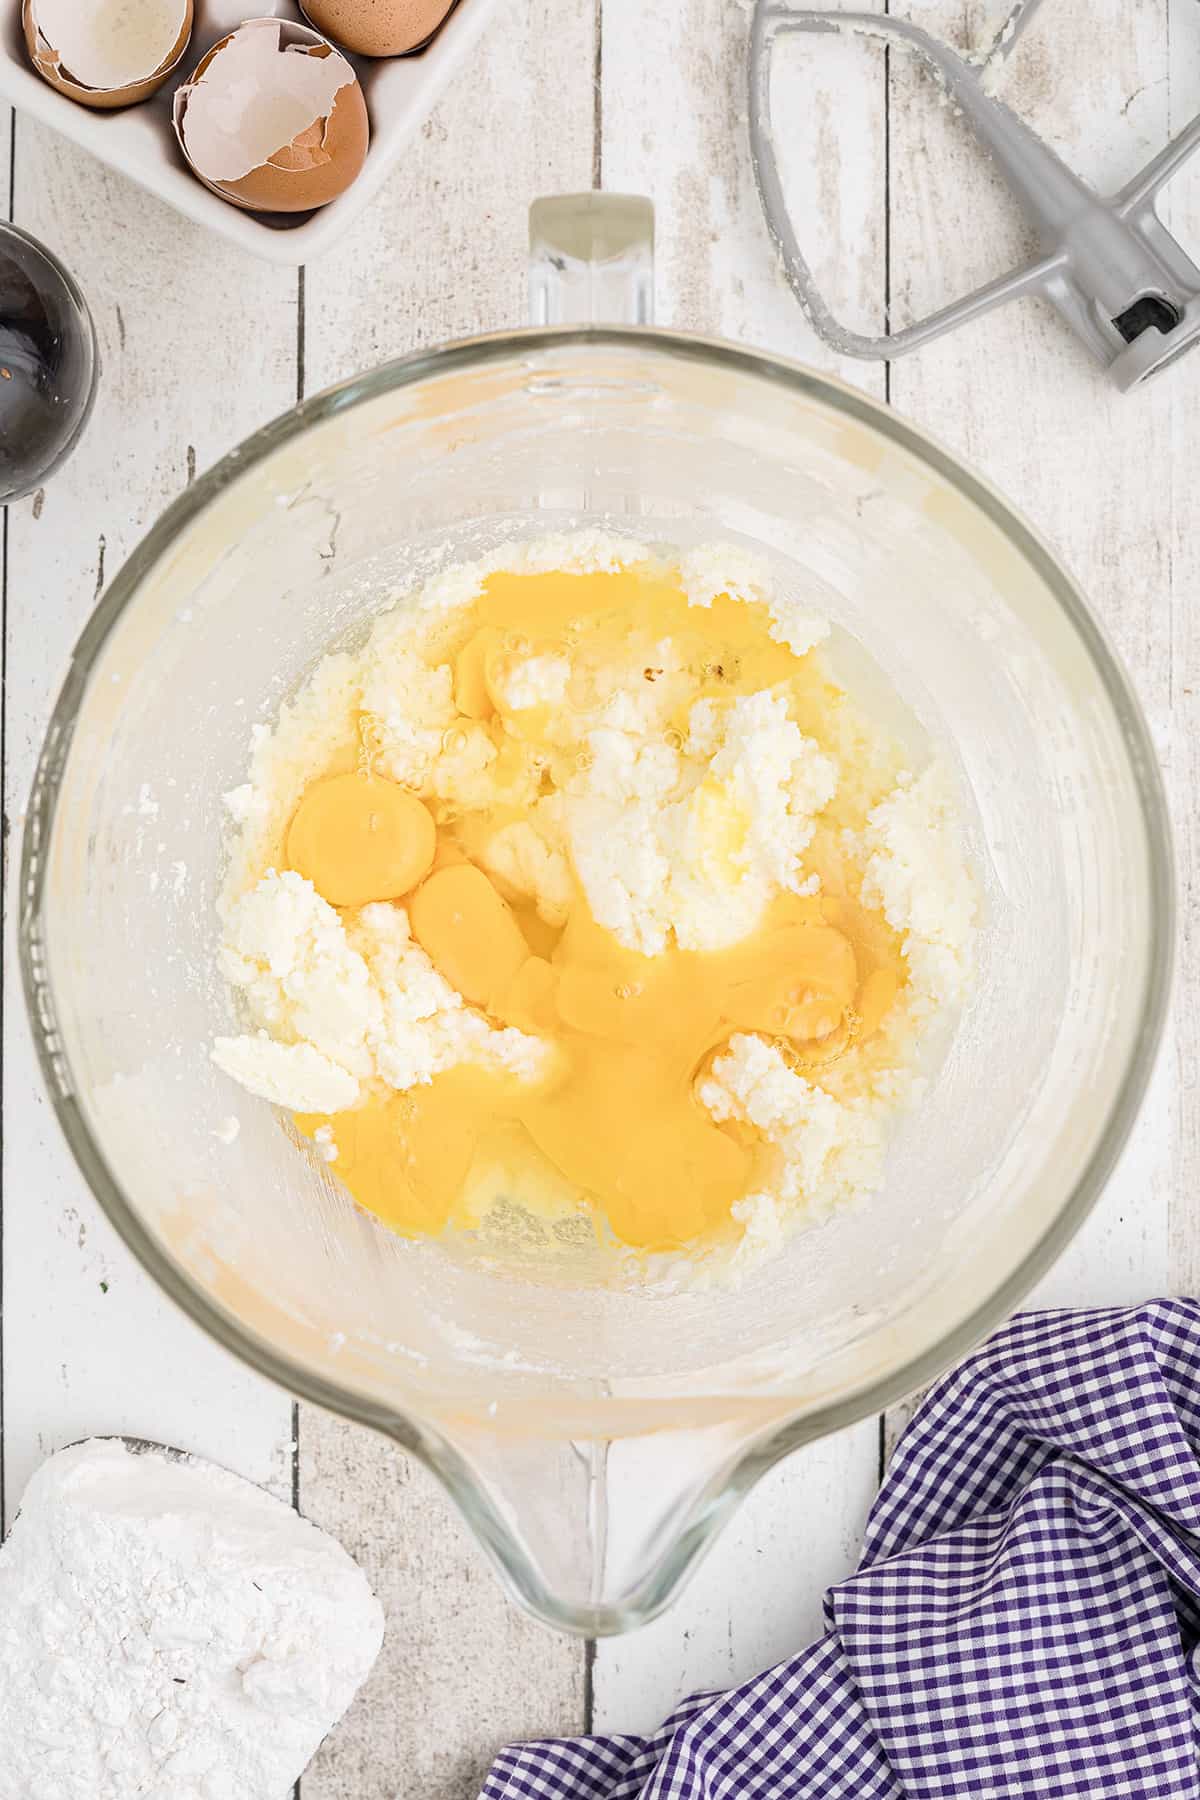
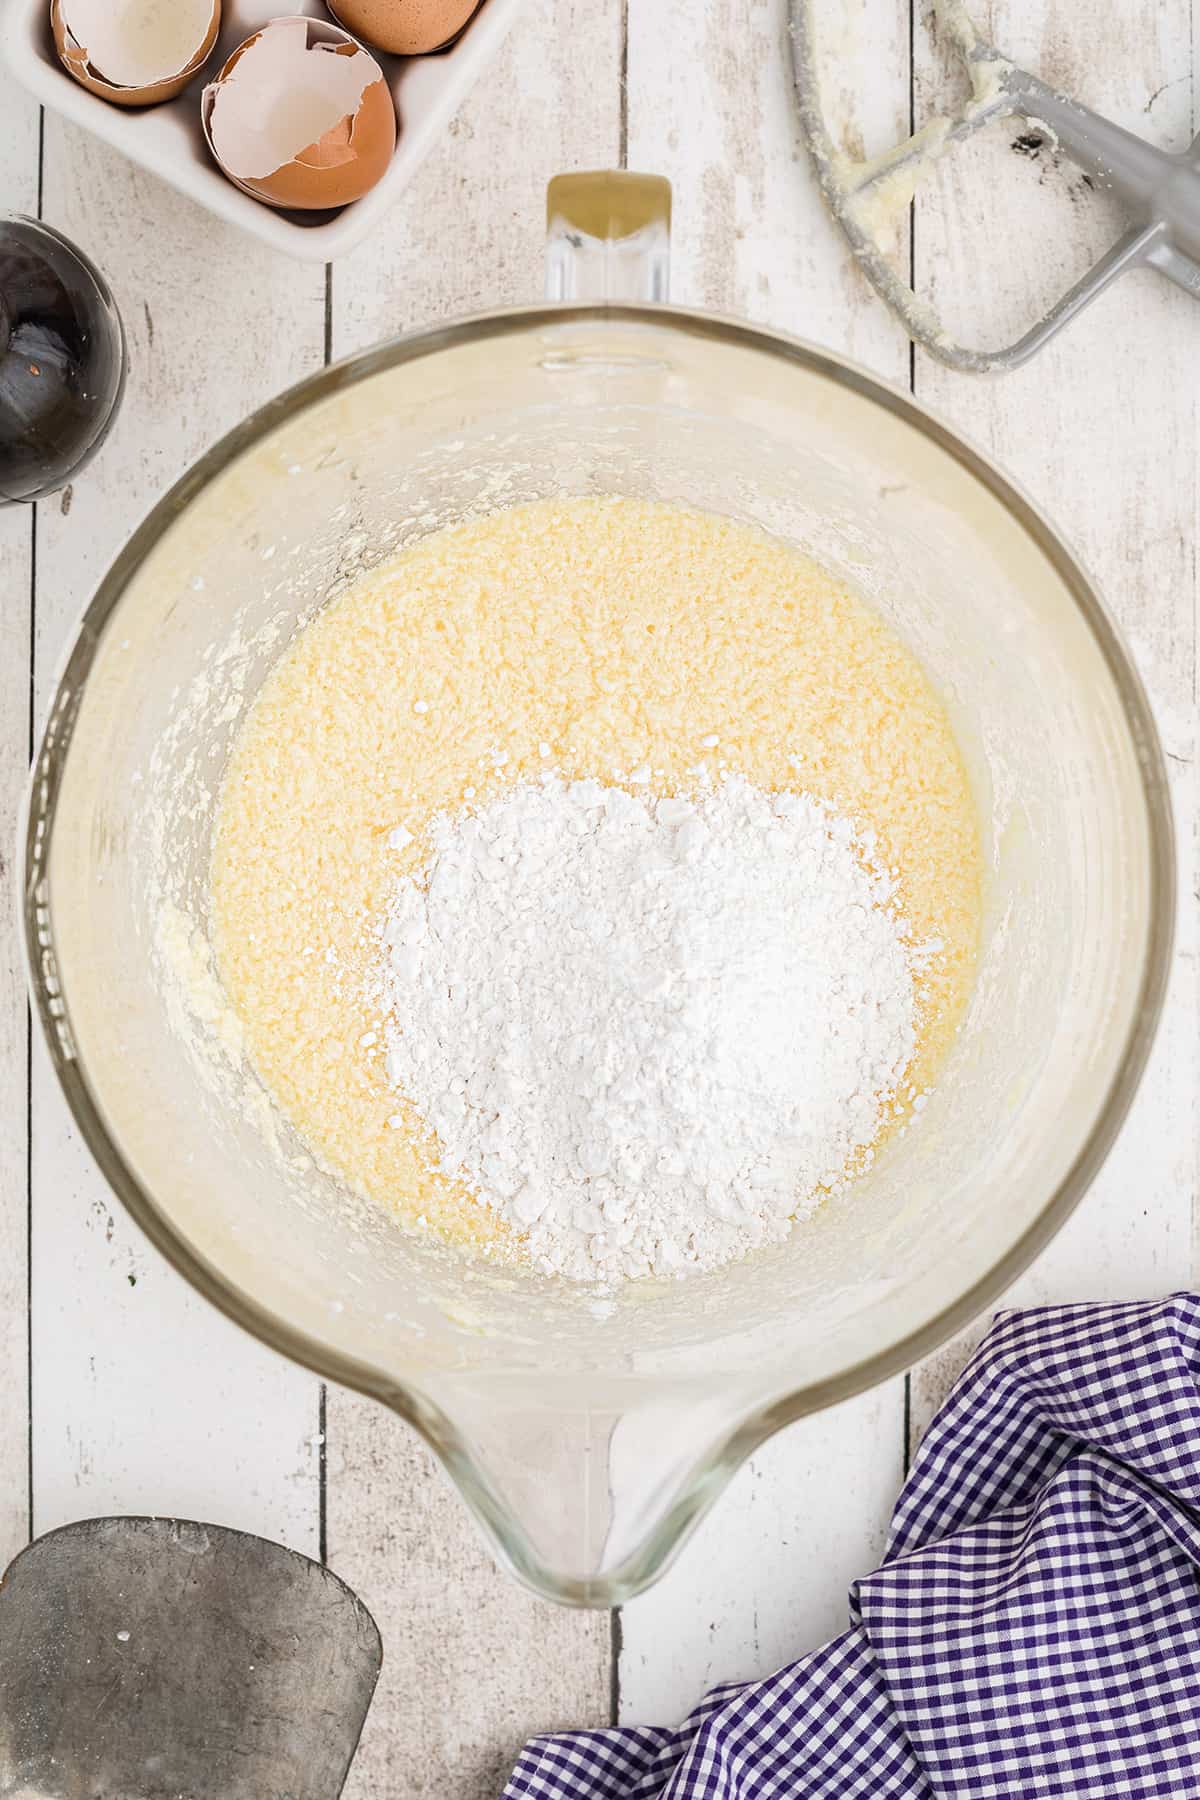
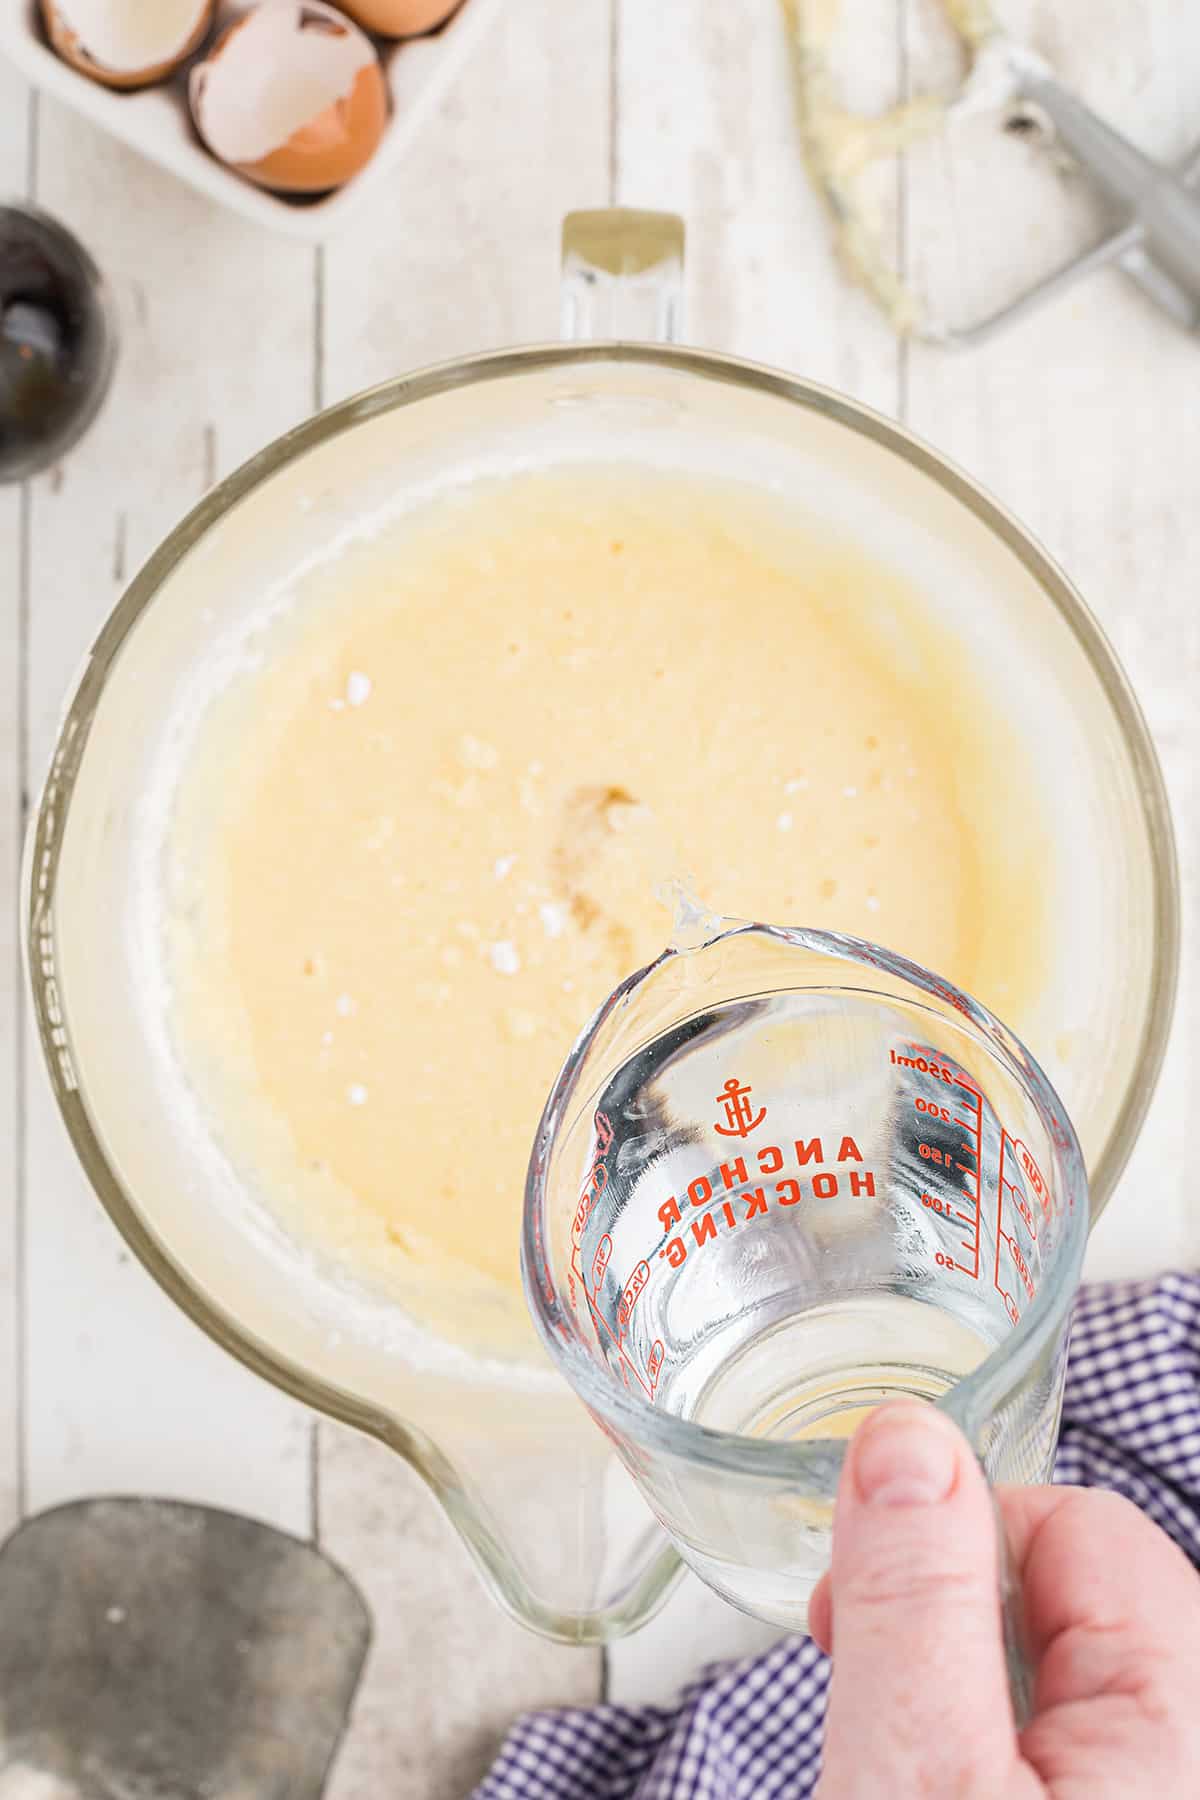
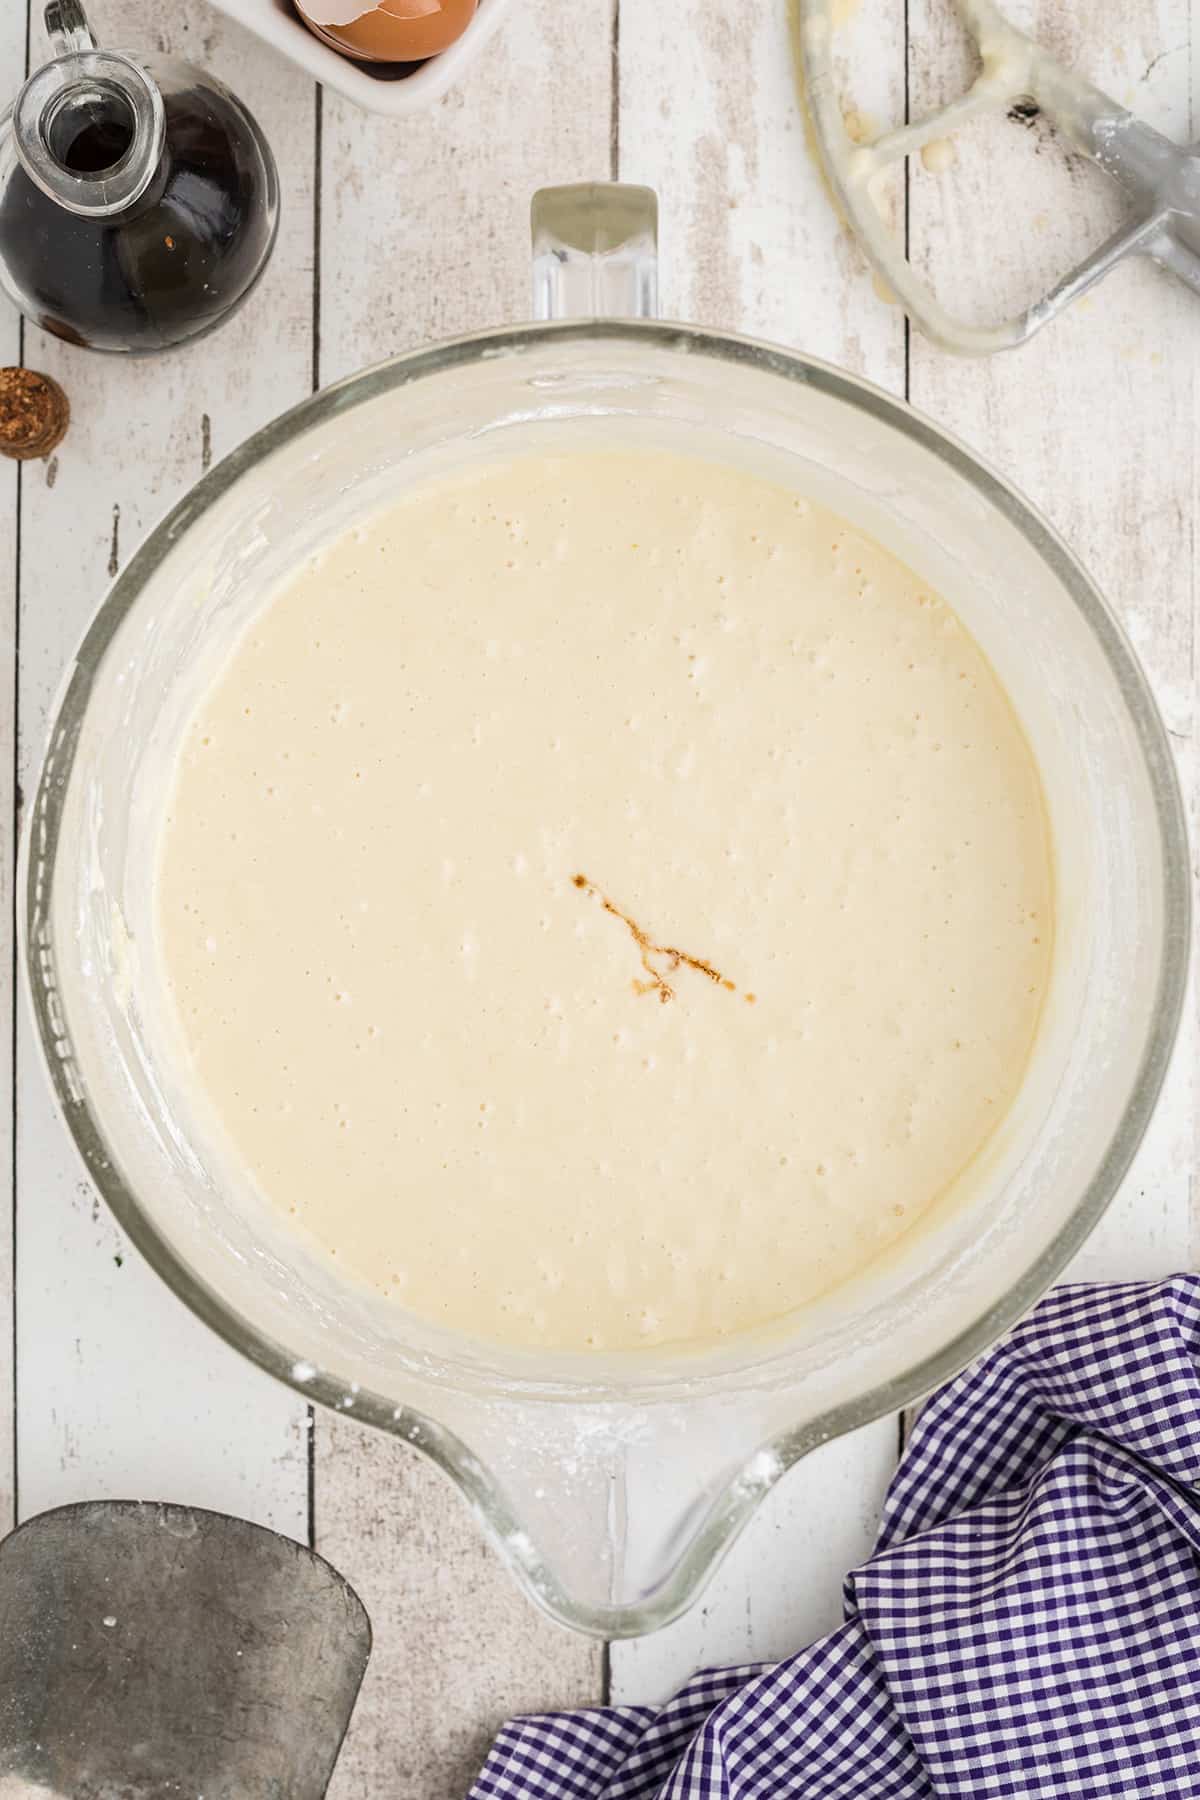
- Meanwhile, make the batter. Cream together the butter and sugar. Add the eggs all at once and beat until well incorporated. Add the flour and water alternately, beginning and ending with flour. Mix in the vanilla.
PRO TIP: The batter will appear to be curdled after each addition of water – this is normal.
Bake the Layers
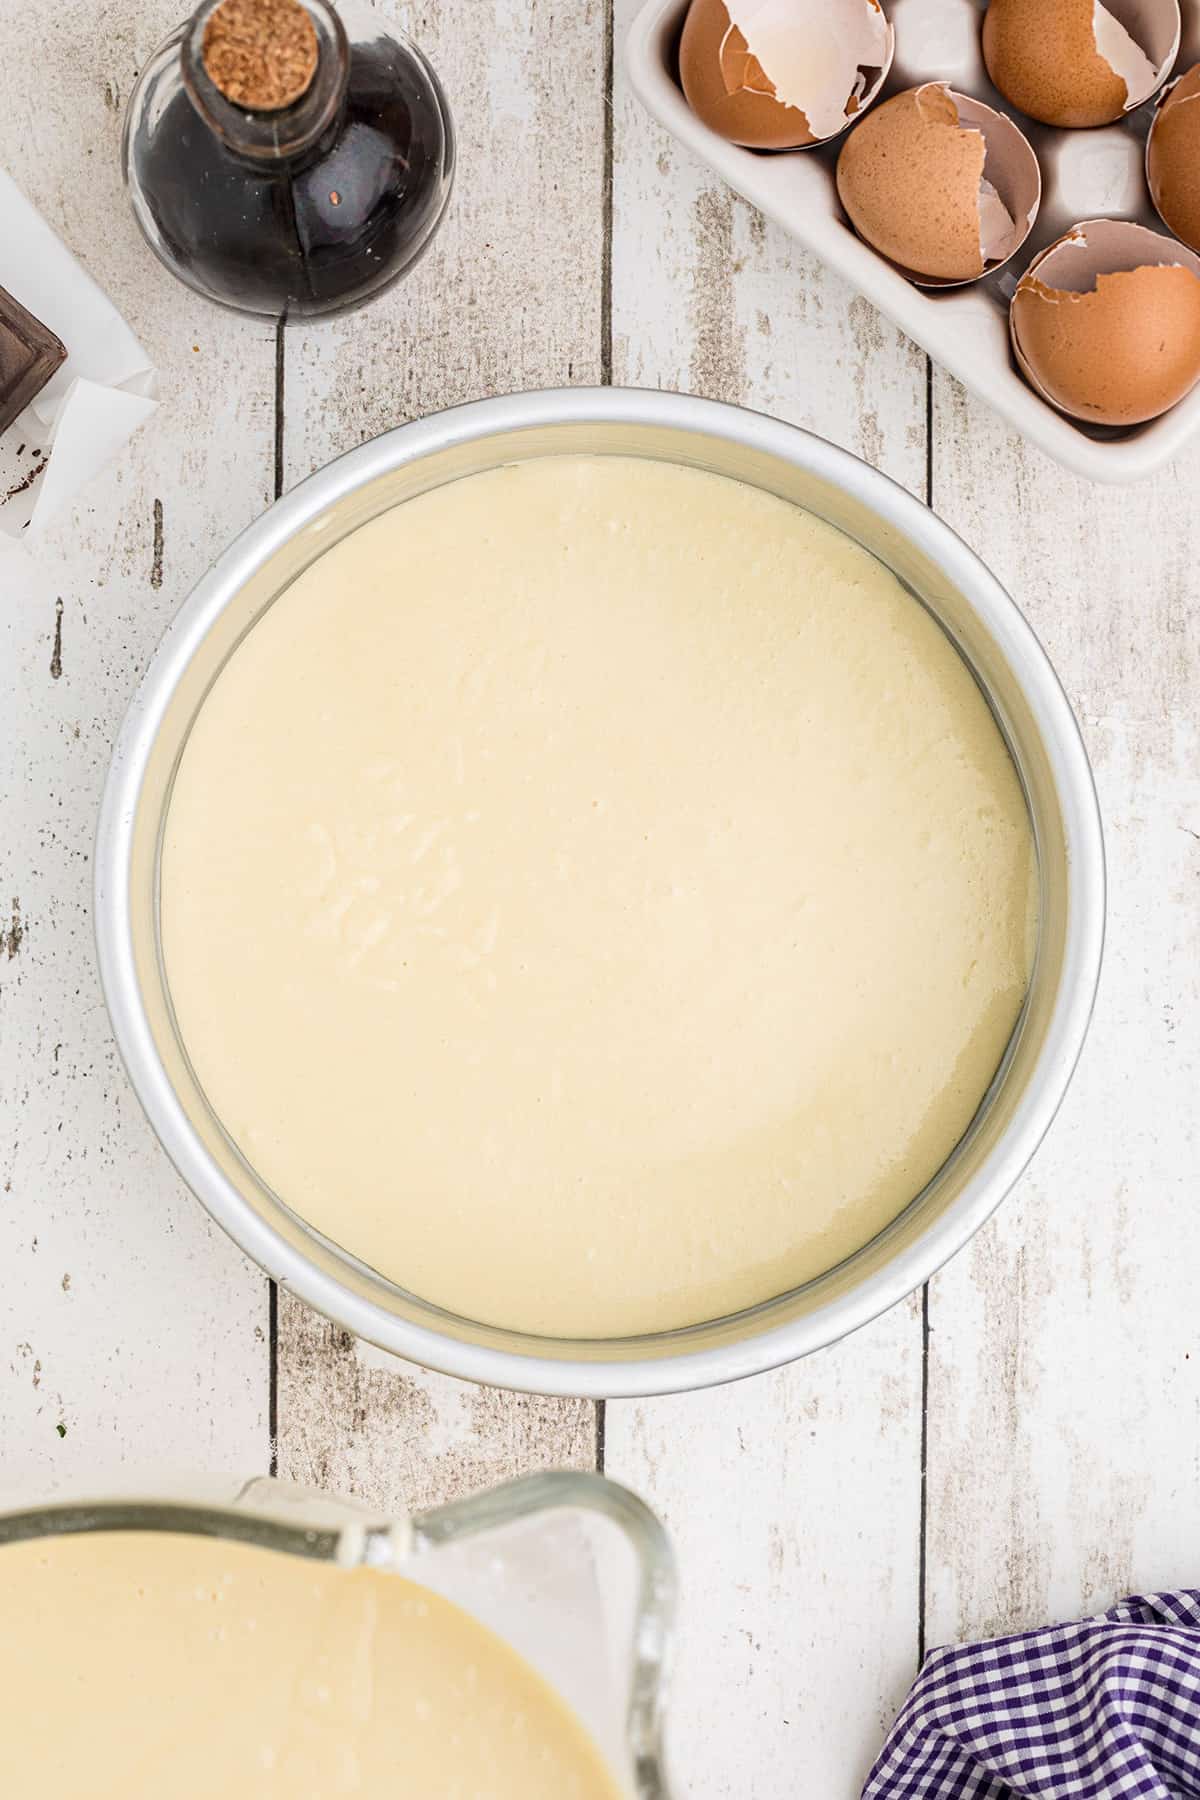
- Pour approximately 3/4 cup batter into each prepared pan. Smooth the batter to the edges.
- Bake for approximately 10 minutes or until the layers are barely golden on top. Remove from the oven and turn out onto cooling racks.
- Clean the pans, grease them, and repeat baking.
- When the second set of layers goes into the oven, begin icing the first set.
Frost the Layers While Warm
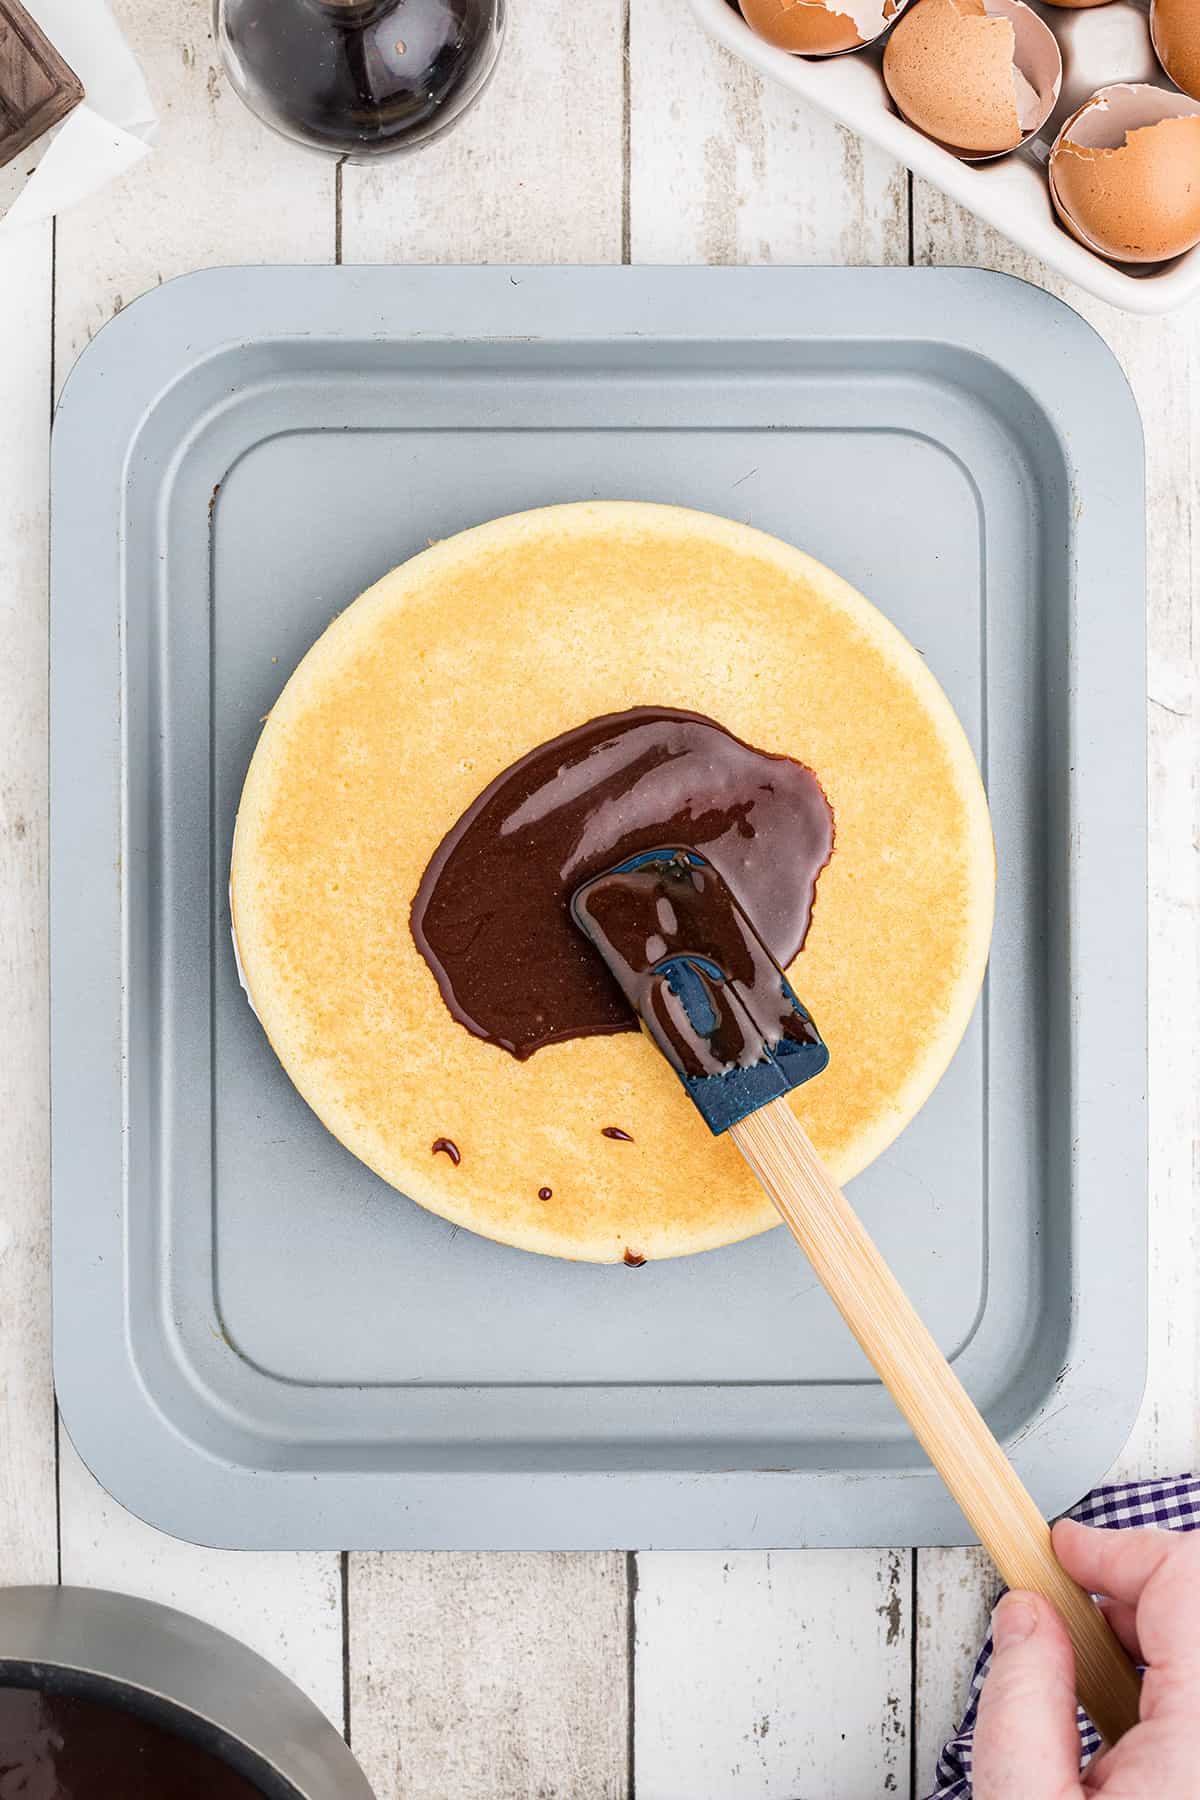
- Place a still-warm layer on a cardboard round set on a cooling rack inside a baking sheet. Spread 1/4 cup of icing on the layer, smoothing it gently to the edges (an offset spatula is great for this job). Top with the next layer and repeat.
PRO TIP: Note that the icing will be thin and fairly runny. It will drip down the sides of the layers. This is to be expected. Any excess icing should be scraped up and returned to the pan and all of it used in icing the cake. This is why I strongly recommend doing the icing of the cake on a wire rack set inside a baking pan.
- When all the layers have been stacked and iced, spread the remaining icing over the top and sides of the cake. If the icing becomes thick, return the pan to very low heat until it returns to spreading consistency.
- Smooth the icing around the sides of the cake, but realize that the contours are supposed to be visible on the outside of the cake.
Variations
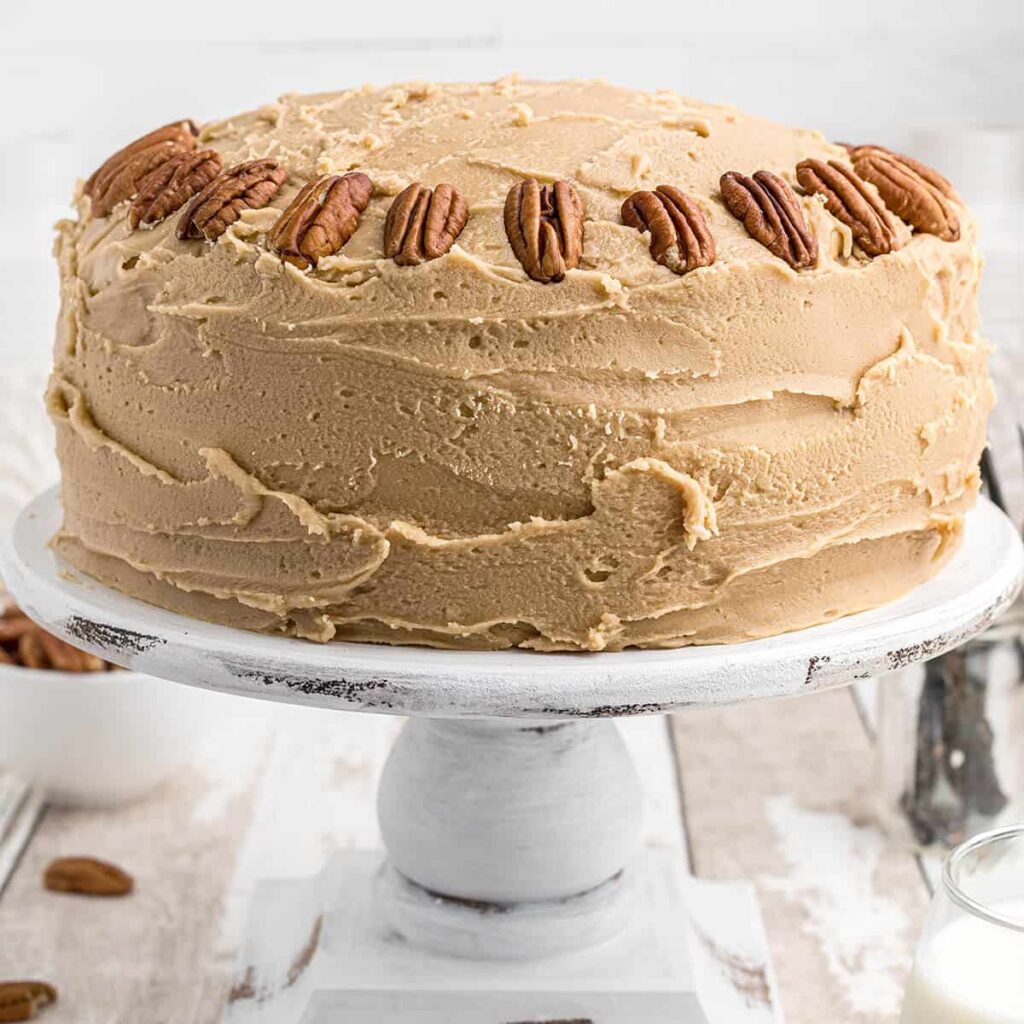
- Many cooks around my hometown also make this cake with a caramel icing. I don’t have the original caramel icing recipe, but the version I use for my Southern Caramel Layer Cake should work well.
- I’ve also seen commercial versions of the little layer cake done in coconut, red velvet, and even lemon. I prefer the chocolate and caramel versions.
What to Serve With Chocolate Little Layer Cake
This cake is the perfect dessert for practically any occasion. I’ve served this for Sunday night family dinner, birthday parties, family reunions, and even bridal showers. It’s the perfect ending to a traditional southern meal of country fried steak, old fashioned green beans, fried okra, cornbread, and a fresh cucumber salad!
Storage
Store the cake in a covered container at room temperature for three or four days.
This cake freezes very well. To freeze, wrap the cake tightly in plastic wrap, followed by a layer of aluminum foil. Place the wrapped cake in a freezer container and freeze for up to three months. Allow the frozen cake to thaw in the refrigerator overnight before serving.

More Popular Cake Recipes

Questions About Chocolate Little Layer Cake
As mentioned in the post, this icing is really thin and runny. It’s not the consistency that you usually think of for icing. The way I handle it is by placing a wire cooling rack inside a baking sheet and setting my layers on that to start. As I add icing, it drips off into the baking sheet. Keep scraping it up and adding it back to the pan. You’ll eventually use all the icing.
There are a few reasons that the icing can turn out grainy. A few tips are to make sure you have all the ingredients at room temperature before you start and to make sure all the sugar is completely dissolved.
The best way I’ve found to keep the layers from shifting is to insert two or three very thin bamboo skewers when you get about halfway up the stack. Keep layering and frosting, and cut your skewers off before you put the last layer on so they don’t show on the outside.

Have a question or thought to share?
If you have a question about the recipe or if you’ve made it and want to share how it turned out, I would truly enjoy hearing from you. Just scroll down to leave a comment or add your star rating.
Thank you for stopping by. It means a lot to have you here.
Recipe
Want to save this recipe?
Enter your email below and get it sent straight to your inbox.
Chocolate Little Layer Cake
Ingredients
- Solid shortening for greasing pans
For the icing:
- 3 cups sugar
- 3 ½ ounces unsweetened baking chocolate see notes
- 10 ounces evaporated milk
- ½ cup butter
- 1 teaspoon vanilla extract
For the layers:
- 1 cup butter
- 1 ½ cups sugar
- 6 eggs
- 3 ½ cups self-rising flour sifted
- 1 ¾ cups water
- 1 teaspoon vanilla
Instructions
- Have all ingredients at room temperature. Preheat the oven to 400 degrees. Grease 8” cake pans with shortening and set aside.Solid shortening for greasing pans
- Make the icing first. Place a large, heavy-bottomed pan over medium-low heat.
- Add the sugar, baking chocolate, evaporated milk, butter, and vanilla all at once. Cook until the sugar is completely dissolved, stirring frequently. Do not boil. It is important to make sure that the sugar is completely dissolved and no grainy texture remains.3 cups sugar, 3 ½ ounces unsweetened baking chocolate, 10 ounces evaporated milk, ½ cup butter, 1 teaspoon vanilla extract
- Meanwhile, make the batter. Cream together the butter and sugar. Add the eggs all at once and beat until well incorporated. Add the flour and water alternately, beginning and ending with flour. (Note: the batter will appear to be curdled after each addition of water – this is normal.) Mix in the vanilla.1 cup butter, 1 ½ cups sugar, 6 eggs, 3 ½ cups self-rising flour, 1 ¾ cups water, 1 teaspoon vanilla
- Pour approximately 3/4 cup batter into each prepared pan. Smooth the batter to the edges.
- Bake for approximately 10 minutes or until layers are barely golden on top. Remove from oven and turn out onto cooling racks.
- Clean the pans, grease them and repeat baking.
- When second set of layers goes into the oven, begin icing the cake.
- Place a still-warm layer on a cardboard round set atop a cooling rack inside a baking sheet. Spread 1/4 cup icing on the layer spreading it gently to the edges. Top with the next layer and repeat.
- When all layers have been stacked and iced, spread remaining icing over top and sides of the cake. If the icing becomes thick, return the pan to very low heat until it returns to spreading consistency.
- Smooth the icing around the sides of the cake, but realize that the contours are supposed to be visible on the outside of the cake.
Notes
- The specific type of chocolate traditionally used for this recipe is Baker’s Premium Unsweetened Baking Chocolate. This chocolate produces the distinctive look, texture, and taste of this recipe.
- Store your cake in a covered container at room temperature for three or four days.
- To freeze, wrap the cake tightly in plastic wrap followed by a layer of aluminum foil. Place the wrapped cake in a freezer container and freeze for up to three months. Allow the frozen cake to thaw in the refrigerator overnight before serving.
Nutrition Information
Nutrition information is calculated by software based on the ingredients in each recipe. It is an estimate only and is provided for informational purposes. You should consult your healthcare provider or a registered dietitian if precise nutrition calculations are needed for health reasons.
— This post was originally published on April 24, 2012. It has been updated with new photos and additional information.
I’m Lana Stuart, an award-winning cookbook author, food blogger, and lifelong cook raised deep in Southwest Georgia. I started Lana’s Cooking in 2009 to share the tried-and-true recipes I grew up with. Around here, the food is full of flavor, the traditions run deep, and there’s always room at the table.
can you use a boxed cake mix? or can you bake 4 layers and slice the to make the little layers?
I can’t recommend a boxed cake mix for this recipe. The batter and method used here makes for a different texture from a modern cake (it’s slightly more dense and not as light or crumbly as a box mix). This cake is meant to be made using the old-fashioned technique of baking tiny, thin, individual layers.
I grew up in Americus and was raised with both the caramel and chocolate version of this cake. My Grandmother made one or the other for every Eastern Star event she attended! My favorite cake of hers was her Lemon Cheese, though.
I also love lemon cheese cake! My great-grandmother’s recipe is here on the blog. https://www.lanascooking.com/lemon-cheese/
I was really excited to bake this cake! The frosting is my absolute favorite of all. The cake recipe was definitely lacking. The cake was not fluffy, just oily possibly from the crisco, but I felt like it needed baking powder. It seemed like a chewy texture. I keep going back to the recipe thinking I missed an ingredient, but no. 6 eggs also may have made it that texture, but I truly wanted to love this cake..
I have to assume that you are not familiar with this very old type of cake that’s well known and has been made for generations throughout rural Georgia and Alabama. You’re correct, this is definitely not a “fluffy” cake! It isn’t meant to be.
It is a fine recipe. I am not sure why the next day the frosting turned grainy when it wasn’t grainy when I made it.
My icing is grainy. However, it was not grainy to start with. I measured precisely and all was at room temp. Should I have cooked it longer or kept it warm while icing? I don’t know what went wrong. Can you advise me, please.
It’s so hard to say what may have caused the icing to be grainy without actually being in the kitchen with you. But, to answer your question, yes you do have to keep the icing warm. I do mention that in step 10 of the recipe.
This is Maryland’s State cake. We call it Smith Island cake.
I just made this and I’m not sure what I did wrong. I was able to get 8 layers but the icing was so runny. It hasn’t hardened at all. I just have a wet cake. I’m so sad 😭
Any tips on cooking this in high altitude? I read many of the comments and did not see any posts about cooking it at high altitude. I at 6000 feet.
Hi Ilene – Sorry I can’t advise you as I don’t bake at high altitude. However, I know that there are many sites on the internet that explain how to alter a recipe for altitude baking. I’m sure you could find the answer through a Google search.
Oh how I miss these cakes. All my family is from south Georgia and someone was always bringing one when we had big get togethers. And there was always some older lady who sold these cakes. I guess it’s my turn to give it a go.
I truly hope you enjoy making a little layer cake. Let’s keep that tradition going!