

Learn how to make Homemade Pickled Okra. From preparing the brine to packing and sealing the jars, this step-by-step guide will have you canning our favorite southern veggie with no added preservatives.
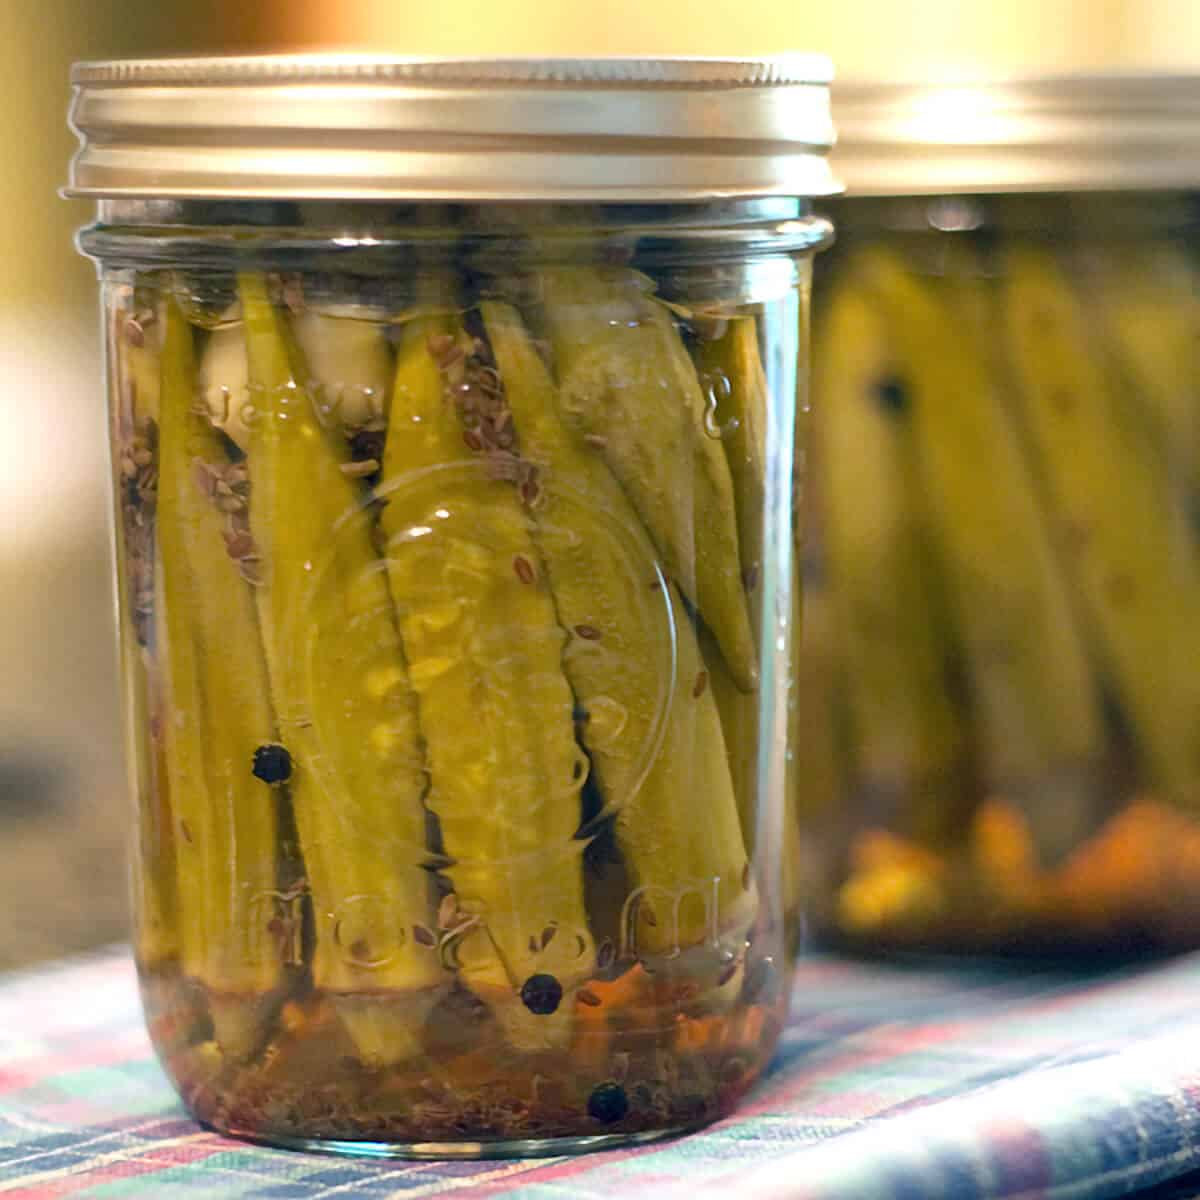
Enjoy a little taste of summer all year by canning your own Homemade Pickled Okra! You’ll love these tender young pods of okra preserved in a brine with garlic, dill, and peppercorns.
Summer is always a busy time for canning and preserving. I almost always make some Strawberry Jam and our favorite Kosher Dills along with a good Basic Salsa recipe and a few Quick Pickled Jalapenos. We’re already enjoying some of those this year.
I also like to make a few jars of Sugar-Free Bread and Butter Pickles to savor all through the fall and winter.
My Favorite Canning Recipe
No matter how busy I may be with other projects, I always make time during the summer to make a few jars of my favorite pickled okra recipe.
Okra pickles have always been my personal favorite. I’ll breeze right by a dill pickle if these are around. I love a spear or two with a sandwich or just as an accompaniment to some good old-fashioned Southern vegetables. It’s also a great addition to an antipasto platter or a charcuterie board.
Recipe Snapshot: Homemade Pickled Okra
Prep Time: 45 minutes
Cook Time: 10 minutes
Total Time: 55 minutes
Servings: 18
Cuisine: Southern
Cooking Method: Stovetop Waterbath Canning
Primary Ingredients: Fresh okra, vinegar (5% acidity), garlic, dill seed
Skill Level: Intermediate
DO MORE WITH CHATGPT
WHAT PEOPLE ARE SAYING …
⭐⭐⭐⭐⭐
“I had not ever tried canning pickled okra, but since finding this recipe I am on my third batch. Simple, easy instructions will make this my go-to recipe for pickled okra. The best part is they are so delicious!!!!”
— Cecilia
“I have used this recipe several times this summer, and I absolutely love it! I’ve never pickled anything before, and this recipe helped me every step of the way.”
— Abby Counts
Select the Okra Carefully
When I’m ready to make pickled okra, I individually select every pod for the recipe. Really. I literally stand there in the produce aisle or the farmer’s market and choose every individual pod because I want them to be young, tender, and no longer than the depth of a pint jar – about 4 inches. This recipe makes three one-pint jars of okra and usually takes between 2 and 2 1/2 pounds of okra pods.
You’ll just have to use your own judgment as to how much to purchase based on the okra that is available to you. If you have some leftover okra, so much the better! Slice it, dredge it in some cornmeal, and make Fried Okra or my Okra Chips!
Get Your Equipment Ready
Before you begin, make sure your jars, lids, and rings are prepped according to proper canning guidelines. If it’s been a while since your last canning session, or if you’re brand new to it, take a few minutes to review the steps and have everything organized before you start.
Brush Up on Canning Basics
A great resource for both beginners and experienced canners is the Ball Book of Canning and Preserving. Since it’s published by the same folks who make Ball jars, you can trust it to be reliable. You can find it in bookstores, hardware stores, some kitchen shops, and online at retailers like Amazon and WalMart.
For additional guidance, check out these online resources:
- National Center for Home Food Preservation (University of Georgia)
- The Ball Mason Jars Website: https://www.ballmasonjars.com/getting-started.html
- The Bernardin Website: https://www.bernardin.ca/
- USDA Complete Guide to Home Canning. Free to download at:
http://nchfp.uga.edu//publications/publications_usda.html
Ingredient and Equipment Notes
This post may contain affiliate links. Lana’s Cooking is reader-supported and earns a tiny commission at no extra cost to you when you shop from our links.
- Fresh okra — Choose pods that are free of blemishes and about 3-4 inches long. You’ll need between 2 and 2.5 pounds for the recipe.
- Garlic cloves — Make sure the garlic is fresh and has no blemishes. You want whole, peeled cloves.
- Canning salt — Canning and Pickling Salt is very pure with no added minerals or preservatives to prevent caking. Other salts will cause the pickling liquid to become cloudy. (I’ve provided a link to the salt on Amazon, but you can purchase it much cheaper at a local grocery store.)
- Dried dill seed — Find this in the spice aisle in your grocery store.
- Whole peppercorns — I use common black peppercorns. White, pink, or green also work.
- White vinegar (5% acidity) — To make a pickled product safe for pantry storage, vinegar with at least 5% acidity is required. Check the label of the vinegar you purchase to make sure it meets that requirement. I’ve noticed that some lower quality brands are now diluting their vinegar to less than 5%.
- Pint canning jars, lids, and rings — Remember that jars and rings (also called bands) can be reused, but lids cannot.
- Jar lifter, lid lifter, and funnel — These canning tools are not mandatory, but make the work much easier!
- Water bath canner with a rack — You’ll need a pot deep enough to cover the submerged jars with at least 2 inches of water.
The complete ingredient list with detailed measurements is included in the printable recipe card at the bottom of this post.
How to Make Homemade Pickled Okra for Canning
My recipe makes 3 one-pint jars of okra pickles. Feel free to double it if you want more! This is an approved recipe tested by the National Center for Home Food Preserving at The University of Georgia.
Prepare the Jars and Lids; Start the Waterbath Canner
Before you start the recipe:
- Fill the canner (or a very large stockpot) about 2/3 full with water and set it on the stove over high heat to come to a boil.
- Prepare 3 one-pint jars, lids, and rings according to standard canning procedures as follows:
Wash the jars in hot, soapy water, then submerge them in boiling water (the water you’re already heating in the canner works great!) while you prep the okra and garlic.
To prepare the lids and rings (bands), wash and rinse them, then set them aside until needed. (Note: In the past, it was advised to hold the lids in barely simmering water until ready to use. However, modern updates to the sealing compound now make that unnecessary. Just wash, rinse, and set them to the side.)
Prepare the Okra and Spices
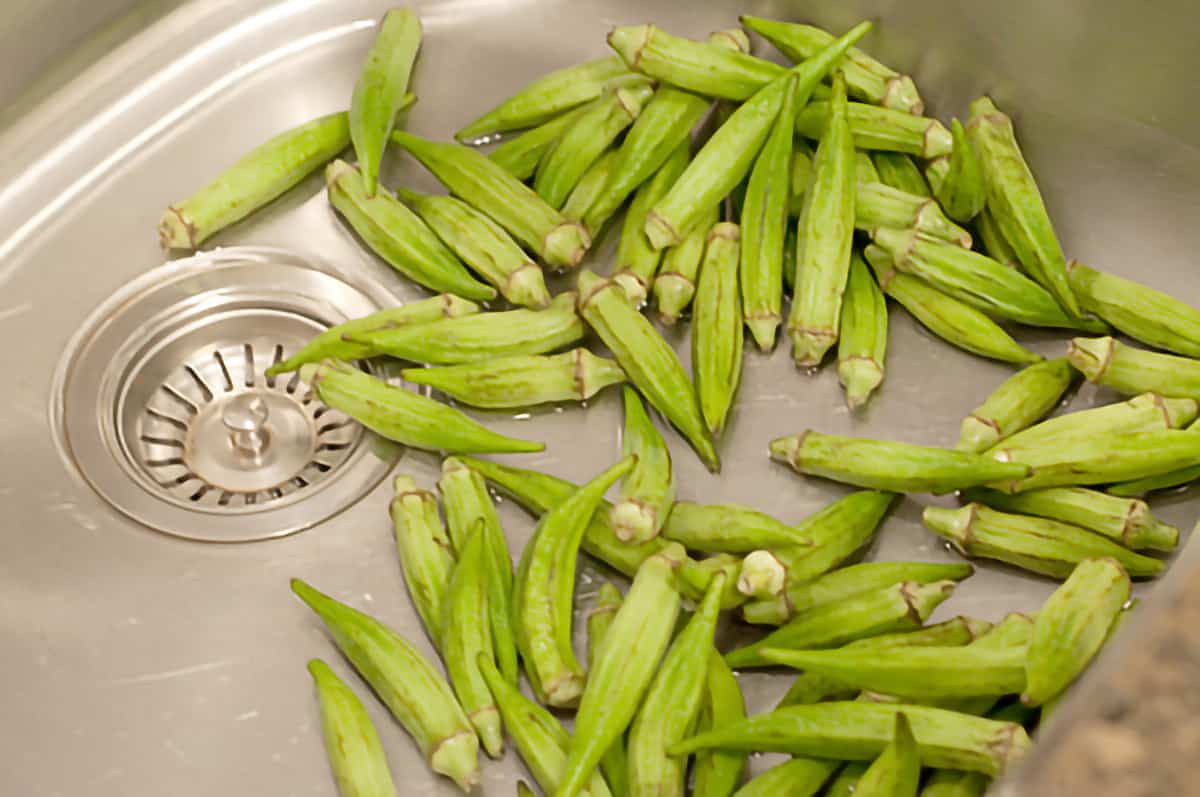
STEP 1. Wash the okra in cold water. Use a sharp knife to trim the stem ends only if necessary. IMPORTANT: Do not cut into the body of the okra pod.
Want to save this?
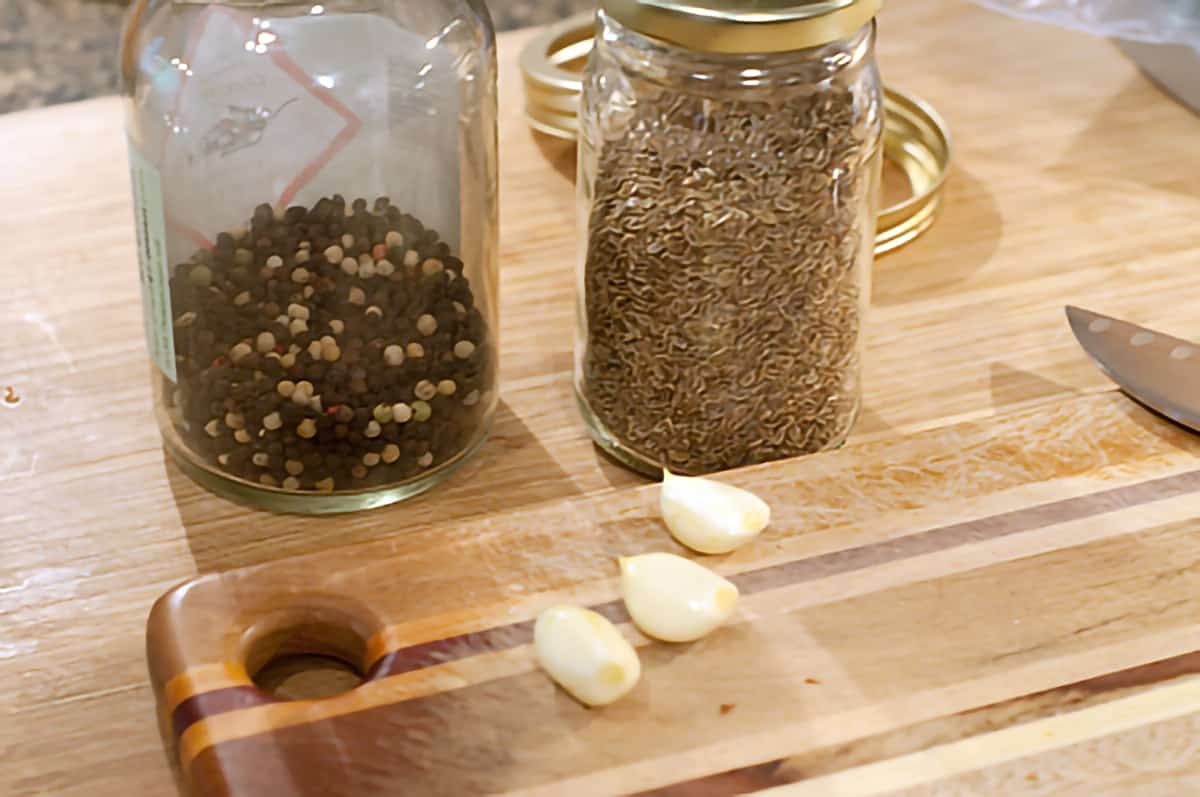
STEP 2. Get the spices ready. You’ll need canning salt, dill seed, whole peppercorns, and garlic cloves. Peel the garlic, but leave it whole. Umm…can you just pretend that there is some salt in that photo? It was sitting off to the side…oops.
Fill the Jars
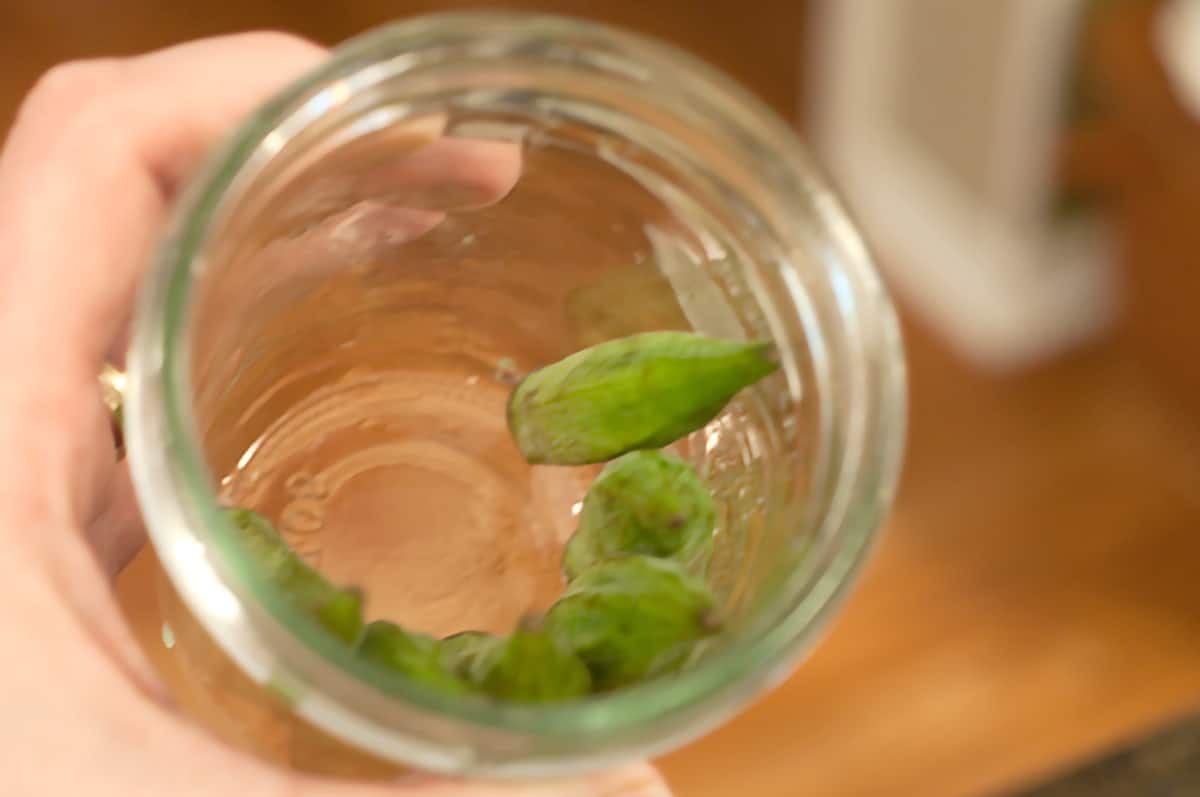
STEP 3. Working with one sterile jar at a time, pack in as many pods of okra as possible with the tips pointing up. Pack the okra tightly, but be careful not to crush the pods.
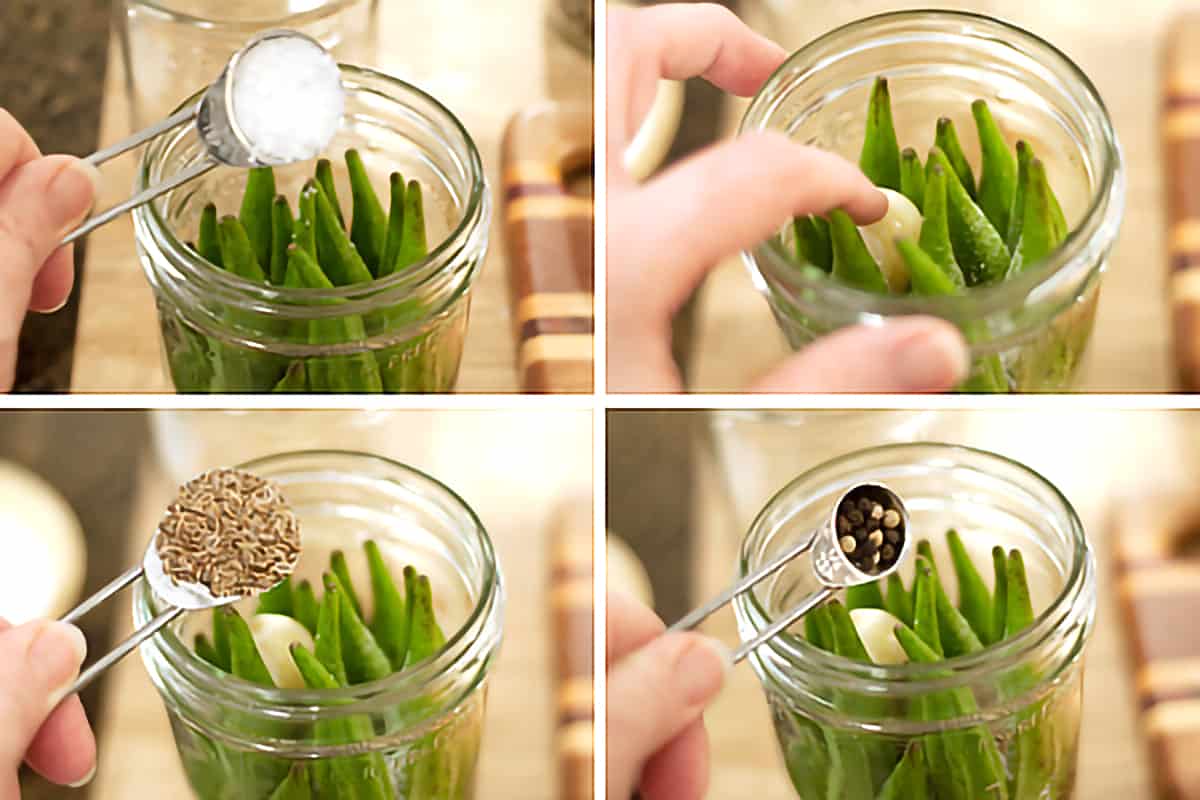
STEP 4. To each jar, add 1 teaspoon of canning salt, 1 whole garlic clove, 1 teaspoon of dried dill seed, and 1/4 teaspoon of whole peppercorns.

Pro Tip
If you want hot pickled okra, you can, at this point, add up to 2 dried red pepper pods or up to 1/4 teaspoon of red pepper flakes to the jars, and the recipe will still be safe for canning.
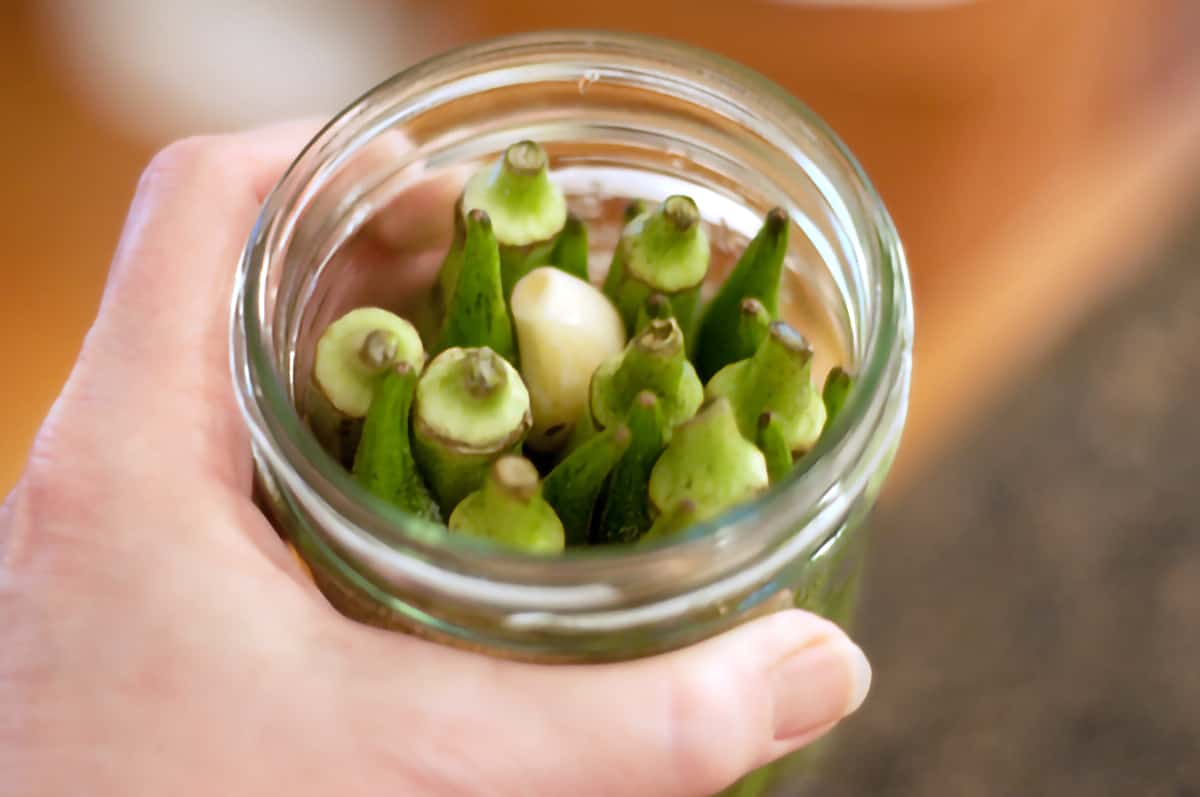
STEP 5. Finish packing the jars as fully as possible with additional okra, tips down, fitting the pods in tightly but taking care not to crush the okra.
STEP 6. In a medium saucepan, bring the vinegar and water to a boil.
STEP 7. Using a funnel and ladle, fill jars with the vinegar and water mixture to within 1/4 inch of the rim. Remove any air bubbles by using a tool like a plastic bubble remover, a wooden skewer, or even a plastic knife, and gently slide it down the inside the jar, pressing lightly against the pickles. Repeat several times to release all the air bubbles that may be trapped inside.
Close the Jars and Process in a Water Bath
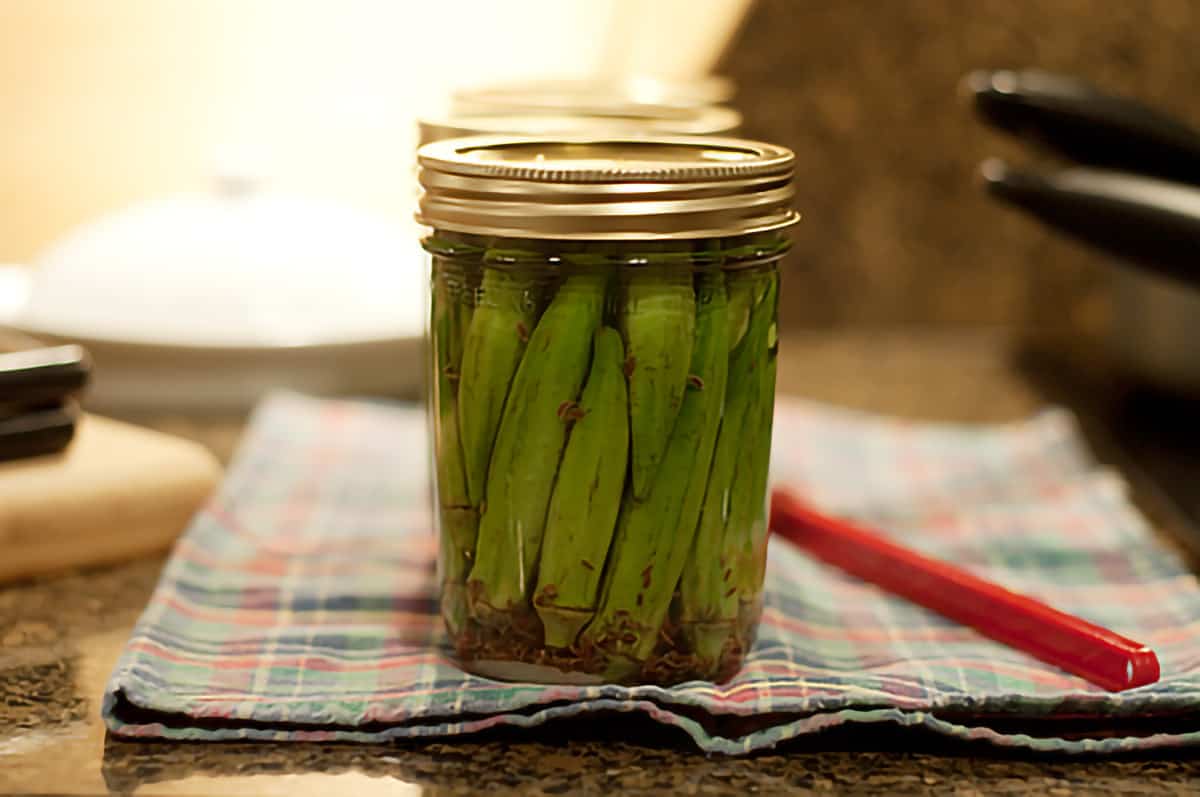
STEP 8. Wipe the jar rims and place the lids and rings on the jars. Screw the lids on fingertip-tight (i.e., just until you feel resistance).
STEP 9. Place the filled jars on a rack and lower them into the waterbath canner. Make sure that the water level is at least 1 inch above the tops of the jars. Begin timing when the water returns to the boiling point. Process for 10 minutes for altitudes up to 1,000 ft; 15 minutes for altitudes 1,001 – 6,000 ft; and 20 minutes over 6,000 feet.
Allow Cooling Time
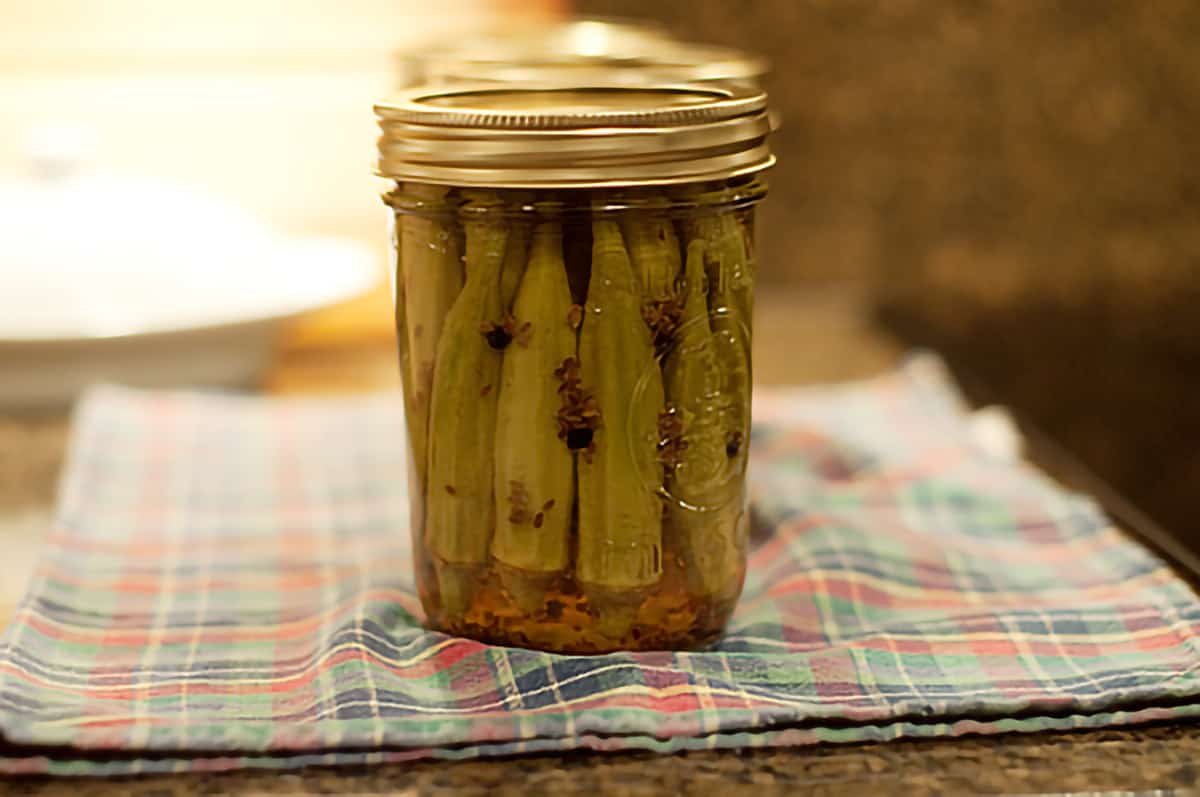
STEP 10. Remove the jars from the canner. Set them on a towel on the kitchen counter and allow them to cool completely (12 to 24 hours).
STEP 11. After the jars have cooled, test for a complete seal and then store in a cool, dark place. Any jars that didn’t seal completely may be stored in the refrigerator and used first.
Pro Tip
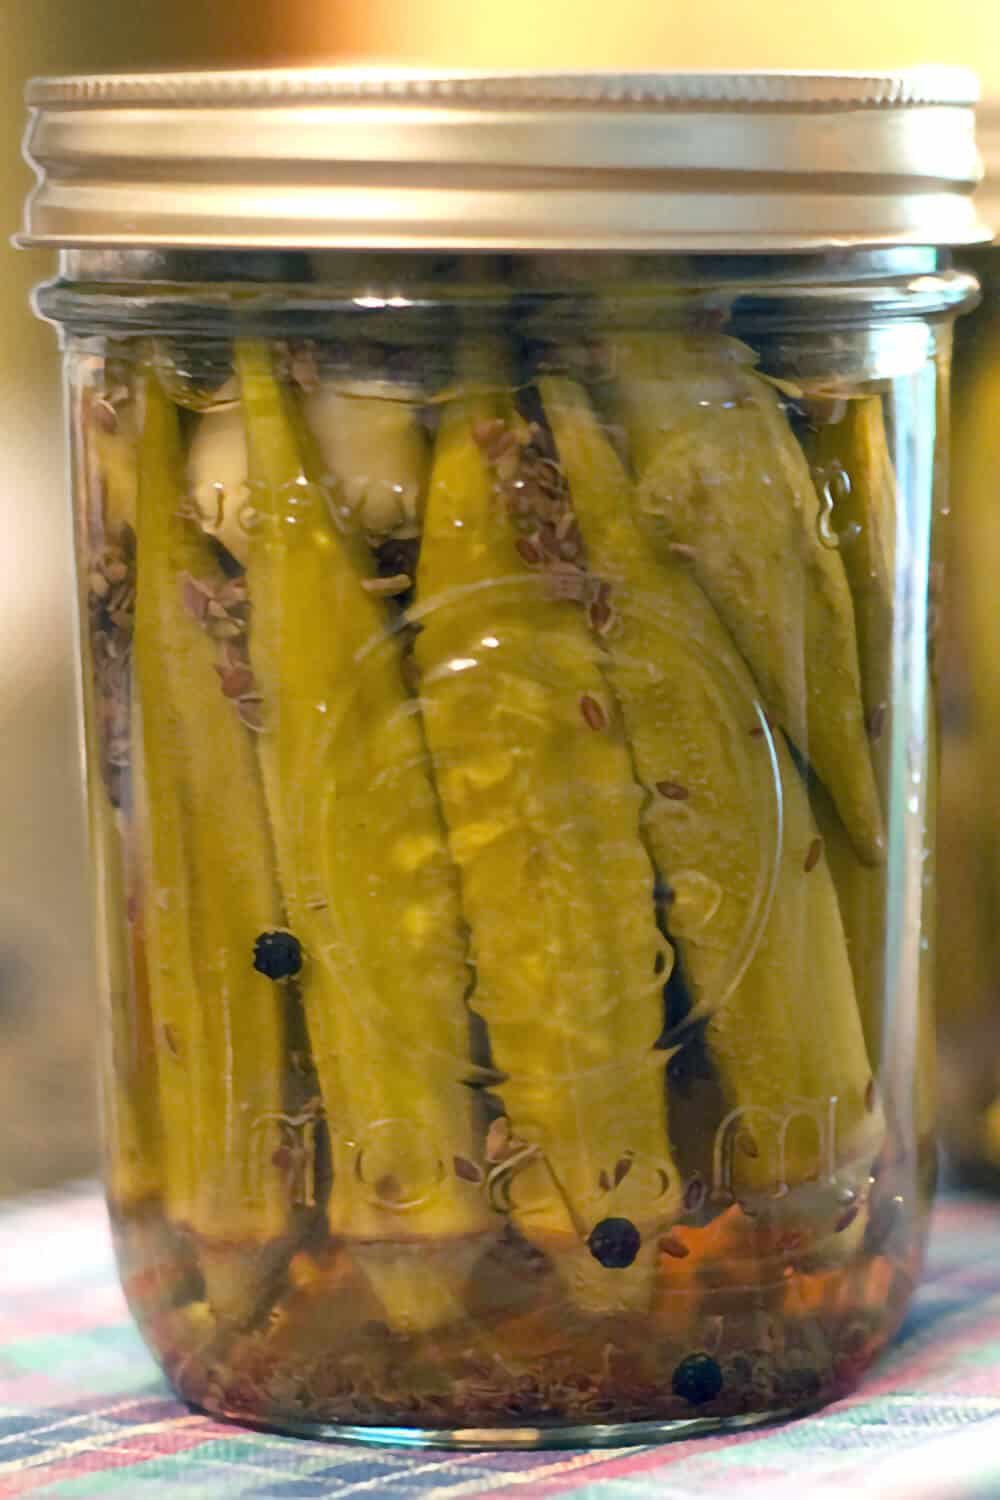
Notice the difference in color after the pickles come out of the canner. The okra has taken on a beautiful olive green color.
How long does it take for okra to pickle?
Let the pickles sit for about 4 to 6 weeks to achieve the best flavor.
How long does pickled okra last?
Properly stored in a cool, dark place, pickled okra should last approximately one year.
Can I use frozen okra for canning?
Sorry, but frozen okra isn’t good for canning. The freezing process breaks down microscopic cell walls in the okra, making it too soft for pickles.
Can I use cider vinegar?
You can use apple cider vinegar only if it is at least 5% acidity. You should also be aware that it will change the color and taste of your okra pickles.
Questions and Answers: Homemade Pickled Okra
- Is pickled okra slimy?
Pickled okra is not slimy. Not even a little bit. Okra only gets slimy when it’s cut into, and you don’t cut the okra to make pickles. Besides, the vinegar neutralizes the slime anyway, so the pickles would never have a chance of becoming slimy. - Can I use another kind of vinegar?
A different type of vinegar will change the color and taste of the finished pickles, but you can use it if it has at least 5% acidity. - Why is my pickled okra tough?
Your okra is tough because it was too mature when you purchased or harvested it. When choosing okra for pickling or for cooking, bigger is not better. You want young, tender pods of about 3 to 4 inches in length. - Does pickled okra have to be refrigerated?
Pickled okra is shelf-stable until opened, provided it was correctly processed and the lids formed a good seal on the jars. If one or more jars did not seal in the canning process, those can be stored in the refrigerator and used first. Do store the pickles in the refrigerator after you open a jar. - What do you eat pickled okra with?
Serve pickled okra anywhere you’d usually serve dill pickles. It’s delicious with sandwiches, alongside summer vegetables, or on a southern-themed meat and cheese tray.

Have a question or thought to share?
If you have a question about the recipe or if you’ve made it and want to share how it turned out, I would truly enjoy hearing from you. Just scroll down to leave a comment or add your star rating.
Thank you for stopping by. It means a lot to have you here.
Recipe
Pickled Okra
Ingredients
- 2 ½ pounds okra choose small tender pods (may need more or less than two pounds)
- 3 cloves garlic peeled
- 3 teaspoons canning salt
- 3 teaspoons dill seed
- ¾ teaspoon whole black peppercorns
- 2 cups white vinegar 5% acidity
- 2 cups water
Instructions
- Prepare jars, rings and lids according to standard canning procedure.
- Into the sterile jars, pack as many pods of okra as possible with the tips pointing up.2 ½ pounds okra
- To each jar add 1 whole garlic clove, 1 teaspoon of canning salt, 1 teaspoon of dill seed and 1/4 teaspoon of whole peppercorns.3 cloves garlic, 3 teaspoons canning salt, 3 teaspoons dill seed, ¾ teaspoon whole black peppercorns
- Finish packing the jars as much as possible with additional okra, tips down, fitting the pods in tightly but take care not to crush the okra.
- Bring the vinegar and water to a boil in a medium saucepan. Fill jars to within 1/4 inch of the rim.2 cups white vinegar, 2 cups water
- Place lids and rings on jars and process in a boiling water bath for 10 minutes for altitudes up to 1,000 ft; 15 minutes for altitudes 1,001 – 6,000 ft; and 20 minutes over 6,000 feet.
- Remove jars from the canner and allow them to cool completely.
- Let the pickles sit for 4-6 weeks to achieve the best flavor.
Notes
- When preparing the okra, trim the tops only if needed. Be careful not to cut into the body of the okra pod.
- Sterilize the jars and rings according to standard canning procedures. Briefly–you’ll wash them in hot, soapy water and then submerge them in boiling water (the water in the canner works great!) for a few minutes while you prepare everything. To prepare the lids, wash and rinse them and set aside until needed.
- Any jars that didn’t seal completely may be stored in the refrigerator and used first.
Nutrition Information
Nutrition information is calculated by software based on the ingredients in each recipe. It is an estimate only and is provided for informational purposes. You should consult your healthcare provider or a registered dietitian if precise nutrition calculations are needed for health reasons.
I also love pickled okra but as a transplanted Southerner now living in the Canadian Rockies, this is not an item I can easily find on the grocery shelf! My father and grandfather are from Morgan County, Georgia and I remember as a child my grandmother making pickled okra. Finally saw some baby okra at my nearby Asian store while shopping for catfish today and my taste buds started thinking of the treat from my childhood. Baby okra is now chilling in my fridge awaiting transformation tomorrow morning. My catfish was grilled on the BBQ tonight, but served in true Southern fashion with cheese grits and Southern Ice Tea to a few neighbours and my family. Neighbours thought Southern cooking was quirky but they all wanted the recipes for everything! My children, though first generation Canadians, have grown up with a mixture of Southern and Canadian cooking and I am proud to say they are better Southern cooks than I am! Thank you for this easy to do recipe.
Your Georgia BLT is next on my list
You’re welcome, Sam! I hope you enjoy your okra pickles and the Georgia BLT as well!
Yes, I love, love, love pickled okra. But then I like it raw, boiled, steamed, fried, pickled or just about any other way……. I was looking for a good old fashioned teacake like my grandmother made, and so hope I’ve found it. I can still smell them cooking. Just like you said, it takes you to another place. My mother and her family are from Waycross, GA so I hope the recipe will be similar……I’ll let you know. Thanks for both recipes and I have book marked your blog. I’ll be back as they say! Thanks for sharing…….I deal with food allergies, so always cook my own goodies!!!!
gloria g. – now in Hemingway, SC southern to the bone!
Just wondered if it’s okay to use fresh dill instead of dill seed?
Sure! The normal substitution is three heads of fresh dill for each tablespoon of dill seed.
I always grow okra in my garden, and I usually just fry it or cook it with tomatoes. I love pickled okra, but have never made any. This recipe is so easy and delicious! Thank you!
Oh and also Pickled okra that is new for me I gotta try it.
I had been in search of pickling recipe since I saw the last night tv show Unwrapped. Your looks the best and easiest. Thanks Lana. By the way do you have any recipes for canning fruits like peaches. Thank you in advance.
I do have recipes for canning fruits, but they’re not on the blog. Maybe next summer I’ll do a series of posts on those!
I just stopped by for the first time and had to say, your blog is beautiful! As for the orka, well it’s a bit outside of my comfort zone, but I’ll definitely be checking in again soon for other treats that might catch my eye :)
Please do stop by again, Kristin! There are 174 other posts besides the okra, so I’m sure there would be something in there you might like :-)
I’ve had these before and loved them, but have never made any myself, looks so easy!
It is easy, Angie. I hope you’ll give it a try!
Can you believe I have never had okra? That’s right, I haven’t! but these look pretty tasty I must admit!
Oh, yum! I’d love to get a jar of these babies and would be happy to trade my favorite, flash-sauteed (non-slimy) Indian-spiced okra recipe. Deal? Bookmarked for later in the fall when my garden okra starts producing.
Deal!
That sounds good, share please your recipe, I love okra
Lana, great pickle recipe. I am a big fan of okras whether they are grilled, pickled, fried, or any other method of cooking them.
pickled okra is such a great treat and can be used in so many things – I did not know folks were so into these – it has been one of the top recipe searches on my site all summer… hope you get a lot of traffic from this one too
I will admit that I have never tried pickled okra, but from your description (and the fact that they are pickled – can’t resist), I’m sure I would love these.
I’ve never ever cooked with okra or done anything with it, really. I do love dill pickles, though, so maybe I’d love these even more!
They are really very good. Great with a Bloody Mary!
Oh, yum. I love pickled okra. I always get a store bought jar to keep in the refrigerator. Your family are so lucky. Tien :)
Thank you, Tien. Maybe you’ll try making some homemade pickled okra now?
I love pickled okra. When I lived in the south I had it in my fridge at all times. When I moved back to New England no one heard or had had it. I couldn’t find it till one day I was at a store that every once in awhile had an off item. Lo and behold there was a few jars. I was doin the happy dance. Since then been without looking to purchase online. I housebound so getting ingredients and making is near imposible for me. When/if I can I will make.
Thanks for shareing recipe, I hope to be able to make it and share and enjoy.
Sherry