

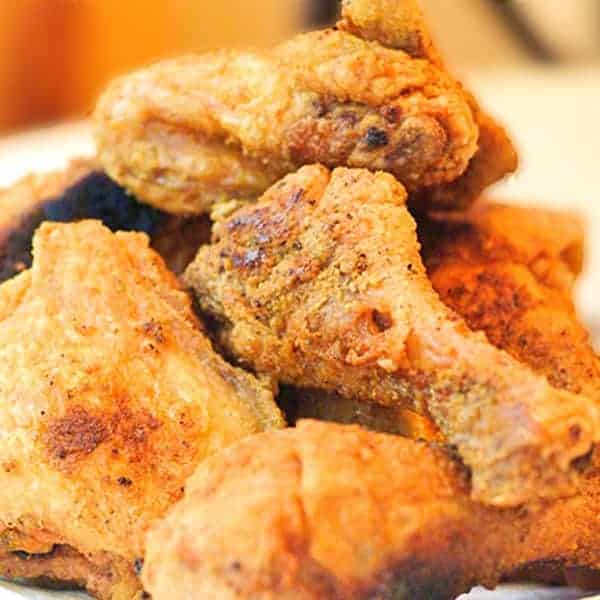
Making traditional Southern Fried Chicken doesn’t have to be complicated. Learn how to make simple, authentic fried chicken with my quick and easy recipe. Perfect for a family dinner or special occasion!
When I get into the frame of mind to go back to my culinary roots, I always go to recipes that are representative of what I call southern farmhouse cooking. I’ve been cooking southern food since I was big enough to reach the stove, so it’s where I feel most comfortable. And what’s more southern than fried chicken?

It’s a standard. It’s a staple. And, most of all, it’s quick and easy. Yes, I did say “quick and easy.” Making my Real Simple Fried Chicken is not a production.
— This post was originally published on May 26, 2009. It has been updated with new photos and additional information.
Recipe Snapshot
Cuisine: Southern, Vintage
Cooking Method: Stovetop
Total Time: 45 Minutes
Servings: 4
Primary Ingredient(s): Chicken, peanut oil, flour
Skill Level: Easy
WHAT PEOPLE ARE SAYING …
⭐⭐⭐⭐⭐
“This was the best fried chicken I’ve ever tasted and I’m 74 years old!! I was finally able to cook fried chicken that tasted like my mom’s, so many years ago. I had lost her original recipe and just was never able to duplicate it.“
— Diane Dannelley
Fried Chicken Should Be Quick and Easy
Making a good, simple fried chicken recipe does not require overnight marinades or special equipment or any kind of fancy preparation whatsoever. If it did, do you think millions of southern women would have cooked it for lunch every day for years and years?
I can tell you without hesitation that they would not have. For our southern grandmothers, it was something they could whip up in a few minutes.
I’ve seen the recipes and the demonstrations where chefs put the chicken in milk or buttermilk or yogurt and let it stand overnight in the refrigerator. Then, they coat it in all kinds of seasonings and shake it all up together in a paper bag.
Well, okay, if you really want to do that, be my guest. But what you typically get with that method is a big mass of fried flour with a little bit of chicken in the middle of it.
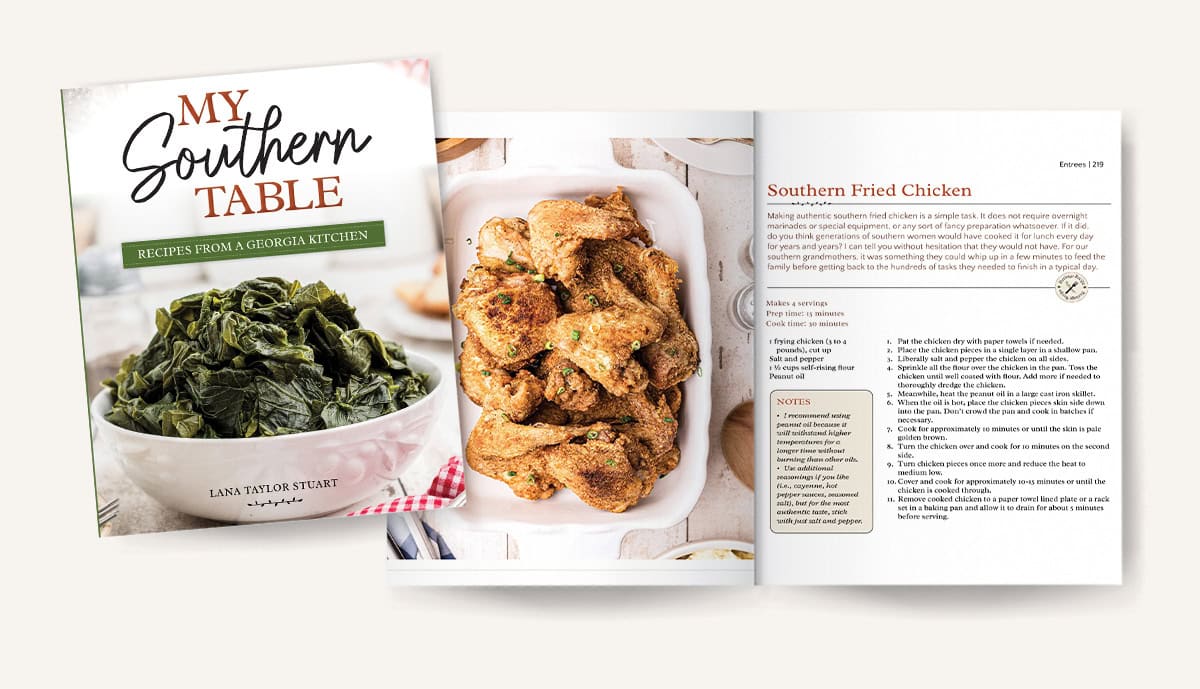
You’ll also find this recipe in my cookbook!
You can see this recipe on pages 218-219 of my cookbook, My Southern Table! Get your signed copy today.
The Best Chicken for the Recipe
The very best Southern fried chicken recipe is made with a chicken that weighs about 3 pounds. That’s pretty hard to find in today’s supermarkets, especially when chickens have been bred for more breast meat, thereby causing them to weigh more.
Try to at least find the lightest weight bird in the case. If you have the skill to do so, buy a whole chicken and cut it up yourself. You’ll save lots of money. I, unfortunately, do not have that particular skill. Wish I did. I’ve tried. I’ve tried a lot.
A chicken properly cut up for frying should result in two breasts, two wings, two thighs, and two legs. Long ago, there would also be a wishbone. The wishbone is the prime piece between the top of the breasts.
Unfortunately, butchers no longer cut the wishbone, leaving that portion in with the breasts. If you find a butcher today who knows what the wishbone is and can actually cut a chicken with a wishbone, you have found a gem!
Now, let me show you how to make fried chicken the way we do it in the South.
Here’s how I (and millions of southern women before me) make really simple fried chicken.
Ingredient Notes
This post may contain affiliate links. Lana’s Cooking is reader-supported and earns a tiny commission at no extra cost to you when you shop from our links.
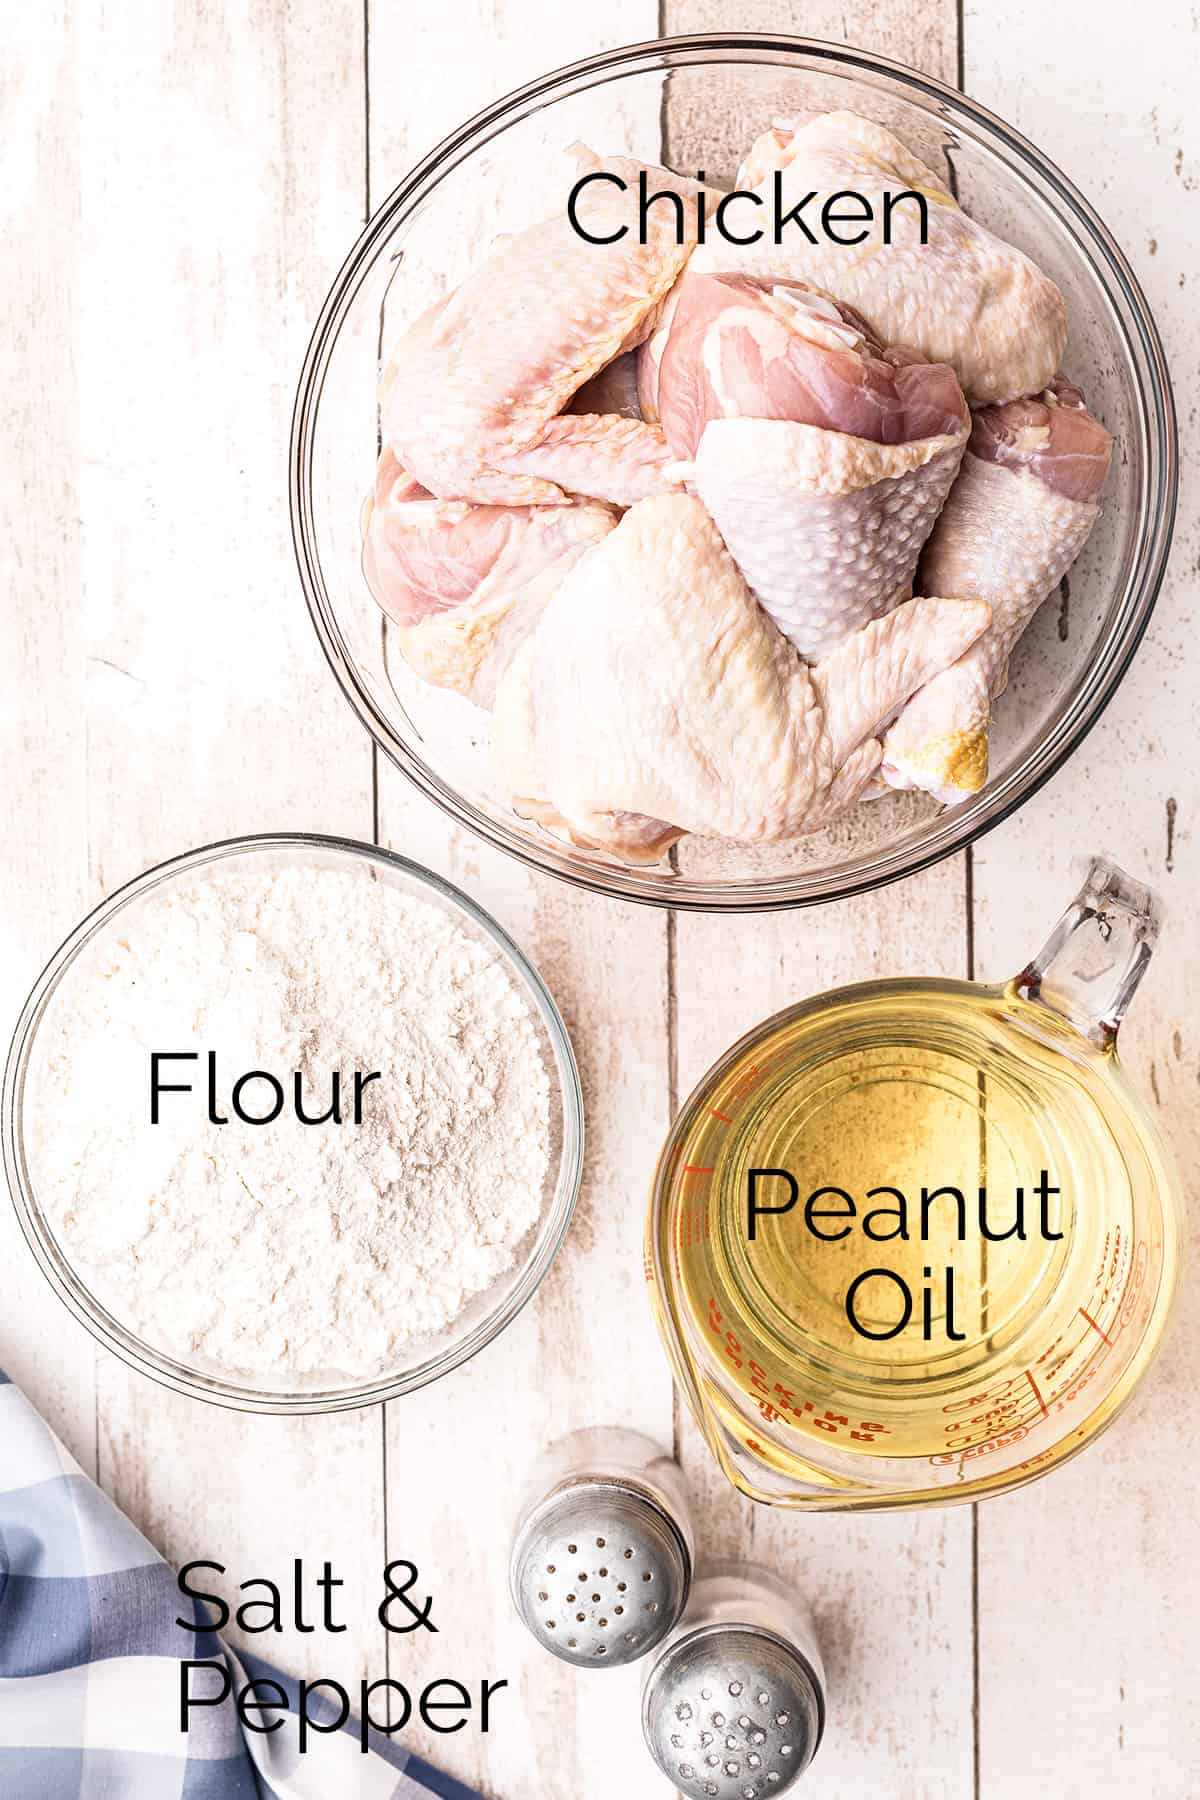
My easy fried chicken recipe uses very simple ingredients. Chicken, salt and pepper, flour, and oil. That’s all you need.
This is a very easy Southern fried chicken recipe without eggs, without buttermilk, or any of that other stuff. This is the way all the home cooks I knew when I was growing up made fried chicken. It’s quick, and it’s easy.
The Process
In the most simple terms, the process has five steps:
- Dry the chicken with paper towels.
- Season with salt and pepper.
- Dredge in flour.
- Heat the oil.
- Fry the chicken.
Here’s those steps broken down in detail:
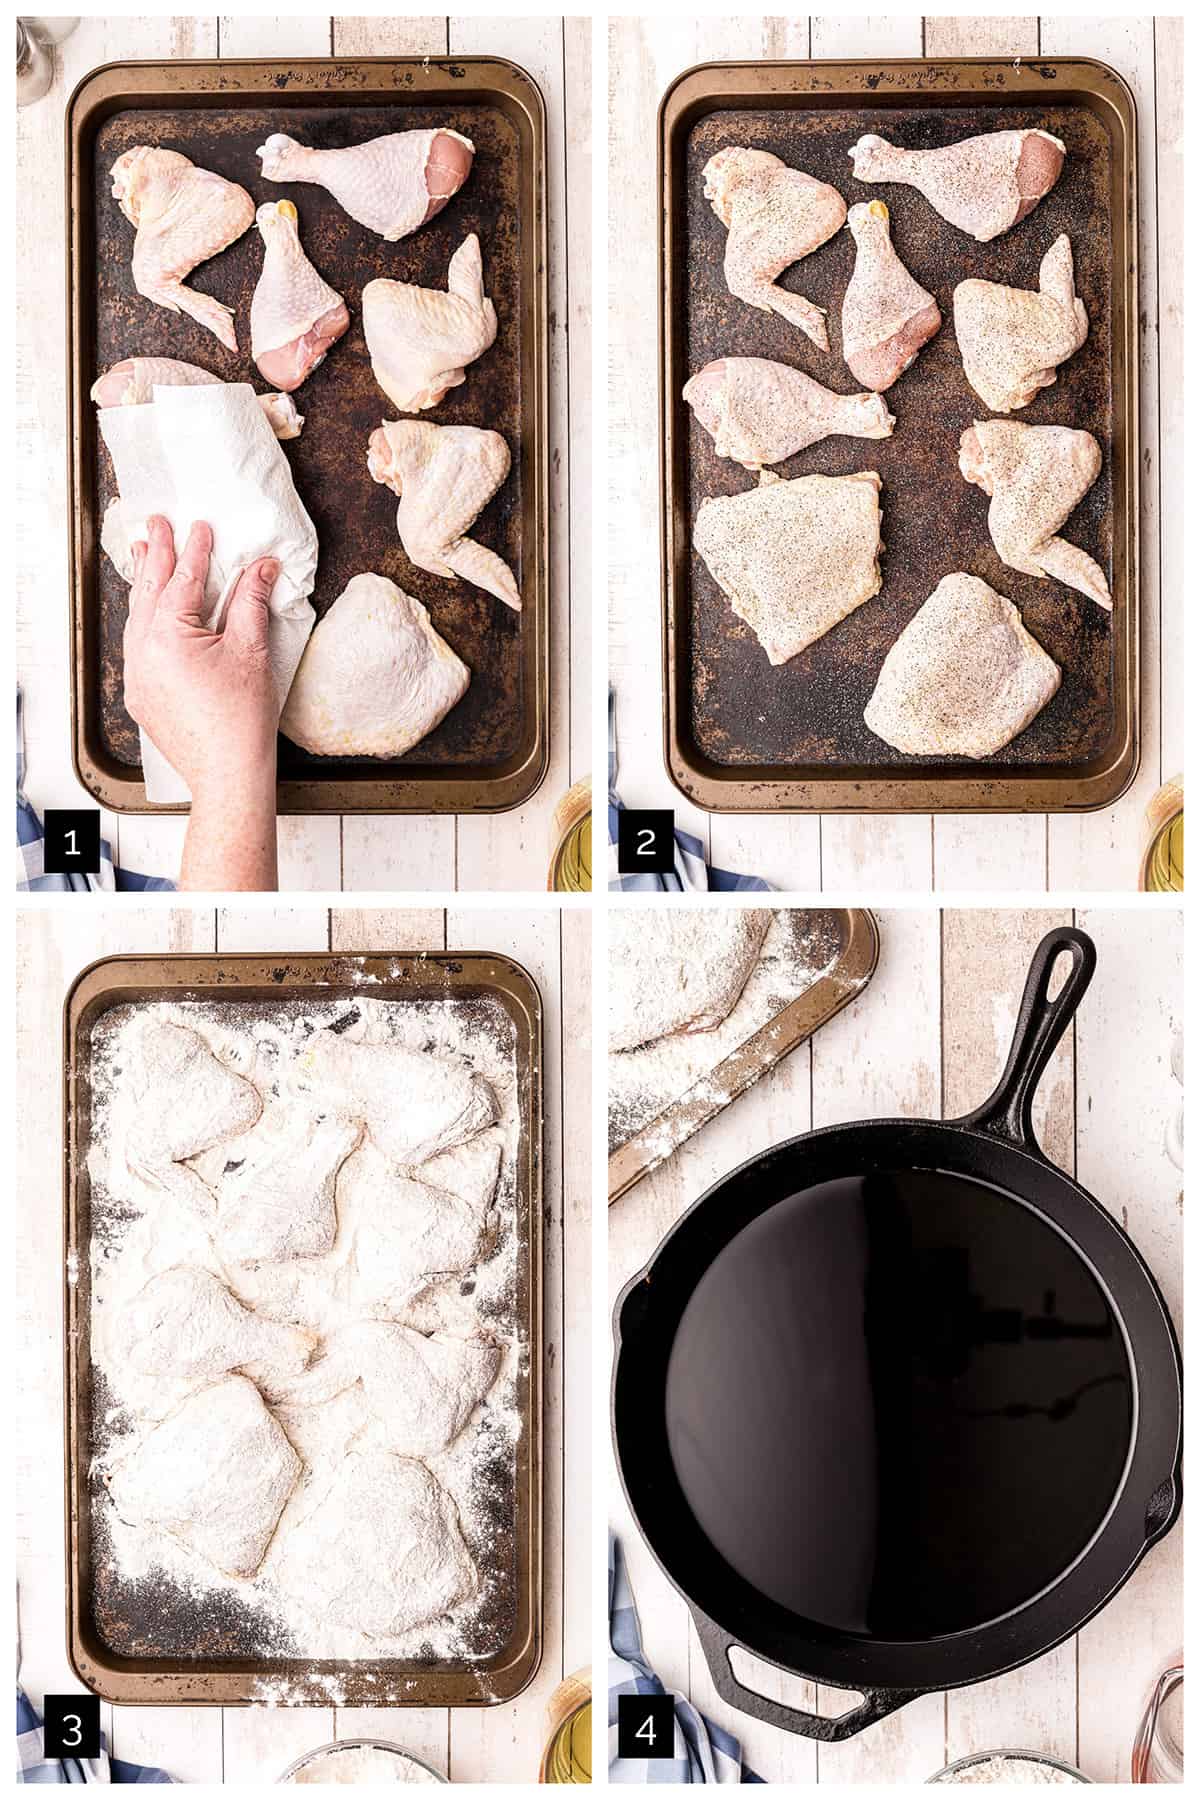
- Thoroughly dry all the chicken pieces and place them in a single layer in a pan or large bowl.
- Liberally salt and pepper the chicken pieces on both sides. Be very generous with the pepper. The taste of black pepper is very important to authentic Southern fried chicken.
Pro Tip
If you want to sneak in some other seasonings, this is the time to do that. It’s totally not necessary, but sometimes we like to change things up, don’t we? I’ll occasionally sprinkle on some Lawry’s seasoning salt, some Jane’s Crazy Mixed-Up Salt, or add some cayenne pepper. Whatever floats your boat. But if you’re a purist, you’ll stick with just salt and pepper.
- Sprinkle all the flour over the chicken in the pan and toss the chicken to coat it well with flour.
Pro Tip
What we’re doing here is “dredging” the chicken, not lightly flouring. That’s why you pour the flour over and toss the chicken in it rather than doing the shake-it-up-in-the-bag thing. You want a good coating of flour.
- Meanwhile, heat the peanut oil over medium-high heat in a large cast-iron skillet. You’ll want enough oil to reach a depth of about 1/2 inch.
Pro Tip
The technique we use is pan frying (also called shallow frying), not deep frying. You’ll need enough oil to come about halfway up the pieces of chicken, but not so much that it will spill over when you place the chicken in the pan.
Judging the amount of oil needed for frying is one of those things you learn through time and experience. Start with about a one-inch depth of oil in your pan, and things should work out fine.
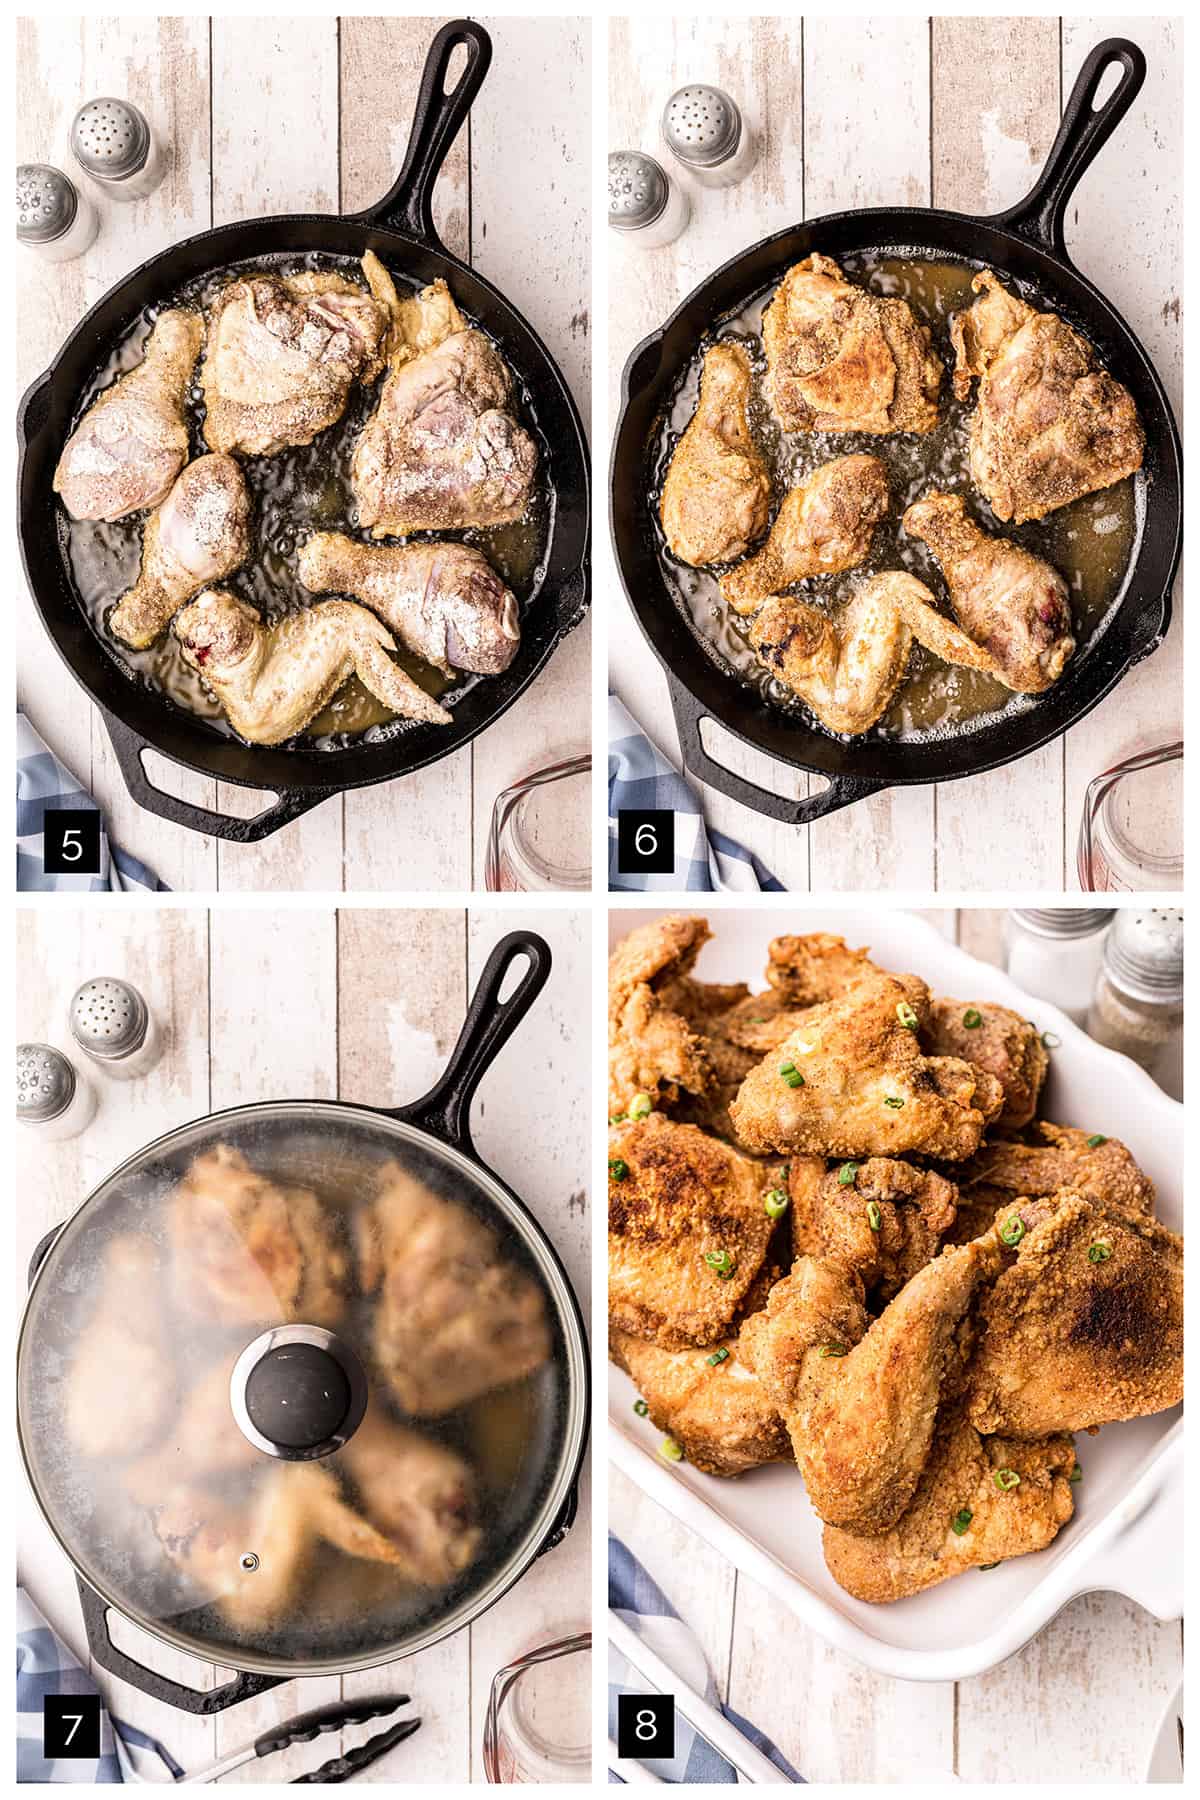
- Place the chicken pieces with the skin side down into the hot oil. Cook for approximately 10 minutes or until the skin is pale golden brown.
- Turn the chicken over and cook for about 10 minutes on the second side.
- Turn the chicken pieces once more, reduce the heat to medium-low, cover the pan, and cook for approximately 10-15 minutes or until the chicken is cooked through.
- Remove the hot chicken to a paper towel-lined plate or to a rack set inside a baking sheet and allow it to drain for about 5 minutes.
Want to save this?
Use the Right Pan and Oil
Using a well-seasoned iron skillet makes a huge difference in the taste of fried chicken. There’s just something about a great iron skillet that you can’t get from any other piece of kitchen equipment. The one I use for chicken is a 12-inch skillet that’s about 75 years old.
Also, I recommend frying chicken in peanut oil because it will withstand higher temperatures for a longer time without burning than other oils.
Pro Tip
Experts will tell you that the oil should be 375 degrees before frying and to try to maintain that temperature during the cooking. I learned to cook before everyone had kitchen thermometers, so I judge it my own way. My little trick to test whether the oil is hot enough to cook: Put the end of a wooden spoon in the skillet. If the oil bubbles around the handle, it’s hot enough.
If you try this fried chicken method once, I’ll bet you won’t go back to all that complicated marinating and shaking. It’ll be the crispiest, most flavorful chicken you’ve cooked in a long time, or my name isn’t Nana.
I’m not making any kind of promises about what the cleanup is like, however 😏.
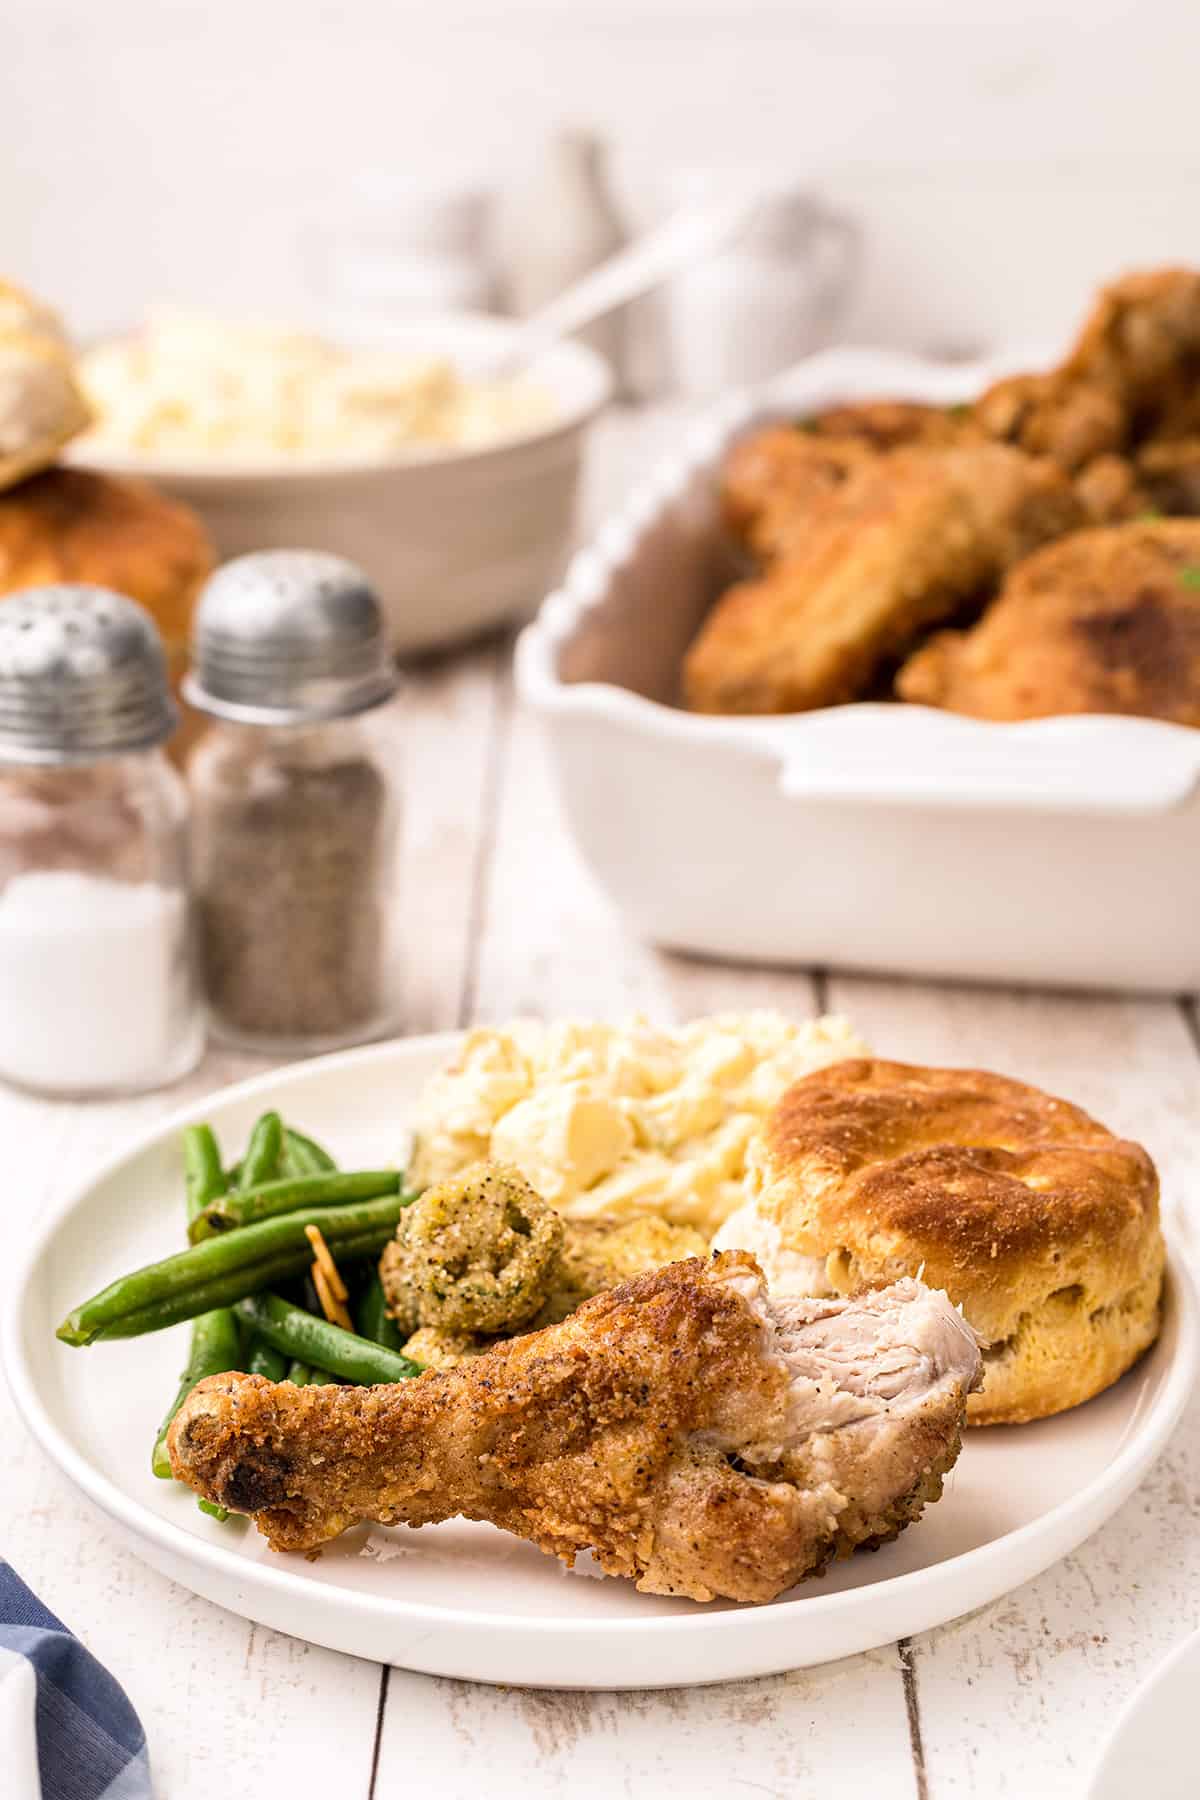
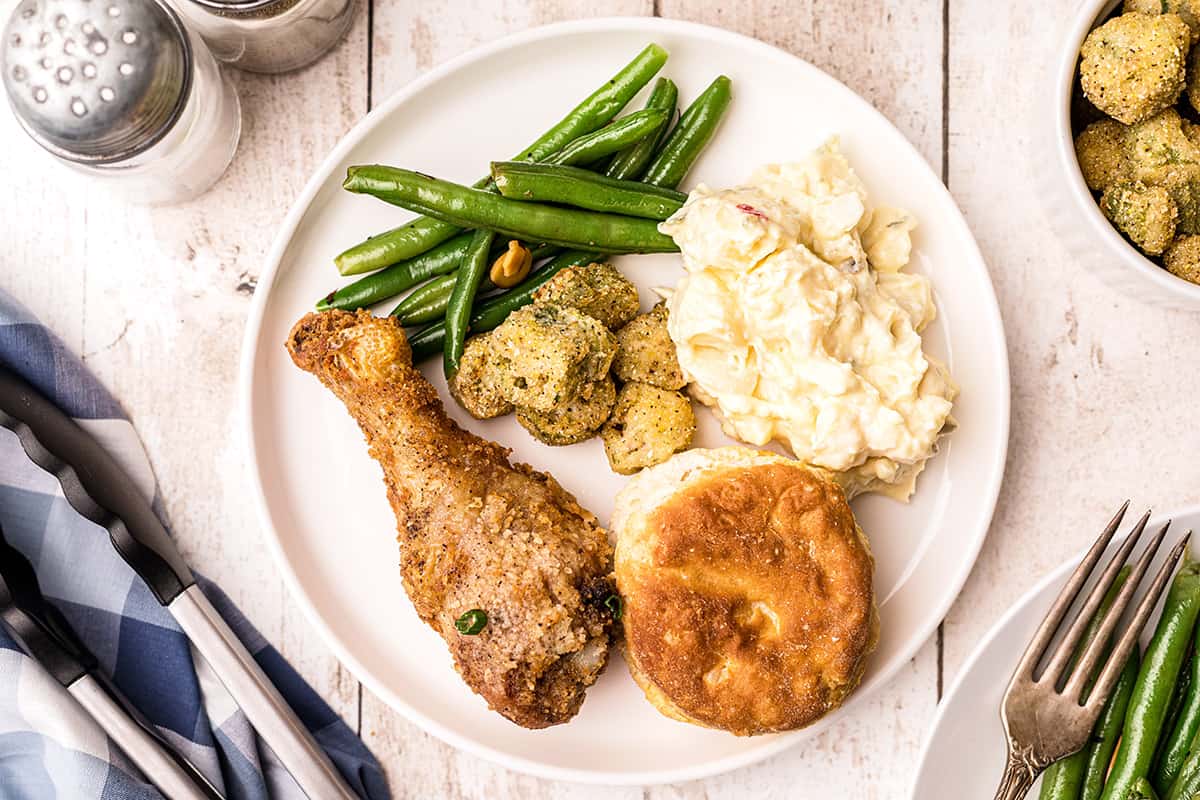
Serving Suggestions
Serve your beautifully golden, crispy fried chicken with something equally delicious and southern, like potato salad, fried okra, sausage and rice casserole, broccoli casserole, green beans, or butter beans. Or, if you’re familiar with Chicken and Waffles, you can use my Whole Wheat Waffles recipe to create your own. And don’t forget the cornbread and sweet tea!
Recipe Variations
- If you like your chicken on the spicier side, try adding a teaspoon of cayenne pepper to the flour or sprinkle the chicken lightly with hot sauce before dredging it in the flour.
- Use Jane’s Krazy Mixed-Up Salt (or another seasoning salt) in place of the plain salt in the recipe.
- Lightly sprinkle the chicken pieces with a little garlic powder before placing them in the flour.
- You can use this method to cook whole cut-up chicken, boneless chicken breasts, chicken strips, or any pieces you like. I sometimes just cook all wings because they’re my favorite.
Why Isn’t My Fried Chicken Crispy?
The most likely reason your fried chicken isn’t crispy is that your oil temperature isn’t high enough while frying. When you place the chicken into the hot oil, you want to hear an audible “whoosh” and see the oil bubbling vigorously. If the oil isn’t hot enough, the chicken just kind of lies there, and the flour doesn’t crisp up as it should. Admittedly, this takes some practice, but I learned, and so can you.
Storing and Reheating Leftovers
If you have any leftover fried chicken, you can keep it in the refrigerator for a day or two. It can be reheated in a 250-degree F oven for about 15 minutes or, even better, just let it come to room temperature and enjoy it without any heating at all.
More Southern Recipes You’ll Like
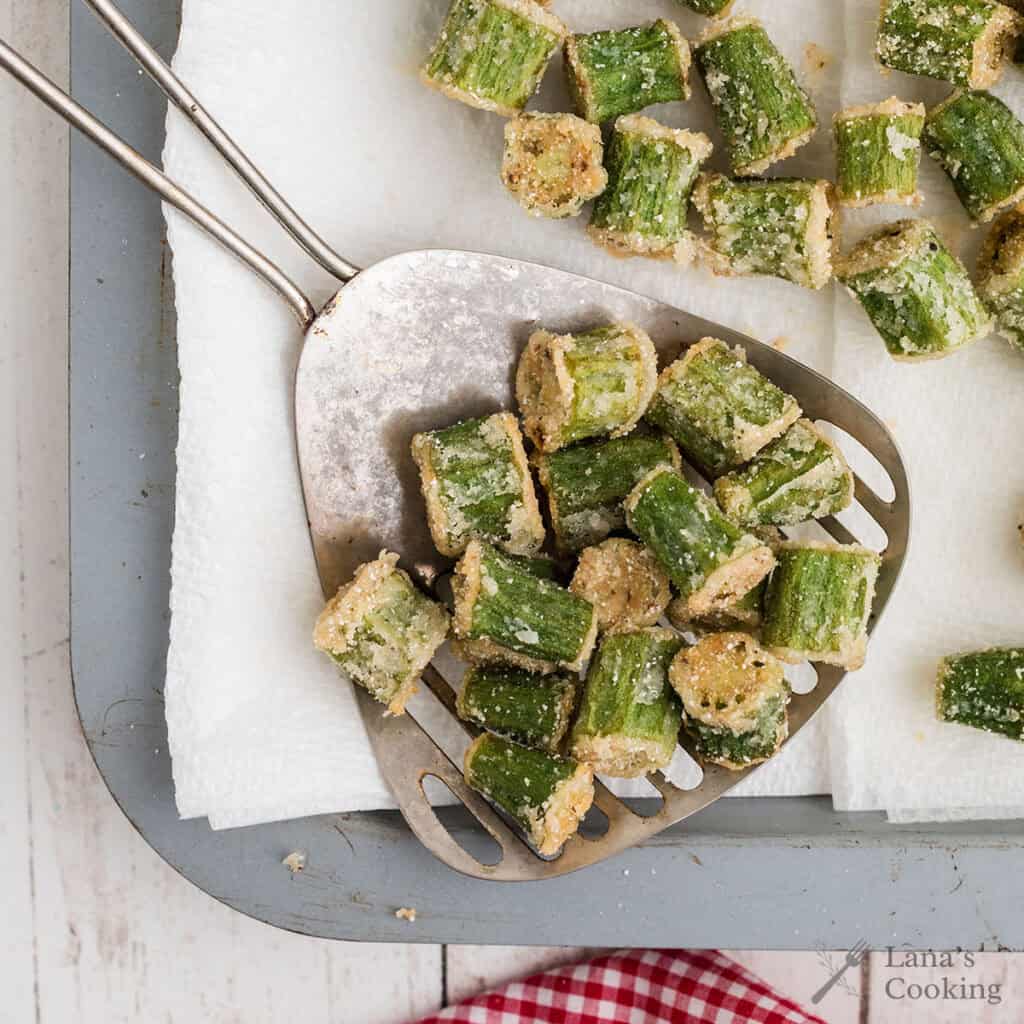
Southern Fried Okra
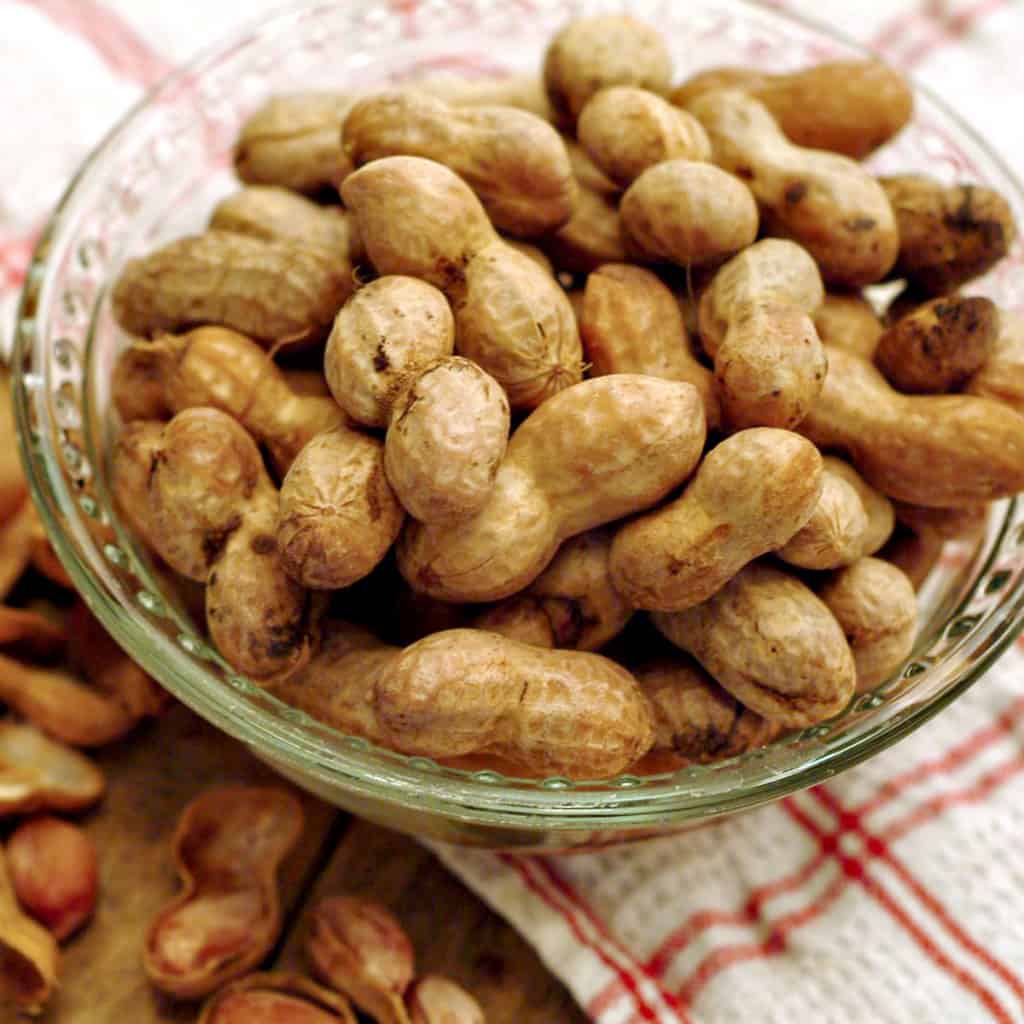
Boiled Peanuts
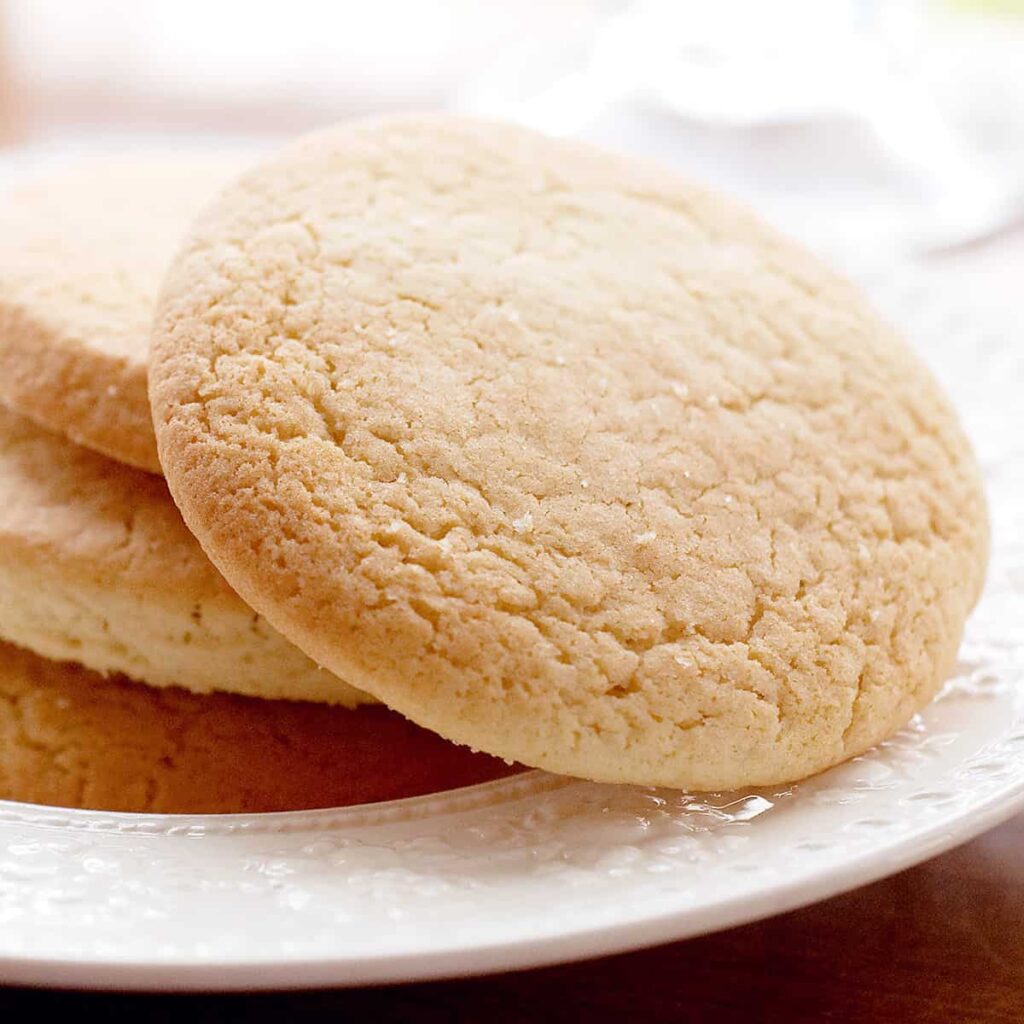
Old Fashioned Southern Tea Cakes
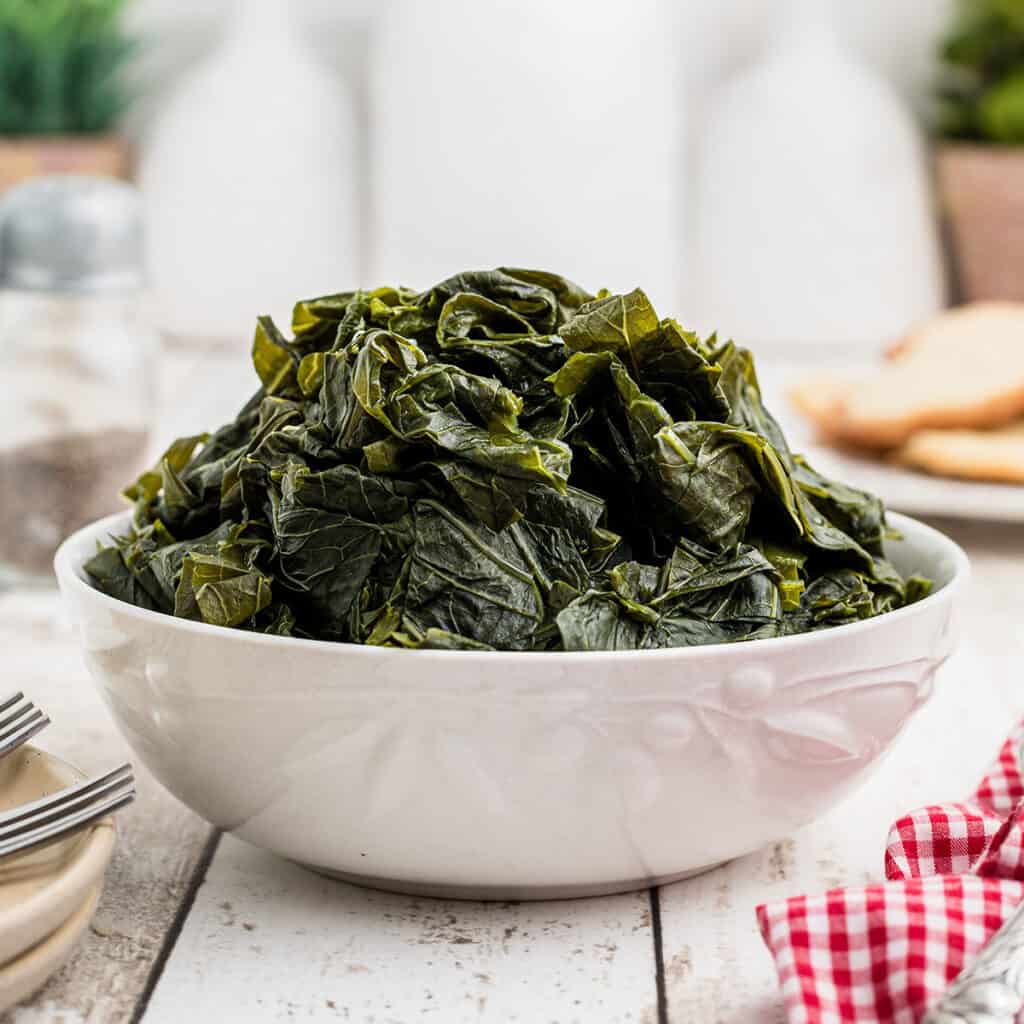
Southern Turnip Greens

Have a question or thought to share?
If you have a question about the recipe or if you’ve made it and want to share how it turned out, I would truly enjoy hearing from you. Just scroll down to leave a comment or add your star rating.
Thank you for stopping by. It means a lot to have you here.
Do More With ChatGPT
Recipe
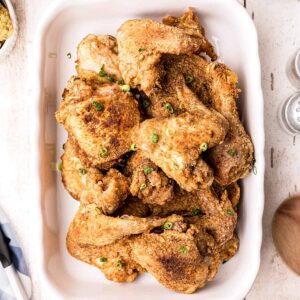
Traditional Southern Fried Chicken
Ingredients
- 1 frying chicken cut up
- salt
- pepper
- 1 ½ cups self-rising flour
- Peanut oil
Instructions
- Place the chicken pieces in a single layer in a shallow pan.1 frying chicken
- Liberally salt and pepper the chicken on both sides.salt, pepper
- Sprinkle flour over the chicken in the pan. Toss the chicken until well coated with flour.1 ½ cups self-rising flour
- Meanwhile, heat the peanut oil in a large iron skillet.Peanut oil
- Place the chicken pieces skin side down in the hot oil. Cook for approximately 10 minutes or until the skin is pale golden brown.
- Turn the chicken over and cook for 10 minutes on the second side.
- Turn chicken pieces once more and reduce the heat to medium low. Cover and cook for approximately 10-15 minutes or until the chicken is cooked through.
- Remove cooked chicken to a paper towel lined plate or a rack set in a baking pan and allow it to drain for about 5 minutes.
Notes
- Use additional seasonings if you like (i.e., cayenne, hot pepper sauces, seasoned salt), but for the most authentic taste, stick with just salt and pepper.
- I recommend using peanut oil because it will withstand higher temperatures for a longer time without burning than other oils.
- Leftovers will keep in the refrigerator for a day or two. You can reheat them in a 250 degree oven for about 15 minutes.
Nutrition Information
Nutrition information is calculated by software based on the ingredients in each recipe. It is an estimate only and is provided for informational purposes. You should consult your healthcare provider or a registered dietitian if precise nutrition calculations are needed for health reasons.
Ms Lana thank you for this recipe! I haven’t tried it yet but it makes sense in my head (that’s how I cook) and will be perfect for chicken cutlets. It’s not that I love cutlets so much, it’s that I love using my slicer. 😉 Anyway, as others have reiterated what you said, this is simple and my style of cooking. Simple food done right. Thanks again, Ms Lana, I know this is going to be great.
Thanks, Frank! I hope you enjoy the recipe. This is such a simple way to do fried chicken and is exactly the way it’s done where I grew up.
Lana, this looks so good. I’ve been doing the buttermilk and flour dredging combo which takes longer. Doing your recipe could I still deep fry chicken in stock pot. or do I need to use skillet and flip half way? I use chicken thighs instead of whole chicken. Thanks!
Yes, you can deep fry this recipe. No problem. The timing will probably be different (deep frying is faster because you’re cooking all sides at once).
This was the best fried chicken I’ve ever tasted and I’m 74 years old!! I was finally able to cook fried chicken that tasted like my moms, so many years ago. I had lost her original recipe and just was never able to duplicate it.
(My brother even thought I had finally found Moms old recipe). I’m so thankful I found your site and tried this recipe! I followed it to a T, and it was well worth it!
I’m so happy that you found the recipe and enjoyed cooking it!
Dear Miss Lana,
I am a 33-year-old woman who had never made fried chicken on my own before, my dad’s the cook in my family and I never quite got over the fear of frying chicken. Until now. I was very skeptical about others doing marinades and all the steps, but this was quick, easy, and my gosh the flavor was excellent. The chicken was crispy. I’m making this again today.
Thank you!
Your comment just made my day!
I had been craving chicken legs and found this amazing recipe. I made this tonight and it turned out better than expected! I had never made fried chicken before. I tweaked it a bit and wanted to share. I used all purpose flour and a 1/2 inch of vegetable oil in a big pot for the high walls (to try and reduce the mess. I also placed paper towels on the stove for easier clean up). I heated my oil to over 375°. Besides that, I followed the directions provided. I made sure to temp check the legs before pulling them out. Thank you so much for sharing this recipe! I didn’t know it could be so easy!
I’m really glad you liked the recipe. I would caution you to rethink placing paper towels on the stove — that’s a huge potential fire hazard. I’d rather clean up the splatter than try to put out a fire.
Whenever I fry anything that will spatter I surround the pan with upside down cookie sheets. The stove stays clean and all I do is wash the bottom of the cookie sheet..
Hi Lana. I love this because it is pretty much exactly my family’s recipe (though I’ve never seen it written out) for frying chicken. We are not a southern family; our people came to Ross County, in Ohio, in mid-late 18th century, before Ohio was even a state; this no-marinate, no-shake version came to me from my great-grandmother, via my grandmother and my mom. Thanks for posting this – makes it much easier to share the how-to with others!
My pleasure! This is, of course, my favorite method for very simple fried chicken. There’s really no need for all that other rigmarole.
So true. And I just loved your comment about the clean-up. I have always said that no matter how neat or messy the cook, it always looked like a war zone in the kitchen afterward (especially since we always serve it with mashed potatoes from scratch, and chicken gravy, adding immeasurably to the chaos). Thanks again.
I just tried this recipe and it is the most delicious chicken my family has ever eaten. No more store bought chicken for us. I can’t believe it has taken me this long to find a recipe this good. I am not a young cook just proves there is always something new to learn. Thank you for sharing these recipes.
You are so welcome!