

These delicious Sourdough Dinner Rolls don’t require any yeast or any kneading, making them a good option for weeknight dinners. They’re a versatile bread that pairs well with almost any entree, from soup to pasta.
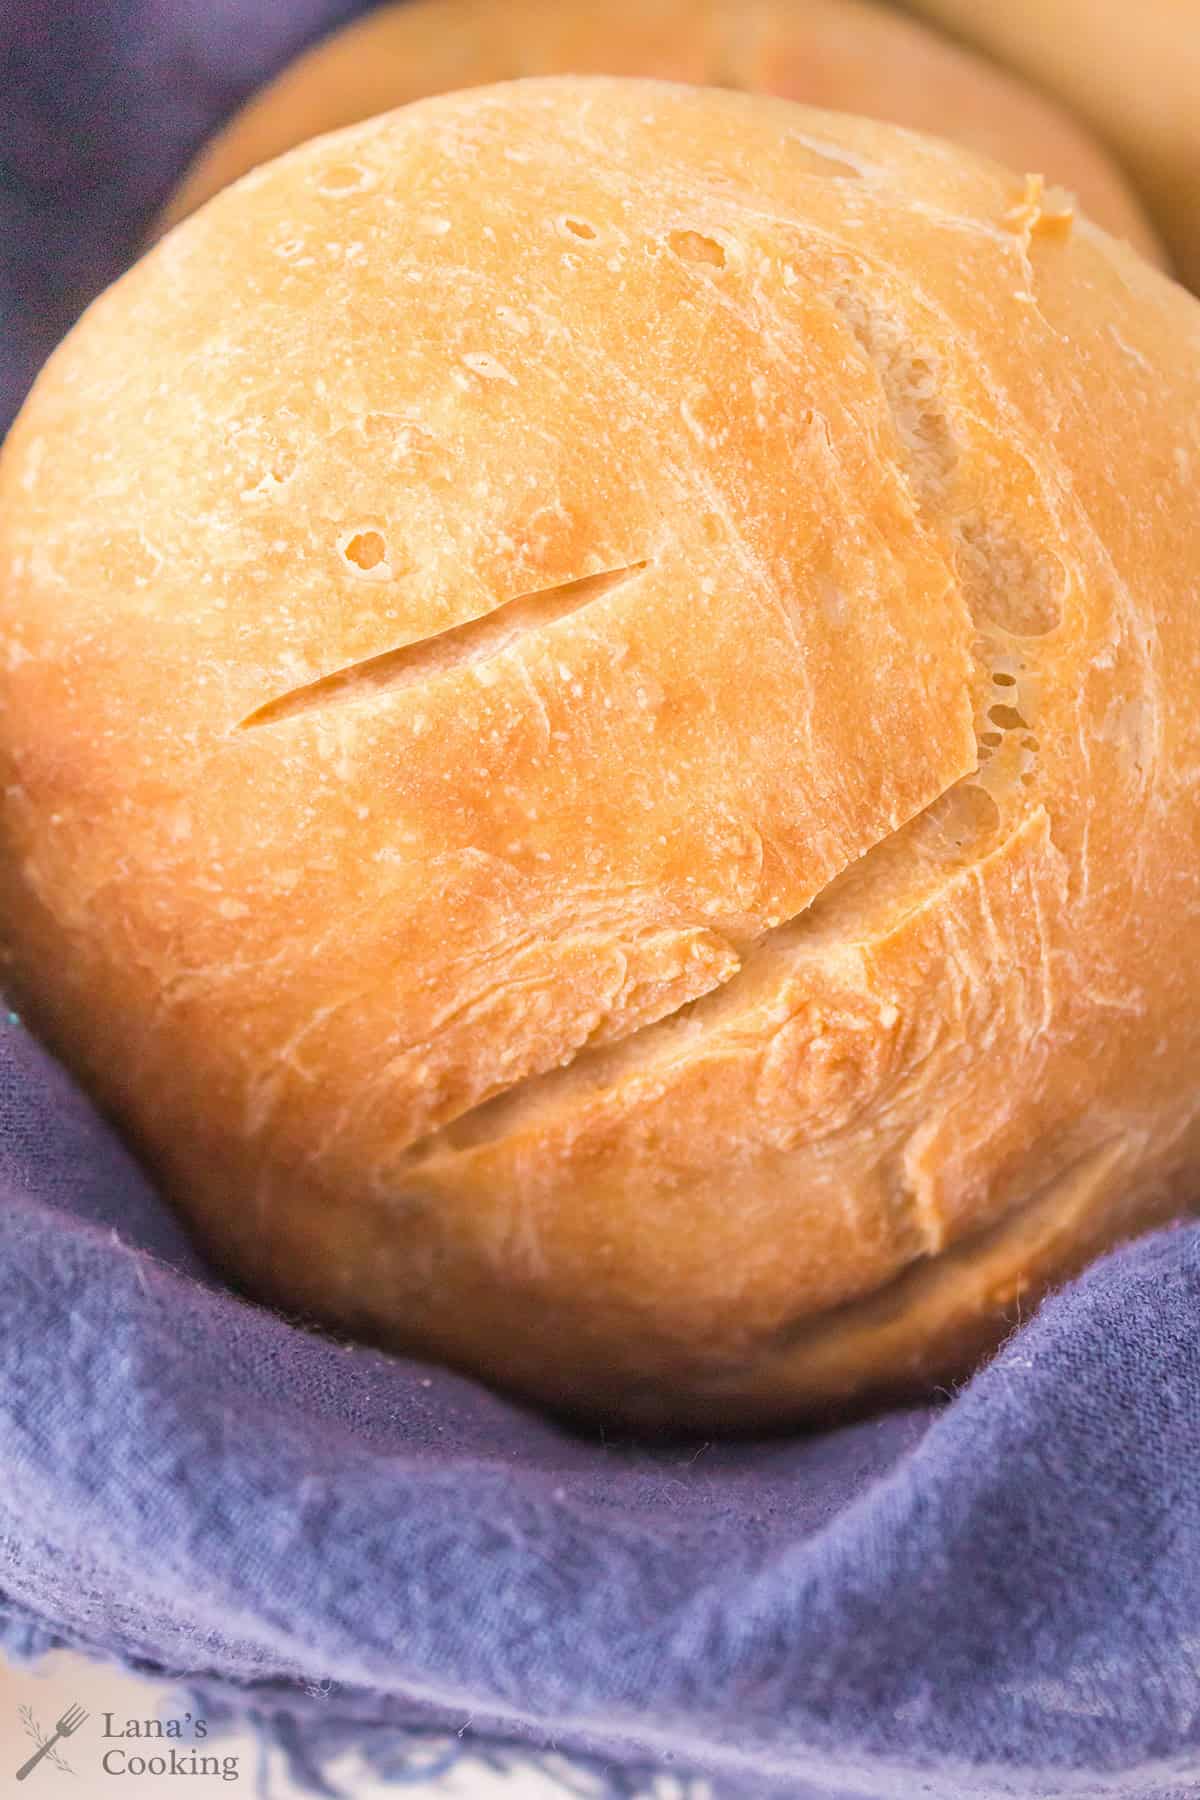
These beautiful sourdough dinner rolls with crusty tops and soft interiors are one of the best bread recipes you’ll ever make. And, as far as homemade breads go, they’re quite simple! If you’re just starting to work with sourdough, or even if you’re a sourdough pro, these dinner rolls are a great way to use excess sourdough starter.

If you’re new to sourdough and want to learn more, I’d recommend starting with my Whole Wheat Sourdough Bread recipe, which includes step-by-step details on creating your own starter. It’s as simple as combining flour and water in a jar. Really.
Recipe Snapshot
Cuisine: American
Cooking Method: Oven
Total Time: 47 minutes prep and cook time (plus 2 hours, 15 minutes inactive rising time)
Servings: 8
Primary Ingredient(s): Sourdough starter, sugar, flour
Skill Level: Moderate
What You’ll Like About This Recipe
- These rolls rely entirely on starter for rise and flavor, with no added yeast.
- There’s no kneading required, making for a simplified process.
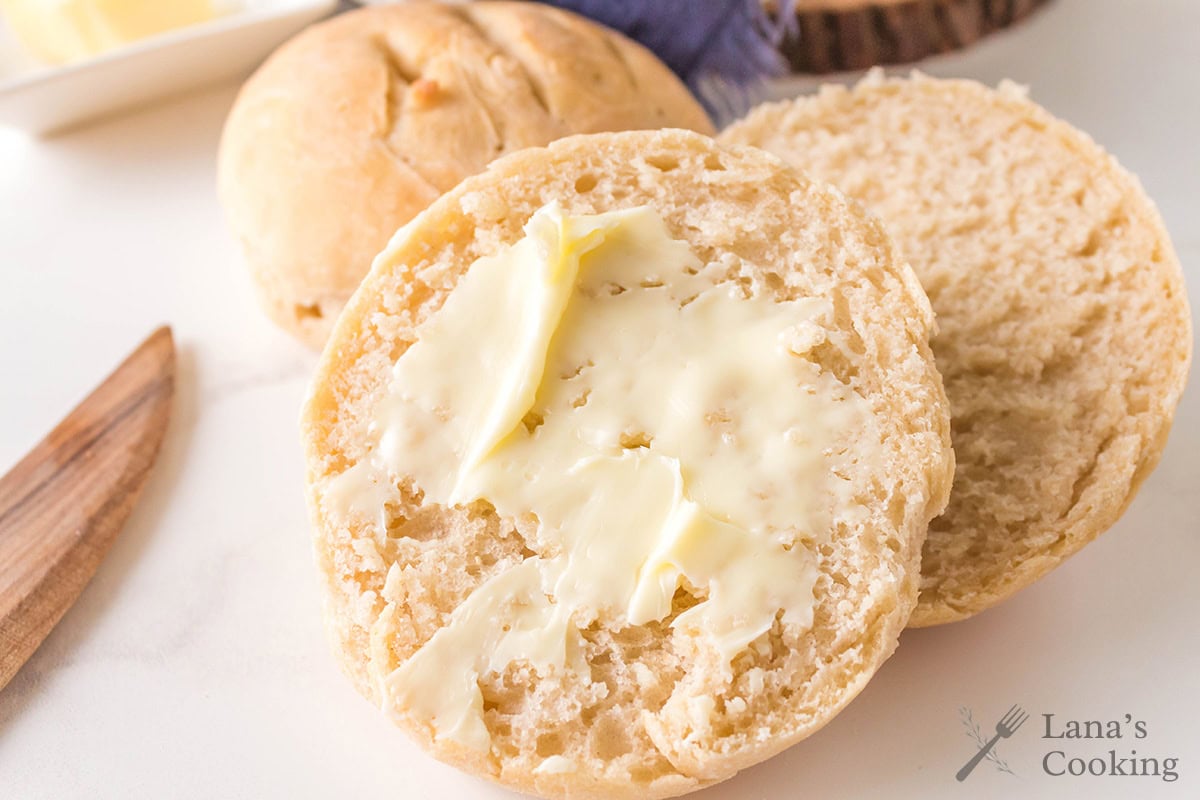
- The crust turns out beautifully golden and crisp, while the interior stays soft and tender.
- They pair well with everything from hearty soups to holiday roasts.
- They’re a great use for excess sourdough discard.
Ingredient Notes
This post contains affiliate links. Lana’s Cooking is reader-supported and earns a tiny commission at no extra cost to you when you shop from our links.
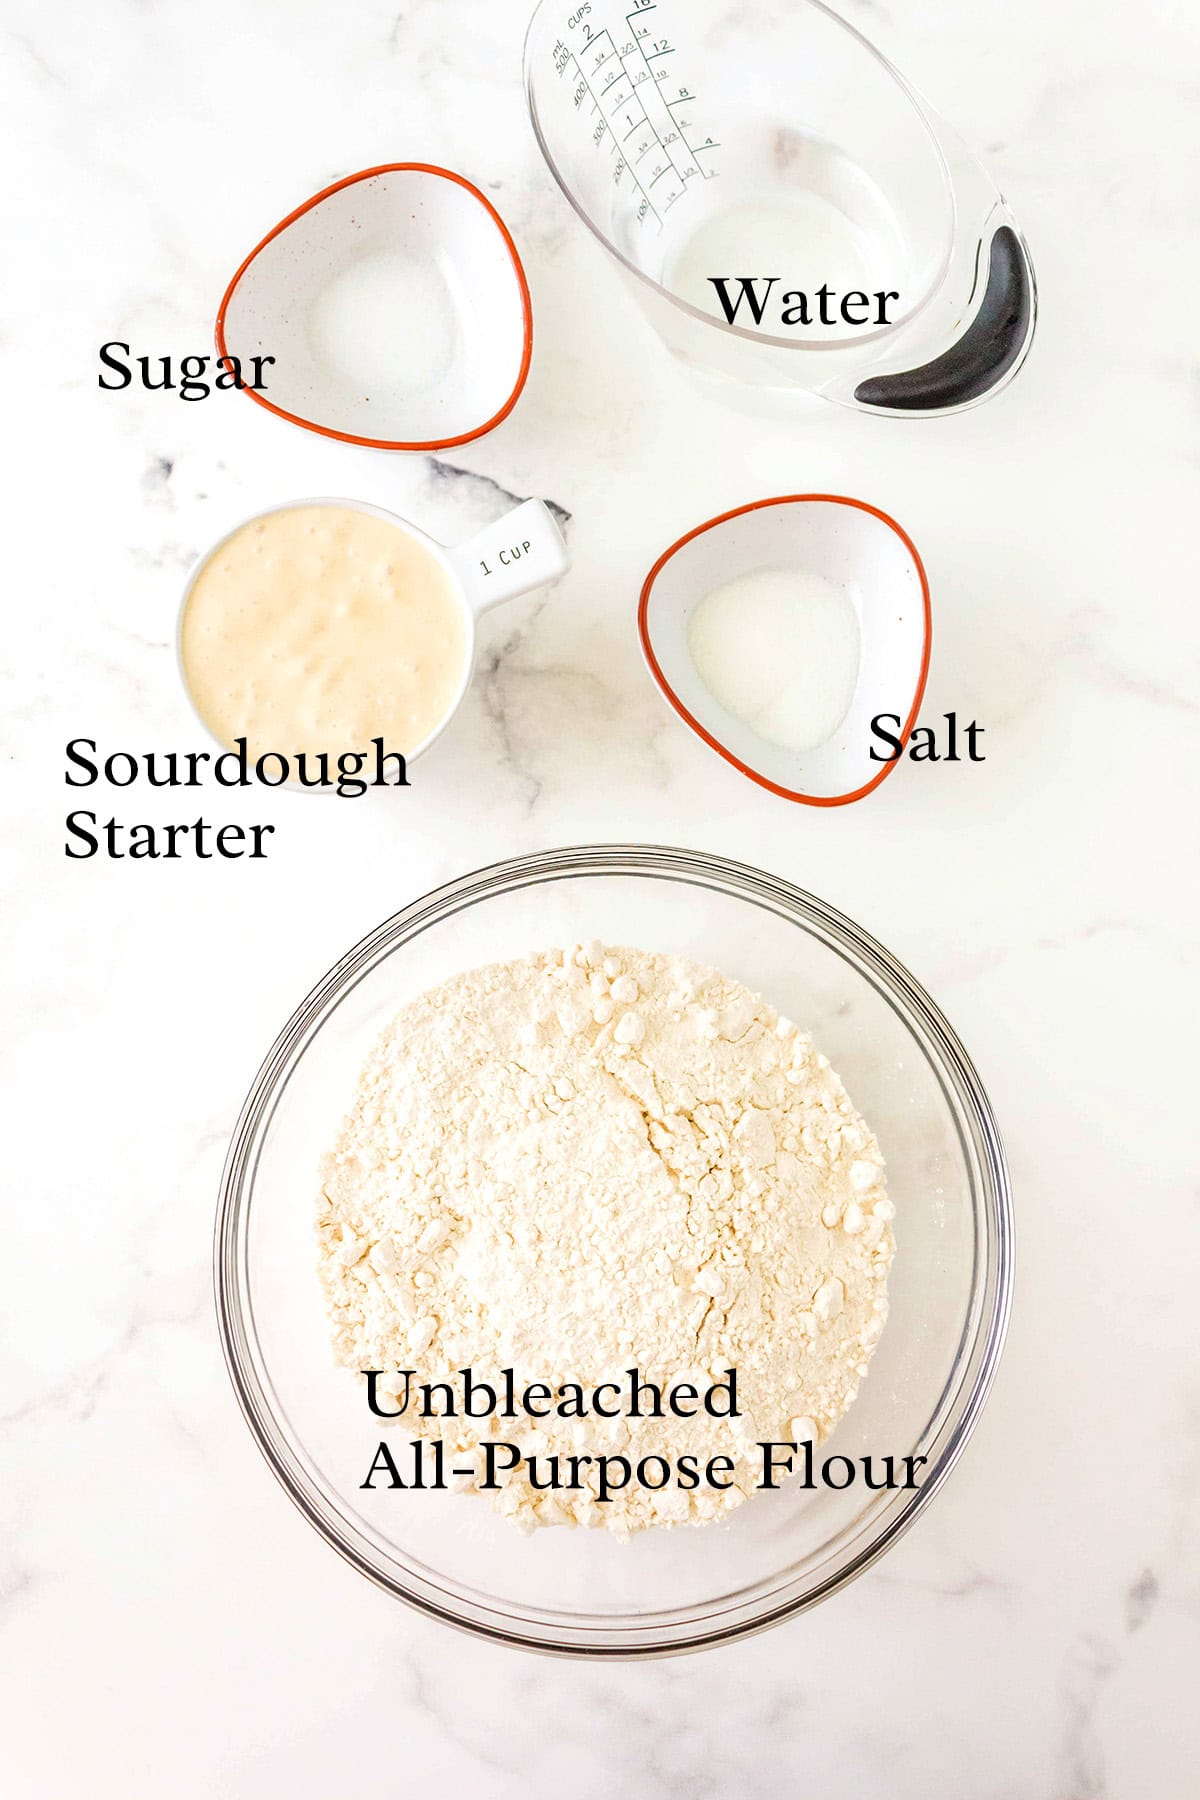
- Sourdough Starter – You’ll want an active, well-fed starter. If your starter has been in the refrigerator, bring it to room temperature and feed it several hours before baking.
- Unbleached All-Purpose Flour – I prefer unbleached flour because it supports fermentation in the dough better than bleached flour.
- Warm Water – The water should feel warm to the touch, not hot, somewhere between 100 to 108°F. Water that’s too hot will inhibit the natural yeast in the starter.
- Granulated Sugar – The very small amount of sugar in the recipe feeds the starter and enhances browning. It doesn’t make the rolls sweet.
- Salt – Salt balances the flavors and strengthens the gluten structure. Be sure not to skip it.
The complete ingredient list with detailed measurements is included in the printable recipe card at the bottom of this post.
How To Make Sourdough Dinner Rolls
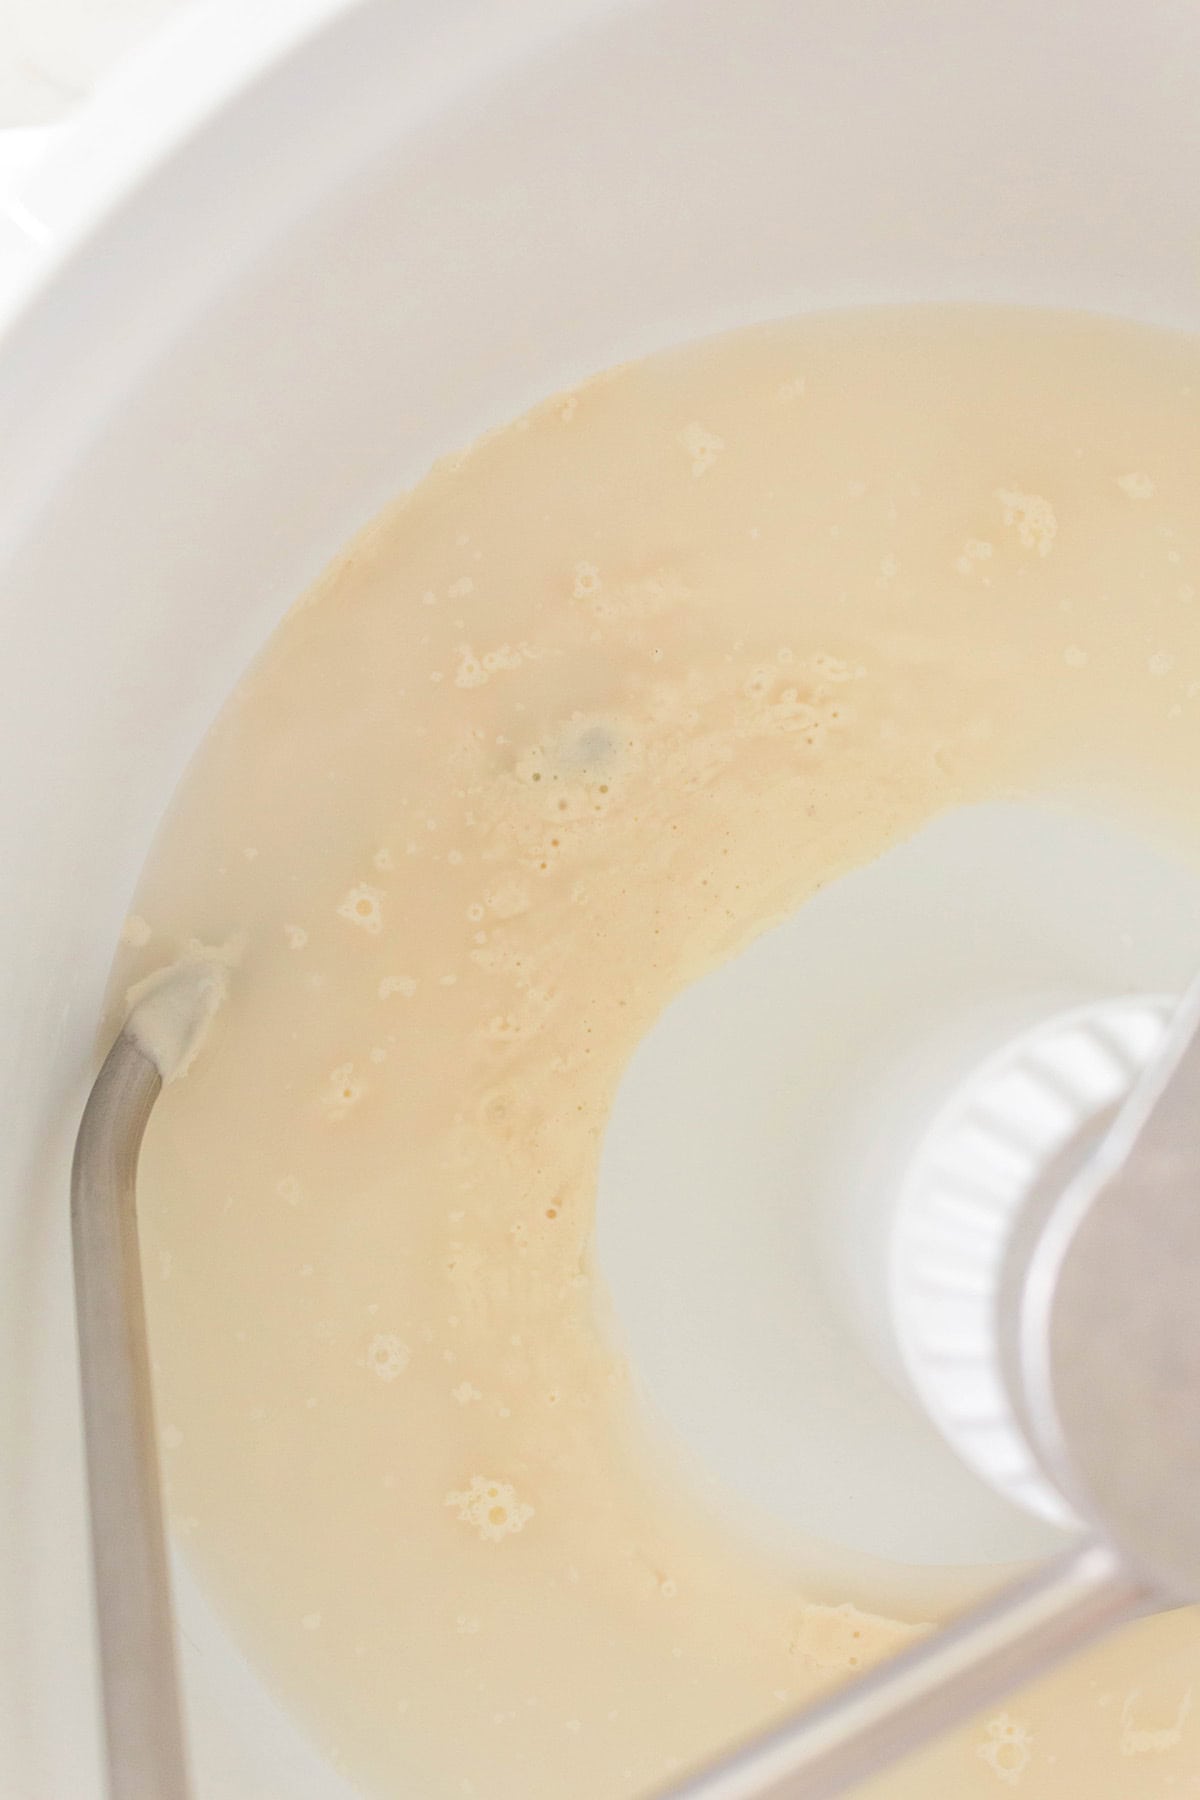
- Place the warm water, sugar, and sourdough starter in the bowl of a stand mixer. Mix on low until combined.
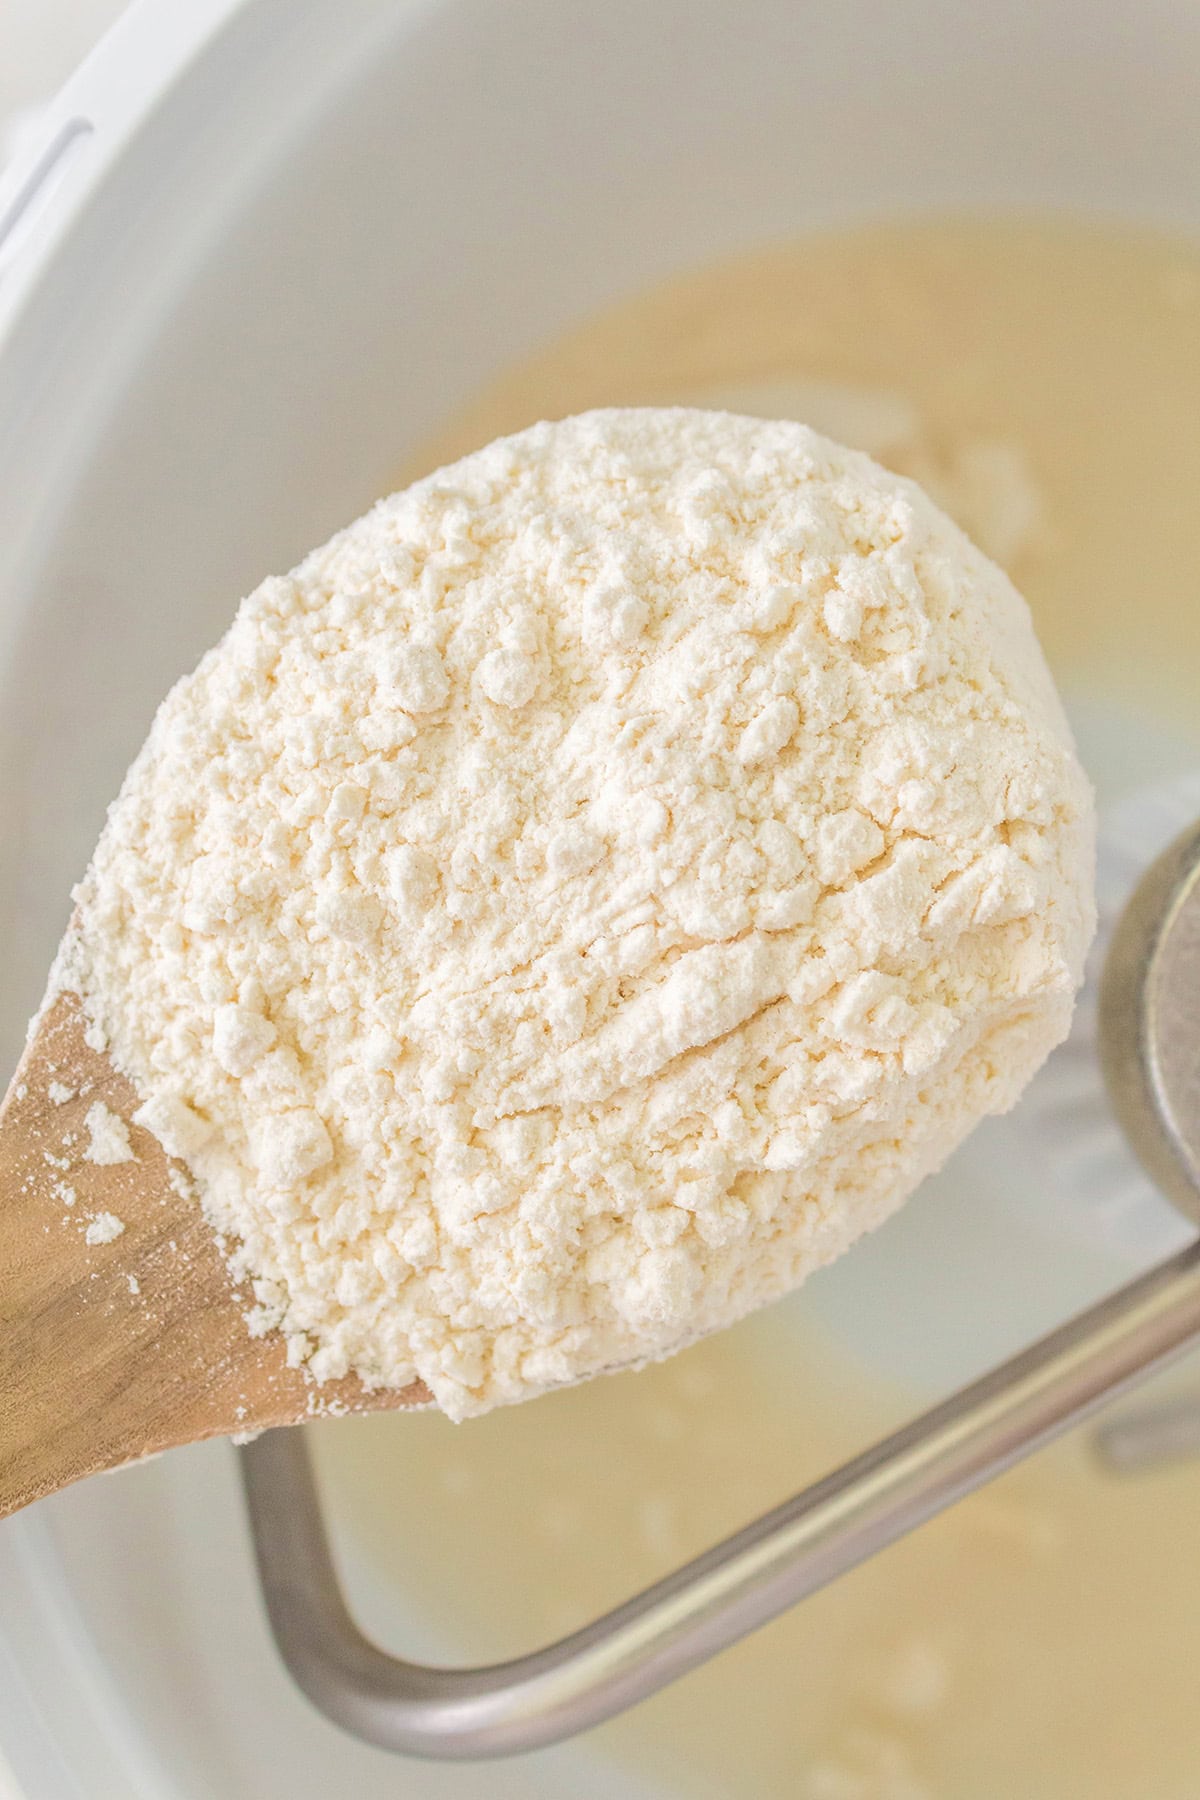
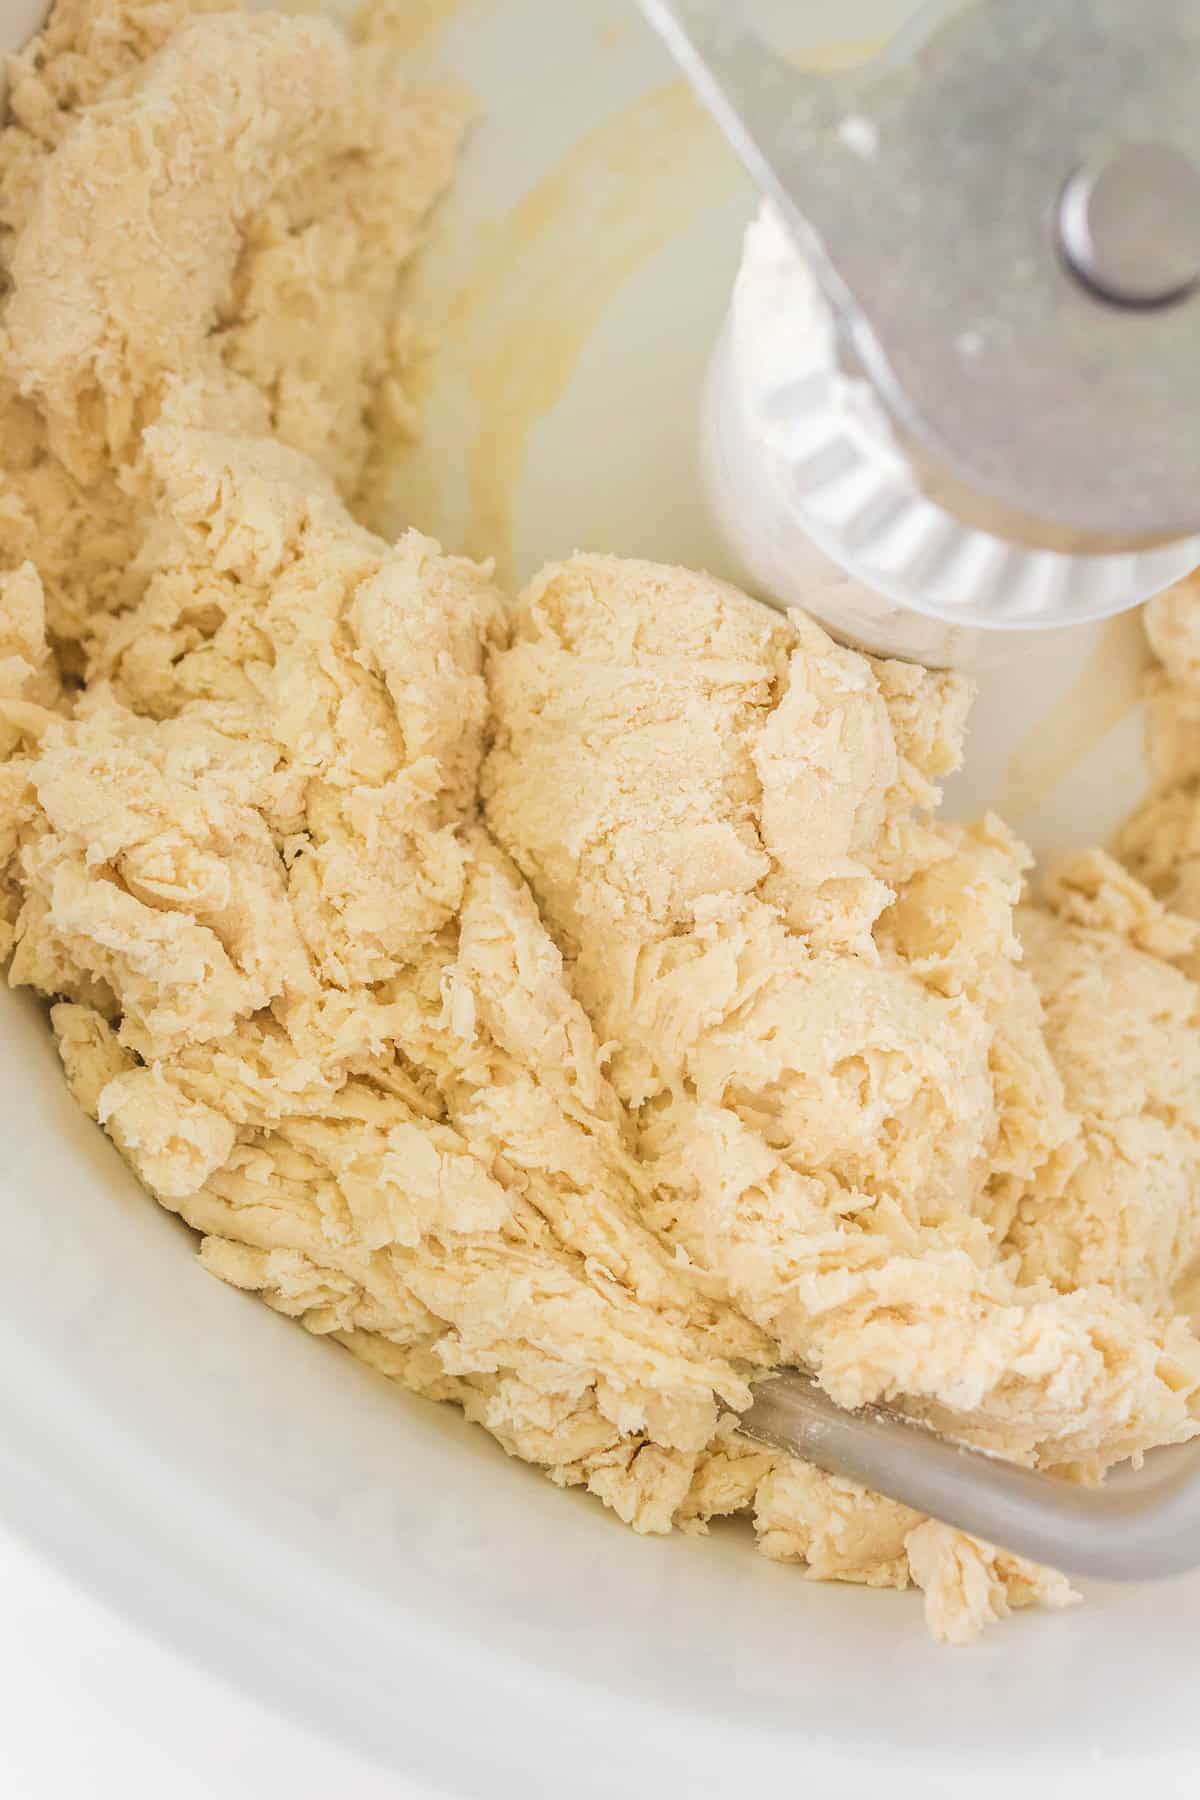
- Add half the flour and the salt. Mix on low until incorporated. Add the remaining flour and continue mixing until the dough forms a ball and comes away from the sides of the bowl.

Pro Tip
If the dough is sticking to the sides of the mixer bowl or feels too wet, let it rest for 5 to 10 minutes. That gives the flour time to absorb the liquid and may eliminate the need for extra flour.
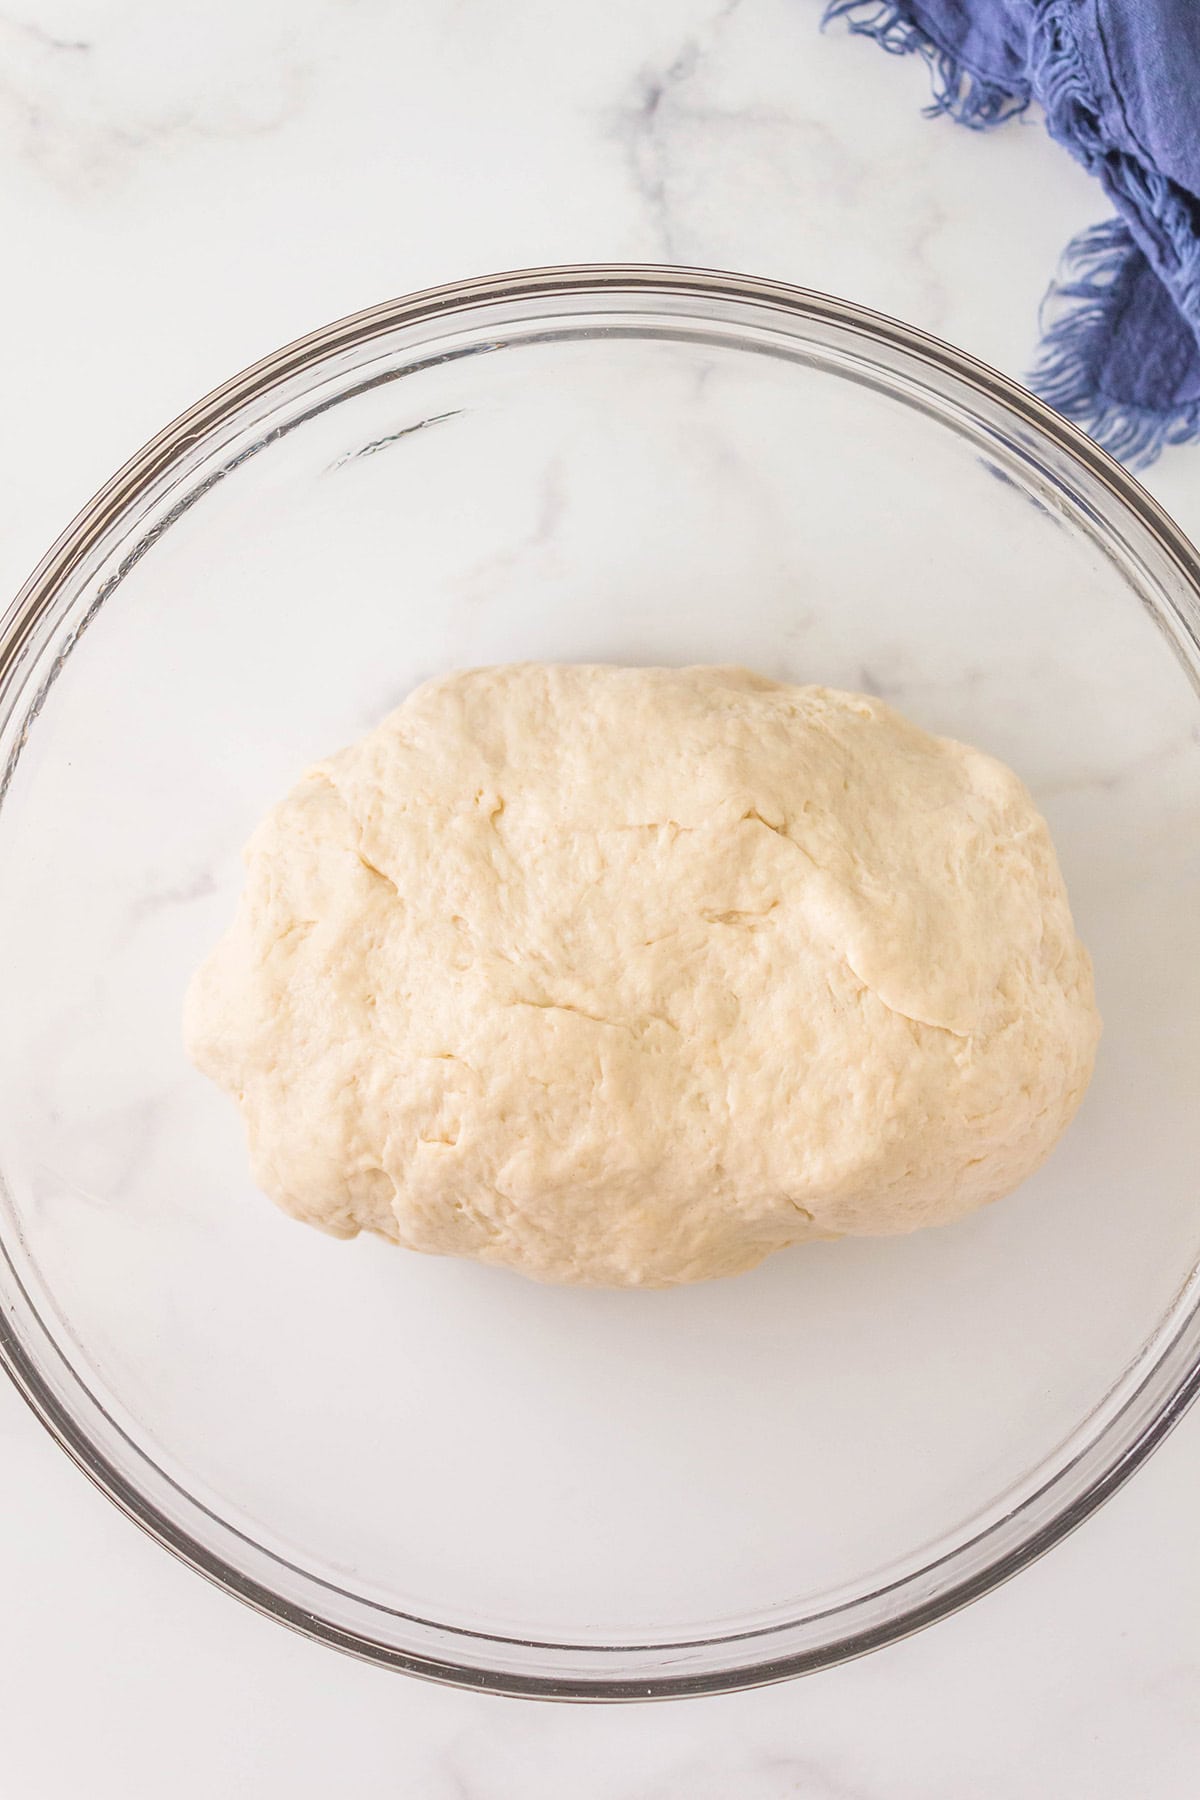
- Remove the dough and place it in a lightly oiled bowl. Cover with plastic wrap.
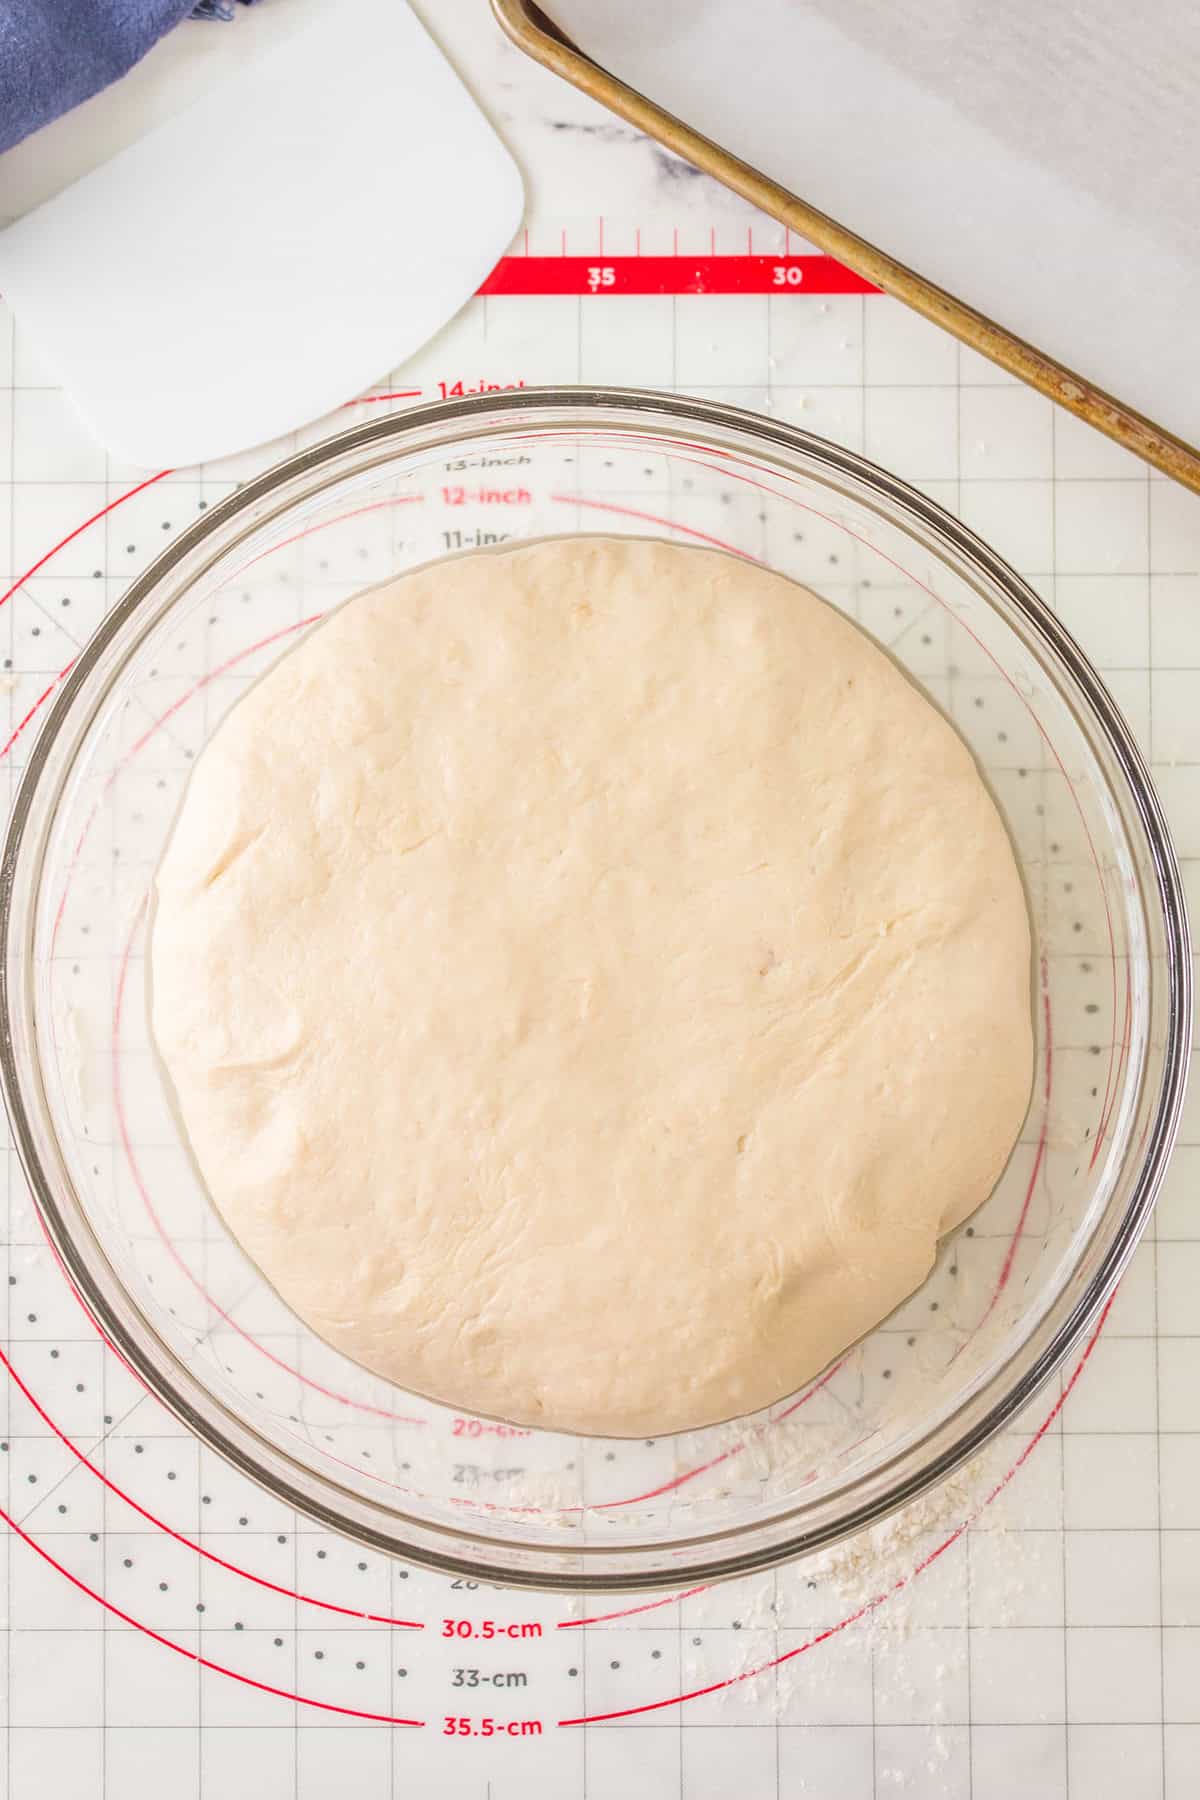
- Let the bowl sit in a warm place for about 90 minutes or until the dough has doubled in size.
- Line a baking sheet with parchment paper or a silicone mat.
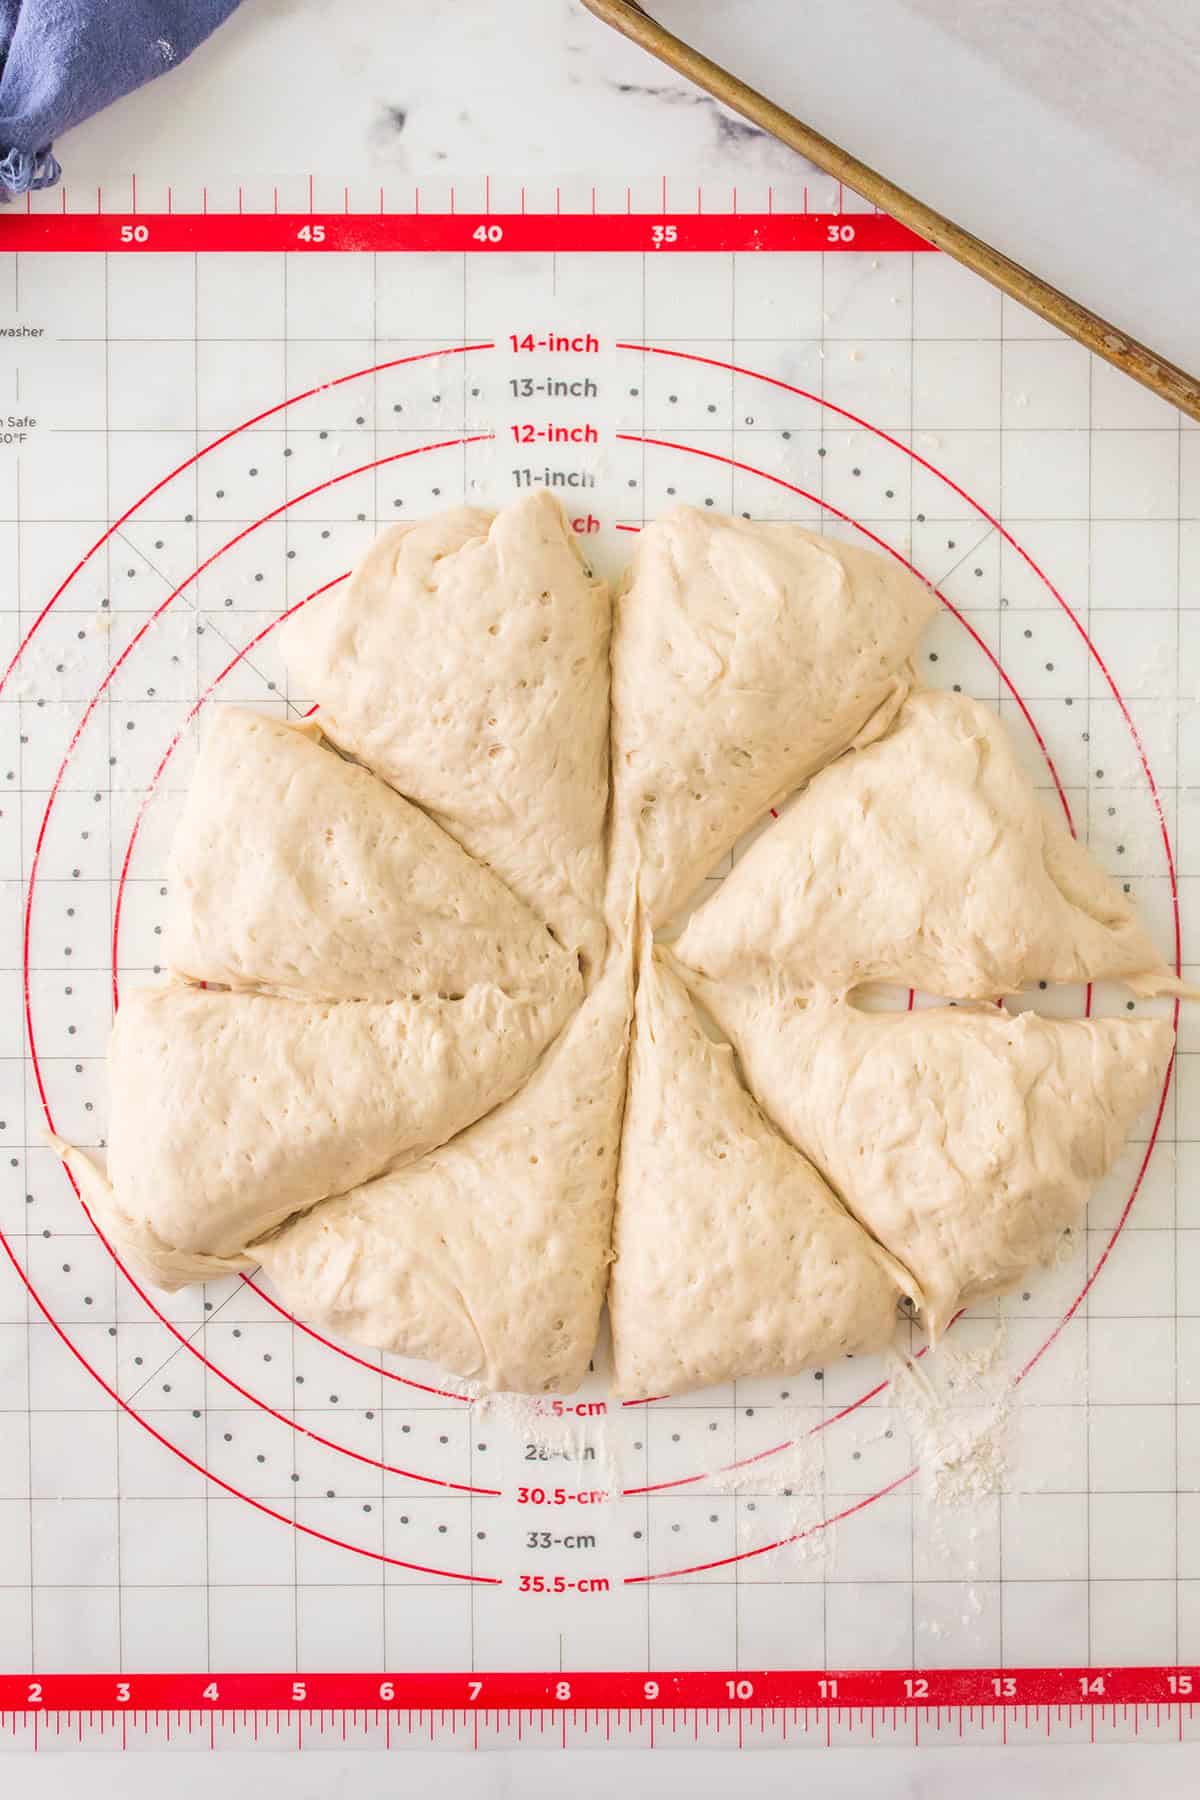
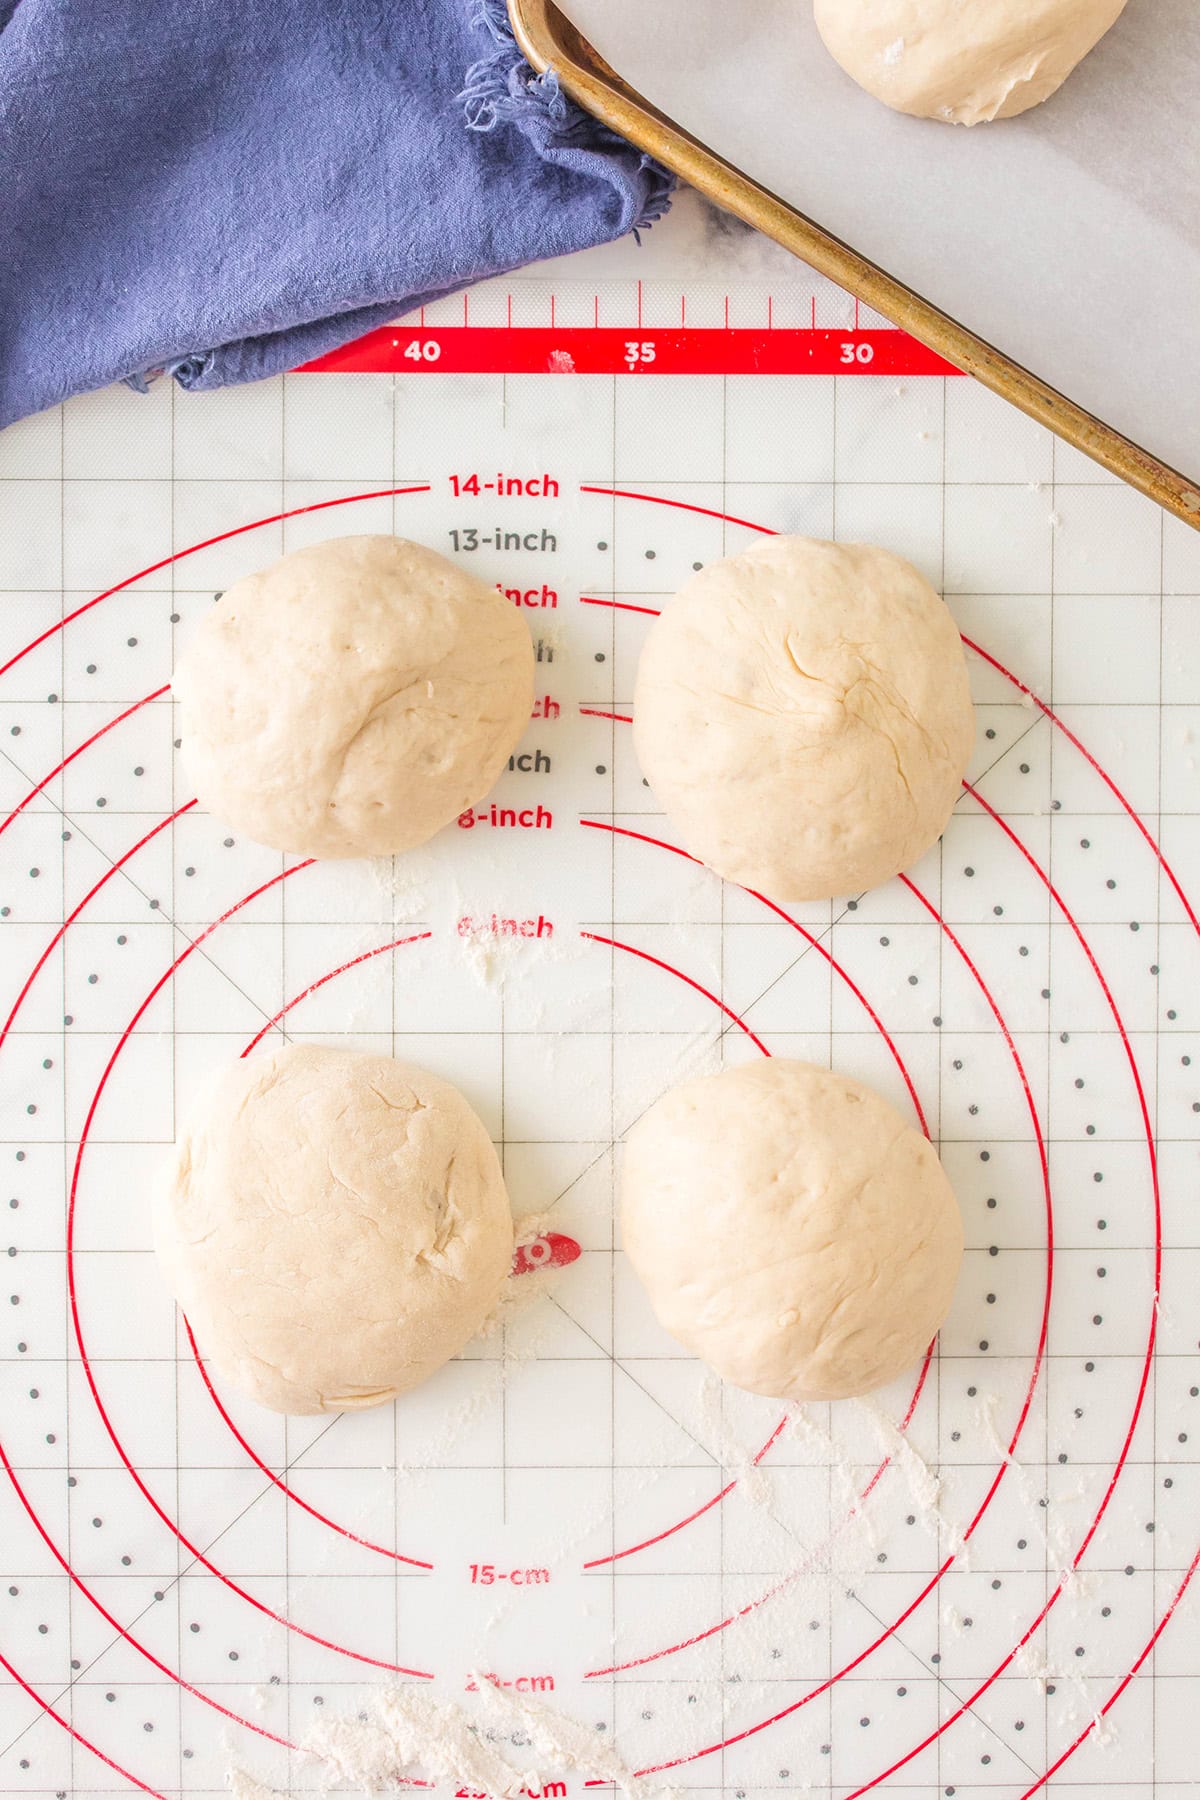
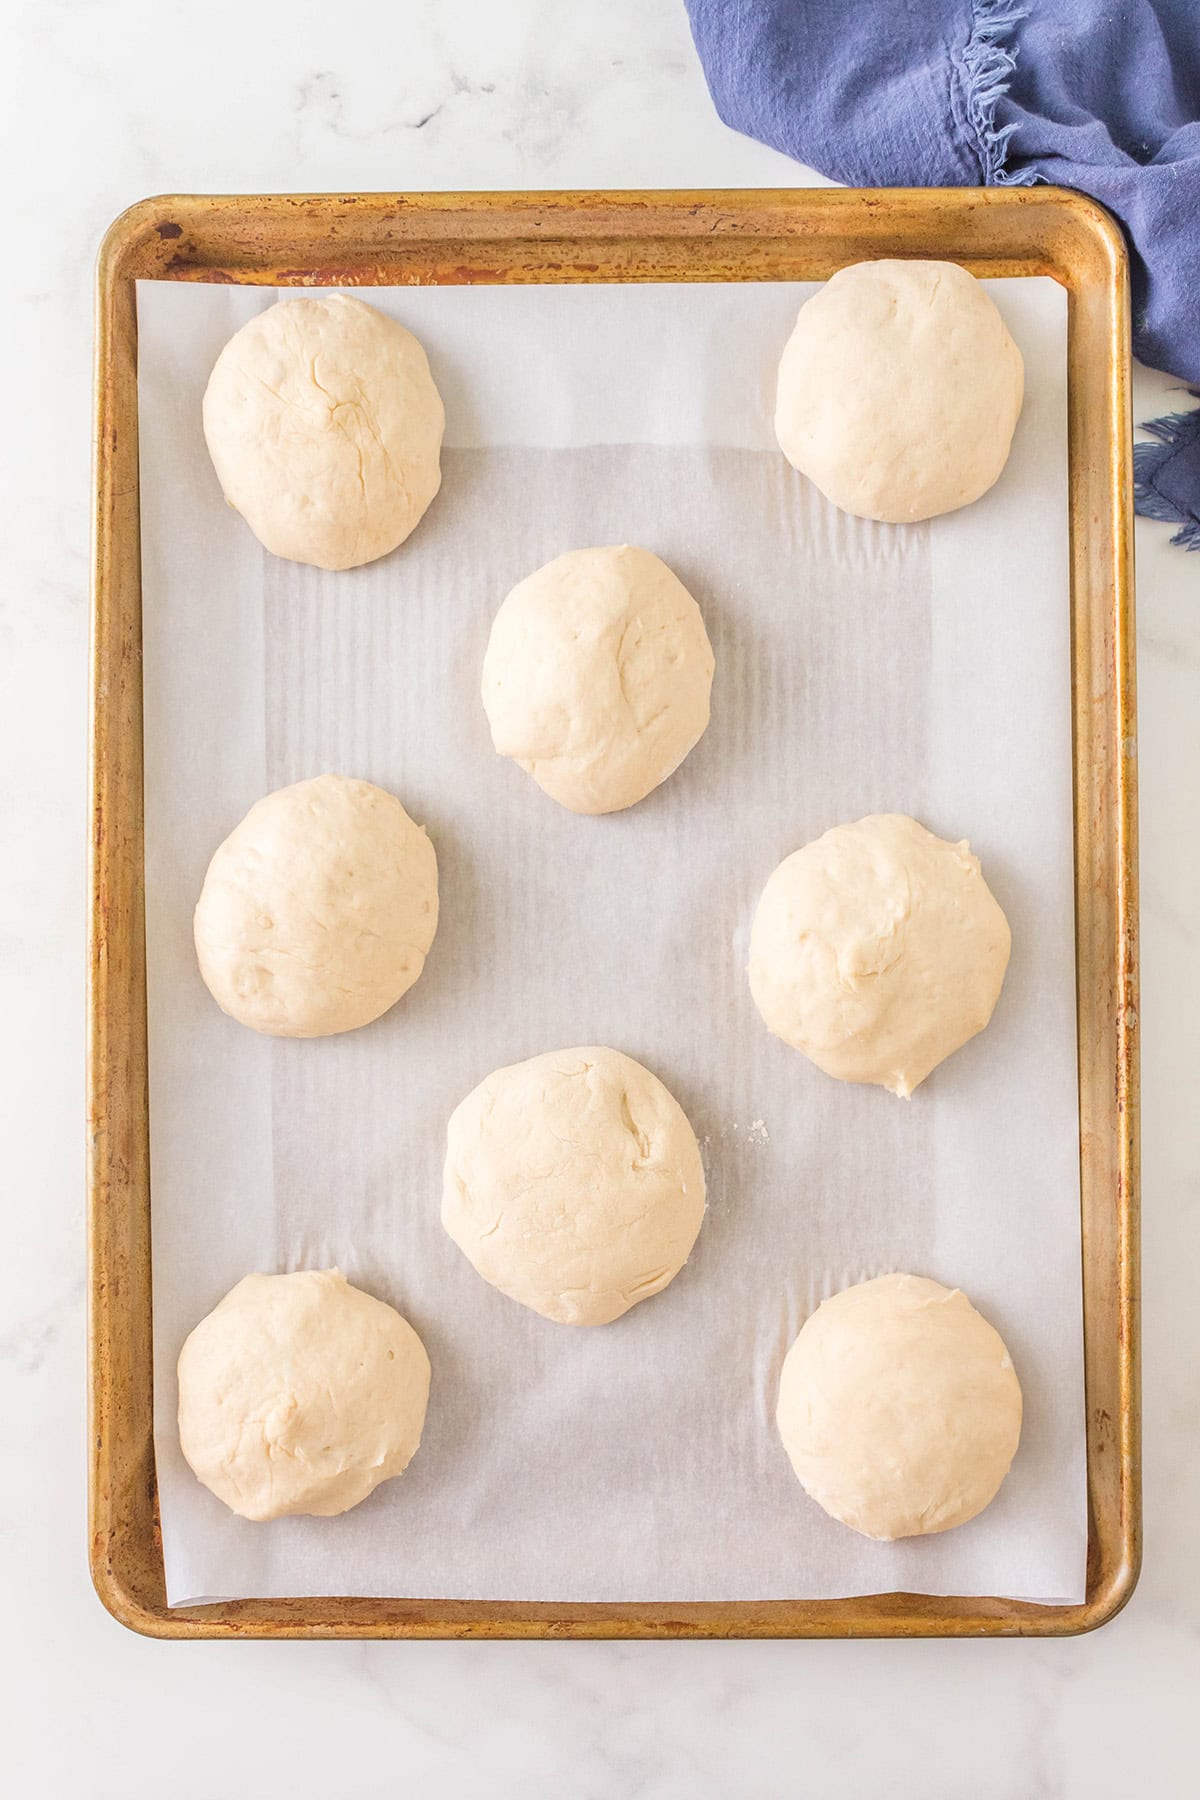
- Turn the dough out on a clean, lightly floured surface and separate it into 8 equal pieces. Roll each piece of dough into a ball.
- Place the formed rolls on the prepared baking sheet. Cover with a clean cloth and place in a warm, draft-free place for about 45 minutes for the second rise.
- Near the end of the rising time, preheat the oven to 425 degrees F. Place an oven-proof container (such as an old cake pan), half filled with water, on the lower oven rack while the oven is heating. The steam from the water will help set the crust on the rolls.
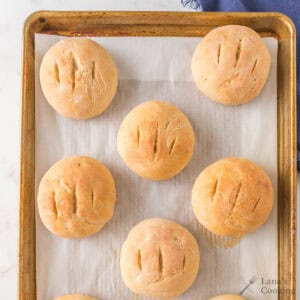
- With a sharp knife or a bread lame, score each roll a few times.
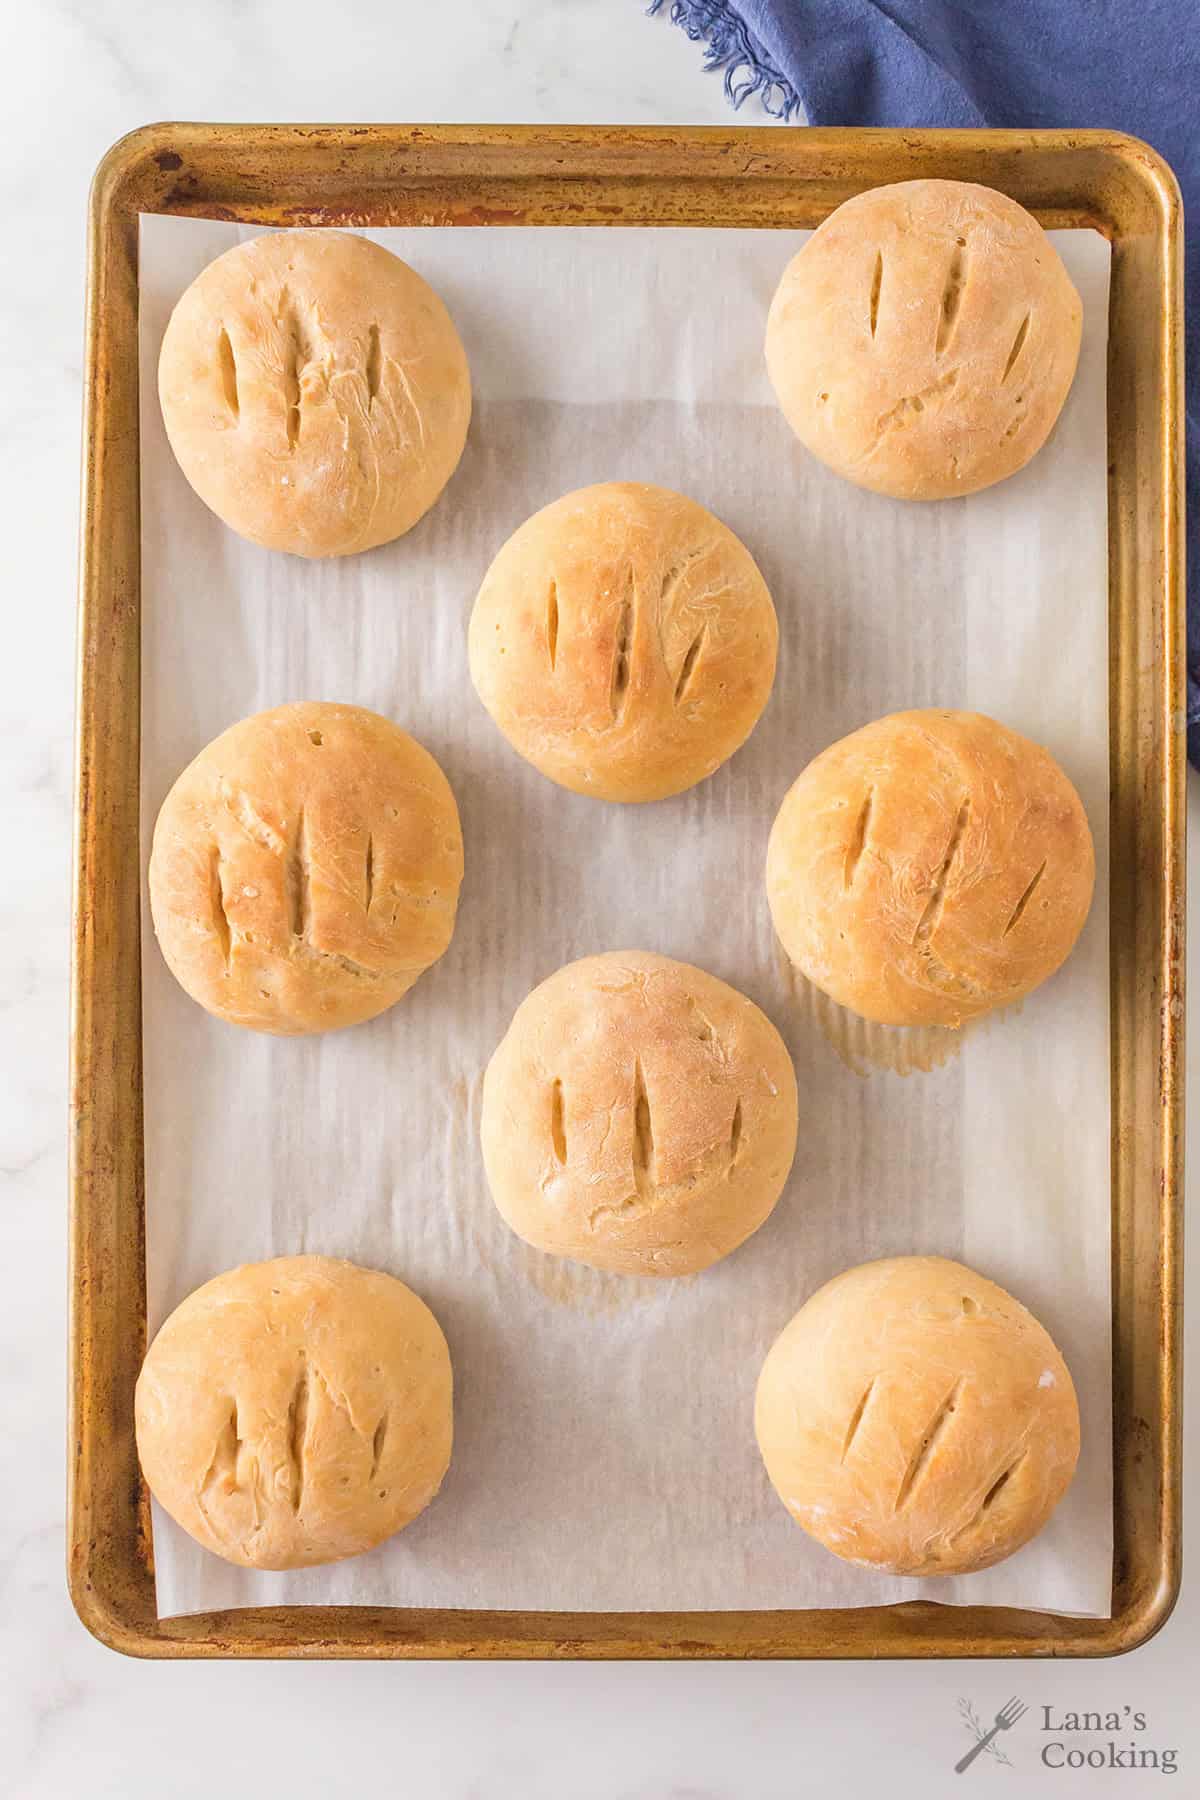
- Place the rolls in the preheated oven and bake for 17 to 19 minutes or until nicely browned. The internal temperature should register 190°F or higher.
- Allow the rolls to cool completely before serving.
Recipe Tips
- Make sure the starter is active and bubbly before mixing the dough. A sluggish starter can make dense rolls.
- Place the dough in a warm spot for both rises. The oven with the light on usually works well.
- Scoring the rolls is optional, but it helps control how they expand in the oven and gives them a more polished look.
Recipe Variations to Try
- Whole Wheat Flour: You can swap up to half of the all-purpose flour with whole wheat for a heartier flavor. You may need to add a touch more water, as whole wheat absorbs more moisture.
- Toppings: Try brushing the rolls with a little melted butter right after baking, or sprinkle the tops lightly with sea salt or sesame seeds just before they go in the oven.
- Savory Add-ins: Stir in a few chopped fresh herbs like rosemary or thyme. Finely grated Parmesan can be folded into the dough for a cheesy variation.
Serving Suggestions
These rolls are very versatile and will go with anything from cozy weeknight suppers to special holiday dinners. Here are two menu ideas using recipes from Lana’s Cooking.
- For a classic Southern dinner, serve warm with my Southern Meatloaf and Old Fashioned Southern Brown Rice.
- For a cozy soup supper, pair with a hearty bowl of Homemade Vegetable Beef Soup and a crisp, refreshing Sweet and Sour Cucumber Salad.
How to Store and Reheat
Store any leftover rolls in an airtight container at room temperature for up to two days. For longer storage, keep them in the refrigerator for up to five days, but be aware that refrigeration can dry them out somewhat.
Baked rolls also freeze well. Let them cool completely, then wrap tightly in plastic wrap and place in a freezer-safe bag. They’ll keep for up to one month.
To reheat, wrap the rolls in foil and warm in a 300°F oven for about 10 minutes. If reheating from frozen, let them thaw at room temperature first, then warm as directed. A quick 10-second zap in the microwave works in a pinch, but it will soften the crust.
More Bread Recipes You’ll Enjoy

Questions About Sourdough Dinner Rolls
Yes. You can divide the dough into 12 portions if you prefer a smaller roll, or keep the eight larger ones if you’d like something nearer in size to a sandwich roll.
If the dough seems too wet or is sticking to the bowl, let it rest for 5 to 10 minutes. The flour will absorb moisture during that short rest, often eliminating the need to add more.
Scoring the tops allows steam to escape during baking while controlling how the roll expands. It also creates a pretty appearance and helps avoid misshapen rolls.
Recipe
Want to save this recipe?
Enter your email below and get it sent straight to your inbox.
Sourdough Dinner Rolls
Ingredients
- ¾ cup warm water
- 1 teaspoon granulated sugar
- 1 ⅓ cup sourdough starter
- 2 ½ cups unbleached all-purpose flour
- 2 teaspoons salt
Instructions
- Place the ¾ cup warm water, 1 teaspoon granulated sugar, and 1 ⅓ cup sourdough starter in the bowl of a stand mixer. Mix on low until combined.
- Add half the 2 ½ cups unbleached all-purpose flour and 2 teaspoons salt. Mix on low until incorporated. Add the remaining flour and continue mixing until the dough forms a ball and comes away from the sides of the bowl.
- Remove the dough and place it in a lightly oiled bowl. Cover with plastic wrap.
- Let the bowl sit in a warm place for about 90 minutes or until the dough has doubled in size.
- Line a baking sheet with parchment paper or a silicone mat.
- Turn the dough out on a clean, lightly floured surface and separate it into 8 equal pieces. Roll each piece of dough into a ball.
- Place the formed rolls on the prepared baking sheet. Cover with a clean cloth and place in a warm, draft-free place for about 45 minutes for the second rise.
- Near the end of the rising time, preheat the oven to 425 degrees F. Place an oven-proof container (such as an old cake pan), half filled with water, on the lower oven rack while the oven is heating (the steam from the water will help set the crust on the rolls).
- With a sharp knife or a bread lame, score each roll a few times.
- Place the rolls in the preheated oven and bake for 17 to 19 minutes or until nicely browned (the internal temperature should be 190F or higher).
- Allow the rolls to cool completely before serving.
Notes
- For best results, use an active, bubbly starter at its peak. The starter should be at room temperature and feed it several hours before baking.
- Let shaped rolls rise in a warm, draft-free spot.
- Store cooled rolls in an airtight container at room temperature for up to 2 days, or freeze for up to 1 month.
Nutrition Information
Nutrition information is calculated by software based on the ingredients in each recipe. It is an estimate only and is provided for informational purposes. You should consult your healthcare provider or a registered dietitian if precise nutrition calculations are needed for health reasons.

I’m Lana Stuart, an award-winning cookbook author, food blogger, and lifelong cook raised deep in Southwest Georgia. I started Lana’s Cooking in 2009 to share the tried-and-true recipes I grew up with. Around here, the food is full of flavor, the traditions run deep, and there’s always room at the table.
it states in the beginning no yeast or kneading, guess that was a typo
No, there was no typo. There is no yeast used in this recipe (it uses active sourdough starter), and there is no kneading called for anywhere in the instructions. ???
great recipe and easy
Thank you!