
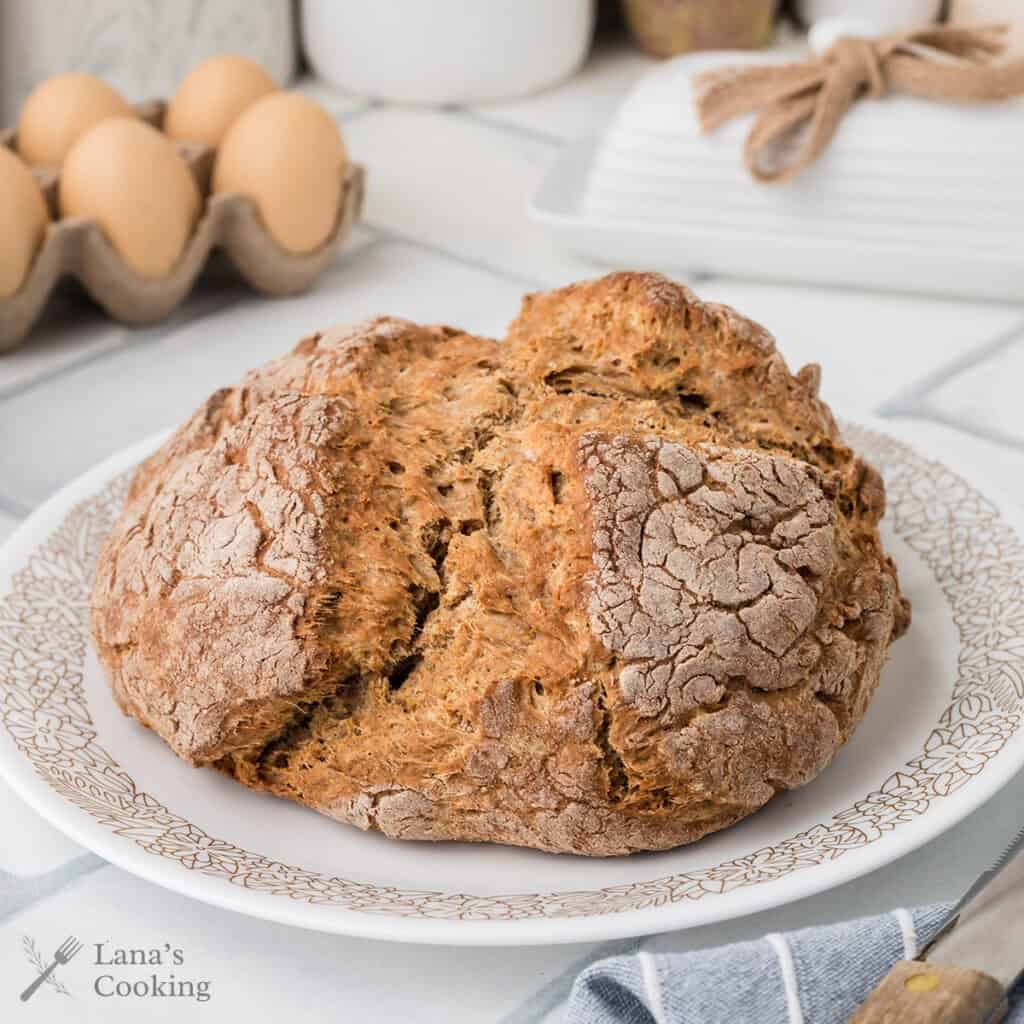
Whole Wheat Sourdough Bread has a deep, tangy flavor and a hearty texture that makes it perfect for everything from morning toast to sandwiches. And it all starts with a simple, homemade starter that’s easier to make than you might think.
Once upon a time, I made all of our bread from scratch—sandwich loaves, dinner rolls, cinnamon buns, and even homemade hamburger buns. As much as I enjoyed it, over time, I just kind of fell out of the habit.

Still, working with yeast dough is one of my favorite kitchen activities. There’s just nothing quite like the feel of a yeast dough coming to life as you knead, watching it grow as it rises, and the smell as it bakes…nothing like it! Fresh homemade bread slathered with butter. Name something better.
Lately, I’ve had the itch to start baking bread again, specifically with sourdough. I enjoy the slow fermentation, the subtle tangy flavor, and the beautiful texture of it. But before you can bake sourdough bread, you need one essential ingredient: a good starter!
Recipe Snapshot
Cuisine: American
Cooking Method: Oven
Total Time: 3 Hours, 20 Minutes
Servings: 24
Primary Ingredient(s): Sourdough starter (instructions included below), honey, bread flour, whole wheat flour
Skill Level: Moderate
It All Starts With the Starter
Of course, for sourdough you need a starter, right? There are lots of ways to acquire a starter.
You can purchase a commercial starter from sources such as King Arthur Flour. You can get some starter from a friend who is willing to share.
Or you can make your own. It’s easy. Honestly. It’s also cheap. As in pennies.
If you want to make your own sourdough starter, there are two general methods – with purchased yeast or wild yeast.
What’s wild yeast? Why, it’s the yeast that’s all around us all the time. It’s in the air, on our skin, on fruit, in flour, and probably on your kitchen countertops. It’s just naturally occurring everywhere all the time.
And it’s the way people made bread for thousands of years until yeast became commercially available. It’s not difficult, but it does take a little time and patience.
My Method for Making Sourdough Starter
I want you to understand that this is my method for making sourdough starter. It’s a wild yeast method. Other people have different methods. Mine’s not better or more correct. It’s just my method.
Also, understand that your sourdough starter is going to taste different from everybody else’s. Some are a bit sweeter, some are more sour. That’s because there are different strains of yeast all over the world and the yeast in your environment may be totally different from yeast elsewhere.
The famous San Francisco sourdough bread? It gets its taste from the yeast that naturally lives in that environment. If you got a sourdough starter from someone in San Francisco and took it to New York, it would very soon become a different starter because new strains of yeast would be introduced making it unique to the area where it lives. Make sense?
Making Your Own Wild Yeast Starter
To create your very own sourdough starter, all you need are a clean glass jar, some flour, some water, and a pinch of sugar.
Into your glass jar, add a cup of warm water, a cup of flour, and a pinch of sugar. Stir it together really well. That’s it. That’s the recipe.
However, you’re not quite finished. You now have to “grow” your starter. So here’s what you do. Cover the jar with either cheesecloth or waxed paper and secure it with a rubber band. Sit it in a warm place. It likes to be between 70 and 80 degrees. Just like me 🙂.
Every 24 hours, stir the starter, take out about half of it and discard that. “Feed” the remaining starter in the jar with 1/2 cup flour and 1/2 cup warm water. After three or four days, maybe sooner, your starter will have doubled in size and have a frothy appearance along with a pleasant yeasty smell. Yay! You have succeeded in making sourdough starter.

If your starter looks like it has separated and has a brownish-yellowish layer of liquid in it, that’s fine! That stuff is called “hooch,” and it’s a natural by-product of the fermentation process. Just stir it back into the starter.
At this point, store your starter loosely covered in the refrigerator until you’re ready to use it in a recipe.
Care and Feeding of Your Starter
Whenever you want to make a sourdough recipe, take the starter out the night before so it can come to room temperature. Use what you need to make your recipe for bread or rolls or pancakes or cinnamon buns…whatever… and then feed the starter and place it back into the refrigerator.
If you don’t use the starter for a week, you’ll still need to feed it. Discard half, feed it and put it back in the fridge.
People keep starters for years (even decades!) using this method. If you want to try a really old starter, you can get the 1847 Oregon Trail sourdough starter for just the cost of an envelope and postage. I have a jar of it in my fridge right now. It’s a nice, mellow starter. Not too sour, not too sweet.
Whatever method you use to get your starter going, I hope you’ll use some of it to make a couple of loaves of this Whole Wheat Sourdough Bread. It’s our favorite.
Ingredient Notes
This post may contain affiliate links. Lana’s Cooking is reader-supported and earns a tiny commission at no extra cost to you when you shop from our links.
- Sourdough Starter – This is the heart of the recipe. A well-fed, active starter gives the bread its signature flavor and rise. If yours has been in the fridge for a while, be sure to bring it to room temperature and feed it before baking.
- Lukewarm Water – The right water temperature (around 105-110°F) helps activate the yeast without killing it. If it feels warm but not hot to the touch, you’re good to go.
- Active Dry Yeast – Even though sourdough starter provides natural fermentation and rise, I find that a little extra yeast is a real boost when using whole wheat flour.
- Sugar or Honey – A touch of sweetness balances the flavor and also feeds the yeast for better fermentation.
- Salt – Essential for flavor and gluten development. Don’t skip it!
- Unbleached Bread Flour – Look for bread flour with at least 11-13% protein. The higher protein content helps develop strong gluten, which gives the bread its structure and chewiness. Lower-protein flours (like all-purpose) won’t create the same sturdy texture.
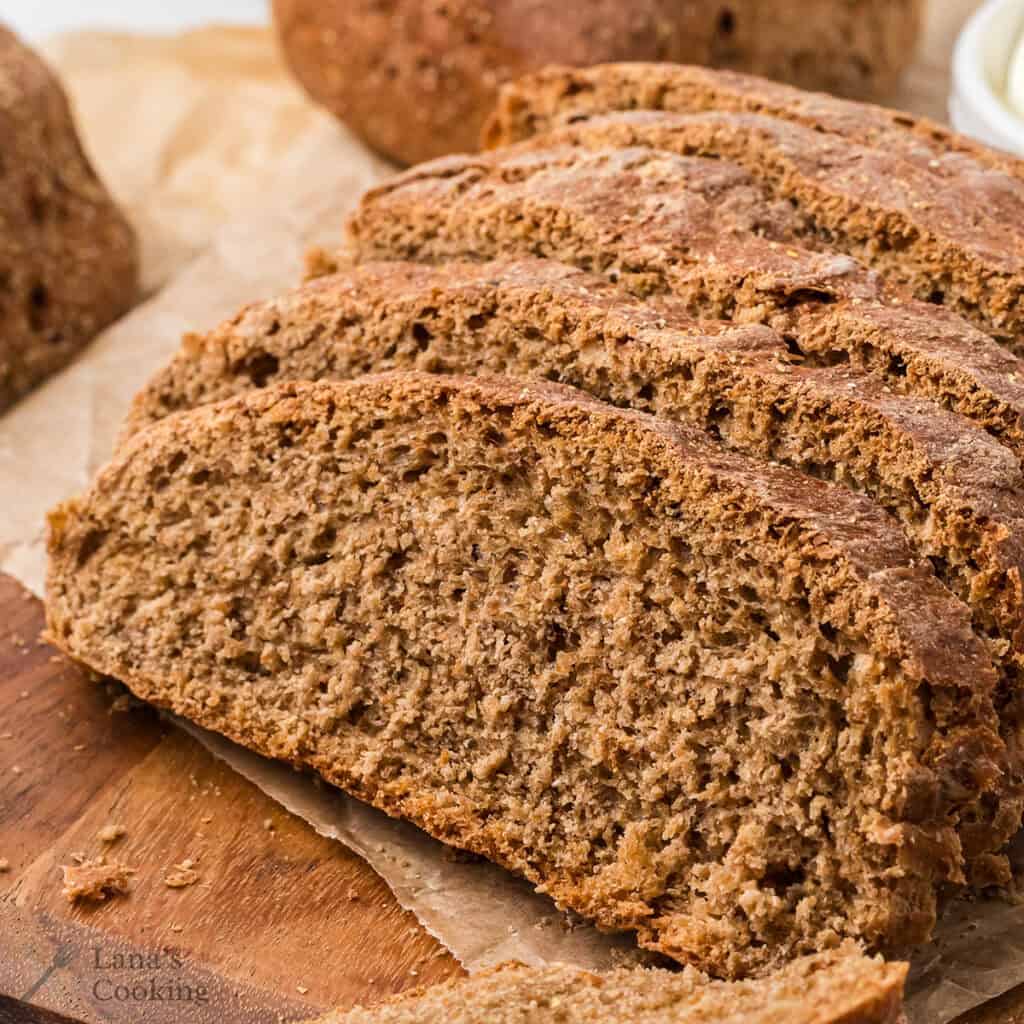
- Whole Wheat Flour – Adds hearty texture and deep, nutty flavor. Whole wheat absorbs more liquid than white flour, so balancing it with bread flour keeps the bread from being too dense.
The complete ingredient list with detailed measurements is included in the printable recipe card at the bottom of this post.
How I Make Sourdough Whole Wheat Bread
Making Whole Wheat Sourdough Bread is a hands-on process, but don’t let that intimidate you. If you’ve ever kneaded dough or waited for bread to rise, you’re already halfway there. The key is patience—and a little bit of trust in the process. Here’s how I do it:
Mixing and Kneading the Dough


- I start by adding the sourdough starter, lukewarm water, yeast, sugar (or honey), salt, bread flour, and whole wheat flour into the bowl of my stand mixer fitted with a dough hook. Note: That’s Himalayan pink salt in the photo. Use whatever fine salt you have.
- Let it knead on a slow speed until the dough is smooth and elastic, which usually takes about 4-6 minutes.
👉 PRO TIP: If you don’t have a stand mixer, don’t worry—you can mix everything in a large bowl with a sturdy wooden spoon until it starts coming together. Then, turn it out onto a floured surface and knead by hand for about 10 minutes. You’ll know the dough is ready when it’s soft, slightly tacky, and bounces back when you press it gently.
First Rise: Letting the Dough Work Its Magic


- Once the dough is kneaded, I lightly oil a large bowl and place the dough in, flipping it over once so the top is coated. This helps prevent it from drying out as it rises. Then, I cover the bowl loosely and let the dough rest in a warm spot for about 90 minutes—long enough for it to double in size.
Shaping the Loaves


- After the first rise, I turn the dough out onto a clean board or countertop and divide it in half. Each half gets stretched into a rough rectangle before being rolled up from the short end into an oval loaf shape. A quick back-and-forth roll on the board smooths out the surface and gives it structure.
Final Rise and Prepping for the Oven


- I place the shaped loaves on a parchment-lined or lightly oiled baking sheet and cover them again. Another hour of resting lets them rise one last time before baking.
- During the last 15 minutes, I preheat the oven to 425°F so it’s good and hot when the bread goes in.
- Right before baking, I dust the loaves with flour and use a very sharp knife (or a bread lame if I want to feel fancy) and make one or two deep diagonal slashes in each loaf. This isn’t just for looks—it helps control how the bread expands in the oven so you get a nice rise and shape.
Baking and Cooling

- The loaves go into the oven and bake for 25 to 35 minutes until they’re deeply golden brown.
👉 PRO TIP: The best way to check if they’re done? Give the bottom of the loaf a gentle tap—it should sound hollow.
- Once they’re out of the oven, I place them on a cooling rack and (this is the hardest part) let them rest for at least an hour before slicing. Cutting into hot bread might be tempting, but it can make the interior texture gummy. A little patience here makes all the difference.
And that’s it! Fresh, homemade Whole Wheat Sourdough Bread, ready for butter, jam, or your favorite sandwich (chicken salad, anyone?).

Want to save this?
How to Store and Keep Homemade Sourdough Bread
Homemade bread doesn’t have preservatives like store-bought loaves, but with the right storage, it will stay fresh and delicious for several days. Here’s how I keep my Whole Wheat Sourdough Bread at its best:
Storing at Room Temperature
For short-term (1-2 days) storage, keep the bread at room temperature in a bread box or wrapped in a clean kitchen towel. If you prefer plastic wrap or a resealable bag, leave a little room for air circulation to prevent moisture buildup.
Refrigerating (Not Recommended)
While it’s tempting to pop bread in the fridge to extend its shelf life, refrigeration actually makes it go stale faster. The cold air changes the texture, making the bread dry and tough. If you won’t eat it within a few days, freezing is a much better option.
Freezing for Longer Storage
If you want to keep your sourdough fresh beyond a few days, freezing is the way to go. Here’s how I do it:
- Let the bread cool completely before freezing to prevent condensation (which leads to freezer burn).
- Wrap the loaf tightly in plastic wrap, then in a layer of aluminum foil before placing it in a freezer-safe bag.
- For easy use, slice the bread before freezing. That way, you can pull out a slice or two at a time and toast them straight from the freezer.
- Frozen properly, the bread keeps well for up to 3 months.
Reheating and Refreshing
To bring back that fresh-baked texture, warm the bread in a 350°F oven for 10-15 minutes. If you’re reheating frozen slices, just pop them in the toaster for a quick refresh.


Questions About Whole Wheat Sourdough Bread
Yes, you can use all-purpose flour instead of bread flour; however, bread flour’s higher protein content (11-13%) helps develop more gluten, resulting in better structure and chewiness. Using all-purpose flour will yield a slightly less chewy texture.
Absolutely! I often add seeds, nuts, or dried fruits to the dough (either during the initial mixing or the shaping step). I find that about 1 cup of add-ins is adequate.

Have a question or thought to share?
If you have a question about the recipe or if you’ve made it and want to share how it turned out, I would truly enjoy hearing from you. Just scroll down to leave a comment or add your star rating.
Thank you for stopping by. It means a lot to have you here.
Recipe

Whole Wheat Sourdough Bread
Ingredients
- 1 cup sourdough starter room temperature
- 1 ½ cups water lukewarm
- 1 package active dry yeast
- 1 tablespoon granulated sugar or honey
- 2 ½ teaspoons salt
- 2 cups unbleached bread flour
- 2 cups whole wheat flour
Instructions
- Combine all ingredients in the bowl of an electric stand mixer fitted with a dough hook.1 cup sourdough starter, 1 ½ cups water, 1 package active dry yeast, 1 tablespoon granulated sugar or honey, 2 ½ teaspoons salt, 2 cups unbleached bread flour, 2 cups whole wheat flour
- Knead on slow speed until a smooth dough forms (about 4-6 minutes). Alternately, combine all ingredients in a large bowl. Stir with a wooden spoon until the dough begins to come together. Turn out onto a floured surface and knead until a smooth dough forms (about 10 minutes).
- Lightly oil a large bowl. Place the dough top side down in the bowl and turn it once to coat the top with oil. Let the dough rise for about 90 minutes, lightly covered, in a warm place until doubled in size.
- Turn the dough out onto a board or countertop and divide it in half. Stretch each portion of dough into a rough rectangle. Starting at one short end, roll the dough into an oval loaf shape. Roll the shaped dough back-and-forth briefly on the board to create a smooth surface.
- Place the two loaves on a parchment-lined or lightly oiled baking sheet. Cover and let rise again for about 1 hour.
- Near the end of the rising time, preheat the oven to 425 degrees.
- Dust the tops of the loaves with flour. Make one or two deep, diagonal slashes in each loaf using a very sharp knife or bread lame.
- Bake for 25 to 35 minutes or until deeply golden brown.
- Remove from the oven and cool on a rack for at least one hour before slicing.
Notes
- For short-term (1-2 days) storage, keep the bread at room temperature in a bread box or wrapped in a clean kitchen towel. If you prefer plastic wrap or a resealable bag, leave a little room for air circulation to prevent moisture buildup. Refrigerating is not recommended.
- May be frozen for up to 3 months – to freeze, wrap in plastic wrap followed by aluminum foil. Place in a zip-top bag.
Nutrition Information
Nutrition information is calculated by software based on the ingredients in each recipe. It is an estimate only and is provided for informational purposes. You should consult your healthcare provider or a registered dietitian if precise nutrition calculations are needed for health reasons.
— This post was originally published on June 3, 2014. It has been updated with new photos and additional information.
Lana, I like how you point out there are many ways to make a sourdough wild yeast starter. I didn’t use any sugar in mine, but that’s okay too. Like I always say, it’s pretty hard to mess up really! :D
I have on my list to do, to make starter. It just sounds like fun to make:-) Your bread looks gorgeous! Hugs, Terra
It is fun, Terra! I hope you’ll try it soon.
I need to come back and follow your instructions for making bread. It has always been on my bucket list and I have yet to try. Yours look fantastic!
A couple of times in my life I had sour dough starter just like my Mom. I had good luck with it, even though I was a newbie. You wait long enough between doing something you are a newbie again. Actually I had forgotten about sour dough starter. Thanx for the reminder.
Thanks for all the good information about yeast. Baking yeast breads is my favorite thing to do in the kitchen and I especially love using sourdough starter. Thanks for sharing your method, Lana!
I’m so glad that I decided to get back into bread backing, Renee. It’s one of my favorite things, too!
Sourdough is my favorite! I have never had it whole wheat but I’m totally curious now!
I really like it. You get both the nutty flavor from the whole wheat and the tangy sourdough. It’s delicious.
Ok, technical question. Can I substitute regular all purpose flour for the bread flour? Inquiring minds want to know.
Miss P
Yep, sure can. It’ll have a little different texture but will still work. You can also make this recipe with all bread flour or all all-purpose flour and no whole wheat. Works either way. I just like to have the whole grain stuff in mine.