


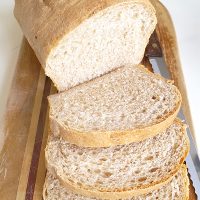
My Easy Homemade Bread Recipe can be made with all unbleached bread flour for a traditional white loaf or a mixture of white and whole wheat. It’s a great all-round bread for sandwiches and toast.
Is there anything better than the smell of fresh bread baking? The only thing I can think of is the heavenly taste of that fresh bread slathered with butter! If you’ve wanted to learn how to bake your own homemade bread, you’ve come to the right place!

One of the best things about mastering an easy homemade bread recipe is the sense of accomplishment you feel when taking that lovely golden brown aromatic loaf out of the oven. And being able to serve your family bread that you know contains nothing more than flour, yeast, salt, and water is a definite pleasure.
Just four simple, wholesome ingredients and a couple of hours are all you need to turn out beautiful loaves of homemade bread. And once you have a handle on the technique, you can branch out to all kinds of interesting bread recipes like focaccia, cinnamon rolls, and even fancy loaves like a Pane Bianco.
Follow along with me and I’ll teach you the basic steps you need to know to start making your own delicious homemade bread.
First Let’s Talk About Yeast
So you want to make this easy homemade bread recipe, and you head to the grocery store to get your ingredients. Then you come to a screeching halt in the baking aisle in front of the yeast. Right?
Do you buy the packets, the jar, or the bulk bag? What’s the difference between active dry yeast and instant yeast? Ack, it’s too confusing, I’ll just buy a loaf of bread in the bakery.
Wait! I’m gonna help you with this. For home bakers, there are basically two types of yeast, and they’re often interchangeable. There are active dry yeast and instant yeast (sometimes labeled as “rapid rise” or “bread machine yeast”).
The main thing you need to know is that active dry yeast needs to be stirred into a little warm water with sugar or honey before adding it to your recipe, and instant (or bread machine) yeast doesn’t. That’s it in a nutshell.
I almost always use instant yeast because then I can skip the step of dissolving the yeast and just dump it straight in with the flour. If you go for the active dry yeast, you’ll need to use part of the water (about 1/2 cup) called for in the recipe, plus a little sweetener, to dissolve the yeast and start it activating.
If you’re really interested in all the ins and outs, the whys and wherefores of yeast, there’s an excellent post on the King Arthur Flour blog that explains it in detail. I highly recommend it for baking nerds like me.
How to Make My Easy Homemade Bread Recipe
This recipe is quite easily made in a stand mixer with a dough hook. But if you don’t have one, that’s no problem. All you really need is a big bowl and a wooden spoon. Just follow the alternate instructions I’ve included in parentheses for making it by hand.
Mix the Dry Ingredients
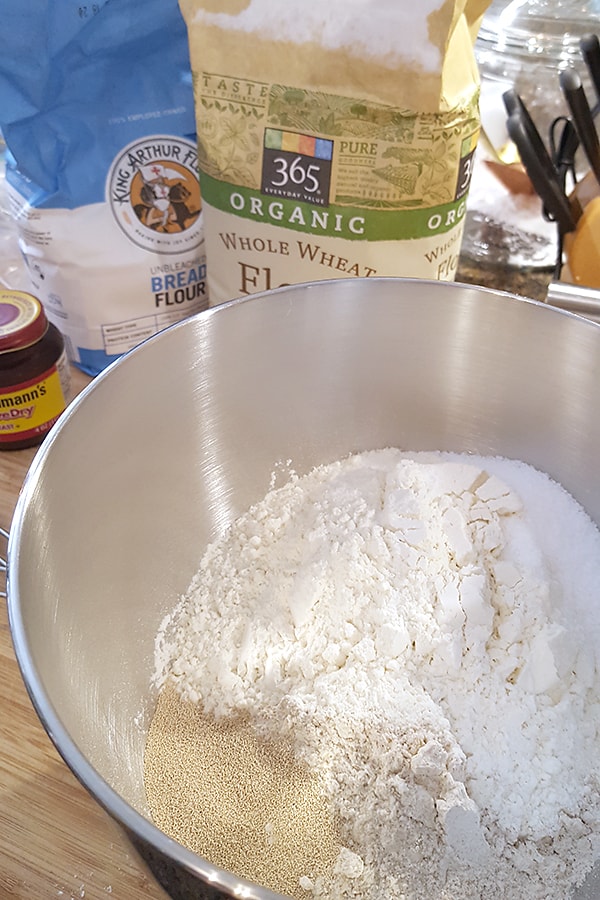
Measure the flour, salt, and yeast into the mixer bowl. (By hand: measure into a large mixing bowl)
👉 PRO TIP: When measuring flour, lightly fluff it with a spoon and then spoon the flour into the measuring cup. Level off the top of the cup to get an accurate measure. Don’t pack the flour down.
👉 PRO TIP: Don’t put the salt and yeast right on top of each other since salt tends to retard the action of the yeast.
Measure the Wet Ingredients
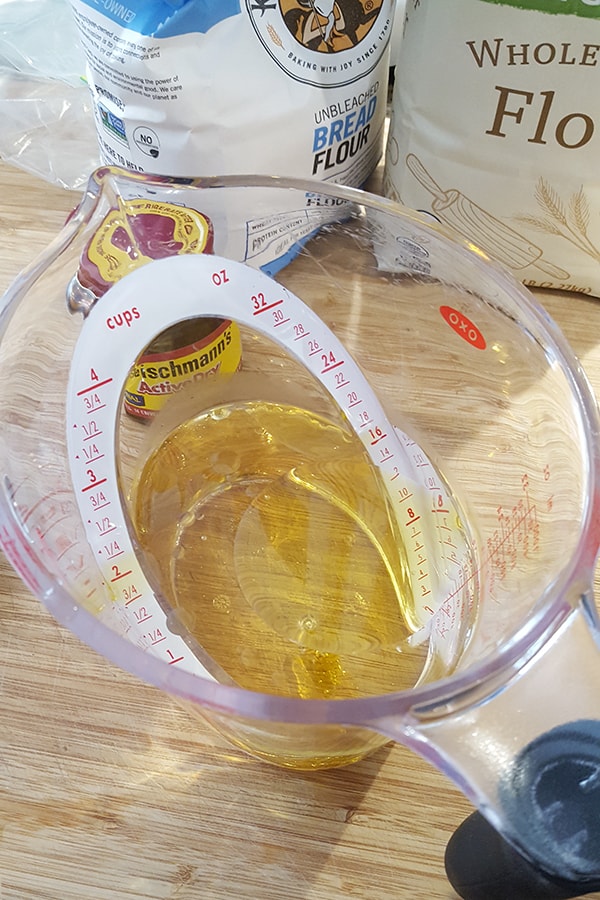
In a measuring cup, stir together the warm water, oil, and honey.
👉 PRO TIP: If you measure the oil first and then the honey using the same spoon, the honey won’t stick to the spoon.
How Warm Should the Water Be for Yeast?
Ideally, the water should be between 105 and 110 degrees Fahrenheit to activate the yeast. If you have a thermometer and want to be really precise, go ahead and check. If you don’t have a thermometer, then a good comparison is a nice, warm bath. If it feels warm and comfy to your hand, then you’re good.
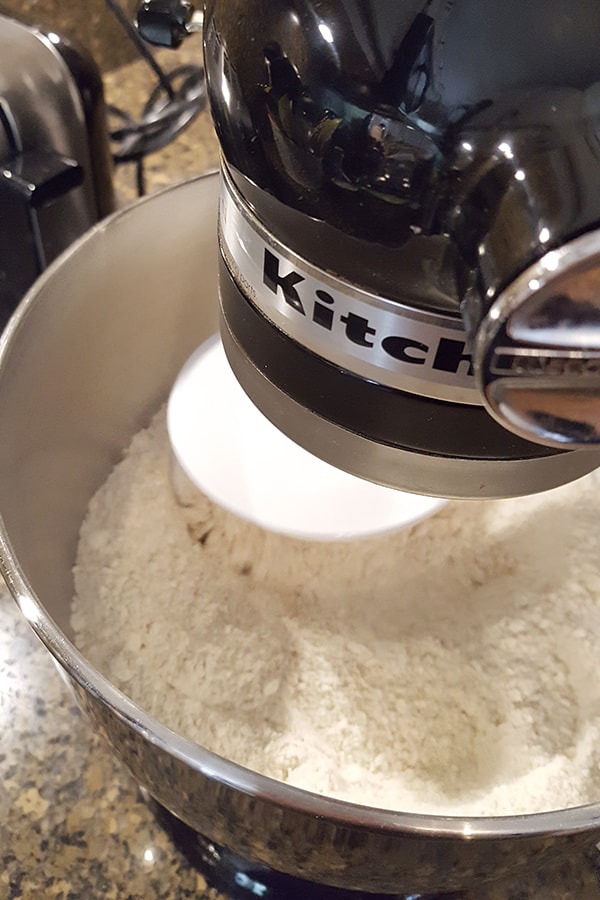
Turn on the mixer to its lowest speed for about 15 seconds to just combine the dry ingredients. (By hand: Mix the dry ingredients together with a spoon).
Mix the Wet and Dry Ingredients
Switch off the mixer and pour in the liquids all at once. Turn the mixer back on to its lowest speed for about 1 1/2 minutes until the ingredients are fairly well combined. (By hand: Use a sturdy wooden spoon to mix the wet ingredients into the dry ingredients until well combined.)
Turn off the mixer and let the dough sit in the bowl for 10 minutes. (By hand: Let stand for 10 minutes.)
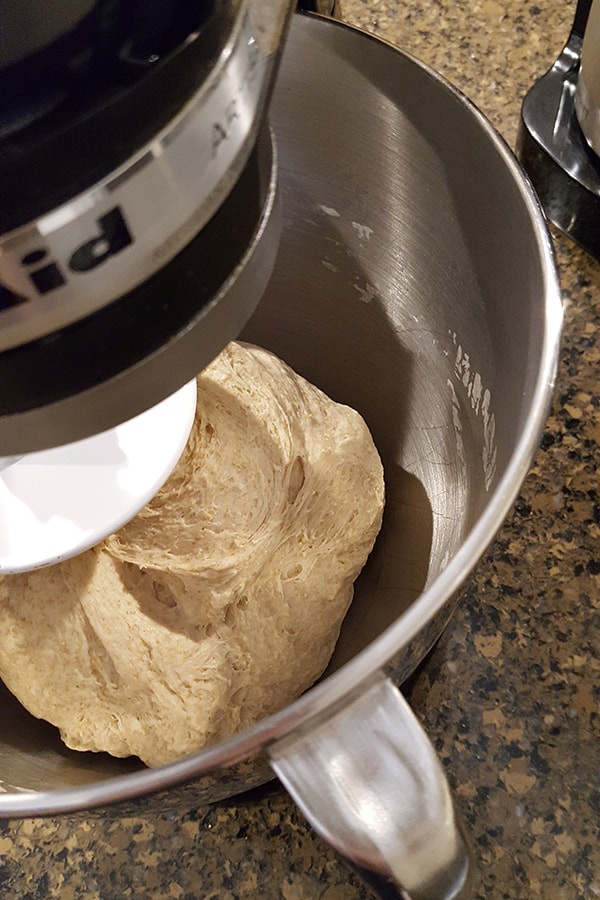
Kneading the Dough
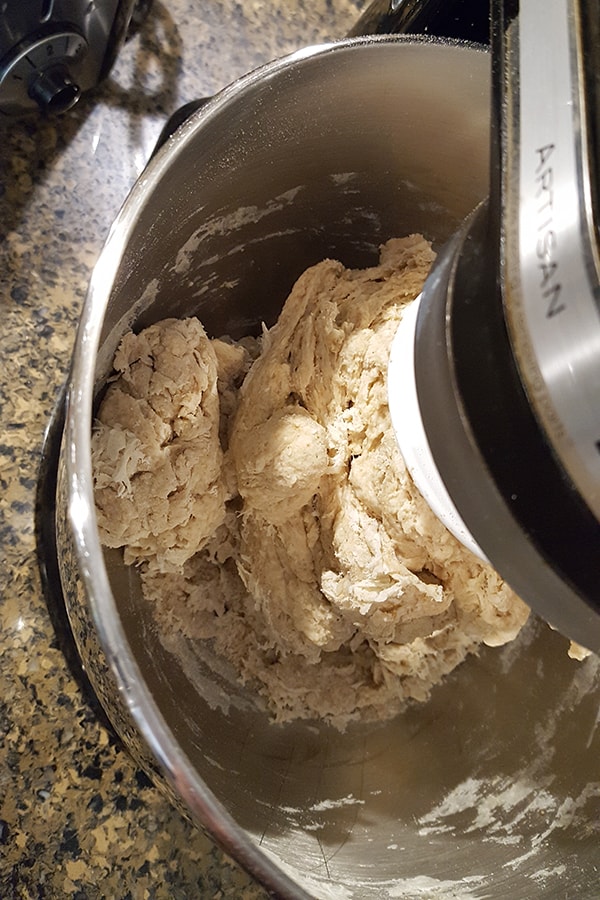
Turn the mixer on to the second speed and let it run for 3 minutes.
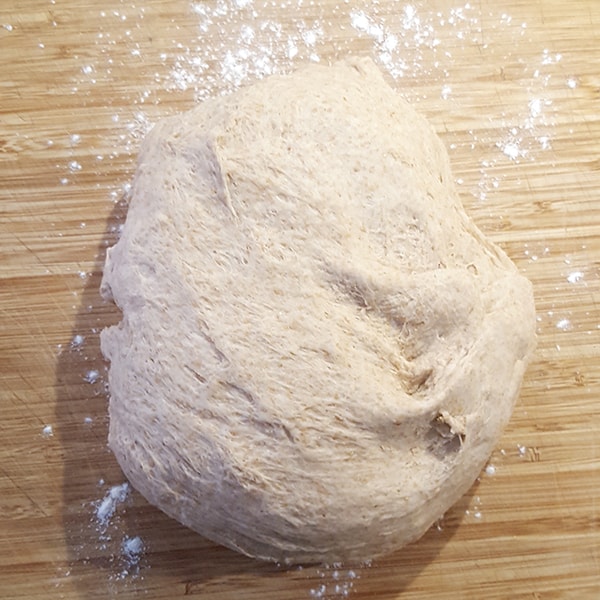
Remove the bowl from the mixer and turn the dough out onto a lightly floured board or countertop.
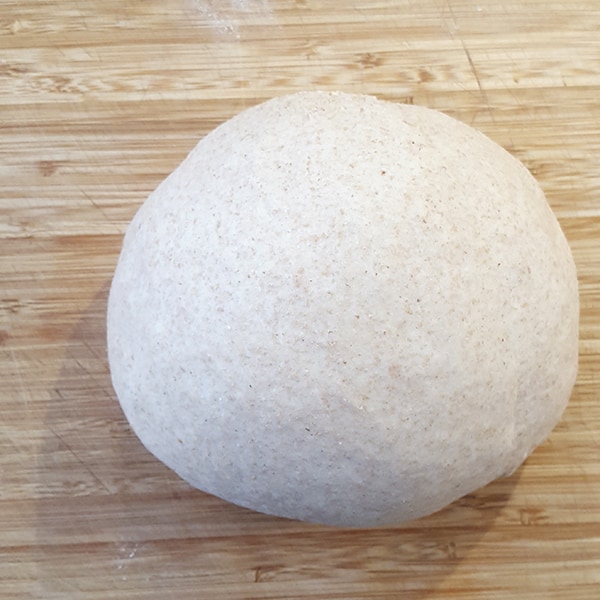
Knead 3 or 4 times until a smooth dough is achieved. (By hand: Turn the mixture out onto a floured wooden board or countertop and knead by hand for about ten minutes or until a smooth dough forms.)
Let the dough sit for a minute while you wash the bowl and oil it with an additional tablespoon of olive oil.
Want to save this?
Place the dough into the oiled bowl, top side down, and then turn it over so that the oiled top is up.
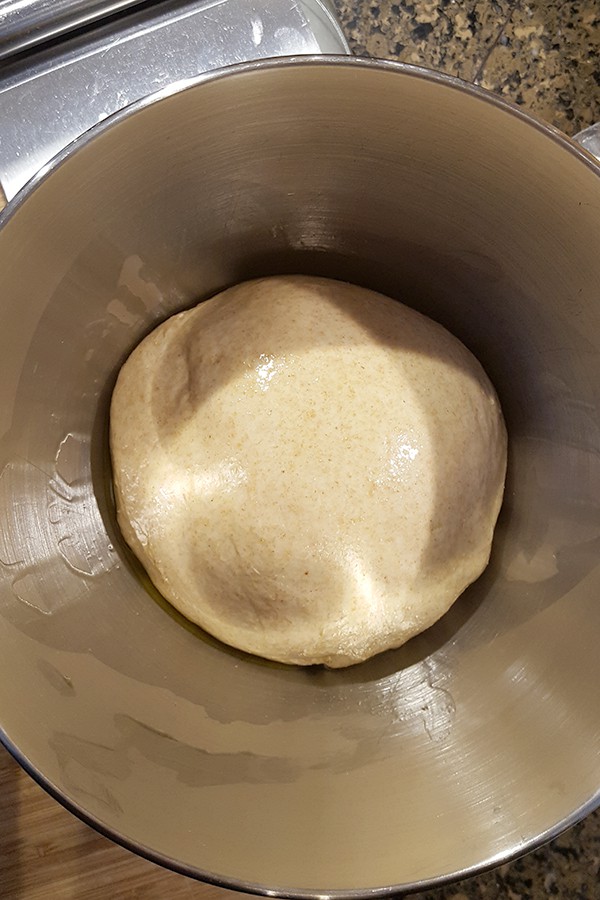
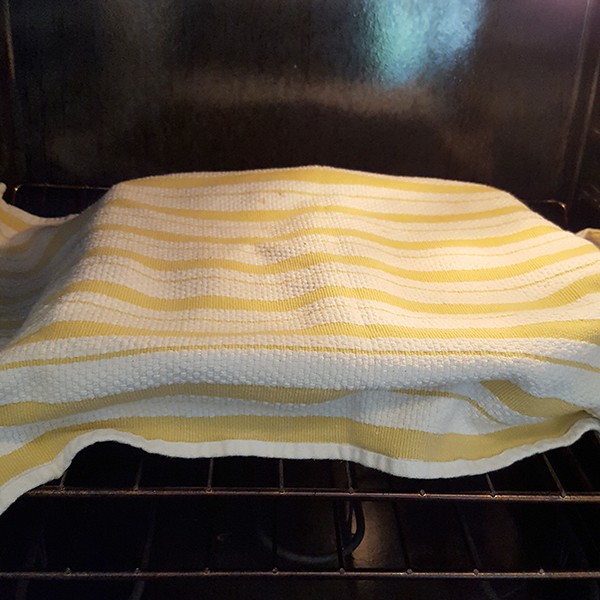
First Rise
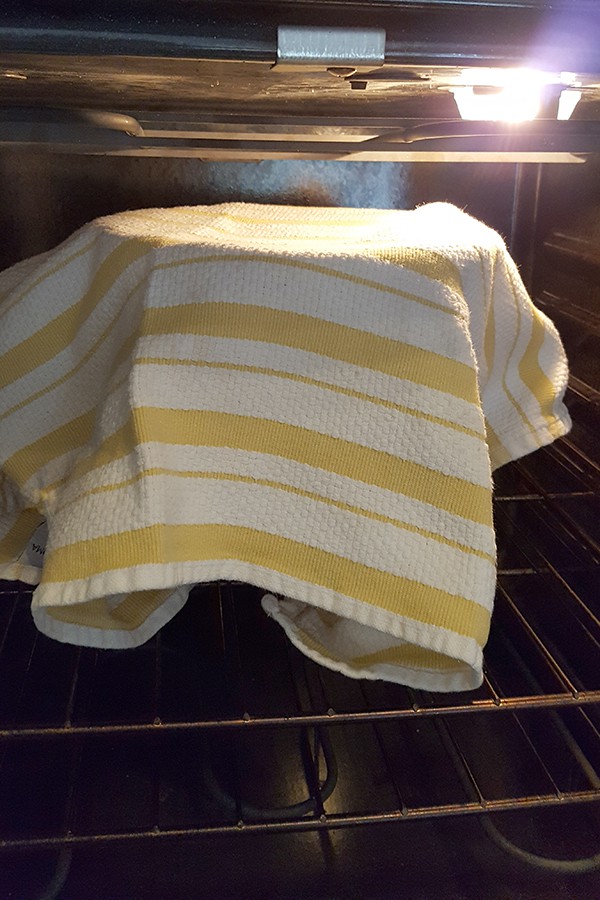
Leave it in a warm place, covered with a towel, for about an hour, or until the dough has doubled in volume. My oven with the light on is usually just cozy enough.
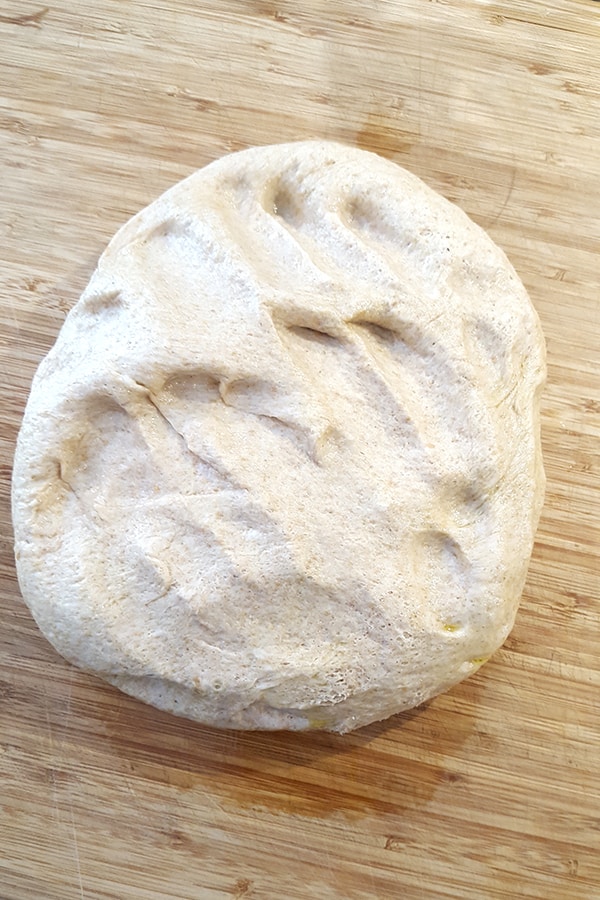
Turn the risen dough out onto a lightly floured surface and gently deflate it. Then knead another three or four times.
Shape the Dough
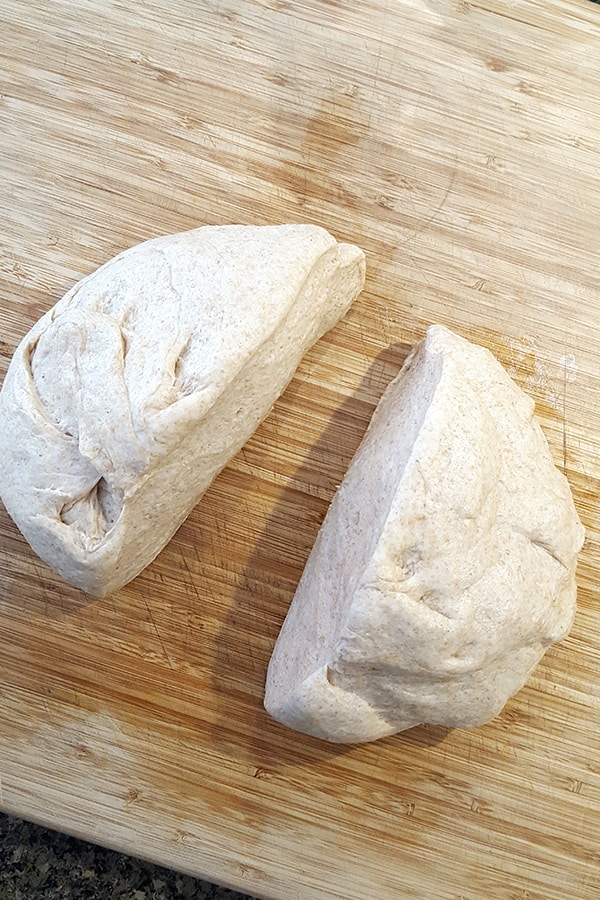
Divide the dough in half.

Flatten each half into a rectangle.
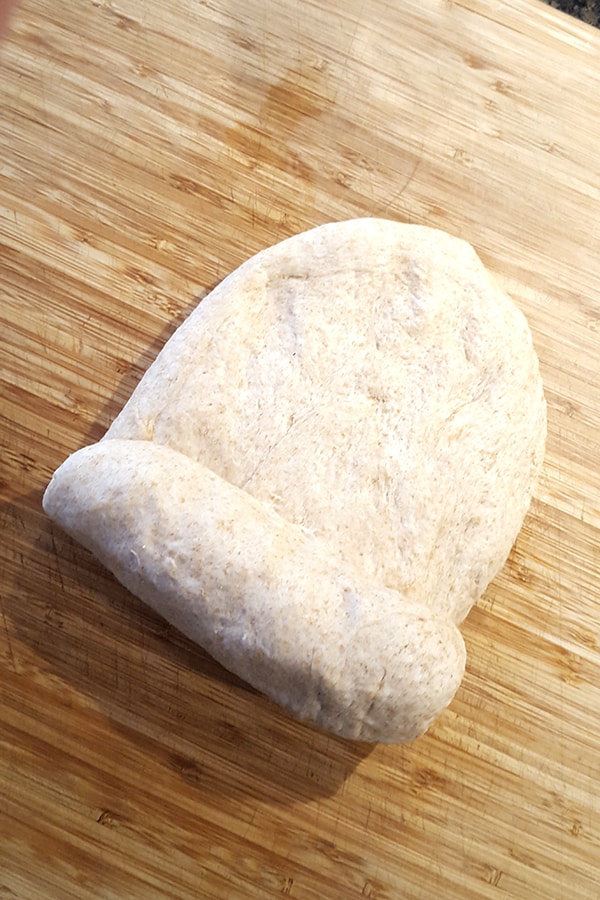
Roll the dough up starting from one narrow end.
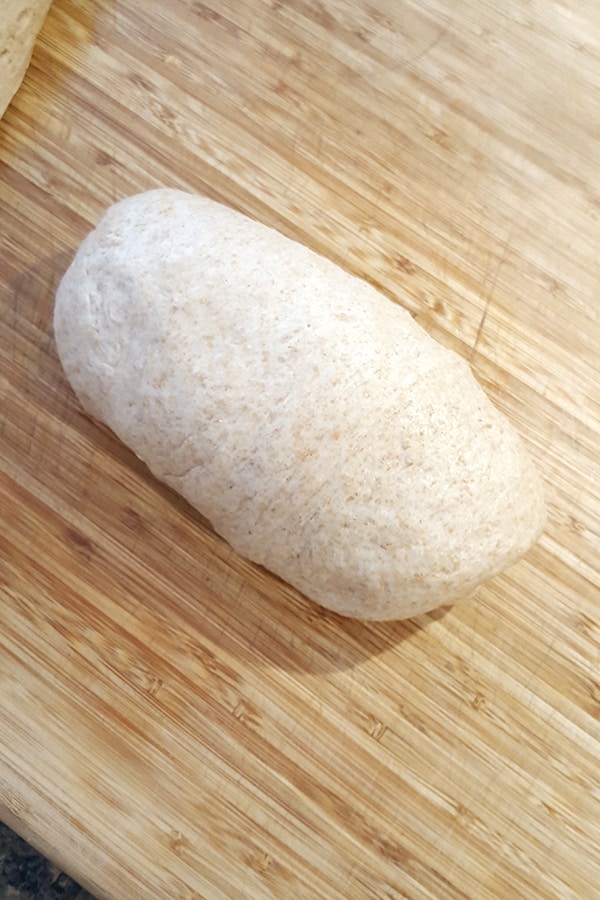
Form the rolled dough into a loaf shape.
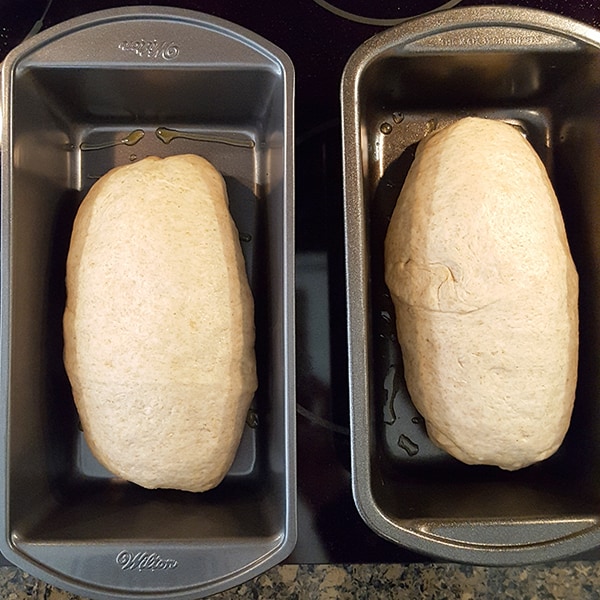
Place each loaf, seam side down, into a lightly oiled loaf pan.
Second Rise
Cover the pans and let the dough rise again until about doubled in volume.

The second rise should take about 35 to 45 minutes.
Bake the Loaves
While the dough is rising for the second time, preheat the oven to 375°F. Bake the loaves for 30 to 35 minutes, or until nicely golden brown.
👉 PRO TIP: If you like a softer, more chewy crust, place a pan of water in the oven on the rack below the bread. You can also brush the tops of the loaves with olive oil for a prettier crust if you’d like.
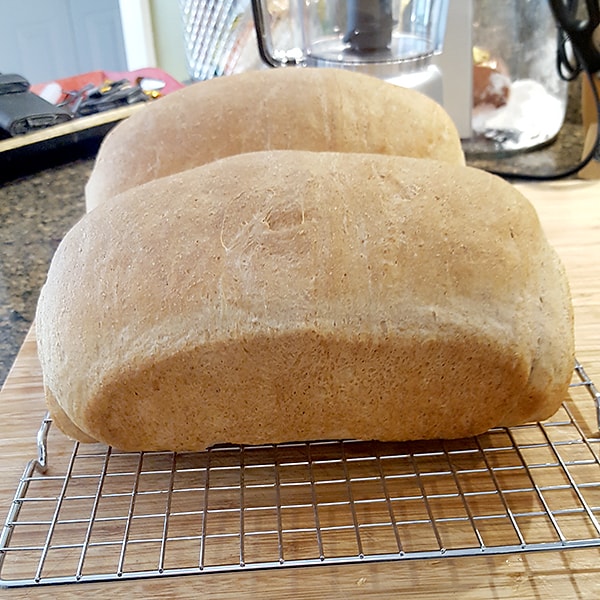
Remove the warm loaves from the pans and set them on a wire rack until completely cool.

When completely cool, slice and enjoy! Now, I know it’s really tempting to slice that warm bread and cover it with butter. But you really do need to let it cool first.
The bread actually continues to develop its crumb while cooling, and if you slice it too soon, it can be a bit gooey inside. Just put it to the side and wait. No matter how hard that is.
Storing and Using Homemade Bread
Because homemade bread doesn’t contain the preservatives used in commercially produced bread, it won’t last quite as long at room temperature. Mine typically lasts three to four days in a plastic bag in the pantry.
If you’d like to keep it longer, you can also freeze it. Wrap it well in plastic and pop it in the freezer where it should keep for a month, maybe two.
If your lovely homemade bread does happen to go stale before you can use it up, don’t toss it! Leftover bread has a long culinary history of being repurposed into delicious recipes like homemade croutons, French toast, bread pudding, and bread crumbs.

Have a question or thought to share?
If you have a question about the recipe or if you’ve made it and want to share how it turned out, I would truly enjoy hearing from you. Just scroll down to leave a comment or add your star rating.
Thank you for stopping by. It means a lot to have you here.
Recipe
Easy Homemade Bread Recipe
Ingredients
- 3 cups bread flour
- 2 ½ cups whole wheat flour
- 1 tablespoon salt
- 2 ½ teaspoons yeast or one packet
- 2 cups warm water between 105 and 110 degrees
- 1 tablespoon olive oil plus additional for oiling the bowl and pans
- 2 tablespoons honey
Instructions
- This recipe is quite easily made in a stand mixer with a dough hook. But if you don’t have one, that’s no problem. All you really need is a big bowl and a wooden spoon. Just follow the alternate instructions I’ve
included in parenthesis for making it by hand. - Measure the flour*, salt, and yeast into the mixer bowl. (By hand: measure into a large mixing bowl)3 cups bread flour, 2 ½ cups whole wheat flour, 2 ½ teaspoons yeast, 1 tablespoon salt
- In a measuring cup, stir together the warm water, oil, and honey**.2 cups warm water, 1 tablespoon olive oil, 2 tablespoons honey
- Turn on the mixer to its lowest speed for about 15 seconds to just combine the dry ingredients. (By hand: Mix the dry ingredients together with a spoon).
- Switch off the mixer and pour in the liquids all at once. Turn the mixer back on to its lowest speed for about 1 1/2 minutes until the ingredients are fairly well combined. (By hand: Use a sturdy wooden spoon to mix the wet ingredients into the dry ingredients until well combined.)
- Turn off the mixer and let the dough sit in the bowl for 10 minutes. (By hand: Let stand for 10 minutes).
- Turn the mixer on to the second speed and let it run for 3 minutes. Remove the bowl from the mixer and turn the dough out onto a lightly floured board or counter top. Knead 3 or 4 times until a smooth dough is achieved. (By hand: Turn the mixture out onto a floured wooden board or counter top and knead by hand for about ten minutes or until a smooth dough forms.)
- Let the dough sit for a minute while you wash the mixer bowl and oil it with an additional tablespoon of olive oil.
- Place the dough into the oiled bowl top side down and then turn it over so that the oiled top is up. Leave it in a warm place covered with a towel for about an hour or until doubled in volume.
- Turn the risen dough out onto a lightly floured surface and gently deflate it, kneading another three or four times.
- Divide the dough in half. Flatten each half into a rectangle. Roll up and form into a loaf shape. Place each loaf into an oiled loaf pan.
- Cover and let rise again – about 35 to 45 minutes.
- Preheat the oven to 375 and bake for 30 to 35 minutes or until nicely golden brown. ***
- Remove loaves from pans and let cool at least 30 minutes on a wire rack.
Notes
Nutrition Information
Nutrition information is calculated by software based on the ingredients in each recipe. It is an estimate only and is provided for informational purposes. You should consult your healthcare provider or a registered dietitian if precise nutrition calculations are needed for health reasons.
Thank you for the recipe. Could I substitute blue agave syrup for the honey? Thank you.
I don’t have any experience with “blue agave syrup.” Sorry!
Can gluten free flour work in this recipe?
I have not tested this recipe with gluten-free flour.
your recipes are perfect, 😋 I love it, thanks
Thank you very much!
Can this recipe be made in a bread machine? If so would the recipe need to be adjusted? Love ALL your recipes Thanks.
Hi Sophie – I haven’t tried this recipe in a bread machine, although I feel sure you could do that. Sorry, I don’t have bread machine adjustments for you.
This is the best bread recipe I have ever tried. It was super easy to follow and my bread came out wonderful. I am bragging to everyone 😂
That’s great to know! I really enjoy this recipe, especially for a sandwich loaf.
OOOOOOH! That looks fabulous. I may try this when the temperature here dips below 97. Ugh.
It’s my standard loaf recipe. Makes fabulous toast and sandwiches!