Just imagine a cold, snowy winter day with a pot of homemade vegetable soup rich with tomatoes cooking on the stove. That soup will be even more delicious when you use Home Canned Tomatoes in it! So grab a canner and some jars and use the abundant summer produce to make your own. You’ll love having them when cold weather comes around.
What do you do when your carefully tended and nurtured garden rewards you with the gift of beautifully ripe summer tomatoes? Why, you get out your canner and jars and go to work.
Canning is a simple but exacting process that is easily mastered. And opening a jar of Home Canned Tomatoes in the middle of winter is like opening a ray of summer sunshine.
I’m sure it’s strange, but excessive amounts of gorgeous summer produce get me so excited. I immediately start making plans about how to preserve it and what to do with it later on.
If I have peaches, they usually wind up as preserves, with some frozen for use in cobblers later in the year. Same with berries and other fruits. Peas and butterbeans are always blanched, packaged, and frozen.
But when I have an abundance of tomatoes, I almost always can them. I just think canning tomatoes is the best way to capture that fresh summer taste. Plus, they look so nice on my pantry shelves. And I love using them in stewed okra and tomatoes, tilapia veracruz, tomato gravy, and beef stew!
If you’ve never tried canning tomatoes, here’s my guide to help you through the process. This recipe follows all tested, safe guidelines from the USDA and the National Center for Food Preservation.
Recipe Snapshot: Home Canned Tomatoes
Prep Time: 1 hour
Cook Time: 1 hour, 25 minutes
Total Time: 2 hours, 25 minutes
Servings: 28
Cuisine: American
Cooking Method: Stovetop Waterbath Canning
Primary Ingredients: Fresh whole tomatoes, bottled lemon juice, pickling salt
Skill Level: Intermediate
DO MORE WITH CHATGPT
WHAT PEOPLE ARE SAYING …
⭐⭐⭐⭐⭐
“Love love love this recipe. Made so simple and easy. This is my 3rd year using it! Great job!!“
— Crystal
Ingredient and Equipment Notes
This post may contain affiliate links. Lana’s Cooking is reader-supported and earns a tiny commission at no extra cost to you when you shop from our links.
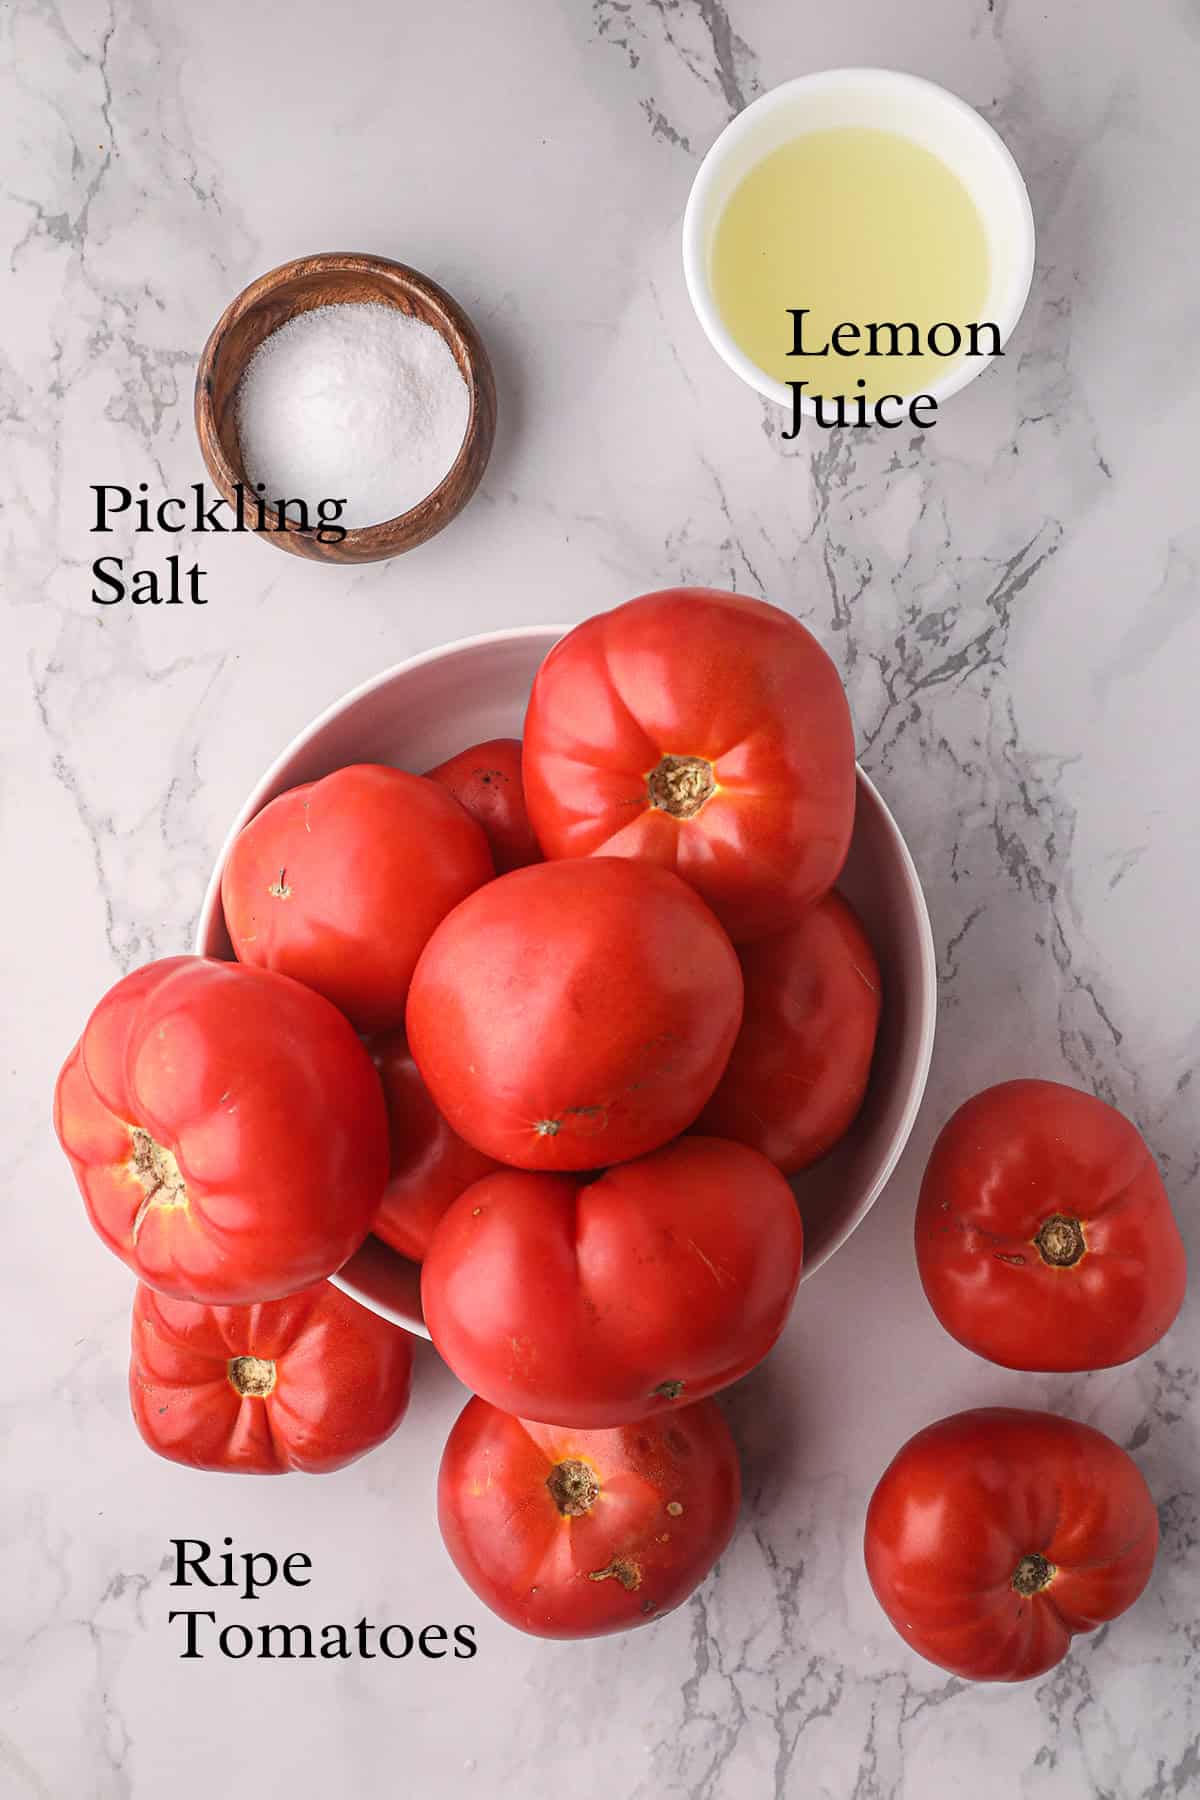
- Fresh tomatoes – you can use any variety of tomatoes for canning.
- Pickling salt – this is pure salt with no additives.
- Bottled lemon juice – bottled juice is used because it has a specific pH. Do not use fresh squeezed lemon juice for canning.
You’ll find more information about the ingredients throughout the instructions below.
- Canning jars, lids, and rings.
- A canning pot or kettle.
The complete ingredient list with detailed measurements is included in the printable recipe card at the bottom of this post.
Review Proper Canning Procedure
If you have never canned before, or if it has been a while since your last time canning, please review the current guidelines. You always want to make sure that you handle canned goods correctly. Improperly canned foods can really be disastrous. I’ve written a post with lots of information about correct canning techniques that you might find helpful.
Prepare the Canning Jars, Lids, and Rings
The first step in any canning session is to prepare the jars, lids, and rings and to start heating the canner full of water. It can take some time for that much water to come to a boil, so plan accordingly.
Wash the jars, lids, and rings in hot soapy water. It’s not necessary, but I like to keep the lids in a pan with barely warm water until needed. Put the clean jars in the canner rack and let them come up to the boil along with the water in the canner.

Pro Tip
The initial investment in jars, rings, and lids may seem costly, but remember that the jars and rings can be reused for years. The lids do have to be discarded after one use, but they’re fairly inexpensive.
How to Make Home Canned Tomatoes
Prepare the Tomatoes

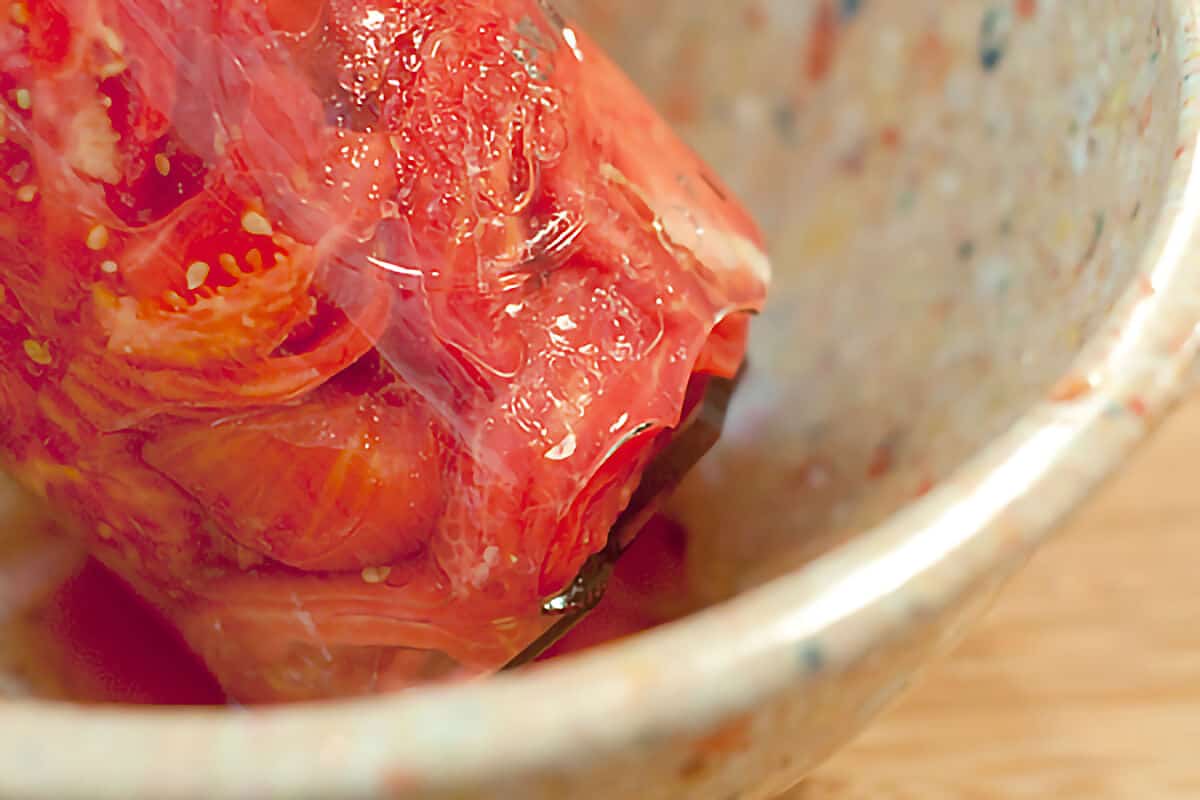
Now you can get on with preparing the tomatoes. Wash the tomatoes well, then peel and core them. You can leave the tomatoes whole or cut them into halves or quarters. I did quarters this time.
Pro Tip
The easiest way to peel tomatoes is by scalding them in boiling water. Start by adding some ice and water to a large bowl. Bring a large pot of water to the boil. Add a few tomatoes to the boiling water and leave them for about 15 seconds. Immediately remove the tomatoes and plunge them directly into the ice water. After about 30 seconds, the skins should slip right off.
Want to save this?
Fill the Prepared Jars One at a Time
When all the tomatoes are prepped and ready to go, start filling the jars. The method I use for canning tomatoes is the “raw packed in their own juice” method.
The way I proceed is this. Lift the canner rack with the jars in it and hook it over the sides of the water bath canner so that it remains elevated. Remove one hot jar at a time from the rack and drain the water from the jar back into the canner. Place the hot jar on a folded dishtowel.

Add 1 teaspoon of salt and two tablespoons of lemon juice to each jar.
Pro Tip
Just a note about this step, in case you’re interested. Most modern varieties of tomatoes are not acidic enough to be safely canned using the water bath method without added acid. You can use either bottled lemon juice or citric acid (2 tablespoons of lemon juice per quart, or 1/2 teaspoon of citric acid per quart). You can faintly taste the added acid in the finished product, but adding a scant tablespoon of sugar to the recipe in which you use the tomatoes will offset that taste.
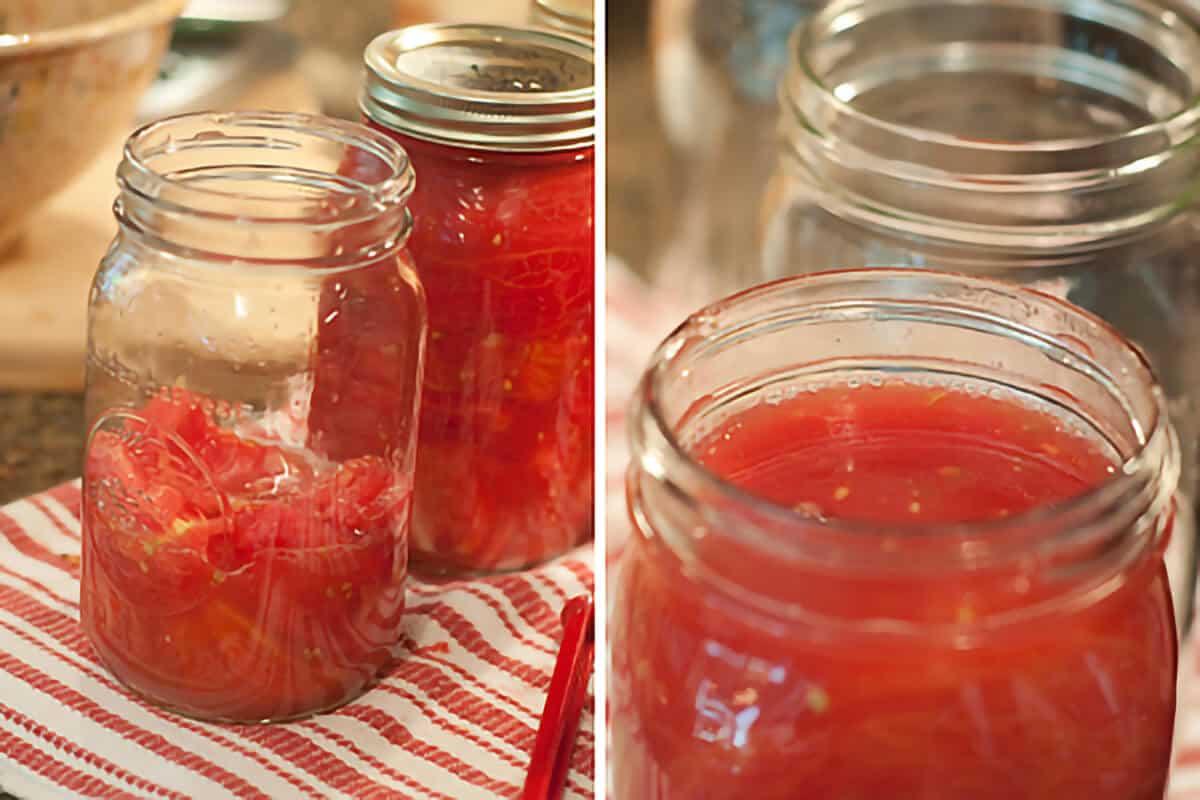
Fill the jar half to three-fourths full with tomatoes, and then gently press on the tomatoes to release the juice and fill all the space between the tomatoes. Continue filling and gently pressing until the contents of the jar are within 1/2 inch of the top rim.
Keep the pH at the Correct Level
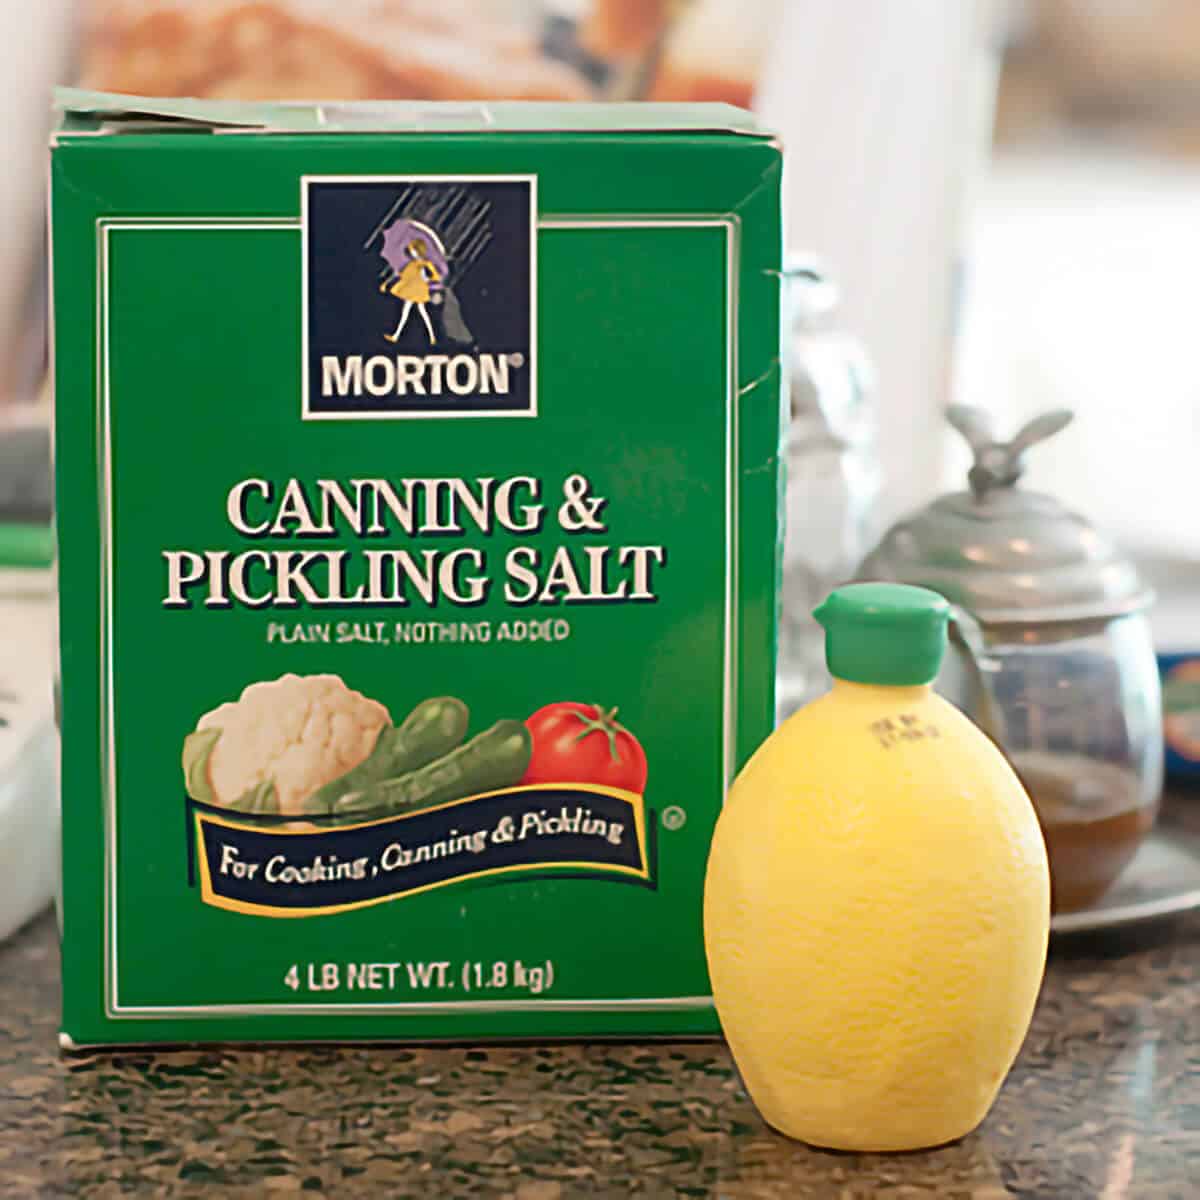
All reliable home food preservation sources require the use of bottled lemon juice, such as the ReaLemon brand, instead of freshly squeezed lemon juice. Bottled juice is used because its pH is controlled at a specific level, whereas fresh lemon juice may or may not have the necessary pH to maintain the safety of the canned tomatoes. Salt is actually optional for this recipe and is added for taste only. If adding salt, you should use pickling salt, because it’s pure salt without any additives that could cloud the liquid in the jars.
Clean Jar Rims and Apply the Lids
Wipe the top rim of the jar with a wet paper towel. Apply the lid and ring and set the jar back on the elevated rack in the canner. Repeat the process until all jars are filled.
Pro Tip
Remember when applying the ring to only tighten it “finger tight.” In other words, just tighten the ring until you meet resistance. Why? Because air has to be able to escape during the canning process in order to create a seal. Now you know.
Lower the Filled Jars into the Canner
Now carefully lower the rack with all the filled jars into the boiling water in the canner. There must be enough water in the canner to completely cover the tops of the jars by one inch.
Process in Boiling Water
Begin timing when the water in the canner returns to the boil. Process 85 minutes in boiling water for altitudes up to 1,000 ft. See the recipe card below for additional processing times for higher altitudes. Remember, the water in the canner must remain at the boil for the entire processing time.
Pro Tip
I find it helpful to keep a kettle or pot of boiling water going on the stove to top up the water in the canner if needed.
If you live at a higher altitude, you’ll need to adjust your processing time according to the following:
- 1,001 – 3,000 ft, 90 minutes
- 3,001 – 6,000 ft, 95 minutes
- above 6,000 ft, 100 minutes
Pro Tip
You can also can tomatoes in pint jars if you’d like. For pints, use half the amount of ingredients per jar. Processing time is the same.
Don’t Take Shortcuts!
I just have to share this photo with you. I know all you seasoned canners will be able to sympathize with me. In all my years of canning, I had never had a jar break. Until now. I got in a hurry and took a shortcut (I’m not telling what I did) that let my jars cool down too much.
When I put this one in the canner, I heard that distinctive “pop” and immediately knew that it had broken. If this happens to you, don’t even think about trying to save the contents. There are likely to be teensy-tiny shards of glass in there that you’d never find. Just let it go and learn your lesson like I did!
Final Steps and Storage
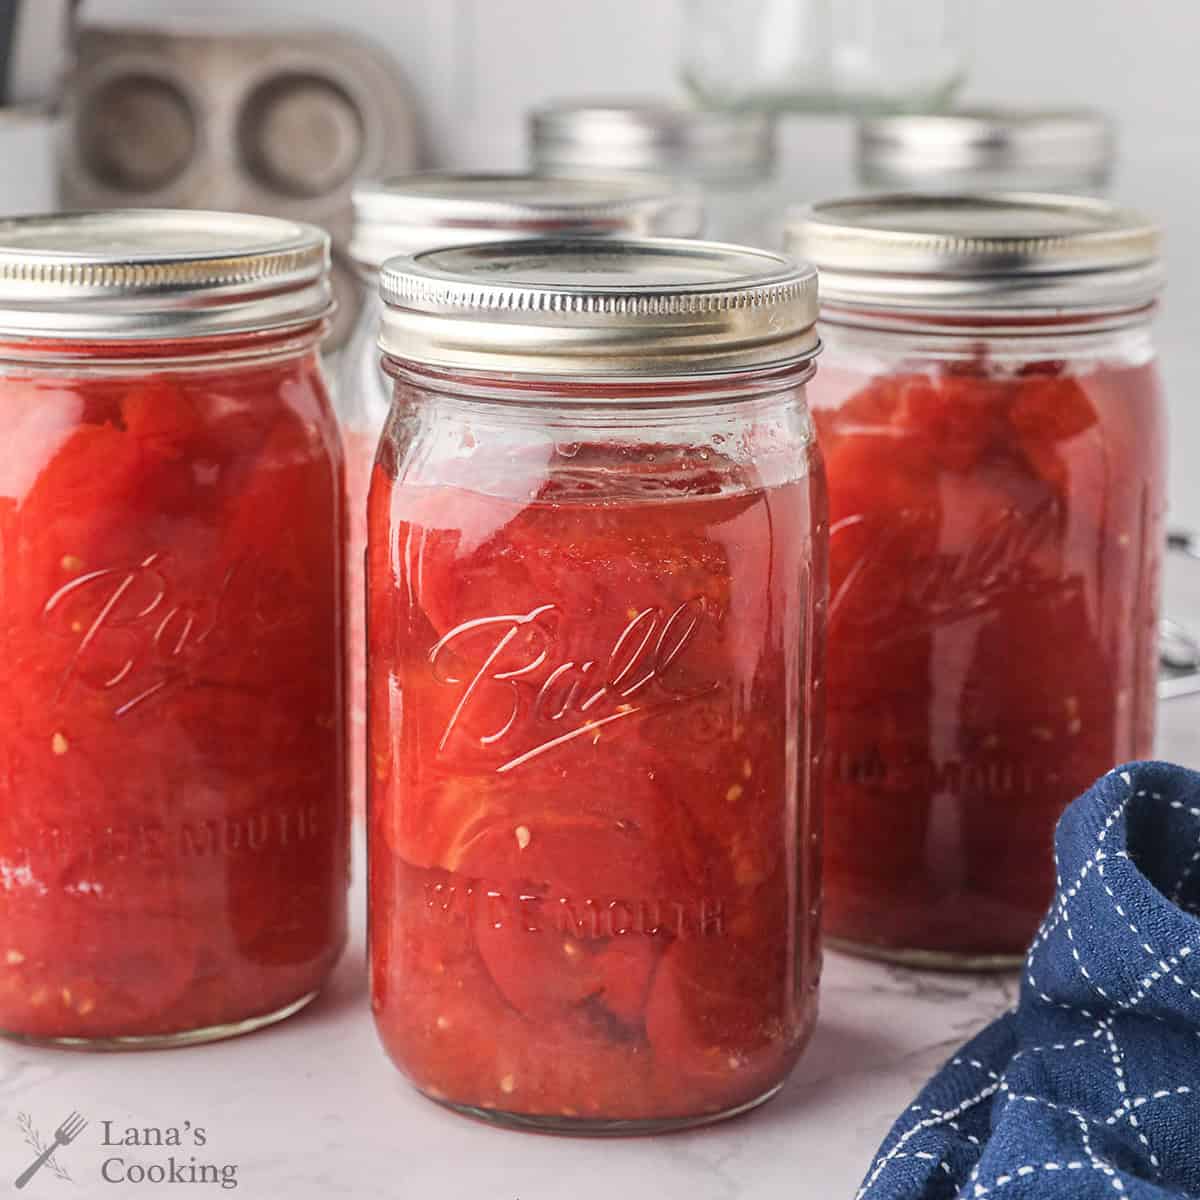
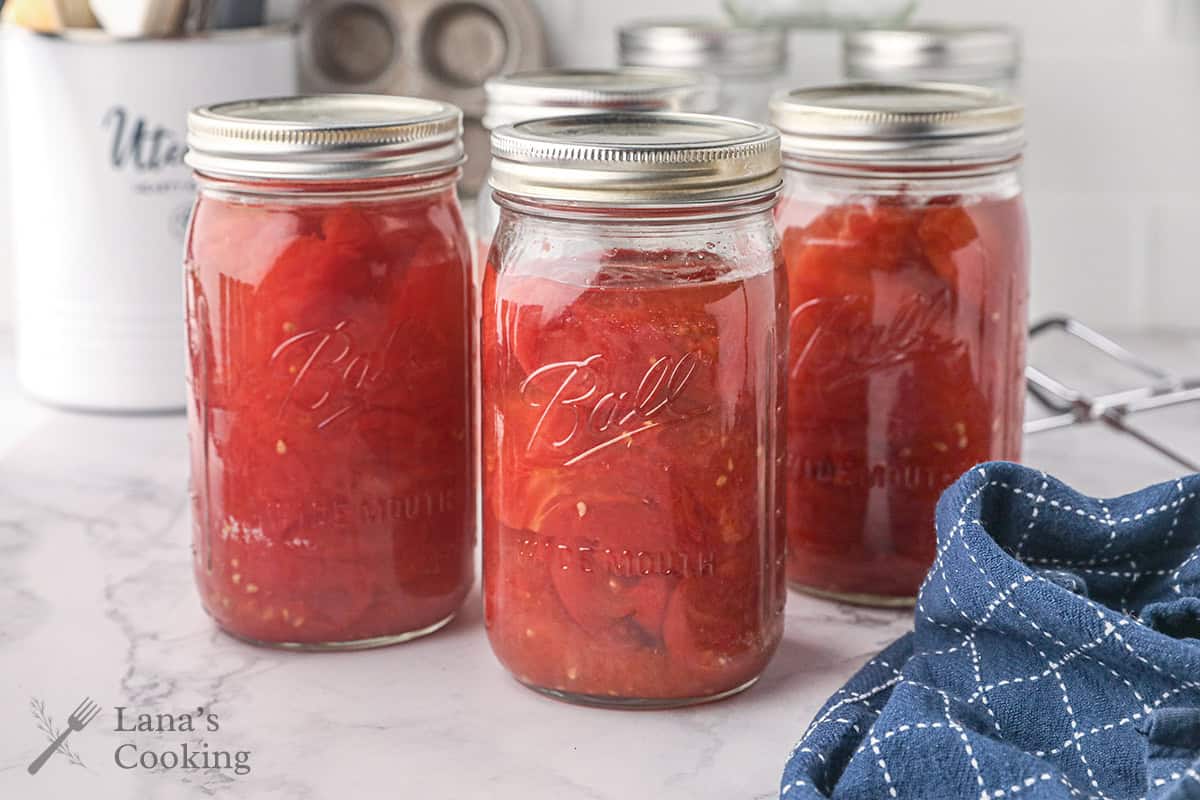
At the end of the processing time, turn off the heat under the canner and allow the jars to sit in the water for 10 minutes.
Carefully remove the jars from the canner and set them on a folded kitchen towel. Allow the jars to cool completely before moving them (at least overnight). Check to make sure the seals are complete. Store in a dark, cool area.
How to Check For a Complete Seal After Canning
Wait until the jars are completely cool. Remove the ring from the jar. Gently press down on the center of the lid. There should be no movement up or down. Then, very gently pull upward on the outside edges of the flat lid. If the jar is not sealed completely, the lid will come off. Any unsealed jars can be stored in the refrigerator and used within one week.
Questions and Answers: Home Canned Tomatoes
- Why do I have to do the boiling water bath? My grandmother just turned the jars over, and they sealed.
Yes, she probably did. So did mine. What your grandmother did is called the “inversion method” of canning, and it was commonly used by home canners up until about the 1950s. The inversion method often creates a false or incomplete seal that can allow contaminants to enter the jar. Modern boiling water and pressure canning methods create a complete seal that better protects the food from contamination and ourselves from botulism. When we know better, we do better. - How long do home canned tomatoes last?
Home canned tomatoes are at their best quality when used within 18 months, but can be stored for up to two years. - I canned some tomatoes last year. How do I know if they’re still safe to eat?
As with any home canned product, you should inspect the jar before use. Check carefully to make sure the jar is still sealed. When the jar is opened, make sure there’s no off odor or color, no mold, and no bubbling of the contents. - What kind of tomatoes should I use?
You can use any variety of tomatoes! Anything from beefsteak to Roma to heirloom varieties (even cherry tomatoes, but I wouldn’t bother peeling them). Just make sure to follow the procedures as outlined above. - I’m on a restricted diet. Do I have to add salt?
You do not have to add salt. It’s for taste only. - How do I store canned tomatoes?
Store your tomatoes on a sturdy shelf at room temperature. They should not be subjected to large changes in temperature (i.e., don’t store them in an outdoor storage space). - Question from a comment — When I opened the jar, there were some kind of black spots on the lid. Any ideas?
According to food science specialists, “natural compounds in some foods cause a black or brown deposit on the underside of the lid. As long as the jar is still sealed, this deposit does not mean the food is unsafe to eat. However, if a sealed jar does lose the seal and comes open, spoilage is likely, and the product should be discarded.” You can read more on the Ball Fresh Preserving web site. - Another question from a comment — When removing jars of tomatoes from the bath, some jars had air space on top of the jar with tomatoes in the middle of the jar and yellow liquid on the bottom of each jar. Some had no air space. Did I do something wrong?
It sounds like the commenter didn’t pack the jars quite as tightly with tomatoes as they should have. During the canning process, the tomatoes themselves cook, shrink, and release their juice. Plus, some tomatoes are juicier than others. That yellow liquid is just fresh tomato juice 😊. As long as the jars are completely sealed, they’ll be fine.

Great Internet Resources for Safe Canning Techniques and Recipes
- National Center for Home Food Preservation (University of Georgia)
- Home Food Preservation Site (Pennsylvania State University)
- Clemson University Home and Garden Information Center (https://hgic.clemson.edu/)
More Canning Recipes You’ll Like

Have a question or thought to share?
If you have a question about the recipe or if you’ve made it and want to share how it turned out, I would truly enjoy hearing from you. Just scroll down to leave a comment or add your star rating.
Thank you for stopping by. It means a lot to have you here.
Recipe

Home Canned Tomatoes
Ingredients
Ingredients for a standard canner load (7 quarts):
- 21 pounds Fresh, whole tomatoes any variety
- 14 tablespoons Bottled lemon juice
- 7 teaspoons Pickling salt
Instructions
- Prepare standard canning jars and lids according to manufacturer’s directions.
- Peel and core tomatoes. Leave whole or cut into halves or quarters.21 pounds Fresh, whole tomatoes
- When all tomatoes are prepared, fill one jar at a time, keeping the other jars hot while you work.
- Add 2 tablespoons lemon juice and 1 teaspoon salt to each quart jar14 tablespoons Bottled lemon juice, 7 teaspoons Pickling salt
- Pack tomatoes into jars, pressing gently on tomatoes until the juice fills the spaces between tomatoes. Leave 1/2 inch headspace.
- Remove air bubbles.
- Wipe rims of jars and apply two-piece canning caps.
- Process in a boiling water bath 85 minutes for both quarts and pints.
Notes
- Processing Times for both pints and quarts — 85 minutes up to 1,000 ft altitude. Adjusted processing times for higher altitudes: 1,001 – 3,000 ft, 90 minutes; 3,001 – 6,000 ft, 95 minutes; above 6,000 ft, 100 minutes.
- Jars and rings may be reused multiple times; lids must be discarded after one use.
- Keep a kettle or pot of boiling water on the stove to top up the water in the canner when needed.
- Tomatoes may be canned in pint jars if desired. For pints, use half the amount of ingredients per jar. Processing time is the same.
- To check for a complete seal: Remove the ring from the jar. Gently press down on the center of the lid. There should be no movement up or down. Then very gently pull upward on the outside edges of the lid. If the jar is not sealed completely, the lid will come off. Any unsealed jars can be stored in the refrigerator and used within one week.
Nutrition Information
Nutrition information is calculated by software based on the ingredients in each recipe. It is an estimate only and is provided for informational purposes. You should consult your healthcare provider or a registered dietitian if precise nutrition calculations are needed for health reasons.
I am very new t o the idea of canning but have my first year veg raised be garden doing well. We will have lots of tomatoes. I wan to can some. Do I HAVE do buy an expensive canner thing? Can’t I just put the jars in a very large pot that I fill with boiling water? The rest of the process makes perfect sense. But I don’t want t o have to buy a complicate expensive thing. Are there options to buy not so expensive or complicated? Where would be a good source?
Thanks!!!
You can use any big pot for water bath canning. You will also need a rack of some kind to hold the jars up off the bottom of the pot and the pot must be deep enough to contain the jars plus enough water to cover the jars by at least one inch. Most people don’t have cookware large enough for canning. There’s nothing very complicated about a water bath canner — it’s just a big pot. I just saw one on Amazon for $32.
Can you process canned tomatoes in the oven
No. There is no safe process for oven canning.
Can you use lime juice instead of lemon.. i dont have lemon juice.. or vinegar??
Here’s what the National Center for Home Food Preservation says: “To ensure safe acidity in whole, crushed, or juiced tomatoes, add two tablespoons of bottled lemon juice or 1/2 teaspoon of citric acid per quart of tomatoes. For pints, use one tablespoon bottled lemon juice or 1/4 teaspoon citric acid. Acid can be added directly to the jars before filling with product. Add sugar to offset acid taste, if desired. Four tablespoons of a 5 percent acidity vinegar per quart may be used instead of lemon juice or citric acid. However, vinegar may cause undesirable flavor changes.” Lime juice doesn’t have the same acidity so it’s not an option.
Thank you Lana for the recipe. You mentioned put the jars, with the tomatoes, in the canner. Do you mean a canner (for warm bath) or a pressure cooker? TYIA ♥️🍅🥫
This is for a water bath canner, not a pressure canner.
I see you put in empty jars after first wash the salt and lemon juice before the tomatoes, Why is this ? We always put it on top of tomatoes, what is the difference? Thanks for a reply.
The order you add it doesn’t matter.
Can I add pepper and garlic to this recipe
No. That would change the pH making it unsafe for canning. Add anything extra only after you open a jar to use it.
Great advice for canning tomatoes.
Thank you
My pleasure.