

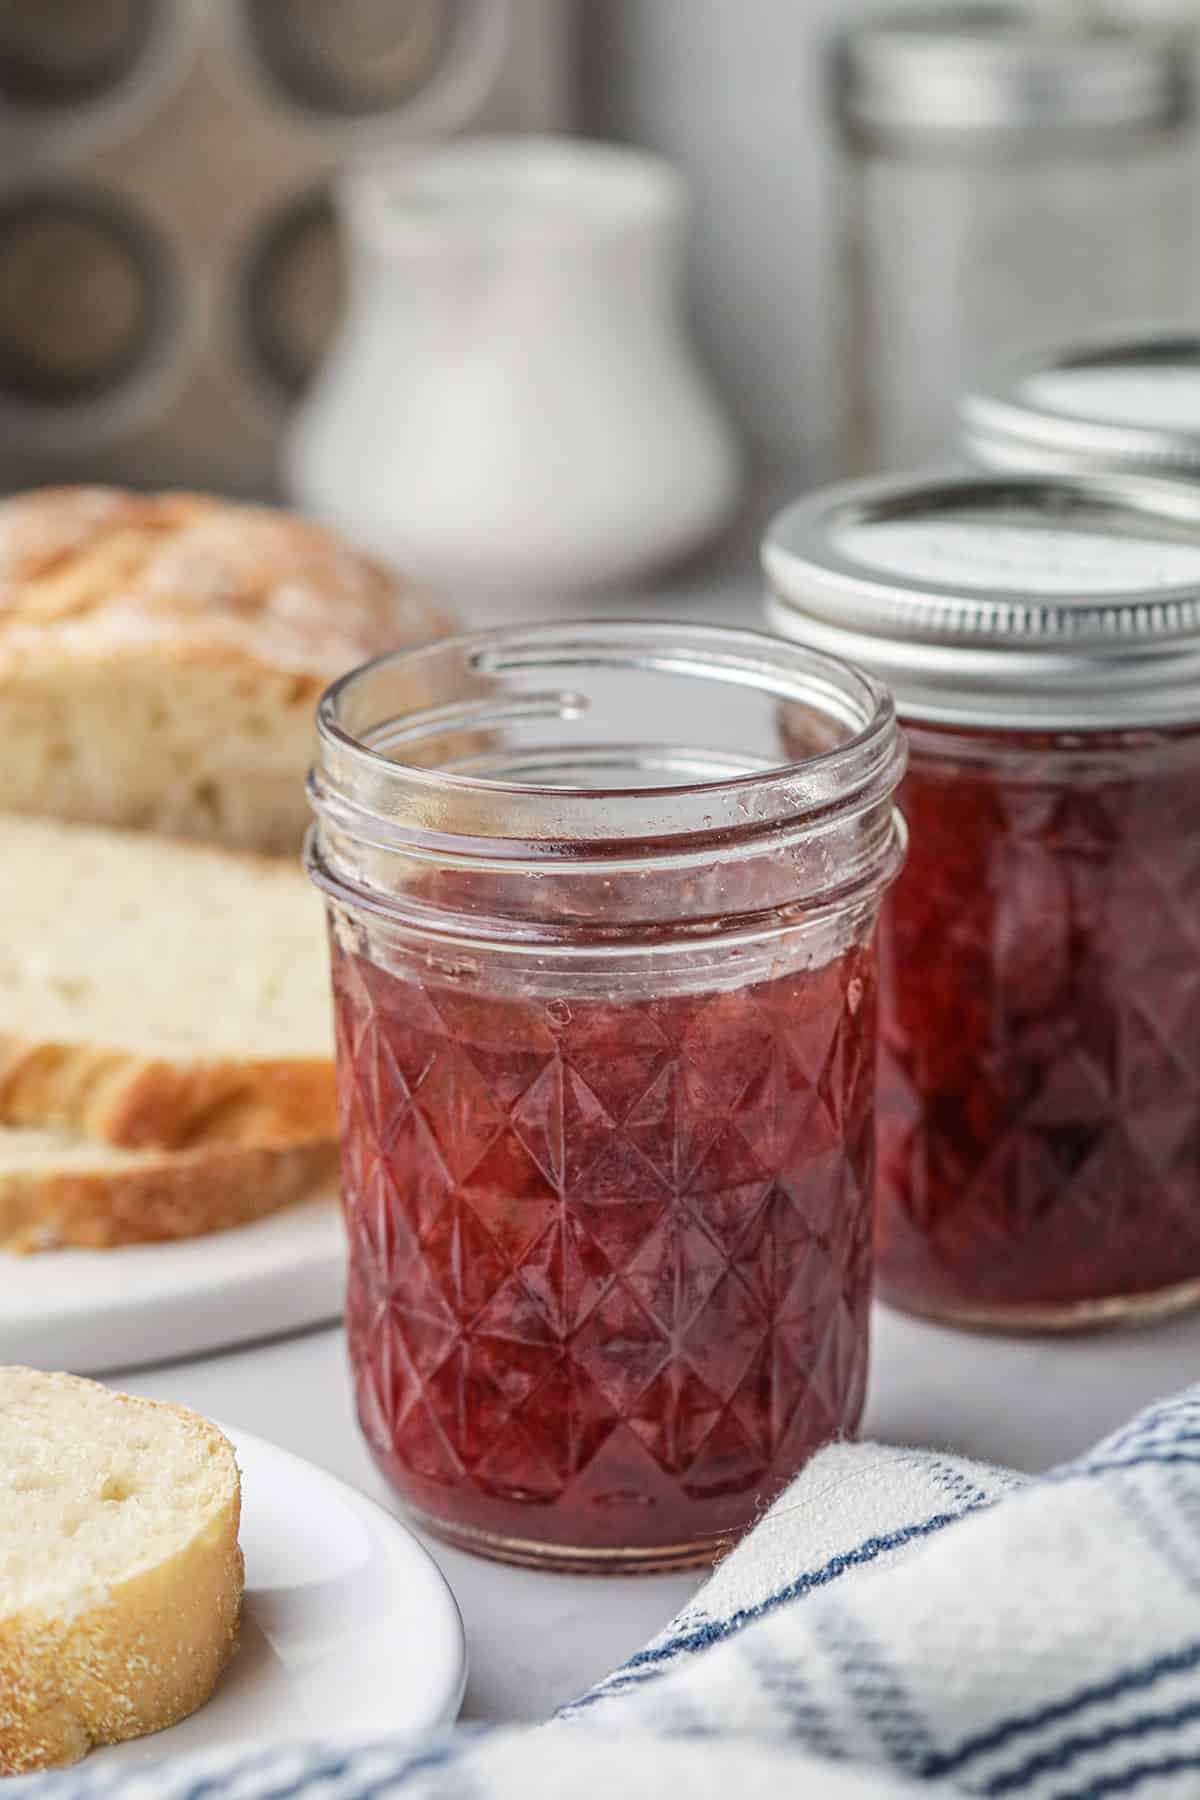
Capture summer in a jar with this Homemade Strawberry Jam canning recipe made with fresh, ripe strawberries, sugar, and lemon juice with no preservatives.
Homemade Strawberry Jam is where my canning season starts every year. It’s the first recipe I make each summer, and it’s a good one to start with if you’ve never canned before. It’s easy to follow, the batch is small, and the odds of making a mistake are quite low.
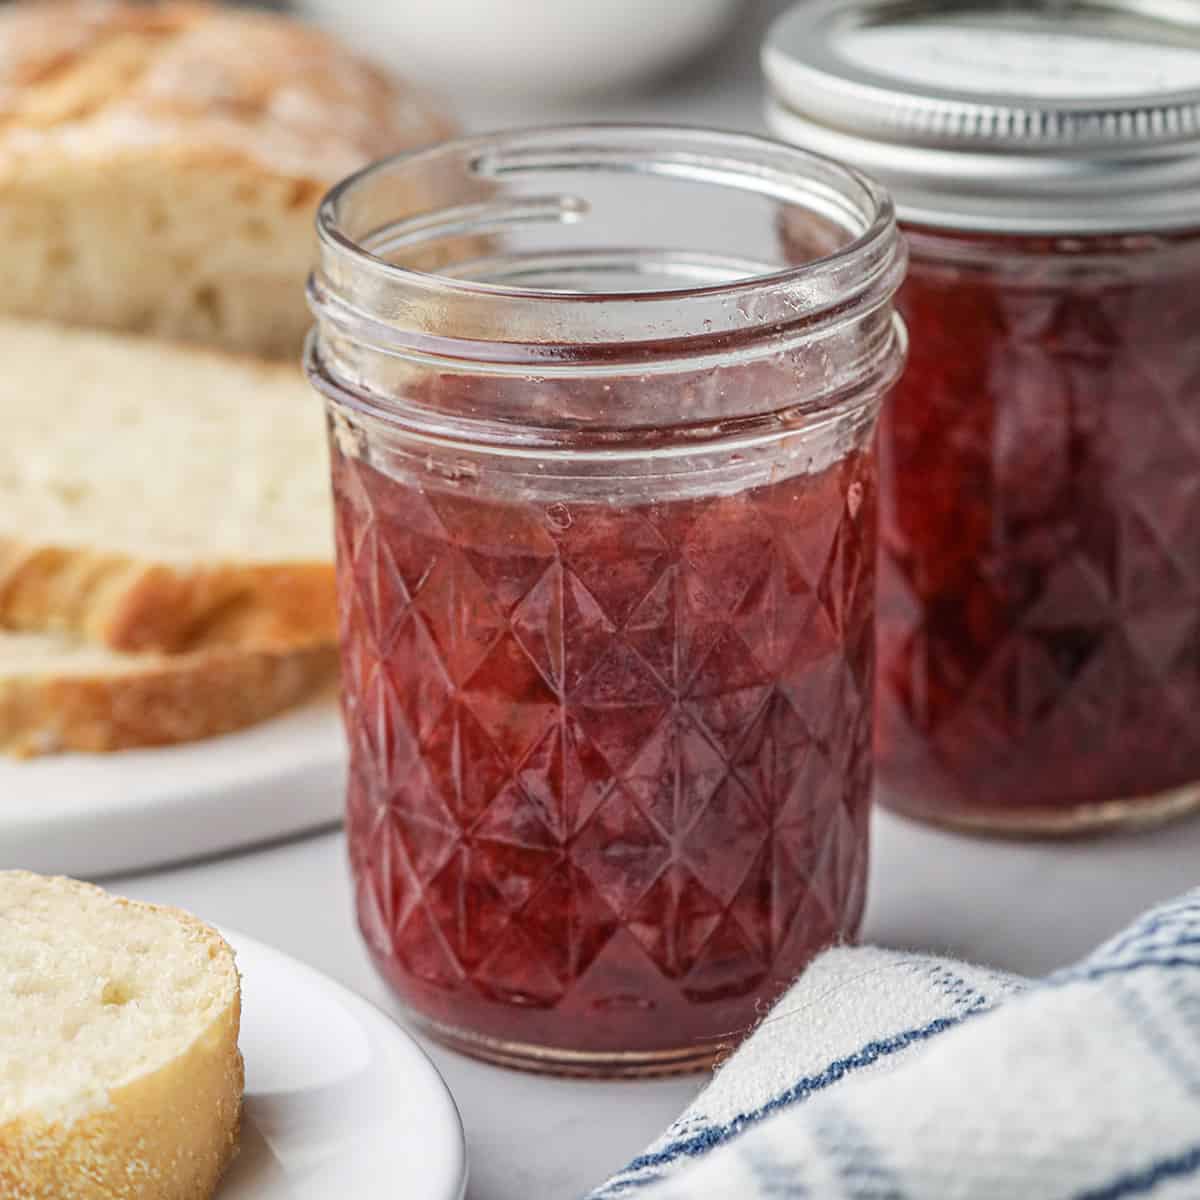
This recipe makes just three half-pints, which is plenty for most households. It’s adapted from Ellie Topp and Margaret Howard’s Small Batch Preserving, a book I’d recommend to anyone who doesn’t need pints and pints of jam to get through the year. Double it if you do.
There’s nothing in these jars but strawberries, sugar, and lemon juice. No preservatives of any kind.
Recipe Snapshot: Homemade Strawberry Jam
Prep Time: 30 minutes
Cook Time: 30 minutes
Inactive Time: 1 day, 8 hours
Total Time: 1 day, 9 hours
Servings: 24
Cuisine: American
Cooking Method: Stovetop (Waterbath canning)
Primary Ingredients: Strawberries, sugar, lemon juice
Skill Level: Easy
DO MORE WITH CHATGPT

For readers who enjoy the stories that often surround traditional recipes, I’ve written more about my personal memories over on my Substack, Notes From the Kitchen.
Learn the Basics of Canning Before You Start – It’s Important!
If you’ve never tried canning anything before, please (I’m begging you) educate yourself on the correct procedure before you start. It is imperative to properly sterilize your jars and to use an approved canning recipe.
And the technique is critical. Old techniques such as the inversion method (turning the jars upside down to seal rather than processing in a water bath) and melted paraffin seals are no longer used. They’re downright dangerous. And, just because “Mama always did it that way and we never got sick” is NOT justification for using incorrect and outdated canning techniques.
Know Your Sources
For a beginning canner, if you purchase nothing else, the best money you can invest is in getting a copy of the Ball Blue Book. It’s put out by the people who make Ball canning jars and is considered the “canning bible.” It’s cheap, easy to read, and simple to follow.
A couple of other good resources are the Ball website and the experts-of-all-experts at the University of Georgia. They know their stuff. They are home to the National Center for Home Food Preservation. Trust them.
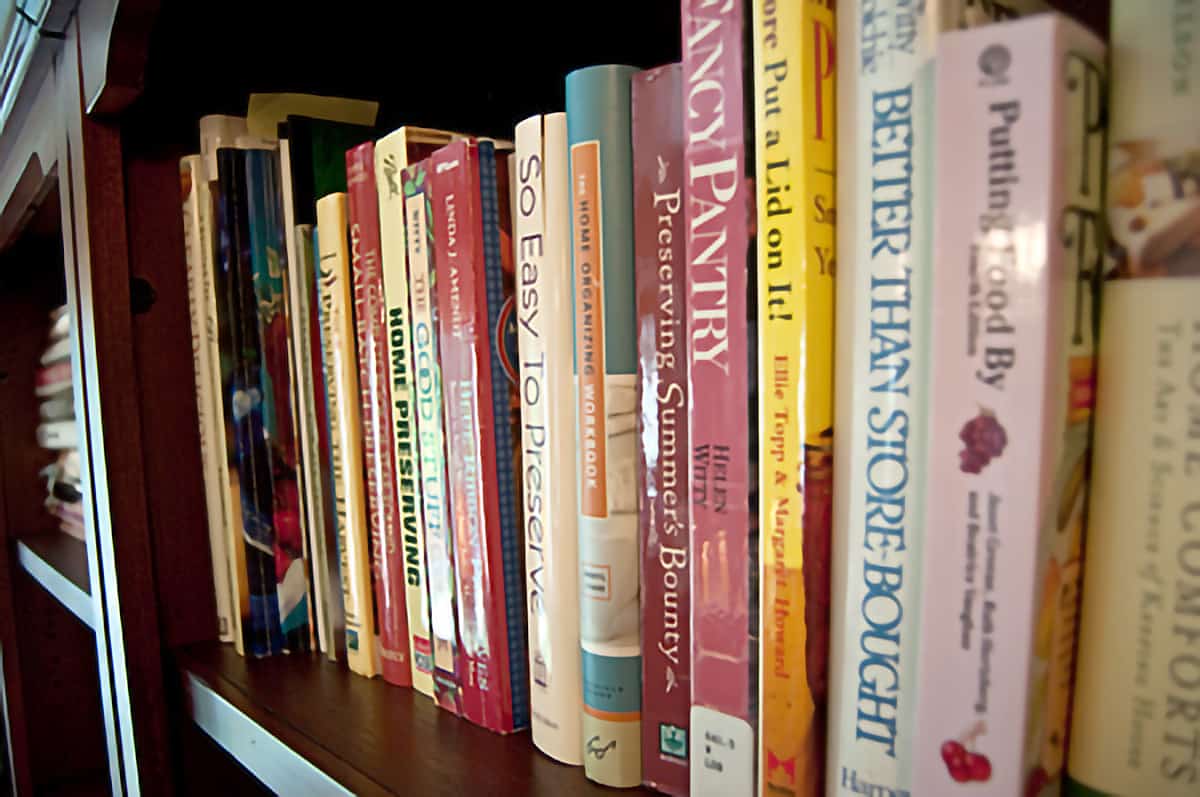
I have lots of canning and preserving books. And I use all of them. Really I do. I might even need one or two more. Maybe.
Want to save this?
Ingredient Notes
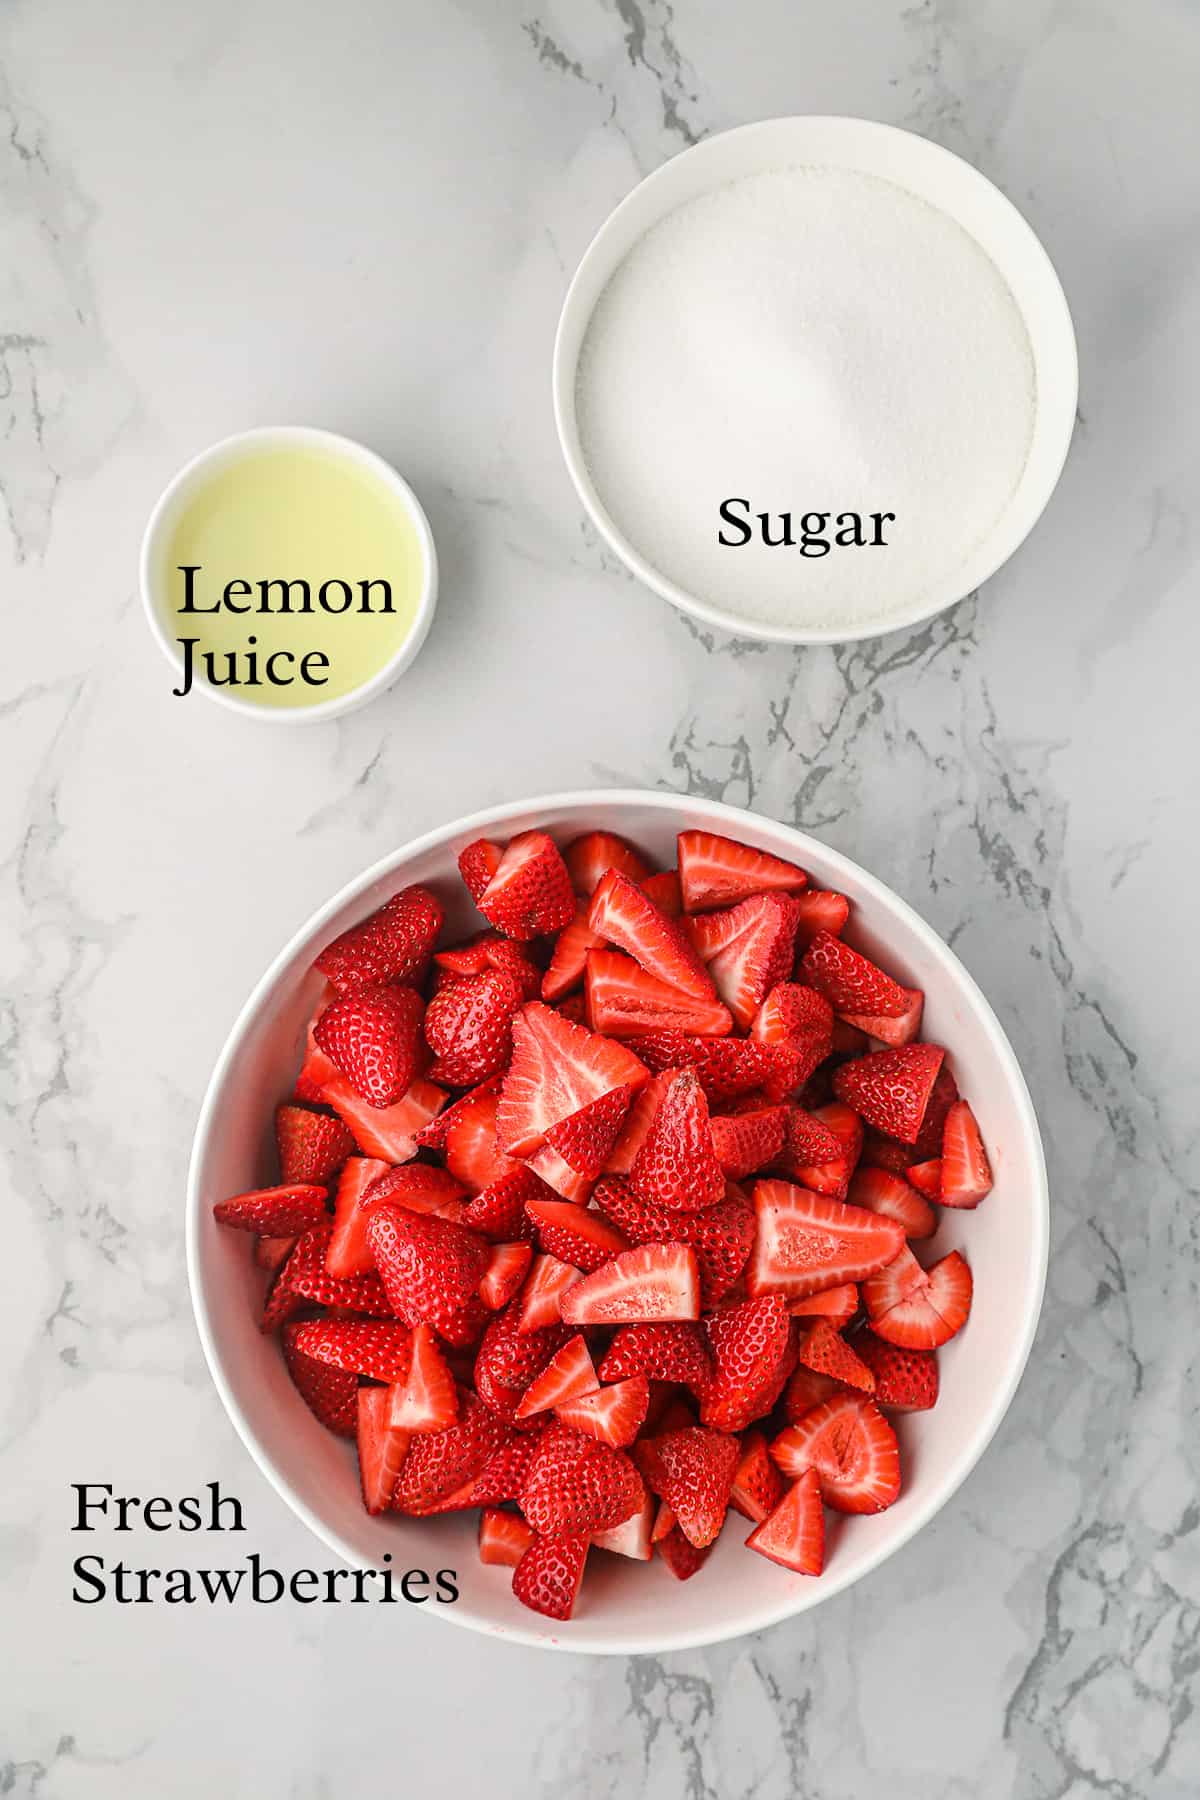
- Fresh strawberries
- Granulated sugar
- Lemon juice
The complete ingredient list with detailed measurements is included in the printable recipe card at the bottom of this post.
How to Make Homemade Strawberry Jam
Hull and Halve the Strawberries
Pro Tip
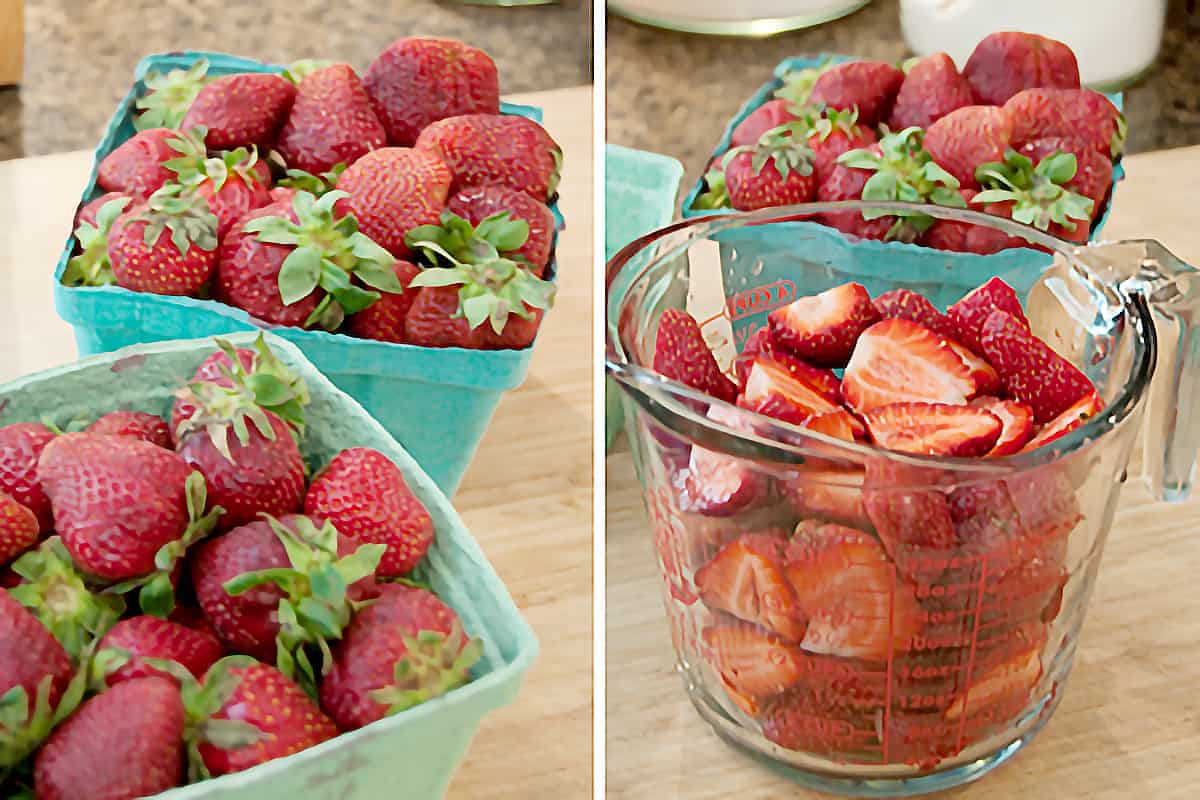
For this recipe, you’ll need 4 cups of halved fresh strawberries. I purchased two baskets to make sure I had enough, and we had leftovers for several strawberry shortcakes.
Mix the Berries with Sugar
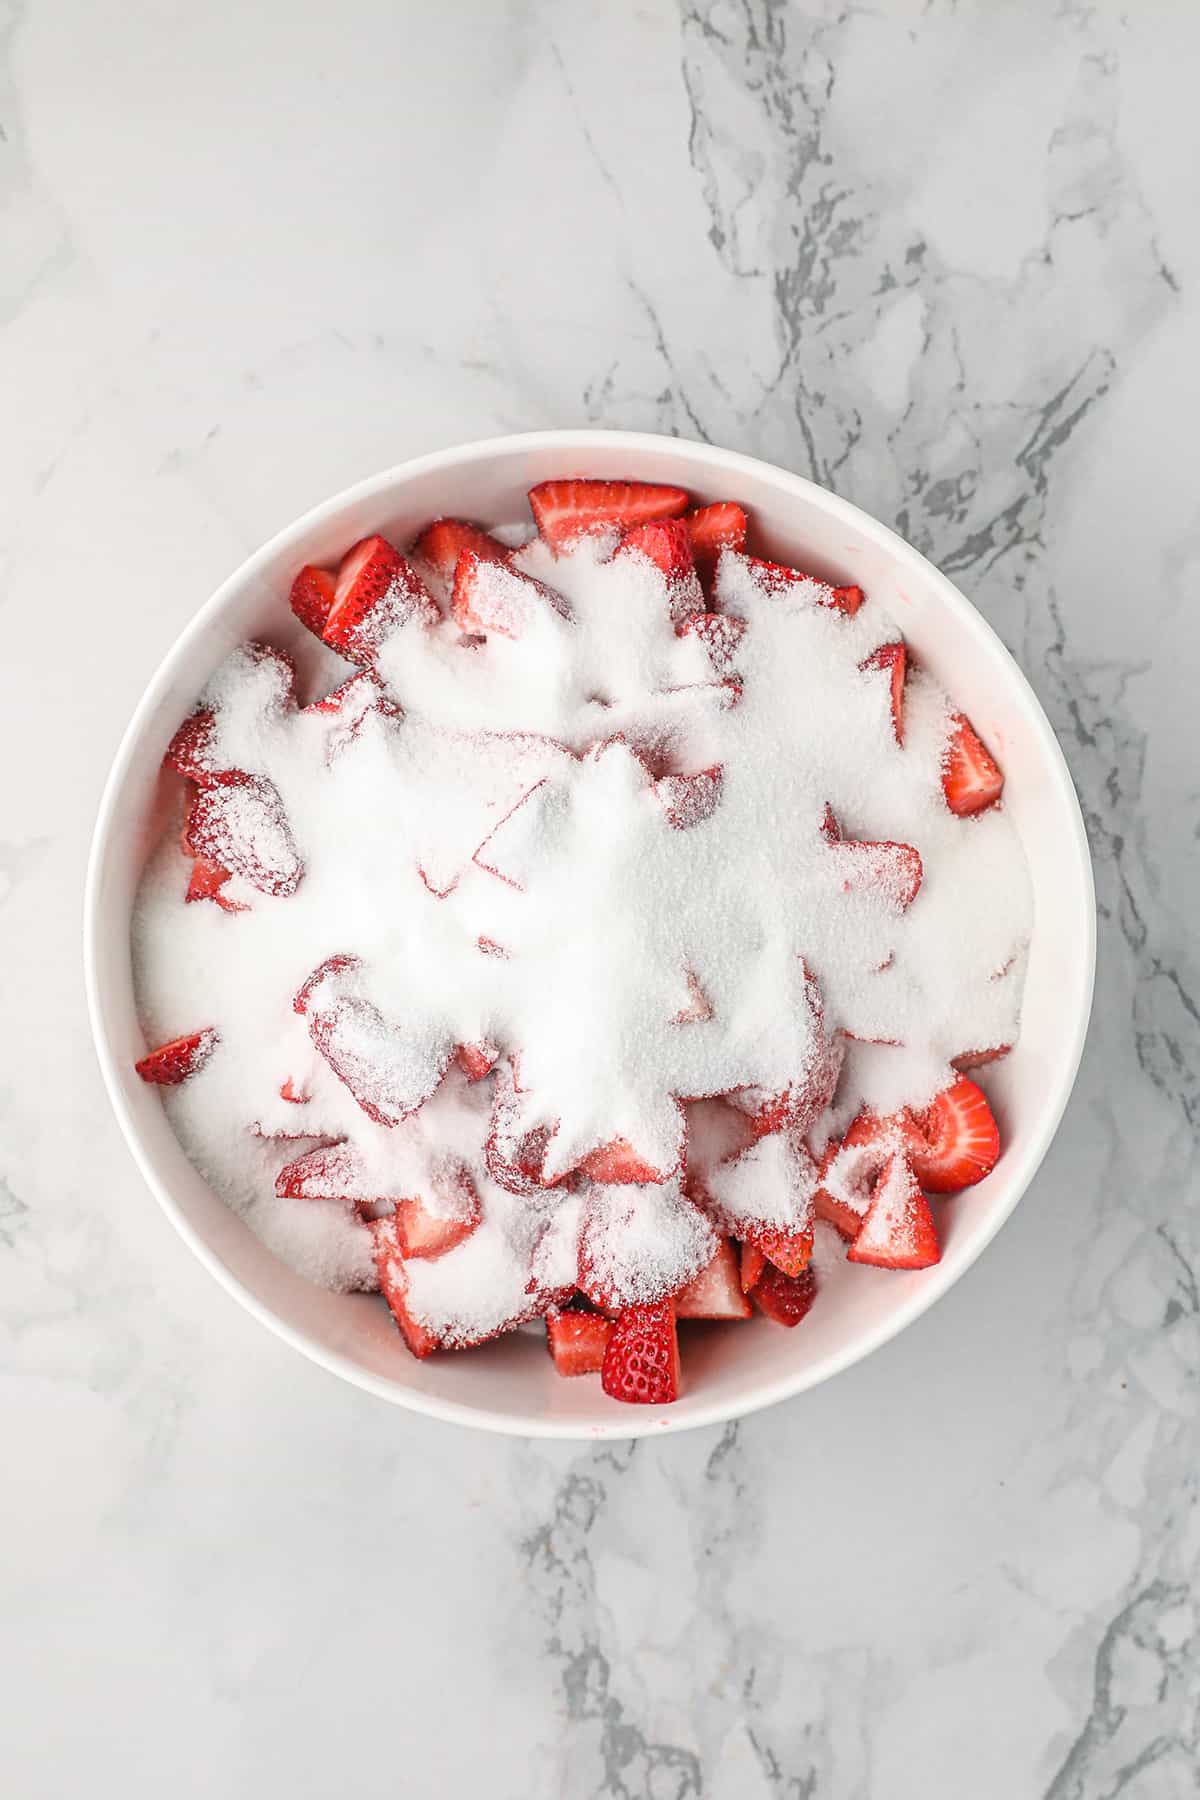
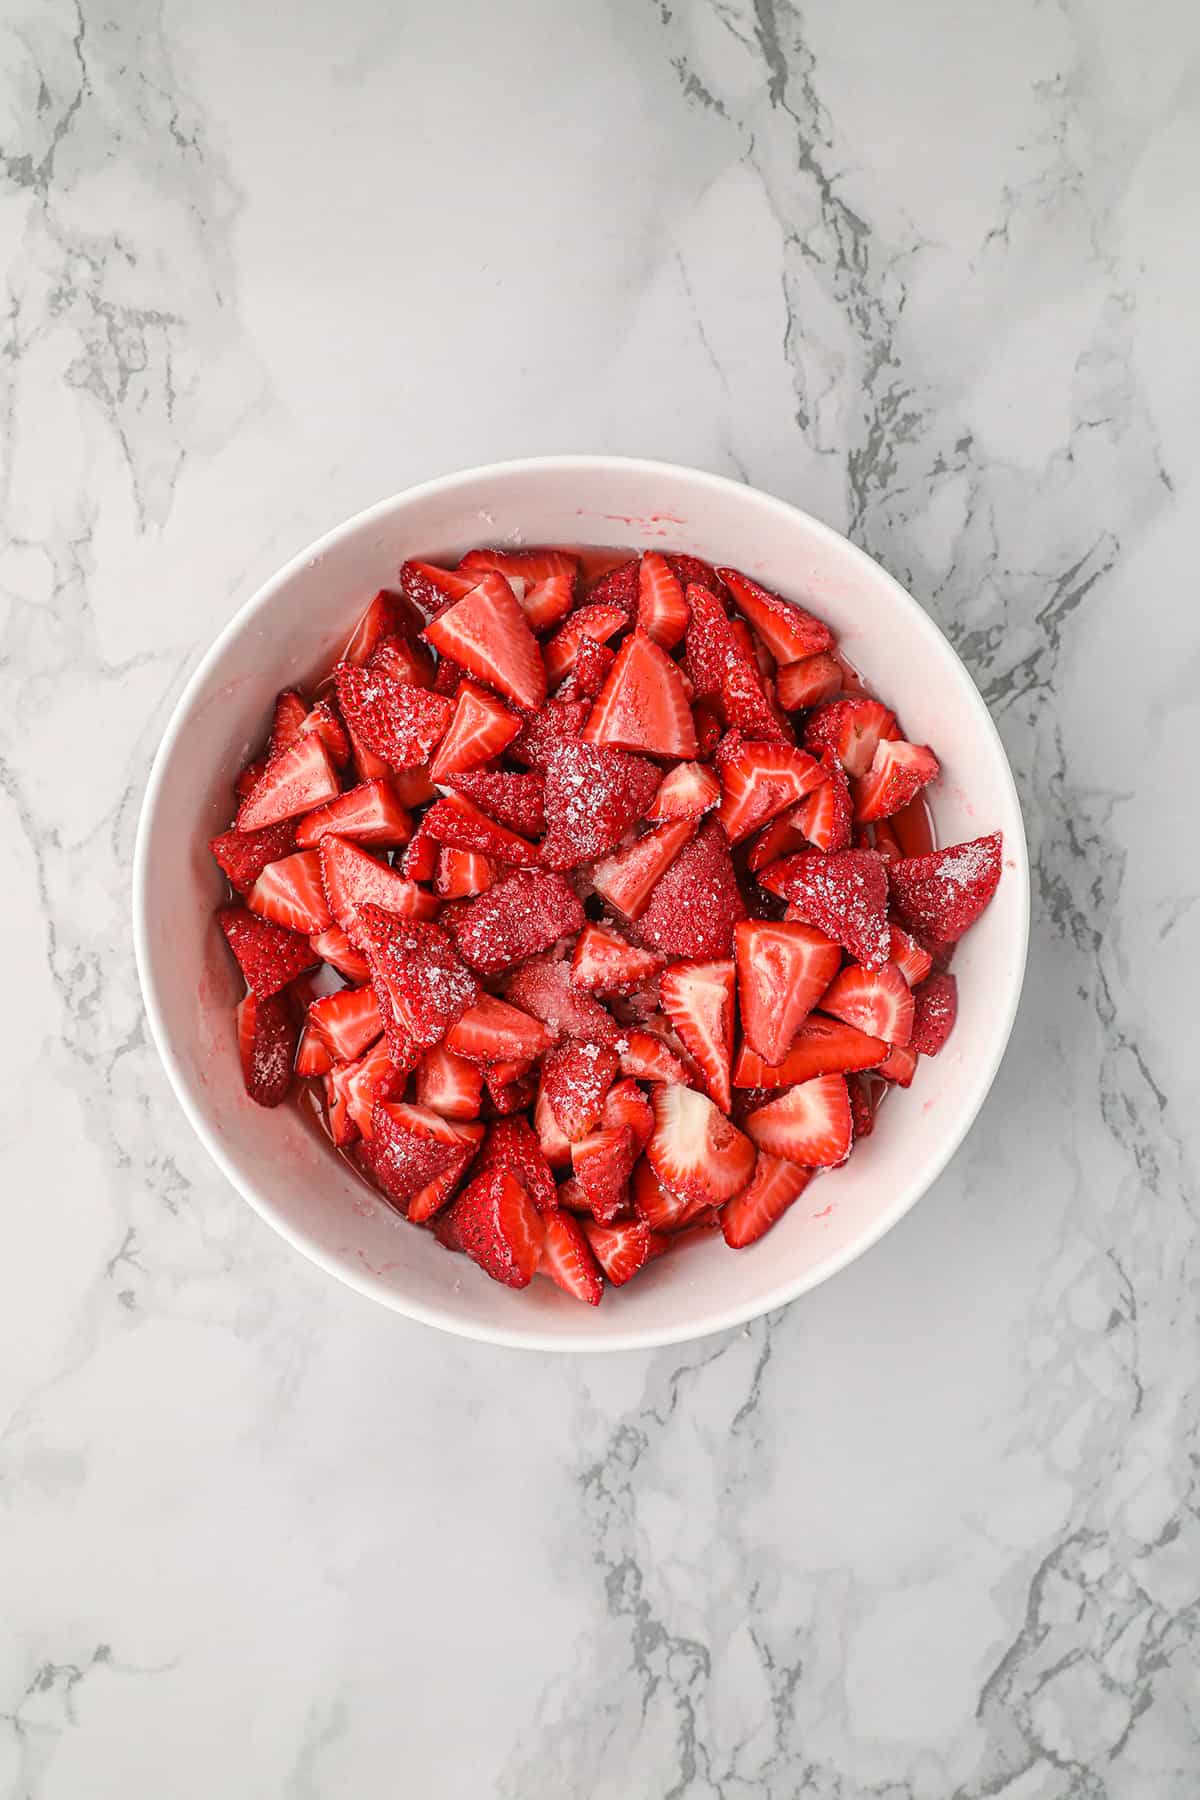
- Mix the berries with the sugar in a non-reactive pan (stainless or enamel). Cover the pan and let the berries stand for 8 hours. Stir the mixture occasionally just to distribute the sugar through the berries.
Boil the Berries and Sugar
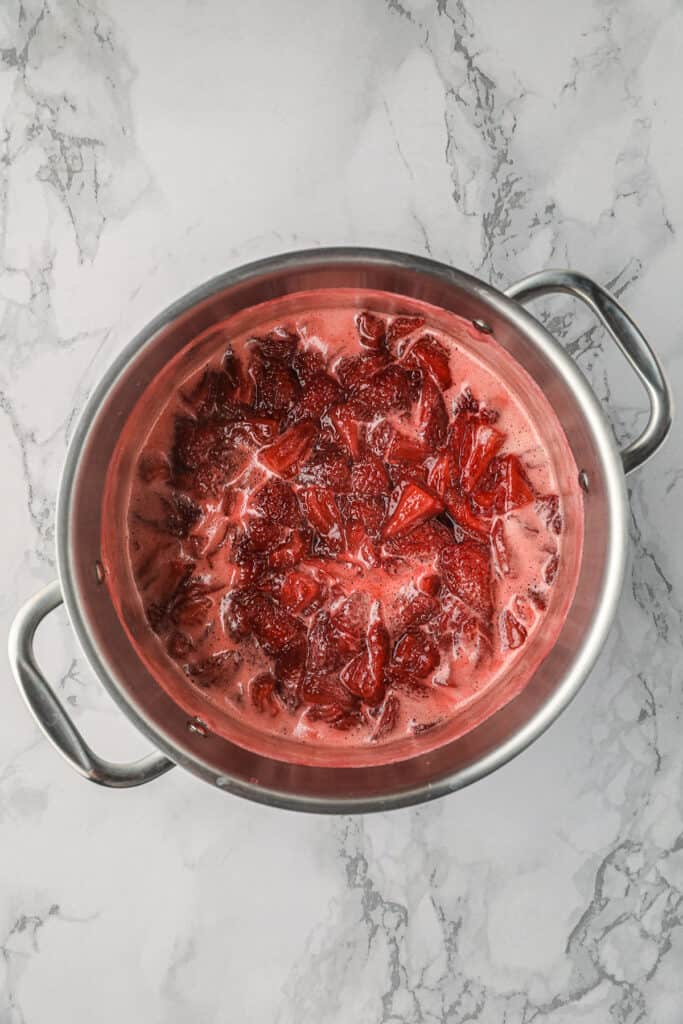
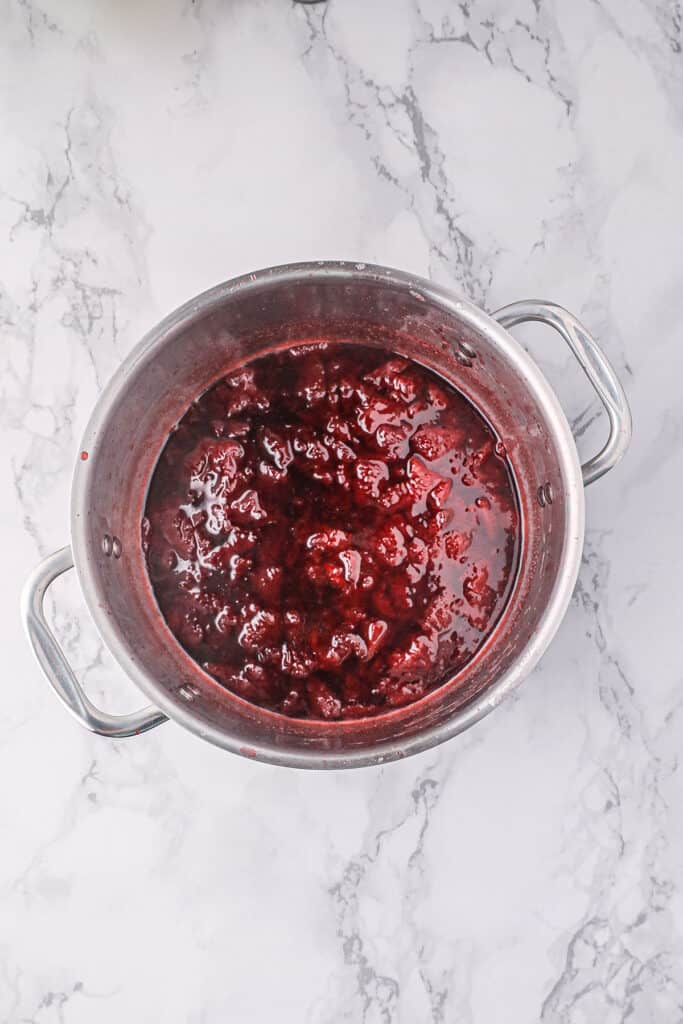
- After the 8 hours of standing time, transfer the berries and sugar to a non-reactive pan (stainless steel or enamel) and bring the mixture to a boil over medium heat. Stir in the lemon juice, return to boiling and allow to boil rapidly for 5 minutes. Remove the pan from the heat, cover, and let stand for 24 hours.
- After 24 hours, place the pan back on the stove and bring the mixture to a full boil over high heat. Add the butter if using, and boil rapidly for 5 minutes, stirring constantly. Remove from heat.
Pro Tip
The butter is simply to prevent the jam from foaming up so much. If you don’t want to add it, you can skip it, but you’ll need to skim the foam from the jam while it’s boiling. Much simpler for me to just add that smidgen of butter.
Process the Jam
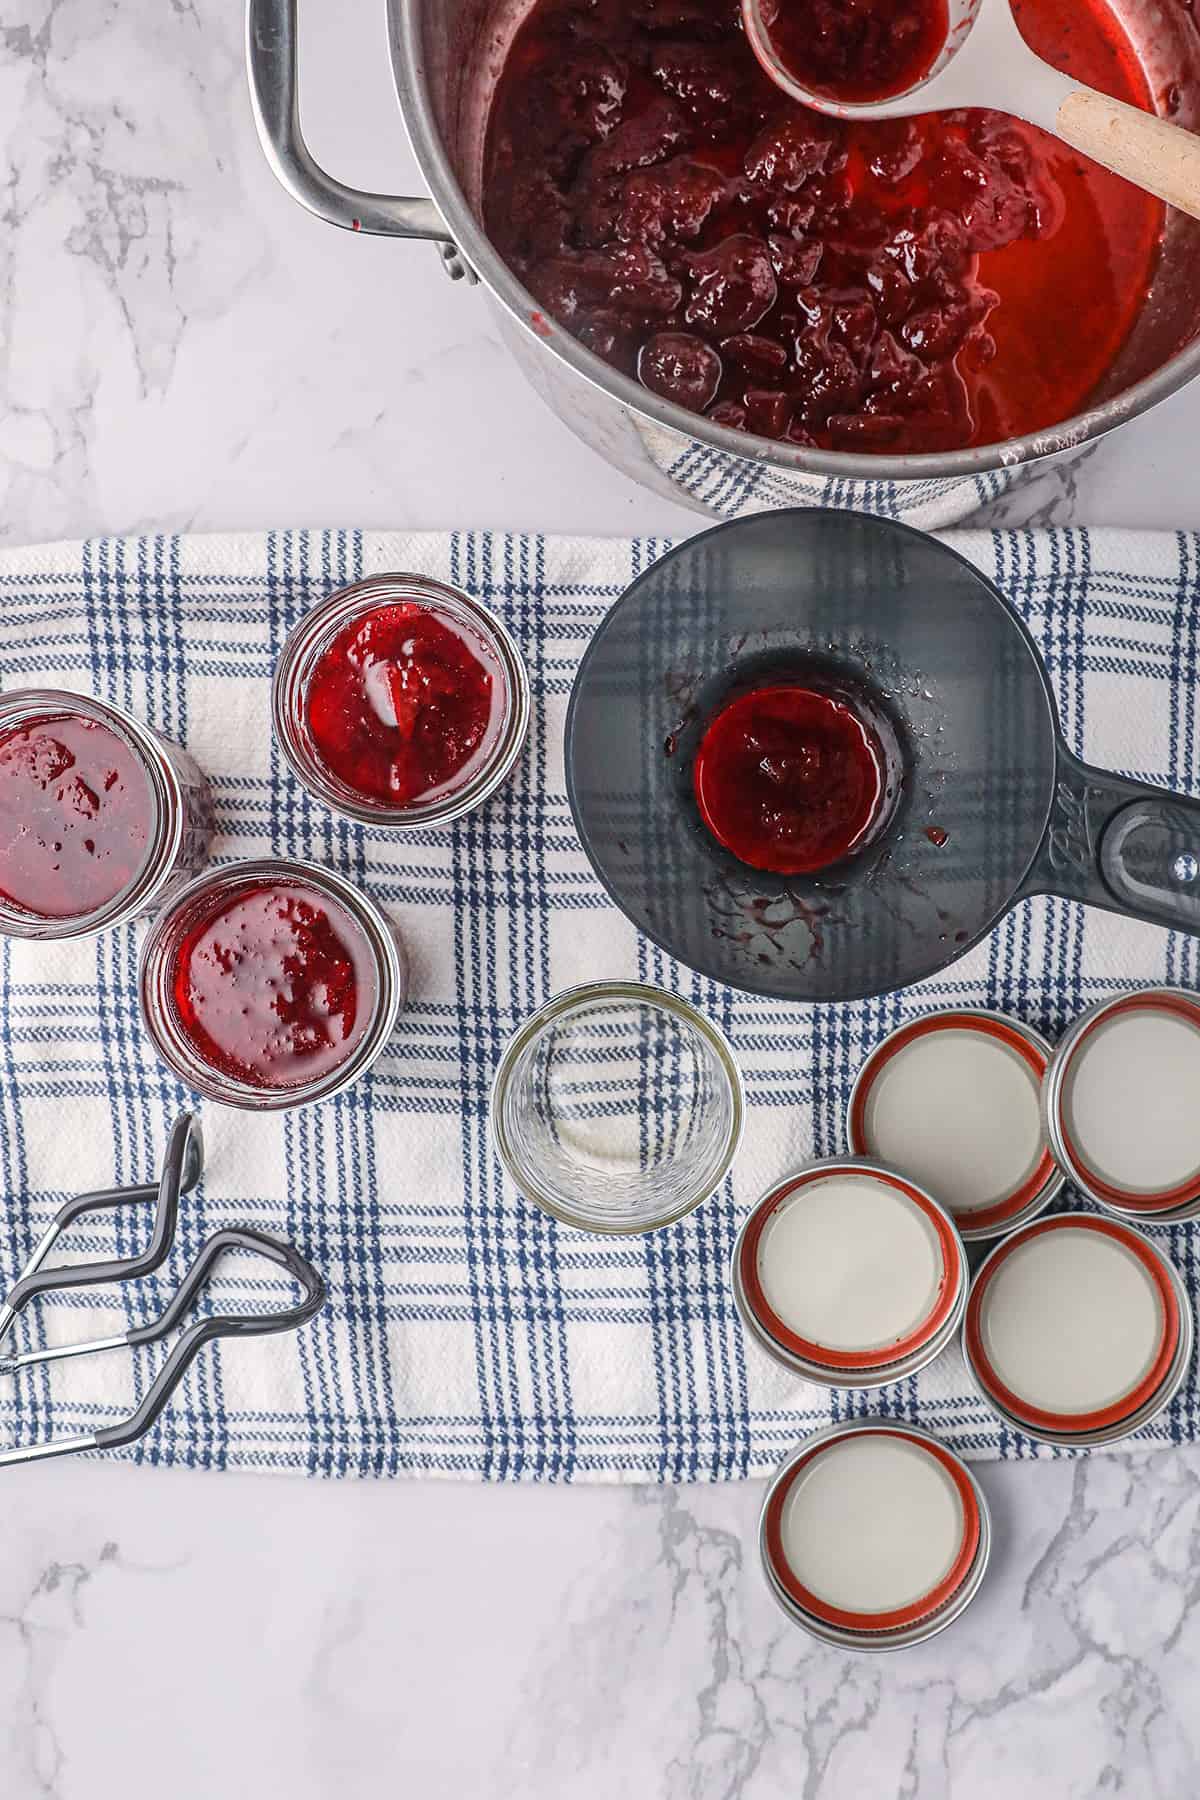
- Ladle into sterile jars. Wipe the jar rims with a damp paper towel. Apply caps and rings. Process for 10 minutes in a boiling water bath.
- Remove the jars and place them on a kitchen towel until cooled completely (about 24 hours). Listen for the “music” of the lids pinging. Makes 3 half-pints.
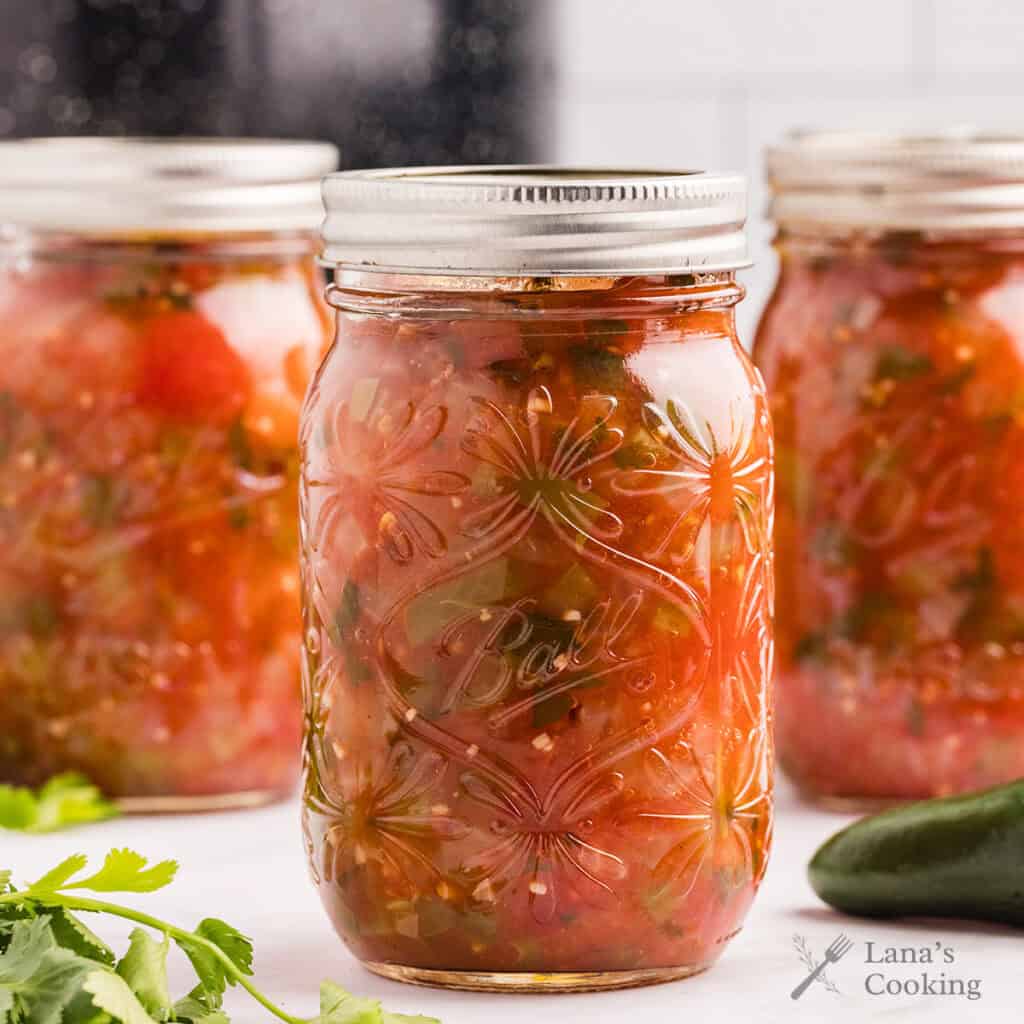
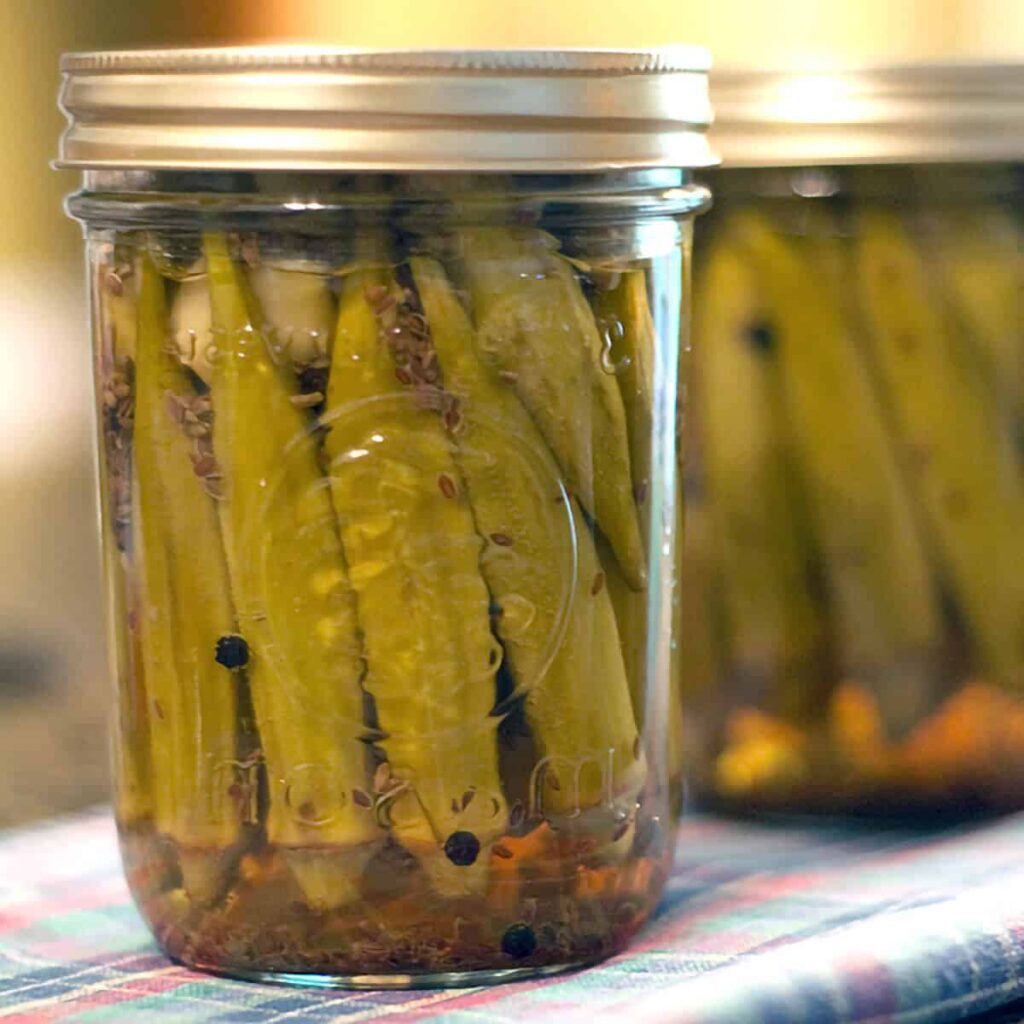
More Canning Recipes You’ll Like

Have a question or thought to share?
If you have a question about the recipe or if you’ve made it and want to share how it turned out, I would truly enjoy hearing from you. Just scroll down to leave a comment or add your star rating.
Thank you for stopping by. It means a lot to have you here.
Recipe
Homemade Strawberry Jam
Ingredients
- 4 cups firm strawberries halved or quartered (depending on size)
- 2 cups granulated sugar
- ¼ cup lemon juice
- ½ teaspoon butter optional
Instructions
- Mix the berries with the sugar and let stand for 8 hours. Stir occasionally to distribute the sugar through the berries.4 cups firm strawberries, 2 cups granulated sugar
- Place the berry and sugar mixture in a medium non-reactive pan (stainless steel or enamel) and bring to a boil over medium heat. Add the lemon juice, return to boiling and allow to boil rapidly for 5 minutes. Remove from heat, cover and let stand for 24 hours.¼ cup lemon juice
- After 24 hours, bring the mixture to a full boil over high heat, add butter (optional but recommended), and boil rapidly for 5 minutes, stirring constantly. Remove from heat.½ teaspoon butter
- Ladle into sterile jars. Apply caps and rings and process for 10 minutes in a boiling water bath..
- Remove the jars and place them on a kitchen towel until cooled completely (about 24 hours).
Notes
Nutrition Information
Nutrition information is calculated by software based on the ingredients in each recipe. It is an estimate only and is provided for informational purposes. You should consult your healthcare provider or a registered dietitian if precise nutrition calculations are needed for health reasons.
Step # 5 says “Apply caps and rings and process for 10 minutes in a boiling water bath.”
What do you do to process for 10 minutes?
That means to follow the standard procedure for canning foods in a boiling water bath canner. If you’re unfamiliar with canning procedures, the University of Georgia National Center for Food Preservation has great information. I give a link to them and another source for learning how to can in the text of the post in the section titled “Learn the Basics of Canning Before You Start.”
Do you think I could add 1 and 1/2 cups of sugar and the jam would still be good and texture just fine?
Thanks!
Lisa – that’s a good question and one that I get often. I’m going to refer you to another blog post that gives a really thorough answer to your question: http://foodinjars.com/2015/02/canning-101-can-reduce-sugar/
I think this is a lot like the jam my Mom used to make, but I don’t remember letting it “stand” . It makes sense to me that this would help the favors develop more intensely. I’m thinking that the 8-hour and 24-hour stand times are not in the refrigerator, since you didn’t mention any refrigeration in the recipe… So no refrigeration during the “standing” periods, right?
That’s correct, Emma. You just let it stand at room temperature.
Hmm, I think your way might be easier than the one my MIL just taught me last week. We’ve got loads of jam hanging around now, though, and I’m pretty excited about it! YUM!
Nicely done, this is one of my favorite jams. Already saved your recipe for southern sweet tea, thanks.
This is what I came to find… a simple recipe for strawberry jam.The markets in my part of the world are flooded with strawberries now, I’ll get back to you after I make my batch..:-)
I love this post and your blog. I was writing a post today about strawberry jam and I found yours when I googled to find a picture. I hope you don’t mind, I borrowed two of yours for my post and credited you with links back to your blog. Please let me know if this is not okay. I hope the attribution will send you some new followers. I will certainly be back!
Thank you! Olivia
Hi Olivia. I would have preferred that you asked before taking the photos, but thank you for giving credit!
Hi Lana!
I’m sorry I read this post so late! I came by from a link on your salsa page.
I made some marmalade for the very first time a few months back, which turned out great! I’d love to try this recipe of yours, now. And peach with cardamom sounds LOVELY! Could you please put that up someday too?
One question – I’m wondering what makes your strawberry jam ‘gel’? I used commercial pectin in my marmalade. But I don’t see any pectin here, and strawberry doesn’t have seeds or rind that natural pectin comes from, right?
Hi Debs – This recipe does yield a softset jam. If you want a firmer set you can achieve that naturally by including about half the volume in underripe fruit. There is more pectin present in underripe fruit and it will aid in creating a firmer set. Also, jam sometimes takes a while to set up. Allow it to sit for up to six weeks for the maximum amount of setting to occur. You can always use some sure-jel if you want but we prefer the softset of this jam. And, don’t worry, if it doesn’t become as firm as you’d like you can just call it strawberry syrup and use it on your pancakes :-)
Just finished my second batch of mayhaw jelly. I feel so proud of myself. It looks great! I love listening to the “pop” when the jars seal!
Have a great weekend.
Miss P
Always a pleasure to find other folks who ‘put by’ seasonal bounty. My story differs quite a bit from yours: I never grew up with canning/preserving. My parents cannot understand where I came from. LOL. Truth is, I learned from various roommates and friends over the years and now, with a local farm share, I have learned to put away whatever we don’t eat immediately for winter.
Early spring is the hardest time of the year–when most of what we preserved last year is gone, and it’s not quite time for anything fresh. But I have 3 half-pints of strawberry preserves cooling on the counter and another batch of strawberries in the fridge. Yum!
Hi there…I’m so glad to have access to this site. What a wonderful blog and I appreciate the step-by-step because I don’t have the first clue when it comes to canning! Thanks for putting this on AllRecipes, if you didn’t know, I’m witchywoman over there!!
Hi Laurrie and welcome! Canning is easy you just have to be sure to follow the proper sterile procedures so that your foods are safe and shelf-stable. I’ll be posting more canning and preserving recipes as the summer progresses so keep a look out for them!
You have the most beautiful photos to go along with your recipes. Please consider other canning recipes. I come from a long line
of canners and my favorite memory is of stringing halfrunners and I loved to stir the cucumbers in the crock for lime pickles.
Unfortunately, canning never “took” for me but now it seems a tragedy that I only have one cousin who still does it. (And I LOVE
her in the winter)! I’m going to make some of your jam this weekend. It’s hard to go wrong with strawberries, and with your
gorgeous pics as inspiration, my kitchen should smell great and be extra sticky.
Thanks for taking the time to share with us. It was a good day when I found your site.
I once used someones recipe for canning pumpkin butter to find out you can not do pumpkin butter in a water bath. I threw it all away. :( Now I know better and I’m pretty careful but I love to “put up”!
That almost sounds dirty. LOL
I need to get that small batch cookbook!
I remember all of those days of picking, cleaning, shelling, shucking, brining, snapping and everything else. Not only did we learn great survival skills and how to “put up” our favorite foods, we learned how to work. Nowadays, when we sit down to a family gathering and enjoy peas or butterbeans from the summer before, we enjoy the work product along with the taste. I hate to sound 500 years old, but if you never experience the labor that goes into something like this, you just can’t appreciate the love that accompanies somebody putting it on the table for you to enjoy.
Those look great. I am making mayhaw jelly this week. Yep. Now, that’s a true South Georgia delicacy.
Miss P
Lana I love your story behind the jam. Putting up sounds great! Never heard of it being an East Coast girl but I think I was really missing something. I do remember sitting outside and shucking the corn. We always fought over who would do it. The jam looks amazing too. I realy enjoyed this post.