

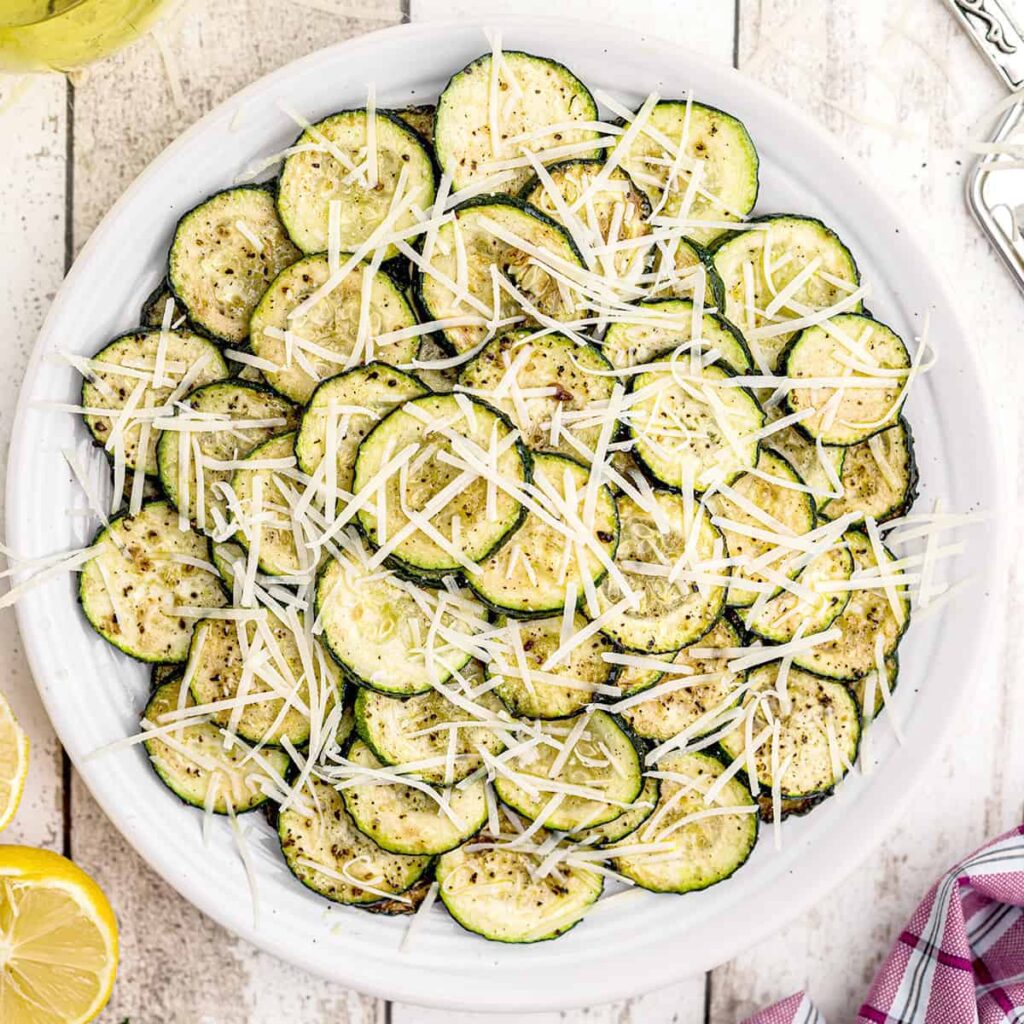
Learn how to make crispy, crunchy baked Zucchini Chips in the oven! They’re tossed in salt, pepper, onion powder, and paprika for a perfectly seasoned healthy snack alternative to potato chips.
This crispy, oven baked Zucchini Chips recipe actually started out with one of those posts that get passed around on Facebook. You know the ones. Recipes that everybody shares over and over, you have no idea where they came from, they look really good, but you just don’t know whether they’ll truly work. Yeah, those recipes.

After seeing the Zucchini Chip recipe for what felt like the hundredth time, I just had to give it a try.
The first batch burned to a crisp. The second batch was soggy. And, well, the third oven batch… let’s not even go there. But, I knew it had the potential to work, so I kept working with it until I got it right!
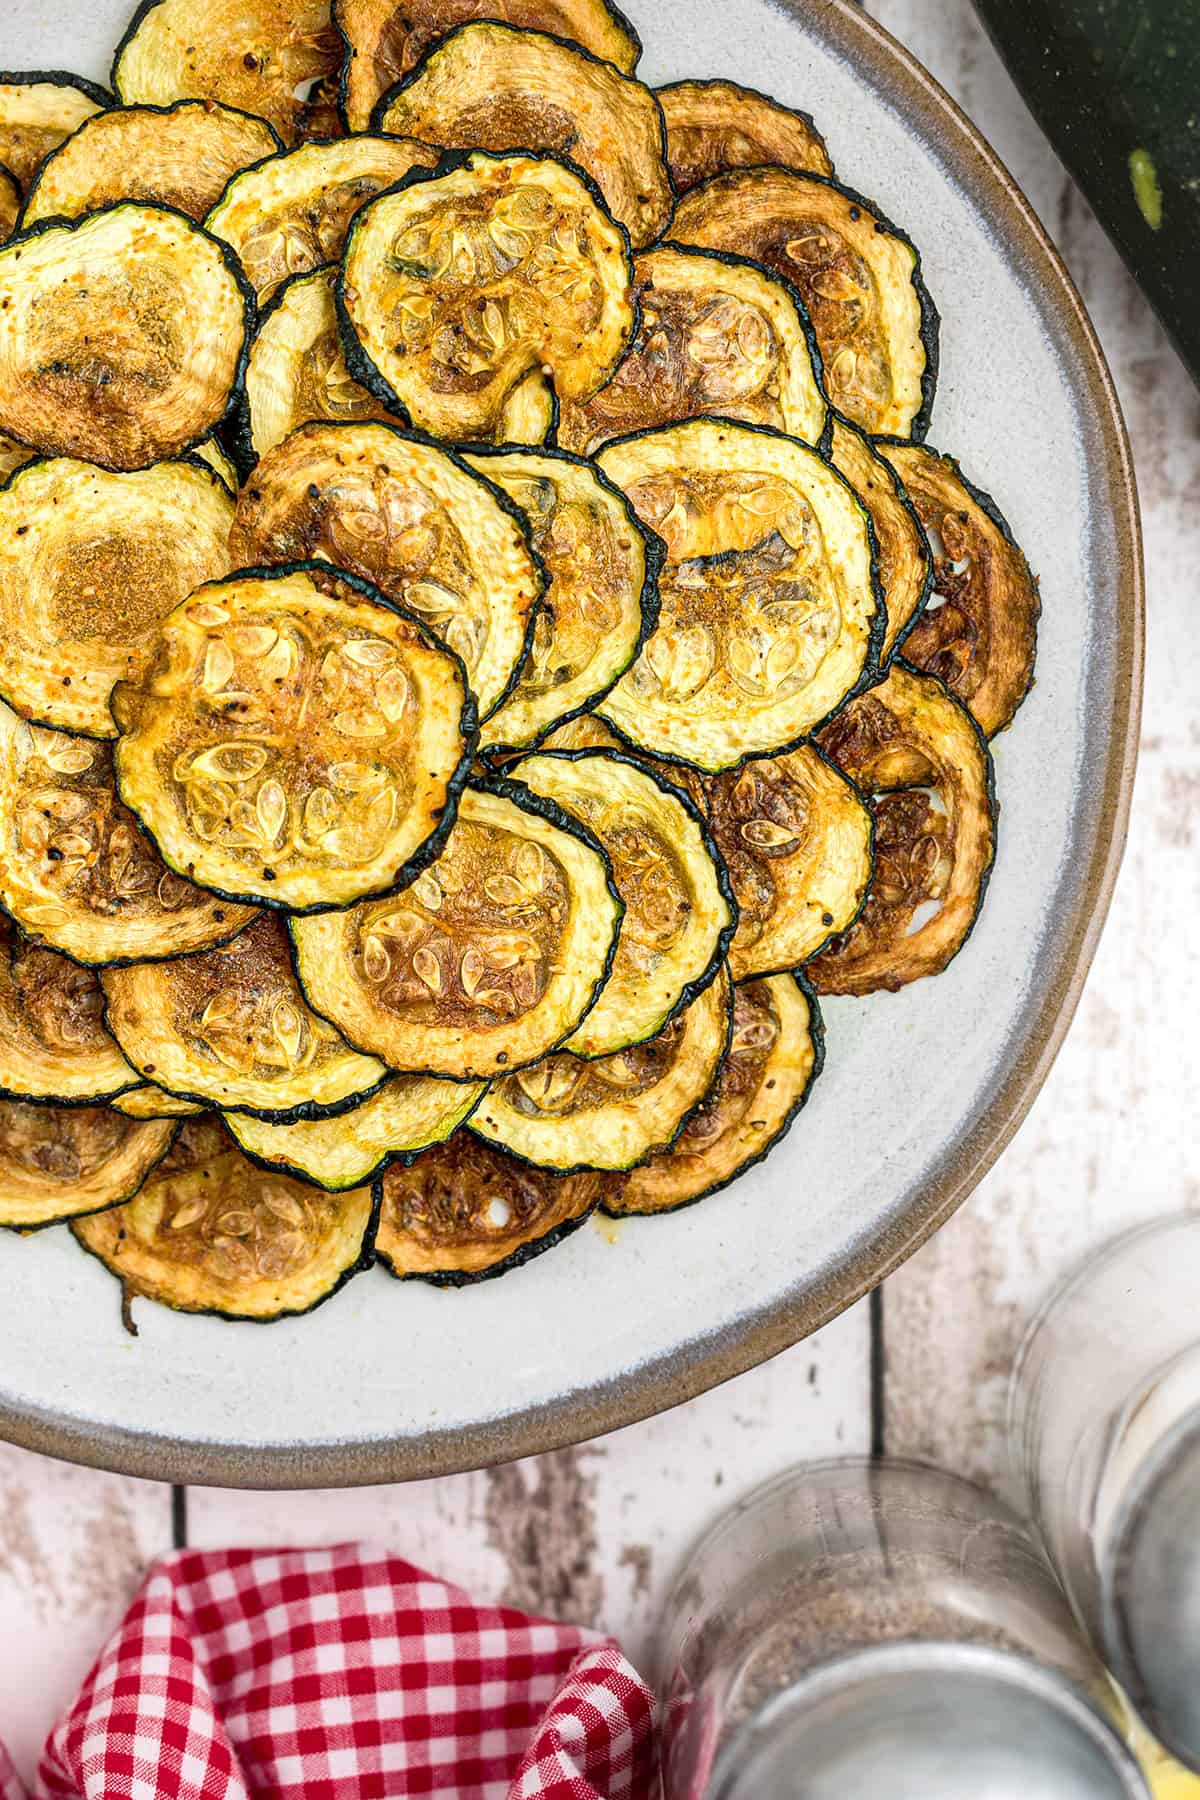
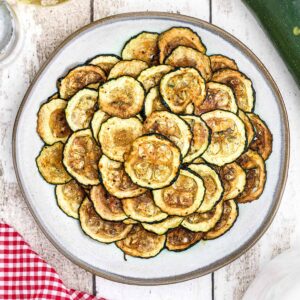
These chips are so light and crispy, you just might mistake them for potato chips. The best thing about them? They’ll help you use up some of that flood of garden zucchini! Plus they go really well with drinks.
I do hope you enjoy this one. It’s an easy recipe but does require some patience and attention during the first phase of cooking. Let me know what you think.
Recipe Snapshot
Cuisine: American
Cooking Method: Oven
Total Time: 55 Minutes
Servings: 2
Primary Ingredient(s): Zucchini, olive oil, spices
Skill Level: Easy
Why I Recommend This Recipe
- This crispy zucchini chip recipe is a low-carb healthy alternative to potato chips.
- Quick, under an hour of bake time, and easy to make compared to most vegetable chips.
- Great way to use up too much zucchini.
WHAT PEOPLE ARE SAYING …
“Great recipe! Made a big batch for a family gathering and everyone raved. Delicious!”
— Erika
Ingredient Notes
This post may contain affiliate links. Lana’s Cooking is reader-supported and earns a tiny commission at no extra cost to you when you shop from our links.
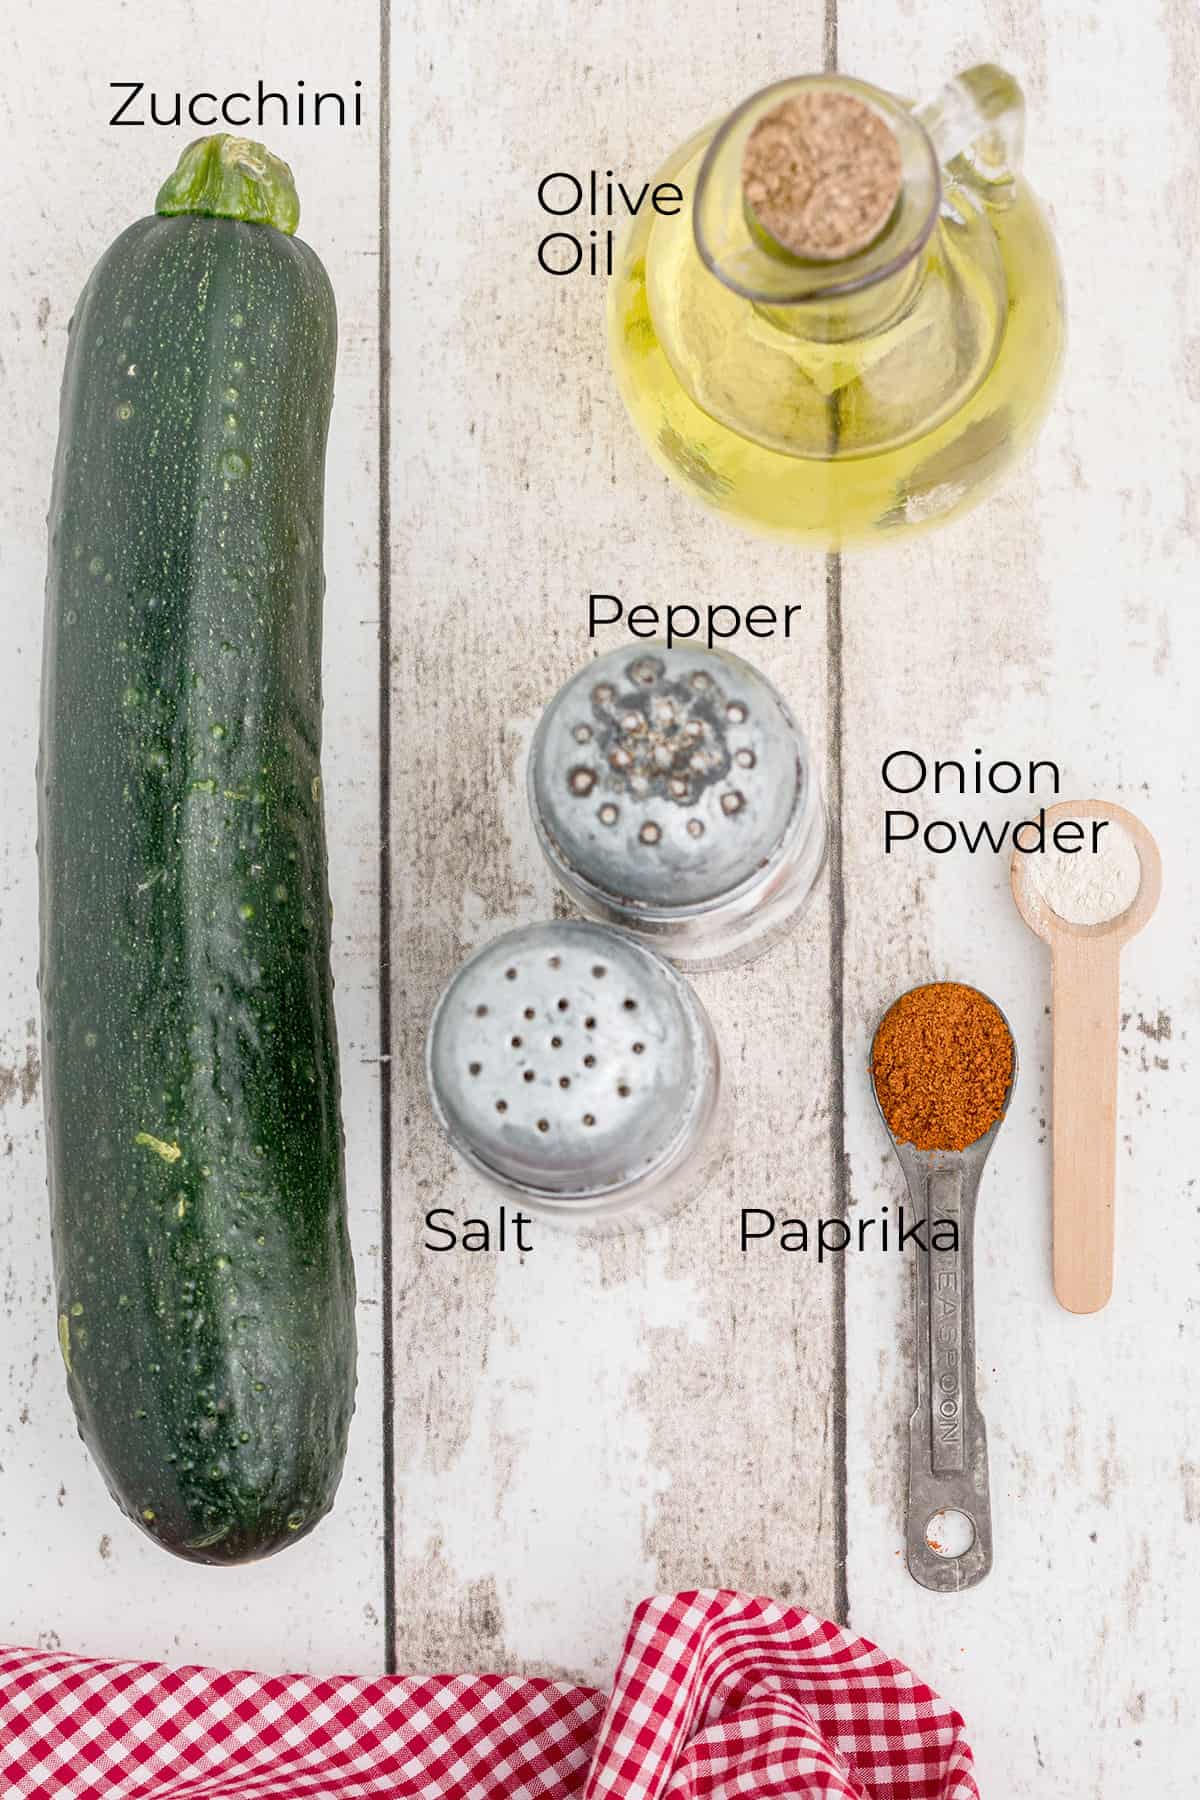
A few simple ingredients, readily available year-round are all that are needed to make delicious oven-baked zucchini chips.
- Fresh Zucchini – This is a rare occasion when I’d recommend larger, more mature zucchini for a recipe. Two reasons – (1) younger zucchini tend to have more moisture content and will take longer to bake, and (2) older zucchini are larger – the chips shrink a lot while baking so larger zucchini give you larger chips when finished.
- Olive Oil – Coats the zucchini slices so that the spices stick and also promotes crisping while baking.
- Kosher Salt – Milder and more flavorful than table salt. The larger flakes stick to the surface of the zucchini and add to the crispy texture. I use Morton brand kosher salt. You can also use Maldon salt.
- Black Pepper – Where salt goes, there goes pepper. Seriously, the sharp flavor of pepper is lovely in the finished chips.
- Onion Powder – Gives a lovely flavor to these crispy chips.
- Paprika – Adds both color and flavor.
The complete ingredient list with detailed measurements is included in the printable recipe card at the bottom of this post.
Want to save this?
How I Make Zucchini Chips
Do the Prep Work
Preheat the oven to 450 degrees.
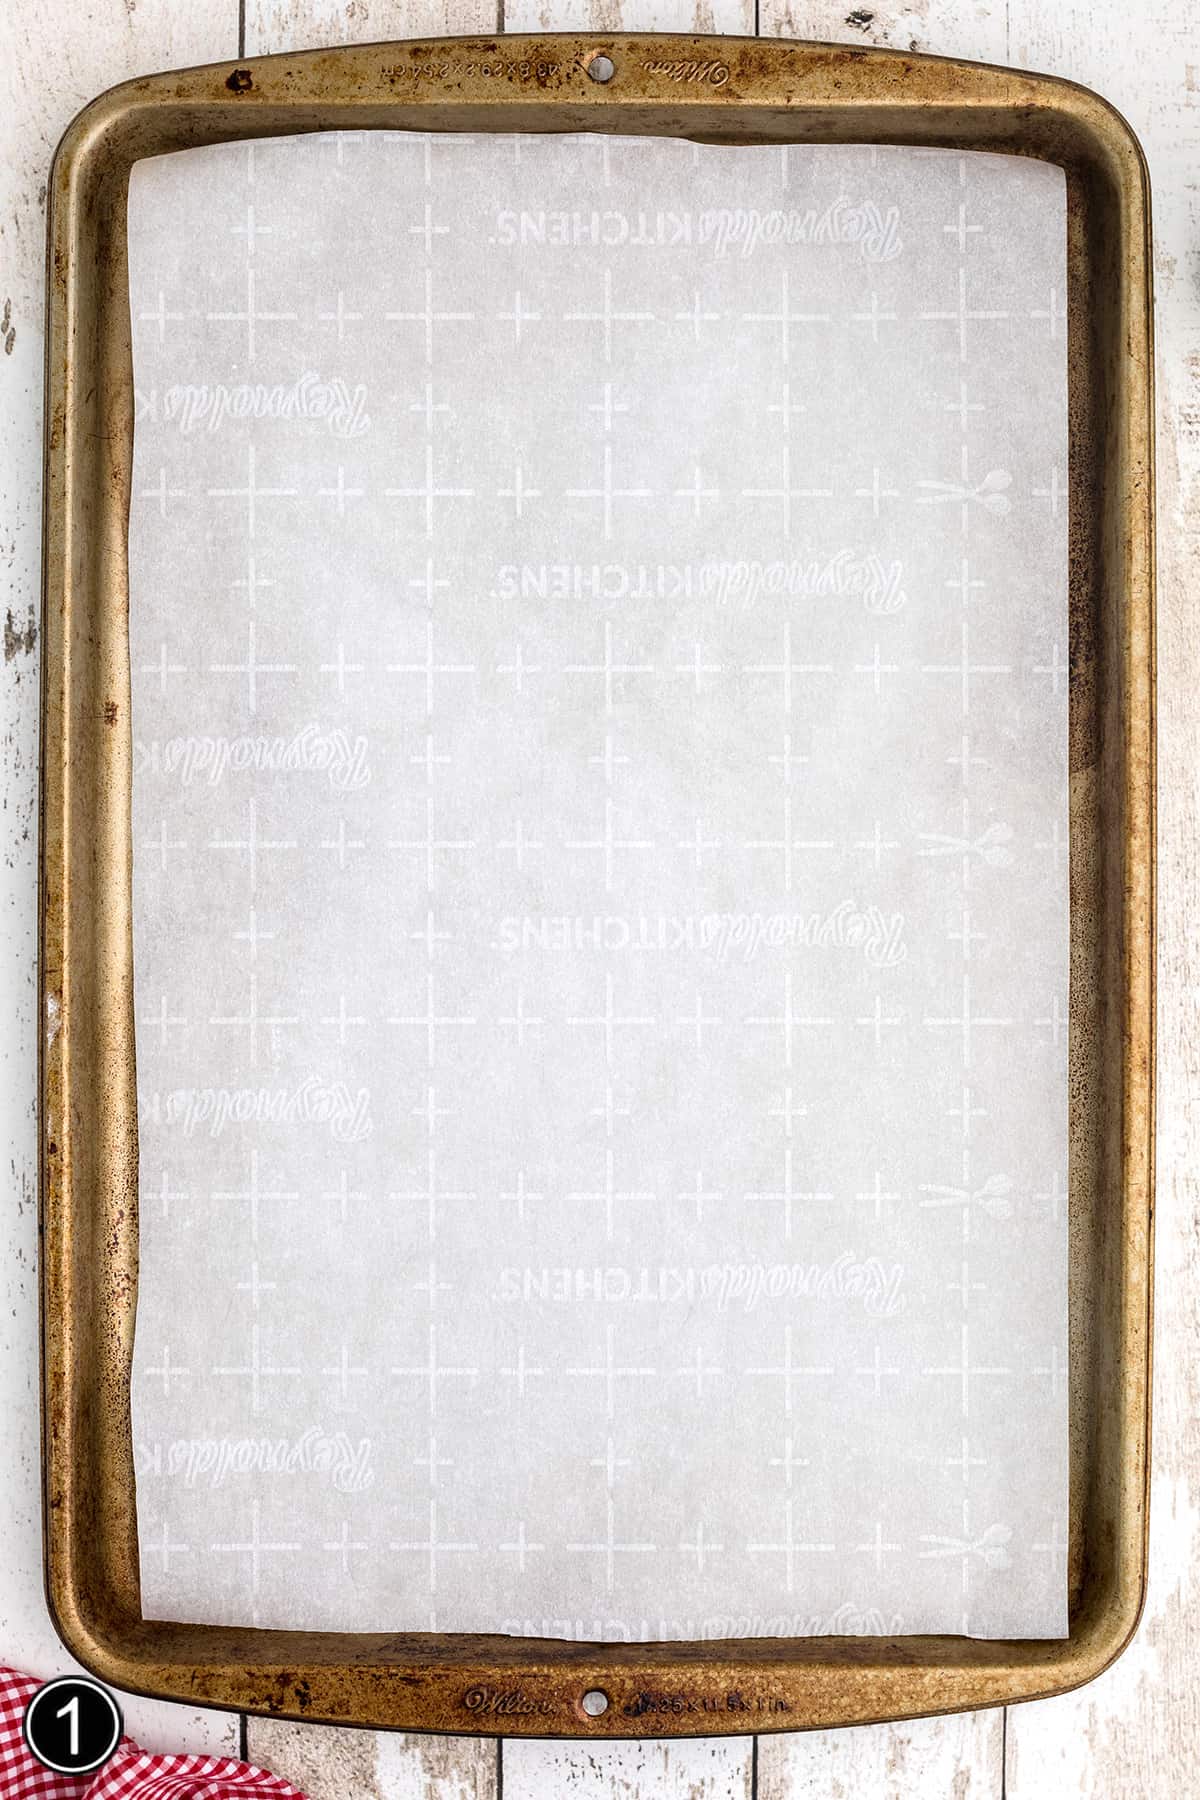
- Line two large baking sheets with parchment paper or line with a Silpat (reusable baking mat).
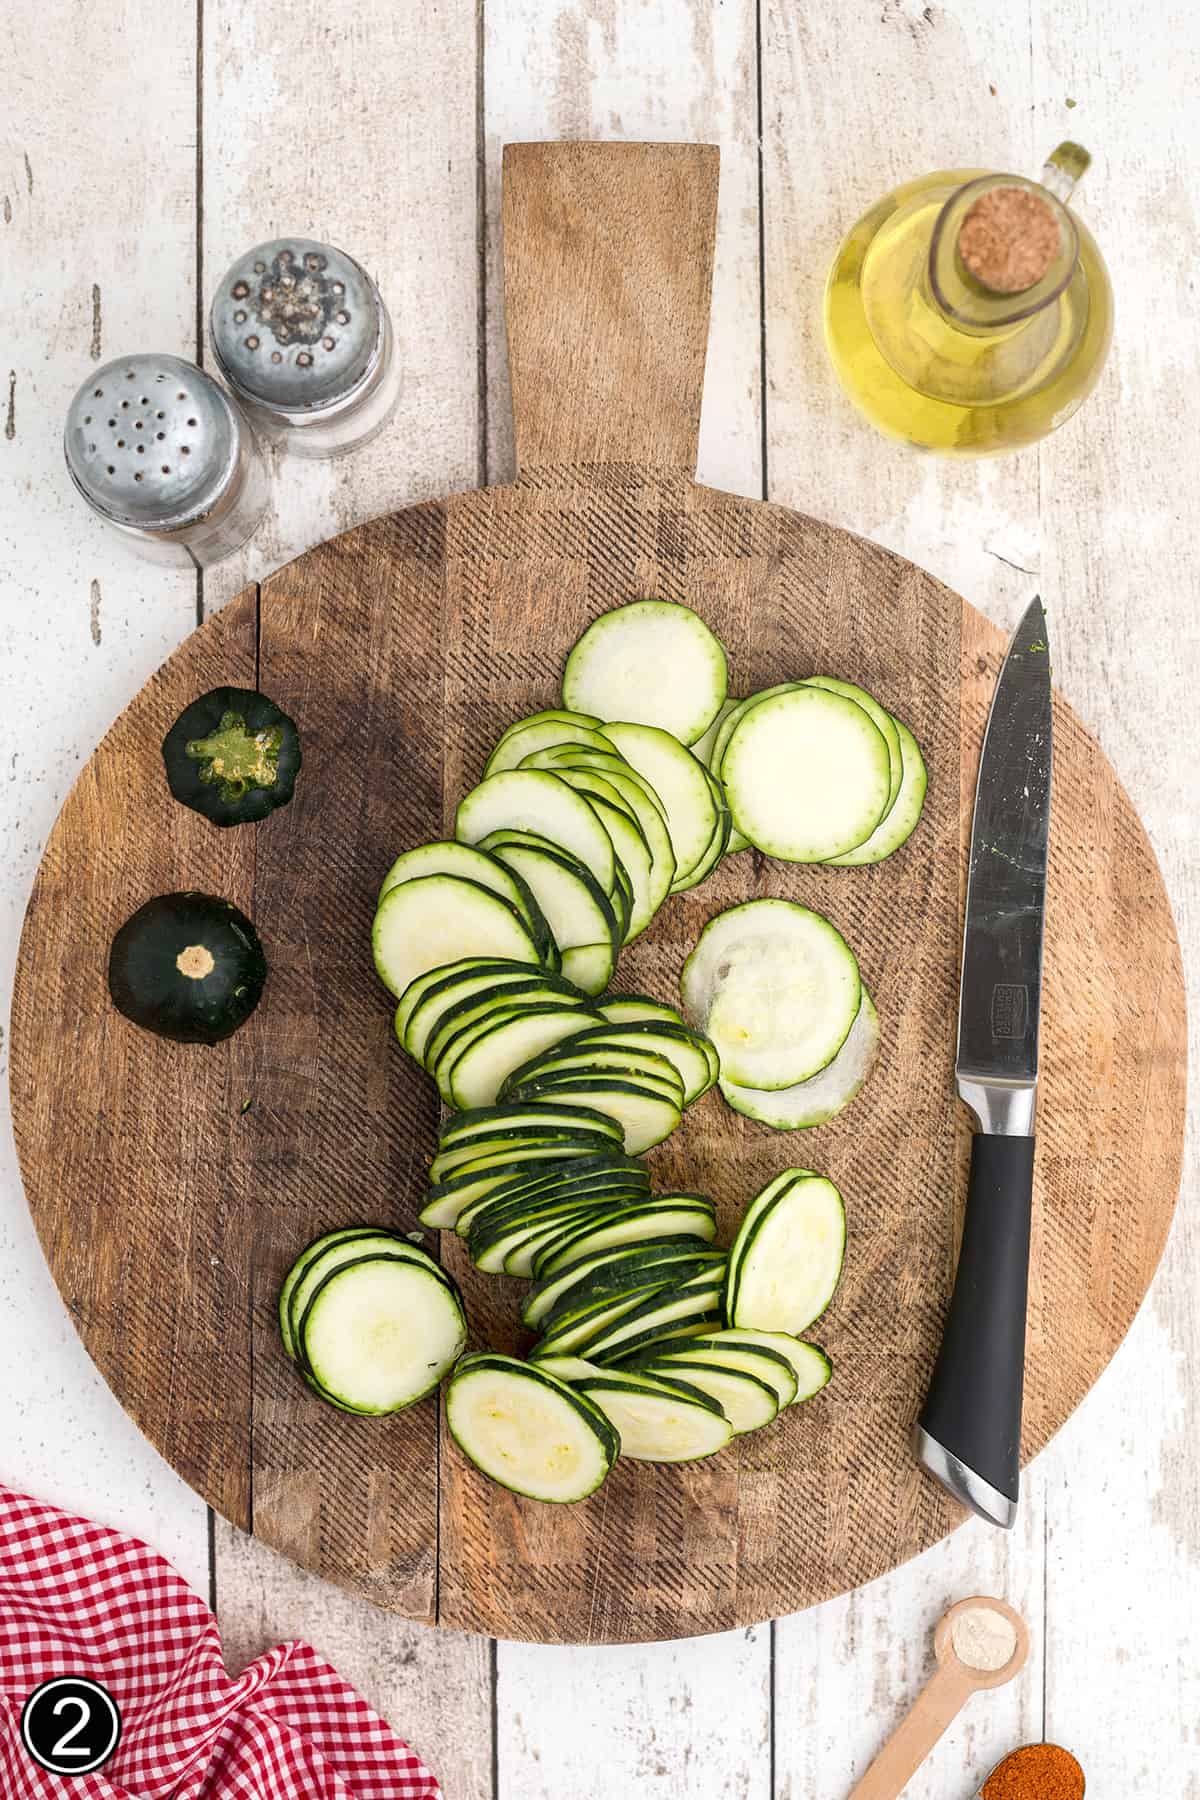
Slice the Zucchini into Rounds
- Thinly slice the zucchini with a knife or mandolin.
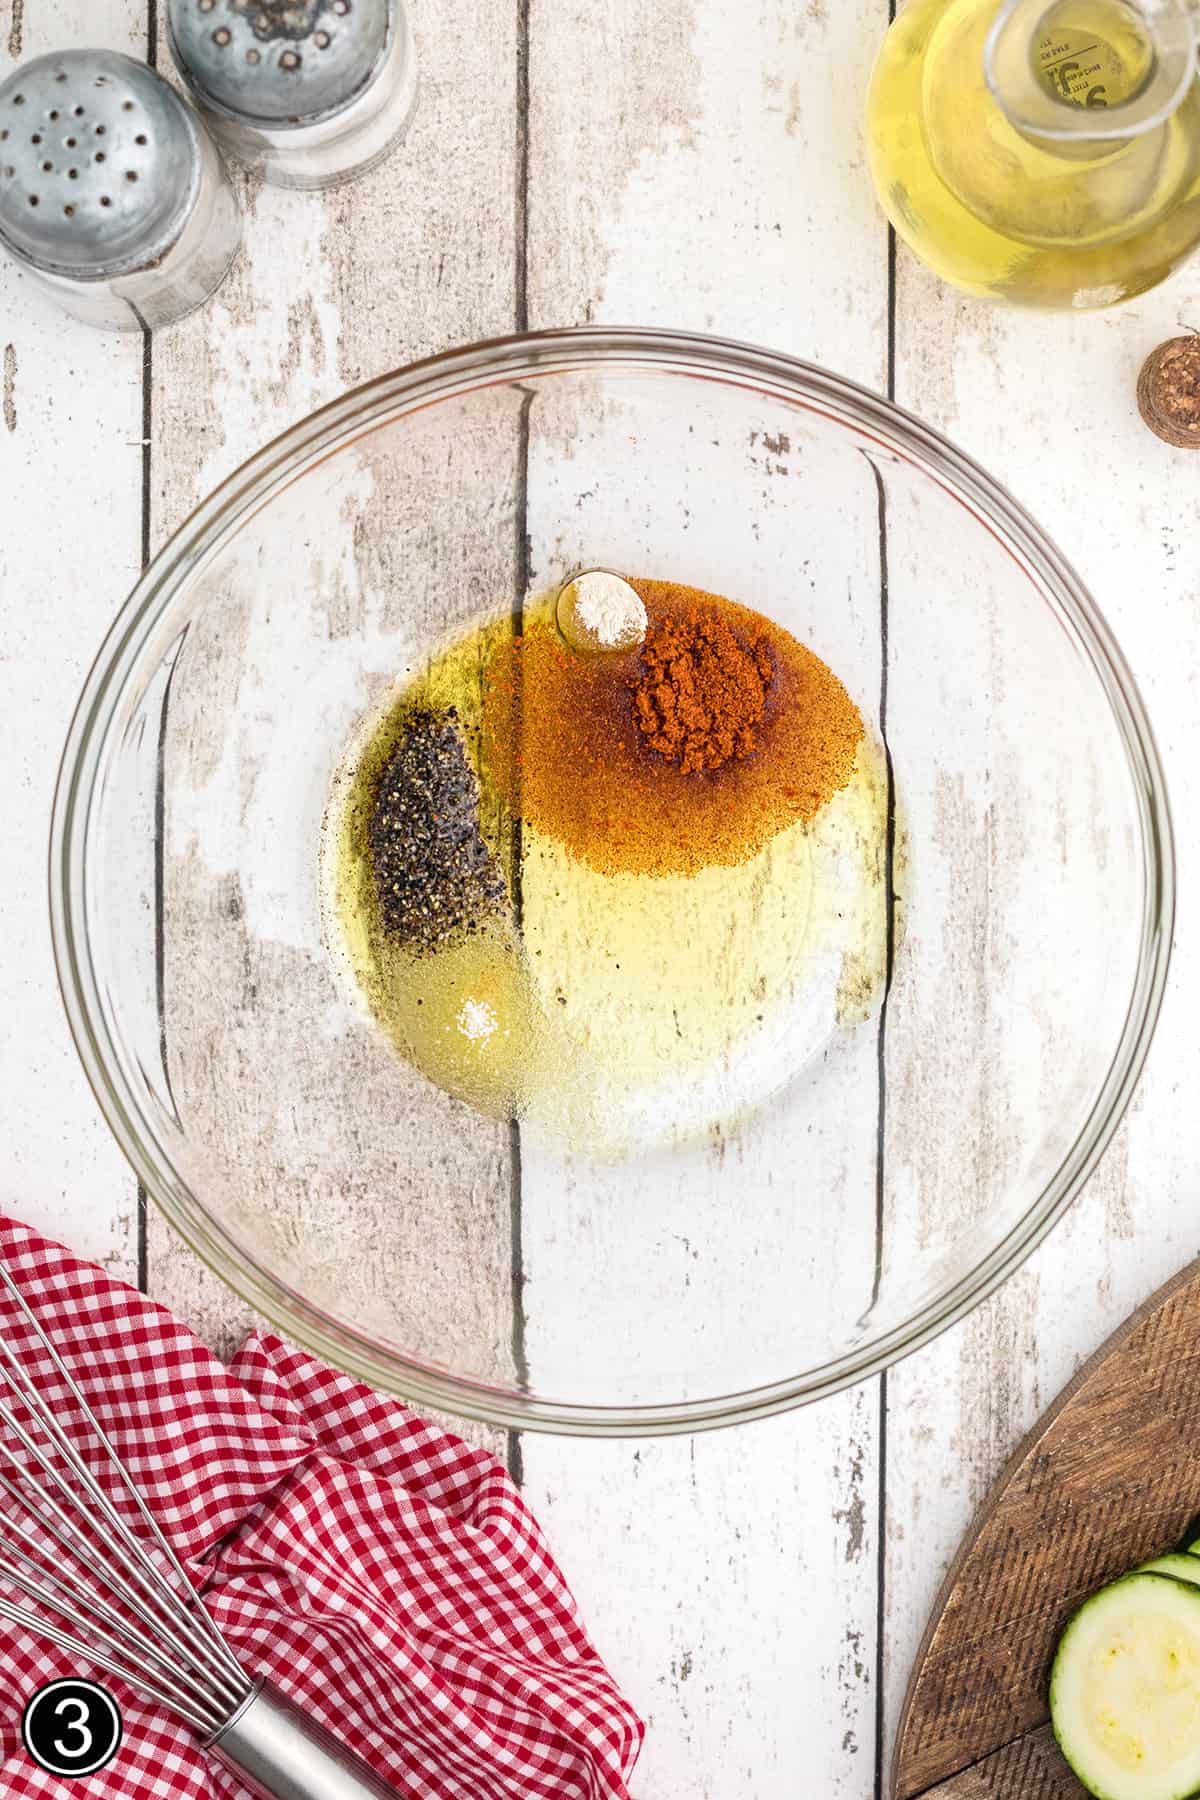
- In a large mixing bowl, combine the oil, salt, pepper, onion powder, and paprika. Stir to combine.
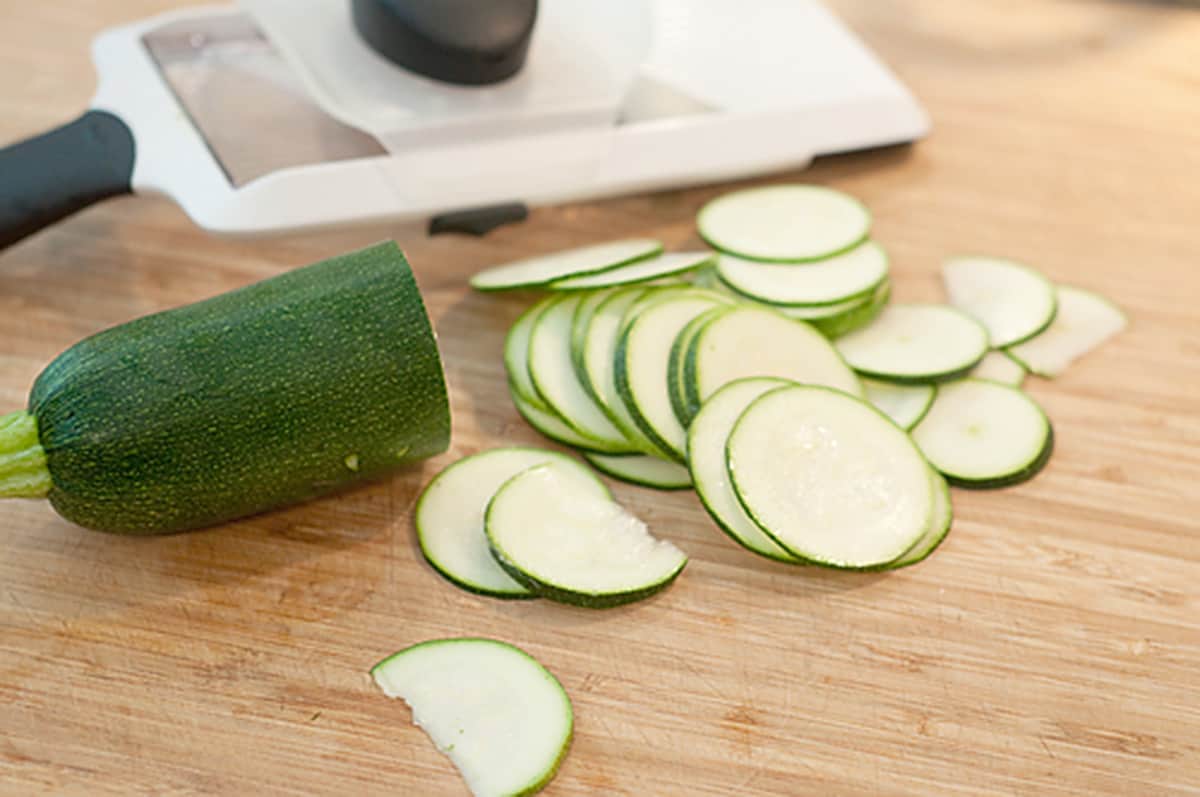
👉 PRO TIP: I prefer a mandoline slicer to get really thin slices. I use an OXO mandoline with three thickness settings (1, 2, and 3). For these chips, I use setting #3 for thinner slices.
If you do use a mandoline, be sure to use the finger guard. Those things are basically razor blades with a handle, you know, so take precautions! If you prefer to slice the zucchini with a knife, use a very sharp thin-bladed knife and make uniform cuts of approximately 1/8 inch.
Toss with Oil and Spices
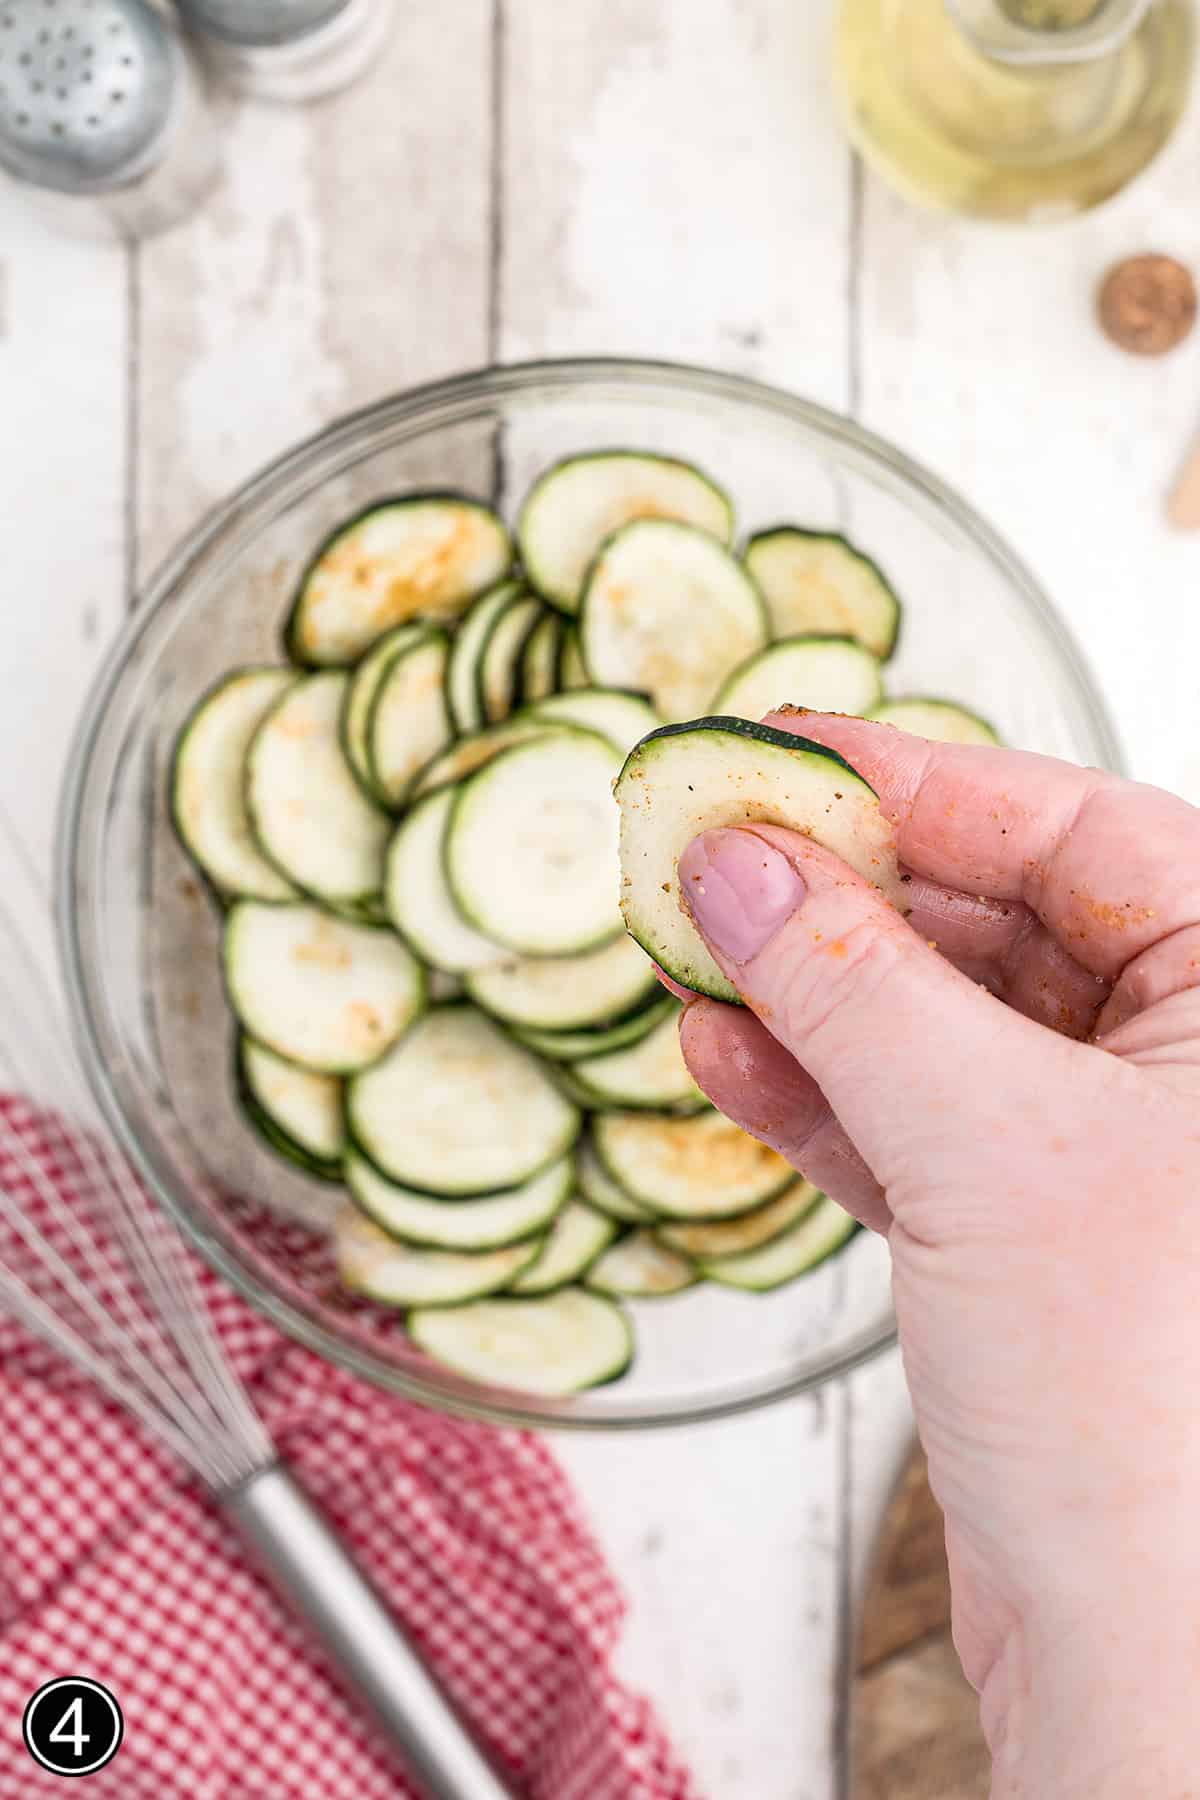
- Add the sliced zucchini to the bowl and toss so that each slice is coated with the seasoned oil. Actually, you have to do a little more than just toss the slices. You do have to work at it to get each slice coated. They just naturally want to stick together so you have to coax them a bit, separating the slices and rubbing them with the oil. Just be gentle and don’t break the slices into pieces.
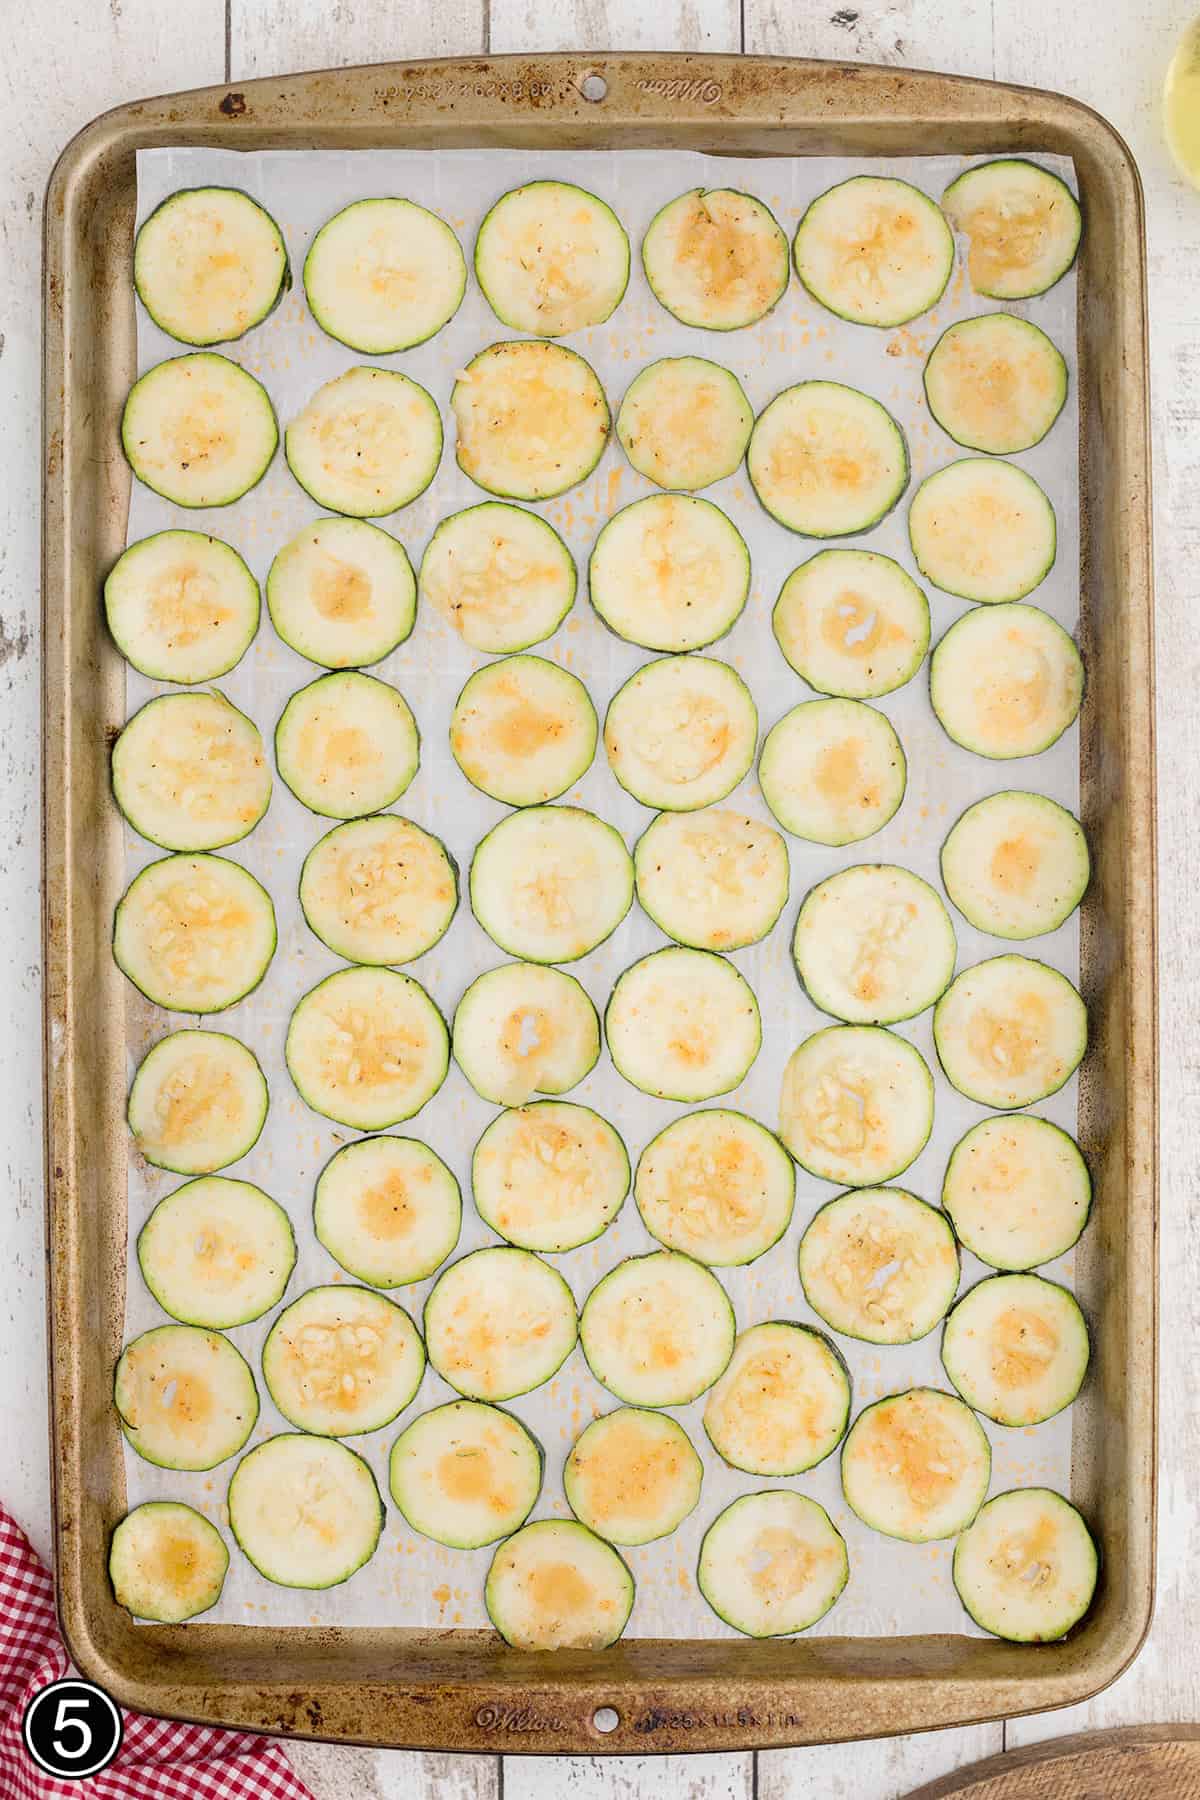
Place the Slices on Baking Sheets
- Place the zucchini rounds in a single layer on each prepared rimmed baking sheet. You don’t have to space them very far apart since they’re going to shrink up while they cook.
Bake the Zucchini Rounds

- Bake for 8-15 minutes watching very closely. Don’t walk away during this time. When the zucchini starts to show some brown spots, immediately remove them from the oven and set them aside.
👉 PRO TIP: This is the tricky part of the recipe. The baking time is going to vary wildly depending on how thickly you sliced your zucchini, how much moisture is in the zucchini, how humid the day is, and the alignment of the planets around the sun 😉.
But seriously, it can take anywhere from 8 to 15 minutes, but be aware that once they start to brown, they will go from beautifully golden to BURNED in about 30 seconds. Watch them like a hawk.
- Reduce the oven temperature to between 180 and 200 degrees (not all ovens go down to 180). When the oven has reached the lower temperature setting, return the zucchini to the oven and cook for an additional 20-60 minutes or until the slices are crispy. Again, the cooking time will vary, but they’re not likely to burn during this part of the cooking.
Keep checking every 10 minutes or so, and when the thickest slices are crispy, they’re done! Remember that oven times and temperatures vary, and yours may take more or less time to cook. Remove from the oven and cool.
Serving Suggestions
- What goes better with chips than a sandwich? Not much! This salty snack would be a great side dish with any one of my many sandwich recipes like the Grilled Chicken, Apple, and Gouda Sandwich, Steak Sandwich with Grilled Onions, the Mediterranean Pressed Sandwich, or a Ham, Apple, and Brie Panini, just to name a few! They’re also perfect just by themselves for a light afternoon snack.
- I’m often asked whether these chips can be served with dips or a favorite dipping sauce (Ranch dressing, for instance). Be aware that these are very delicate and even lighter than regular potato chips so they don’t hold up well for dipping.

Recipe Variations and Suggestions
- Substitute the olive oil with avocado oil.
- Add a couple of tablespoons of finely grated parmesan cheese with the spices.
- Use garlic powder instead of onion powder.
- Add a half teaspoon of cayenne pepper for a spicy chip!
- Use your favorite spice blends to create a recipe all your own.
Storage
Since the chips don’t have any preservatives like commercially produced chips, they are best eaten right away. They will keep for a very short time, 24 hours at the most, in a tightly sealed airtight container at room temperature. I suggest a rigid container rather than a zip lock bag to prevent the chips from being crushed.

Questions About Easy Zucchini Chips
As with any vegetable chip, these do shrink quite a lot. Remember that zucchini are over 90% water so any time you dry them out and evaporate the water you’ll lose a significant amount of volume.
Breading the chips won’t necessarily make them crispier. In fact, since breading requires dipping into something like beaten egg white to get the bread crumbs to adhere, it may actually have the opposite effect.
As I mentioned above, this recipe can be finicky. A lot depends on the size, thickness, and moisture contained in the zucchini. Your chips should be crispy all the way through, and if they aren’t, you most likely didn’t cook them quite long enough. Make sure you test one before pulling out the whole batch. If they have any chewiness left, then put them back in the oven for about 10 more minutes before testing again.
This recipe has not been tested using either an air fryer or a dehydrator so I can’t advise on how to adapt for that.

Have a question or thought to share?
If you have a question about the recipe or if you’ve made it and want to share how it turned out, I would truly enjoy hearing from you. Just scroll down to leave a comment or add your star rating.
Thank you for stopping by. It means a lot to have you here.
Recipe
Crispy Baked Zucchini Chips
Ingredients
- 1 medium zucchini washed and dried
- 1 tablespoon olive oil
- ½ teaspoon kosher salt
- ½ teaspoon black pepper
- ¼ teaspoon onion powder
- ½ teaspoon paprika
Instructions
- Preheat the oven to 450 degrees. Line two baking sheets with parchment paper.
- In a large bowl, combine the oil, salt, pepper, onion powder, and paprika. Stir to combine.
- Thinly slice the zucchini with a knife or mandolin.
- Add the zucchini slices to the bowl and toss well so that each slice is coated with the seasoned oil.
- Place the zucchini slices on the prepared baking sheets.
- Bake for 8-15 minutes watching very closely. When the zucchini starts to show some brown spots remove from the oven and set aside.
- Reduce the oven temperature to 180-200 degrees. Return the zucchini to the oven and cook for an additional 20-40 minutes or until the slices are crispy.
- Remove from the oven and cool.
Notes
- Slice the zucchini very thin with a sharp knife or, preferably, a mandolin.
- Watch the color of the slices very closely during the initial baking time. When they start to show some brown spots, immediately remove them from the oven and set them aside. Finish cooking at the lower temperature for an additional 20-60 minutes or until the slices are crispy. Keep checking every 10 minutes.
- Long term storage is not recommended. These chips are best enjoyed the same day.
Nutrition Information
Nutrition information is calculated by software based on the ingredients in each recipe. It is an estimate only and is provided for informational purposes. You should consult your healthcare provider or a registered dietitian if precise nutrition calculations are needed for health reasons.

— This post was originally published on July 1, 2014. It has been updated with new photos and additional information.
Hi Lana, is there any need to flip them over part way through?
Hi Tammi – I don’t flip them.
Hi Lana,
I am drowning in zucchini this time of year and definitely want to give the recipes a shot. I don’t have parchment paper for though. Do you think I could use either a baking rack or a slip at sheet?
Thanks!
Hi Michelle. I haven’t tested the recipe using either a baking rack or a silpat (I think that’s what you meant?) so I can’t advise on that.
I wanted to try this, but nowhere in the article did you state the starting temp for the oven😣🤔
Um, yes. It is stated twice, actually. Once in the text of the post and once in the recipe card. The starting temp is 450. As stated.
Hi, do you mean degrees celsius or fahrenheit?
Fahrenheit.
Absolutely love these chips
Really glad to hear that!
I absolutely love this recipe and can’t wait to make it for my family. Thank you for sharing!
I hope your family enjoys it, Lise!
Do they keep? Or get soggy after awhile. Do you have to eat them right away?
Since they don’t have any preservatives like commercially produced chips, they are best eaten right away. They will keep for a very short time in a sealed container.
I had to quadruple the oil mixture to get them all coated. Anyone else?
Even though they shrunk, I loved them. Will the keep?
Yes, they do shrink. Zucchini are over 90% water so any time you dry them out and evaporate the water, they definitely become smaller. Glad you liked them.
I made these today and used 3 zucchini and they shrunk so bad I ended up with just a hand full. I didn’t add any salt. How do you keep them from shrinking so bad?
Yes, they do shrink. The more moisture any vegetable contains, the more it will shrink when dried.