Making Homemade Mayonnaise is easier than you think! Here are my easy step-by-step instructions to create delicious, creamy mayo right in your own kitchen.
You know, there are just certain basic tasks that all good cooks should know how to do. How to perfectly boil an egg, how to cut an onion, how to sharpen a knife, how to seed a tomato. I could go on and on.
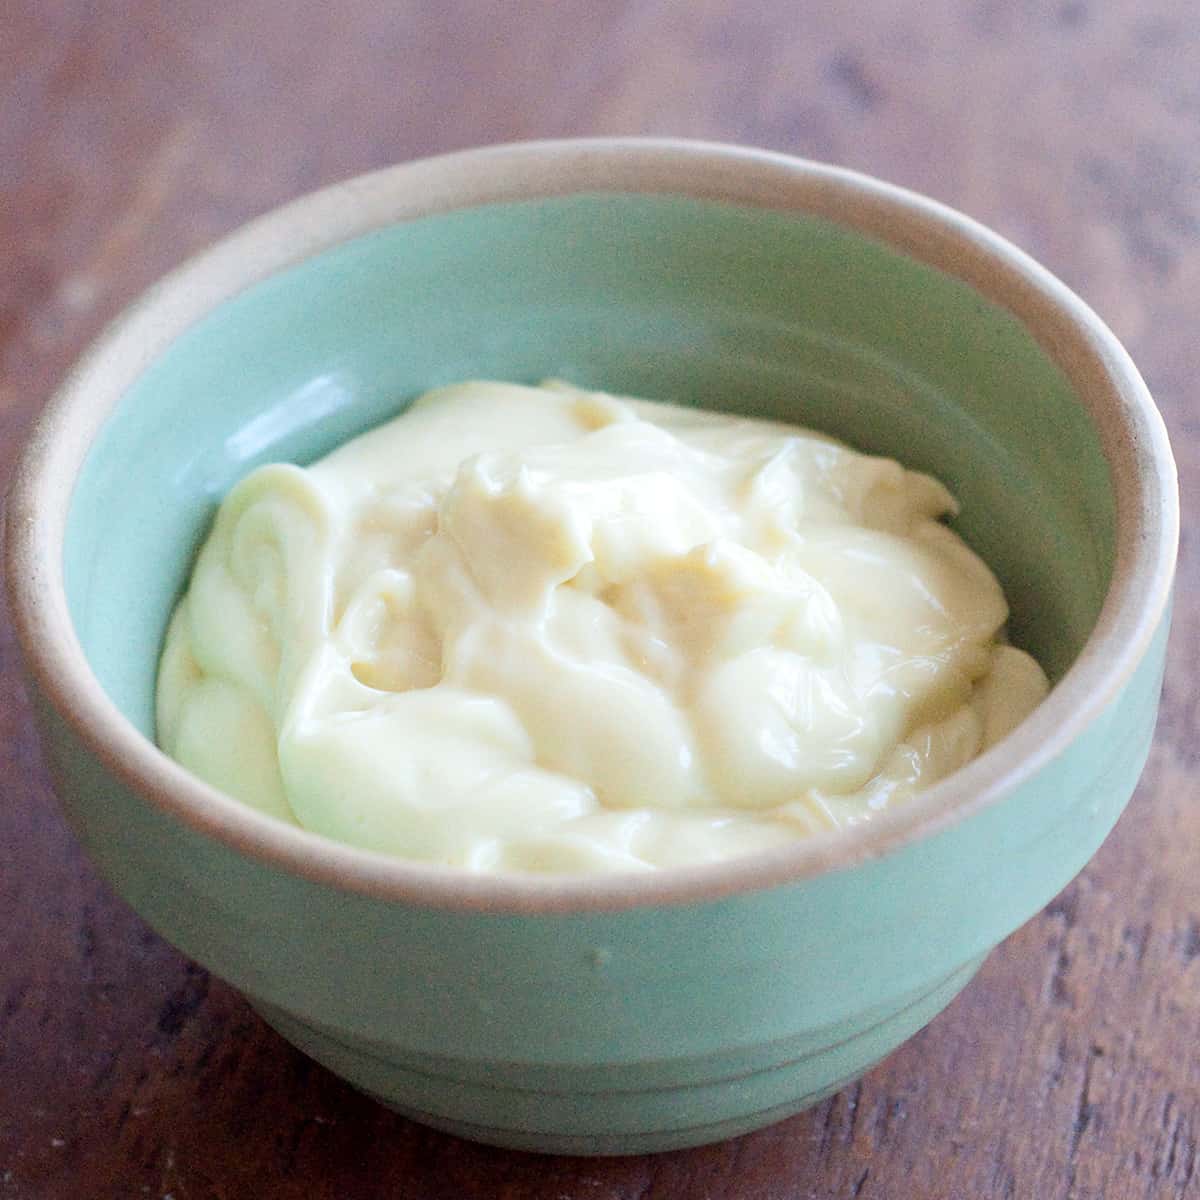
And there are basic recipes that we all should learn as well. Today’s recipe is one of those. Classic Homemade Mayonnaise is easy to make. It’s economical, and it can be flavored in lots of ways to liven up your cooking.
I know what some of you are thinking, “Why would I want to make mayonnaise when I can just buy a jar at the grocery store?” Well, for one thing, you’ll know exactly what’s in this mayonnaise. It won’t have any preservatives and you can control the quality of the ingredients.
Plus, it’s a challenge! I always enjoy a kitchen challenge and once I master a technique, I almost always think, “Wow–that was way easier than I thought it would be!”
Admittedly, this method takes a little longer than some because it’s done entirely by hand with a whisk. There are recipes galore on the internet for blender mayonnaise made in about 3 minutes if you’re interested in those, but I always think it’s nice to learn the classic way first. And that’s what we’re doing here. The classic, beaten by hand, homemade mayonnaise recipe.
So, grab a bowl, a whisk, and a few ingredients and give it a try. What’s the worst that could happen?
Recipe Snapshot: Homemade Mayonnaise
Prep Time: 15 minutes
Cook Time: none
Total Time: 15 minutes
Servings: 32
Cuisine: French
Cooking Method: none
Primary Ingredients: Eggs, lemon juice, mustard, oil
Skill Level: Easy
DO MORE WITH CHATGPT
What You’ll Like About This Recipe
- Making mayo at home means it’s all-natural, so you know exactly what’s in it.
- The beauty of homemade mayonnaise is its versatility and adaptability. It can be flavored in countless ways, allowing for lots of creativity in the kitchen.
- Mastering a time-honored, traditional kitchen method both connects you to foundational cooking practices and gives you a big sense of accomplishment.
Ingredient Notes
This post may contain affiliate links. Lana’s Cooking is reader-supported and earns a tiny commission at no extra cost to you when you shop from our links.
- Egg Yolks: Fresh eggs are a must. Have them at room temperature for best results.
- Lemon Juice: Fresh lemon juice is preferable over store-bought for its natural brightness. You can also experiment with other acid sources, such as white wine vinegar, for a different taste profile.
- Salt: I like fine sea salt or kosher salt for mayonnaise, but you can use whatever you have on hand.
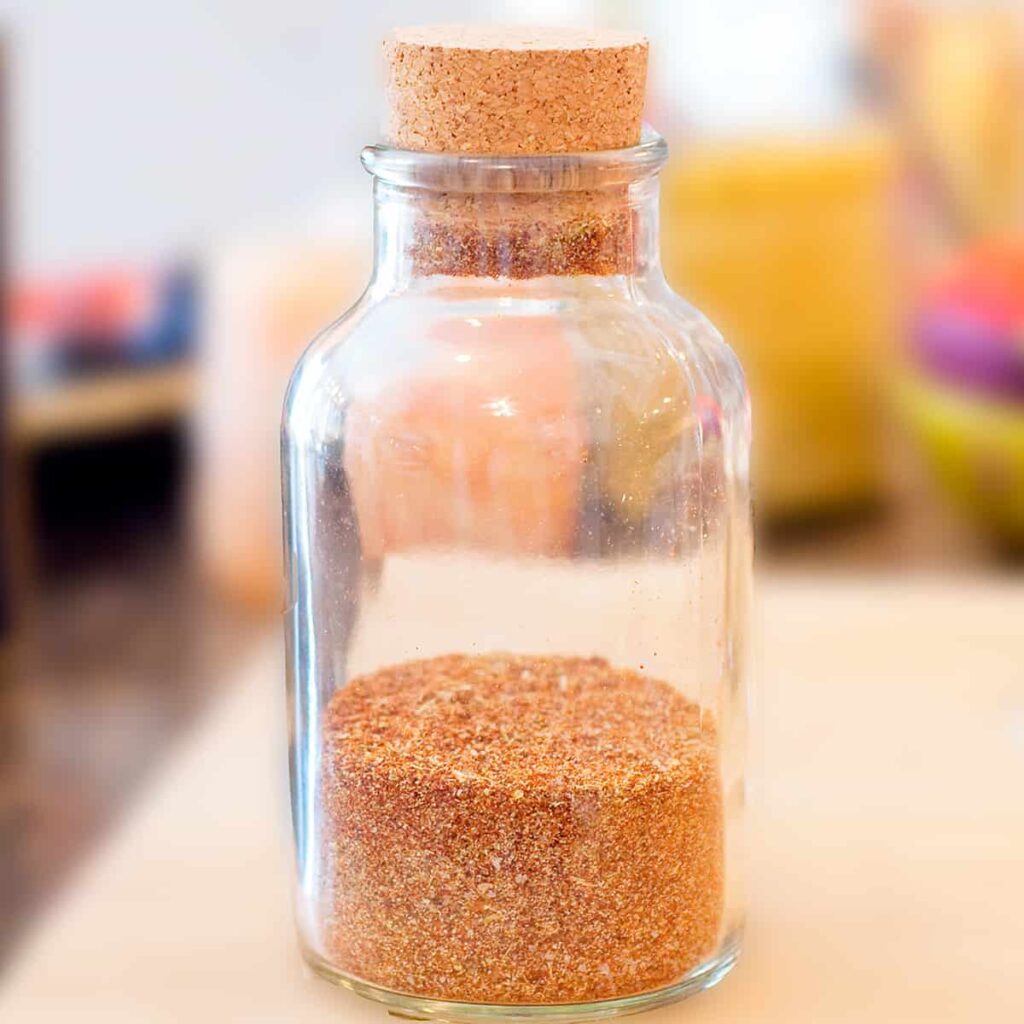
- Dry Mustard: This acts as an emulsifier and adds a touch of flavor. If you don’t have dry mustard on hand, use about a teaspoon of good Dijon mustard in its place.
- Canola Oil: Make sure the canola oil is fresh with no rancid taste. Canola is preferred because it has a neutral flavor that won’t overpower the mayonnaise.
- Olive Oil: Choose a mild or light olive oil rather than a robust or extra virgin olive oil variety. Again, you don’t want to overpower the flavor of the mayonnaise.
- Boiling Water: An unusual but important ingredient. It helps prevent the mayo from curdling and improves the texture.
The complete ingredient list with detailed measurements is included in the printable recipe card at the bottom of this post.
How to Make Classic Homemade Mayonnaise
Prep work: Assemble all the ingredients before you begin and have everything at room temperature. Separate the eggs and reserve the whites for another use. Combine the canola and olive oils in a measuring cup.
- Warm the bowl with hot water. Dry it well.

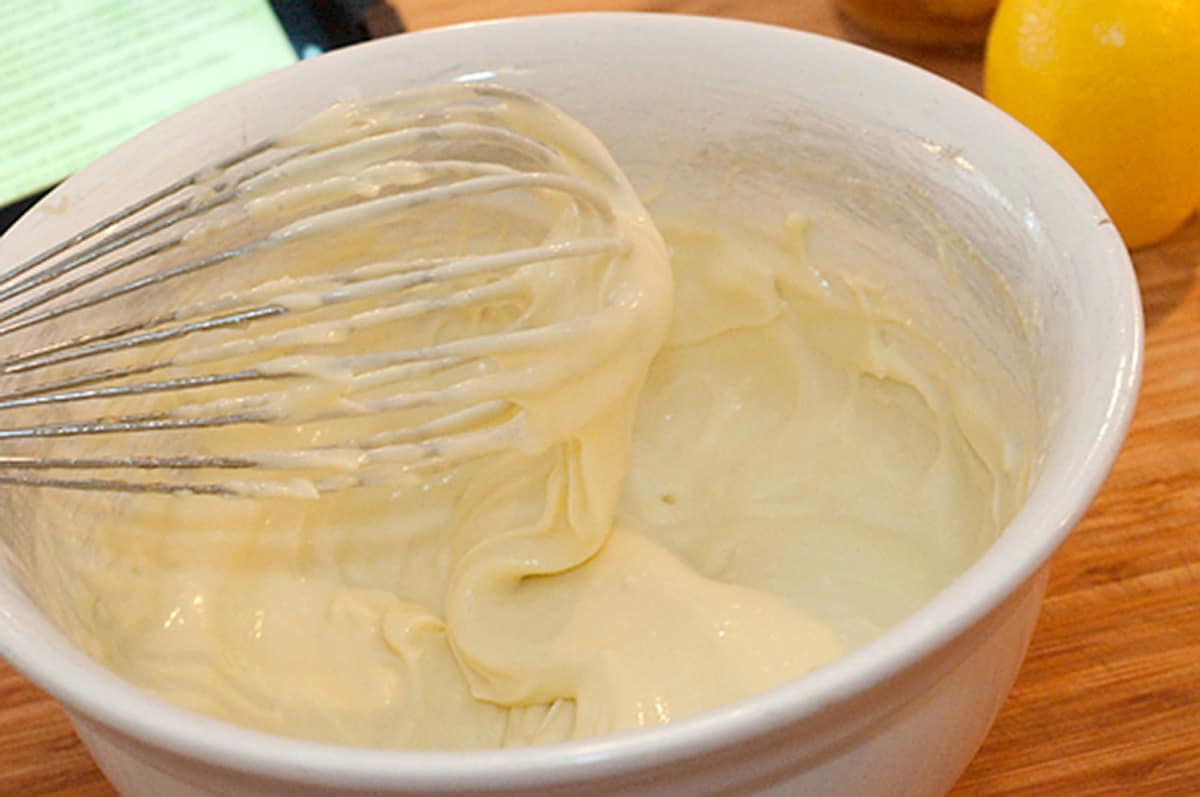
- Add the egg yolks and, using a large wire whisk, beat for 1 minute until they are thick and sticky.
- Add the lemon juice, salt, and mustard and beat for 30 seconds more.
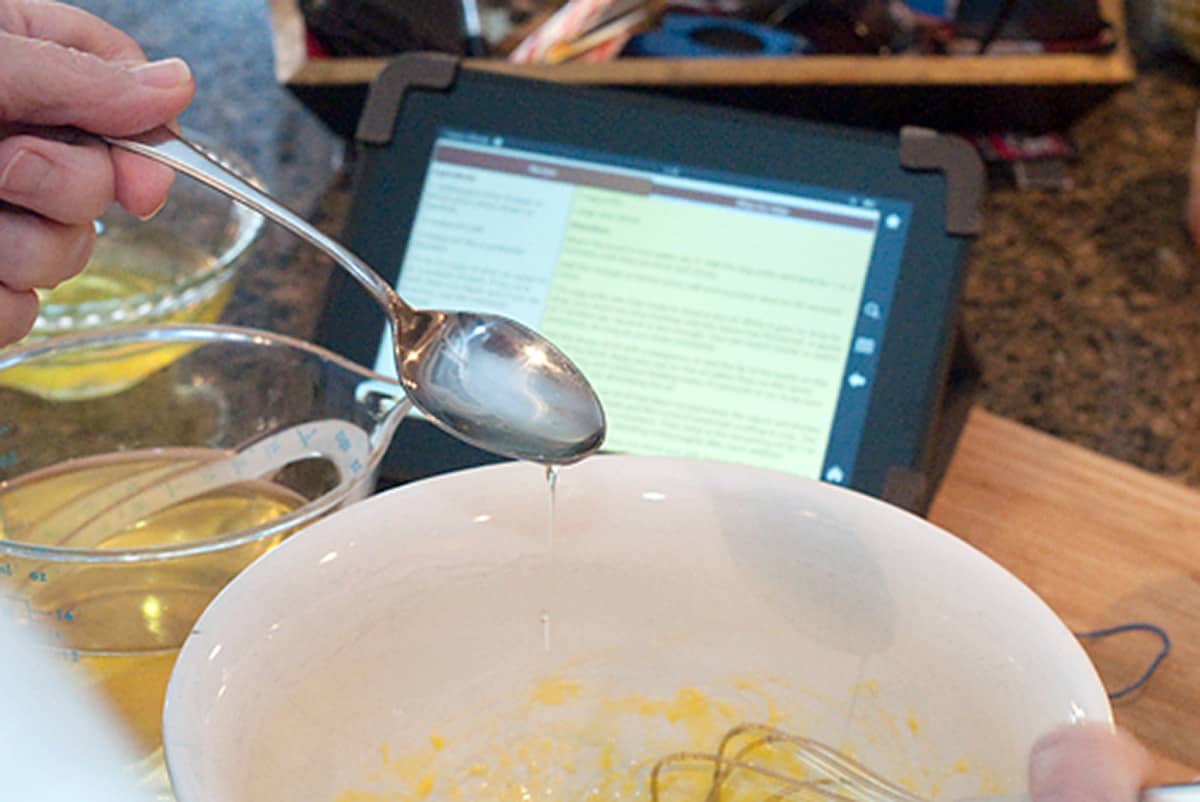
- Begin adding the oil drop by drop while beating constantly.

Pro Tip
I find it easiest to do this step by just dribbling drops from the end of a spoon. Add no more than 2 or 3 drops at a time. You don’t need to whisk at a high rate of speed; just about two strokes per second is adequate. You can switch hands if you get tired, but do not stop beating until the mayonnaise has started to thicken.

- Once the mayonnaise has thickened (this will occur when about 1/3 to 1/2 cup of oil has been incorporated), you can start adding the oil a little faster in a thin, steady stream until all of the oil has been beaten in.
- When the mayonnaise becomes too thick to whisk, beat in drops of lemon juice to thin it out. Then, continue with the oil.
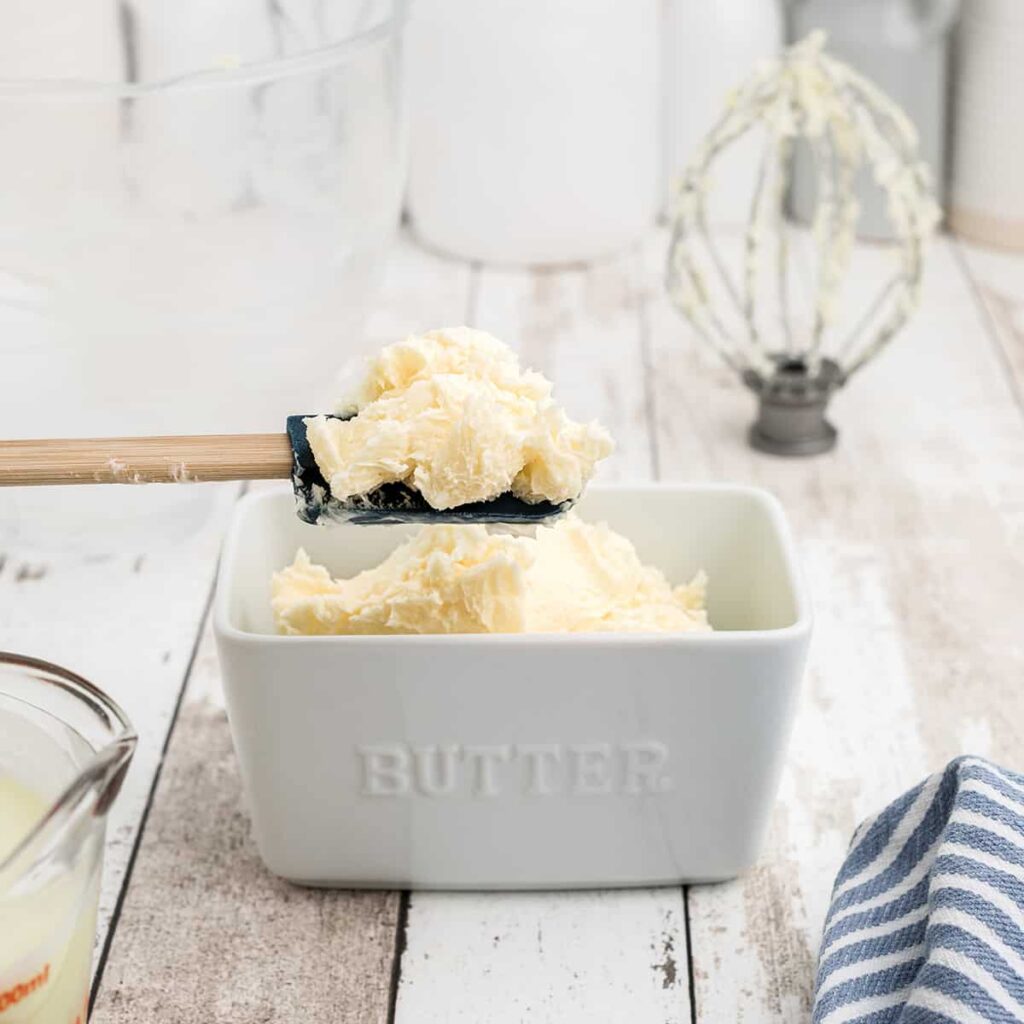
- After all the oil has been incorporated, beat in the boiling water. This will help prevent curdling and separation of the mayonnaise.
Want to save this?
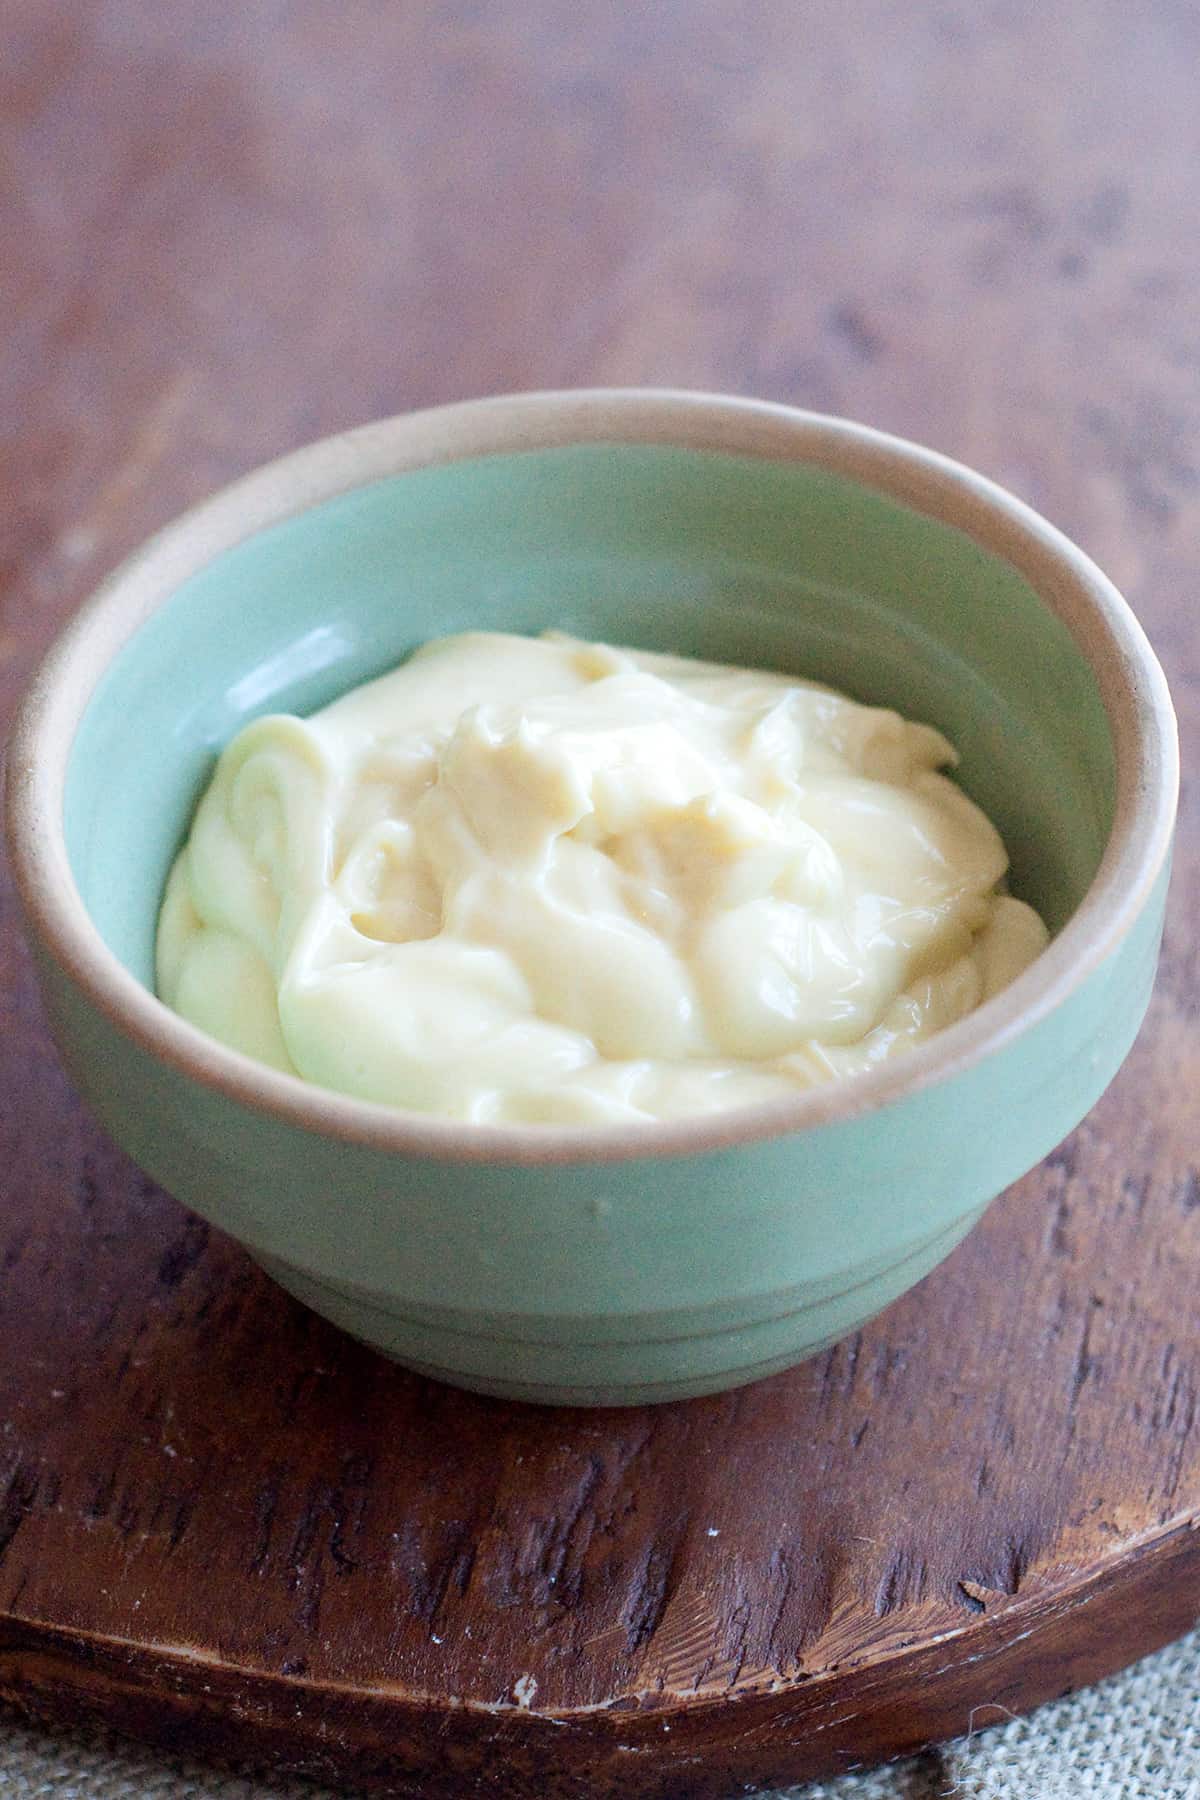
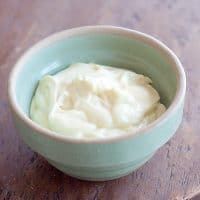
- If not using immediately, store in a small bowl covered with plastic wrap. Push the plastic wrap down onto the top of the mayonnaise to prevent a skin from forming.
Now, aren’t you glad you know how to do that?
How to Use Homemade Mayonnaise
Homemade mayonnaise, with its creamy texture and fresh flavor, can be used exactly like the store-bought version. Use it to spread on sandwiches and wraps or toss it into potato salad, chicken salad, or tuna salad. Mix it with other ingredients to create unique dips for veggies, fries, and chips, or use it as a base for various dressings and sauces.
Mayonnaise Variations
- Aioli: Essentially a garlic mayonnaise, aioli is a Mediterranean favorite. Begin with the basic recipe, and then blend in 2-3 finely minced garlic cloves. You can also add a dash of lemon zest for a brighter note. It pairs nicely with seafood, sandwiches, and as a dip for vegetables.
- Herb-Infused Mayo: Add finely chopped fresh herbs. Consider basil, parsley, chives, or tarragon. Herb-infused mayo works wonderfully in sandwiches or as a dressing base.
- Chipotle Mayo: Looking for some smoky heat? Blend in some chipotle in adobo for a spicy, smoky twist. This variant is perfect for tacos, burgers, and grilled meats.
- Lemon-Caper Mayo: Blend in some finely chopped capers and extra lemon zest. This tangy, briny mayonnaise is fantastic with fish sandwiches or as a tartar sauce alternative.
- Curry Mayo: Mix in some curry powder and a squeeze of fresh lime juice for an exotic touch. Great as a sandwich spread or paired with grilled chicken.
- Sriracha or Hot Sauce Mayo: For those who like it hot, blend in your favorite chili sauce or sriracha to taste. Ideal for sushi rolls, sandwiches, or drizzling over grilled meats.
- Truffle Mayo: Add a few drops of truffle oil and some finely chopped truffle (if you have it). This luxurious mayo variation is excellent with fries, burgers, or gourmet sandwiches.
- Honey Mustard Mayo: Combine honey and a touch more mustard to your base mayonnaise for a sweet and tangy variant. Perfect for chicken wraps or as a salad dressing.
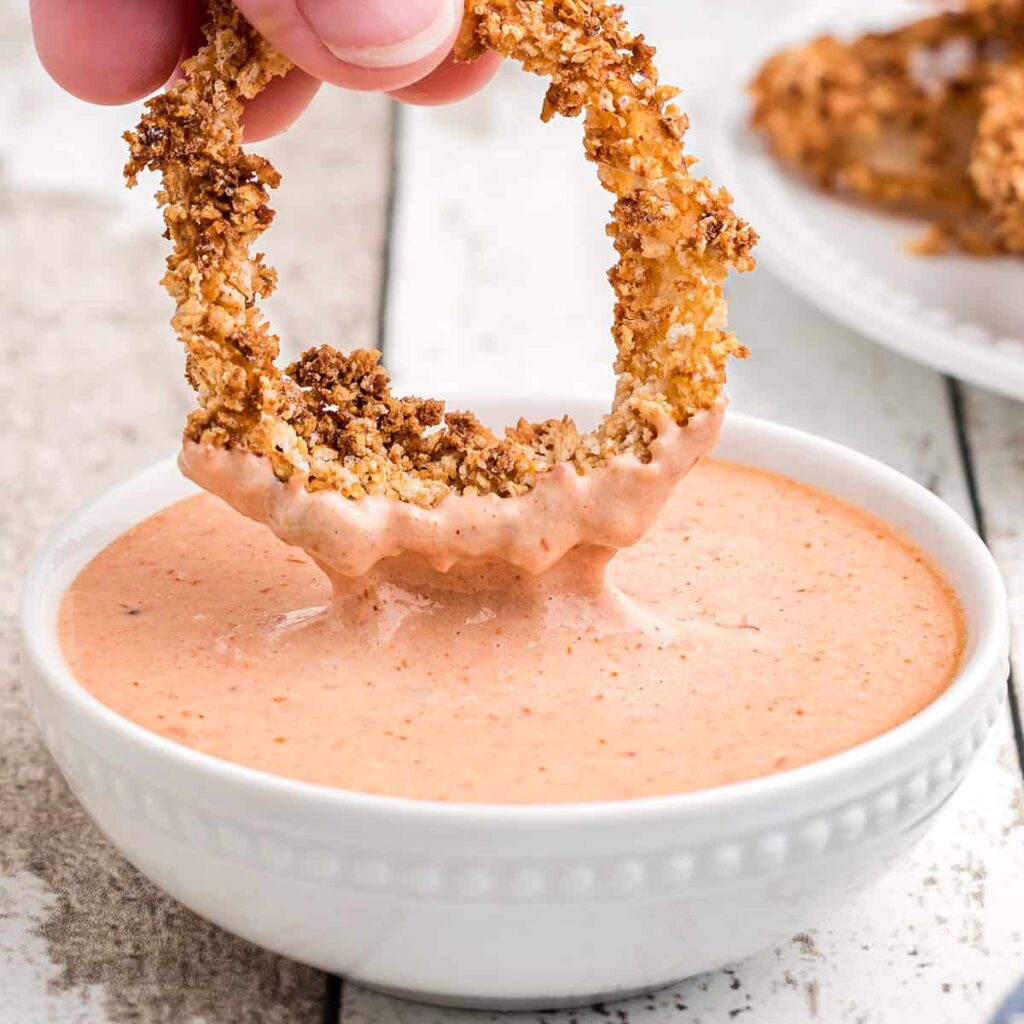
- Roasted Red Pepper Mayo: Blend in some roasted red peppers for a smoky, sweet flavor profile. This version pairs well with Mediterranean dishes, sandwiches, or as a veggie dip.
How to Store
Transfer the finished mayo to a clean, airtight container and press a piece of plastic wrap directly onto the surface to prevent a skin from forming. Seal the container and place it in the coldest part of the refrigerator, ideally at the back. Homemade mayonnaise has a shorter shelf life than store-bought and is best consumed within one week.
Questions About Classic Homemade Mayonnaise
Runny or broken mayonnaise can result from adding the oil too quickly or not whisking adequately. Ensure you add the oil drop by drop initially and whisk constantly to achieve a proper emulsion.
Absolutely! Many people prefer using an immersion blender or food processor as it’s quicker and can give a more consistent result. The principle remains the same: start with the egg yolks and slowly incorporate the oil for a smooth emulsion.
You can definitely substitute canola oil with other neutral oils such as sunflower, safflower, or grapeseed oil. The key is to use an oil with a mild flavor that won’t overpower the mayonnaise.
If your mayonnaise breaks or separates, you can fix it by whisking a fresh egg yolk in a separate bowl and slowly whisking the broken mayo into it, drop by drop, until it becomes creamy again.
More Recipes You’ll Like

Have a question or thought to share?
If you have a question about the recipe or if you’ve made it and want to share how it turned out, I would truly enjoy hearing from you. Just scroll down to leave a comment or add your star rating.
Thank you for stopping by. It means a lot to have you here.
Recipe
Homemade Mayonnaise
Ingredients
- 3 egg yolks
- 1 tablespoon lemon juice more as needed
- ½ teaspoon salt
- ¼ teaspoon dry mustard
- ¾ cup canola oil
- ¾ cup olive oil
- 2 tablespoons boiling water
Instructions
- Warm the bowl with hot water. Dry it well.
- Add the egg yolks and whisk for 1 minute until they are thick and sticky.3 egg yolks
- Add the lemon juice, salt, and mustard. Using a large wire whisk beat for 30 seconds more.1 tablespoon lemon juice, ½ teaspoon salt, ¼ teaspoon dry mustard
- Begin adding the oil drop by drop while beating constantly. A speed of 2 strokes per second is adequate and you can switch hands but do not stop beating until the mayonnaise has begun to thicken.¾ cup canola oil, ¾ cup olive oil
- Once the mayonnaise has thickened (this will occur when about 1/3 to 1/2 cup of oil has been incorporated), add the oil a little faster in a steady thin stream until all of the oil has been beaten in.
- When the mayonnaise becomes too thick to whisk, beat in drops of lemon juice to thin it out. Then continue with the oil.
- After all oil has been incorporated, beat in the boiling water. This will help prevent curdling and separation of the mayonnaise.2 tablespoons boiling water
- If not using immediately, store in a small bowl covered with plastic wrap. Push the plastic wrap down onto the top of the mayonnaise to prevent a skin from forming.
Notes
- Choose a neutral flavored oil such as canola.
- Use fresh eggs and freshly squeezed lemon juice.
- Store the finished mayo in an airtight container with a piece of plastic wrap pressed onto the surface. Place the container in the coldest part of the refrigerator, ideally at the back. Best consumed within one week.
Nutrition Information
Nutrition information is calculated by software based on the ingredients in each recipe. It is an estimate only and is provided for informational purposes. You should consult your healthcare provider or a registered dietitian if precise nutrition calculations are needed for health reasons.
Thank you for this “by hand” recipe! For some reason, every time I’ve tried to make mayonnaise with an electrical tool, it fails to properly emulsify. So far, I have only been successful utilizing my elbow grease. It can be difficult to find “by hand” recipes. The boiling water and warmed bowl is a new approach for me that I will incorporate.
You’re very welcome!
I have made Mayo a few times, last times was about a couple of months ago, I was making BLTAT sandwiches, I had no Mayo, so I made some, my friend tripped out n said “you know u can buy that at the store” , but when I made that sandwich he was very quite enjoying how good the sandwich was with homemade Mayo. So I’m going to make some right now, and going to use your recipe, need to make chicken salad.
I also enjoy making my own mayonnaise. The taste is so much better than store bought.
I use the whole egg and I use an immersion blender. It never fails. Place one whole egg per cup of oil in the bottom of a tall container not much bigger around than your immersion blender. Add all remaining ingredients. Place immersion blender in container all the way to the bootom. Turn on and when you see white pull up very slowly.
Yes, that’s a great and very easy method. I just wanted to make it in the classical way with a whisk.
I used to make Julia Child’s mayo recipe, but with all the salmonella fuss I quit making anything that used raw eggs. Do you think the boiling water “cooks” the egg and makes it safe? I’d really like to make the mayo again. It was delicious. My favorite way to use it was as a dip for artichokes, with a little prepared mustard added.
Argie – if you’re concerned about salmonella, I’d recommend purchasing pasturized eggs to use for homemade mayonnaise. The brand I use most often is Davidson’s. Their process makes the eggs safe to use in raw applications.
Thank you! I have never heard of pasteurized eggs, but will look for them.
Most commercial eggs are pasteurized. It’s only fresh or back yard eggs that aren’t!
That’s actually incorrect. According to the USDA, only about 3% of commercial shell eggs are pasteurized. On the other hand, ALL “egg products” (meaning those outside of the shell like the cartons of ready-to-cook eggs) — all of those are pasteurized. So, the shell eggs you purchase at your grocery store are not pasteurized unless it’s specifically stated on the carton. You can find more information at usda.gov.
Lana,
Using the blender, I’ve tried numerous times to make mayonnaise and salad dressing, but I’ve never been successful, much to my chagrin. I’ll give your way a try and see what happens. Sure hope it works. However, I do have one question, may I use all canola oil. I do not like the taste of olive oil.
I came to your blog from Brenda Horton’s blog. Thank you.
Lowell, yes you can use any type of oil that you like. Let me know how it works out for you! One warning – make sure you have done your arm exercises before you start. If not, this will definitely give you a work out! I have to switch back and forth between left and right arms and occasionally ask hubby to take over for a few minutes while I rest :-)
Making mayonnaise is on my to do list!
Great tutorial Lana! I’d forgotten about the boiling water! In culinary school we had to make mayo by hand as part of our midterm – and man did my arm get tired! Having made it quite a few times by hand I have to admit I now only make it in the food processor, but I agree, it’s always best to learn the original way first. That way you really do learn “how” the recipe works!
I think so, Nancy! Though I will admit my arm feels like it’s going to fall off before I finish the mayonnaise. I suppose I just enjoy knowing how things “work” in the kitchen. However, I doubt many will try making mayo by hand. Everyone seems to want “quick and easy” these days.
It’s been so long since I’ve made homemade mayo, now I’m craving it!
I love to have it on hand, Brenda. It makes such a difference in things like potato salad, or even on sandwiches.
i have never made homemade mayo. might just have to give it a try!
Do try it sometime! It’s a good basic skill to have.
Wow. I am impressed. Really. No competition here.
Miss P
You should try it sometime. You’d be surprised how good it tastes!
I have tried this many times but, have never been successful. My hat is off to you for making this. It is not easy for me.
I think the trick is to go really, really slowly at first. Also, the boiling water at the end keeps it from curdling and helps it to last longer in the fridge than it usually would. It really makes a fantastic potato salad!