Nana’s Fried Chicken Fingers
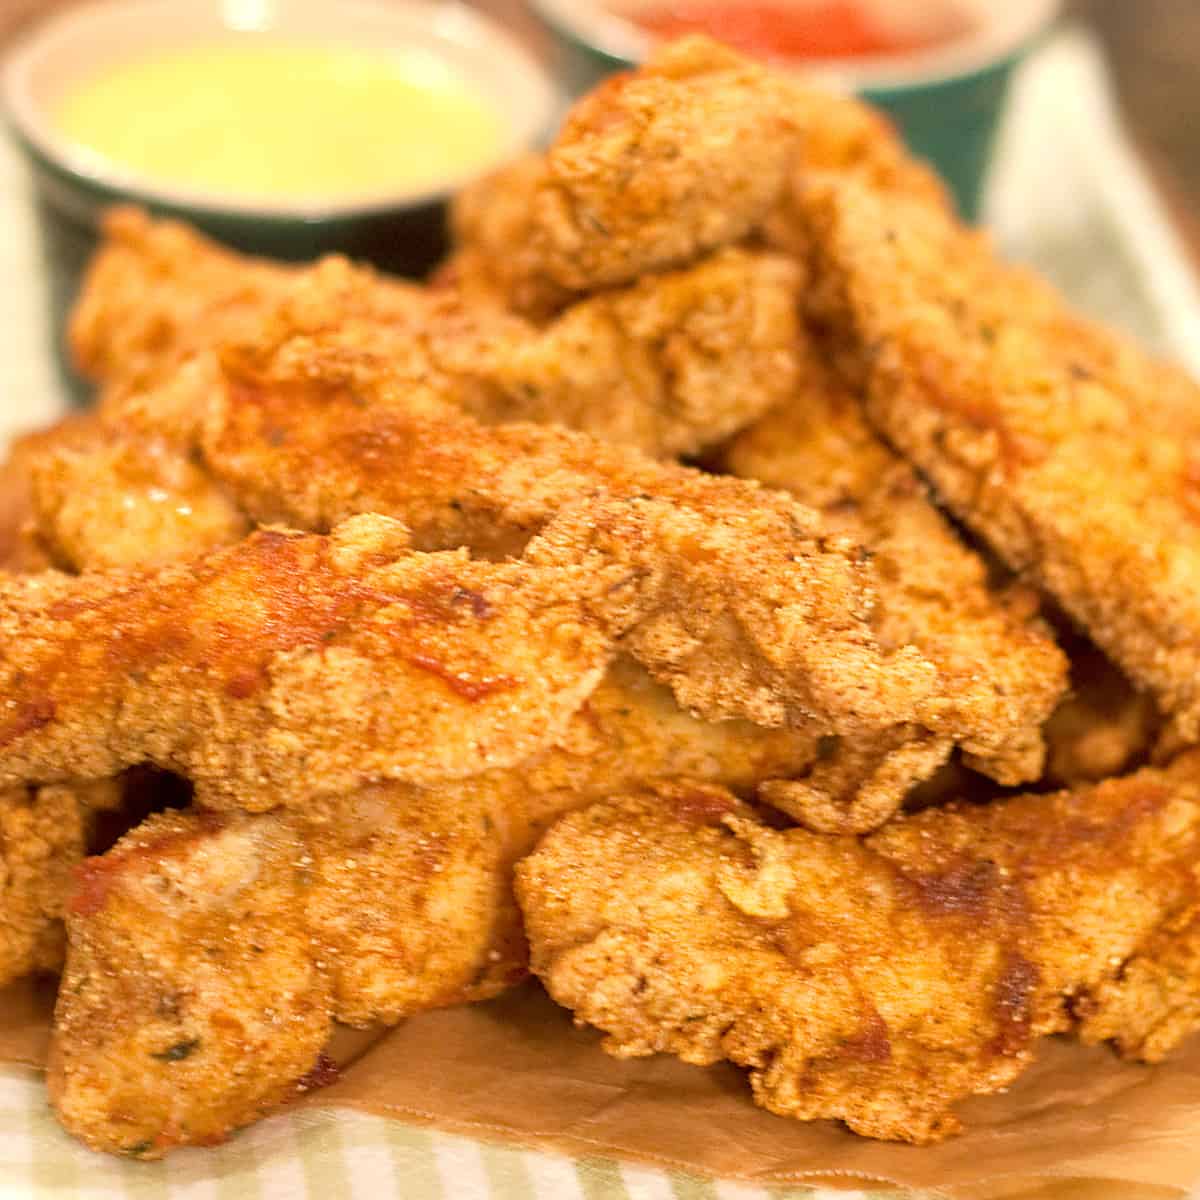
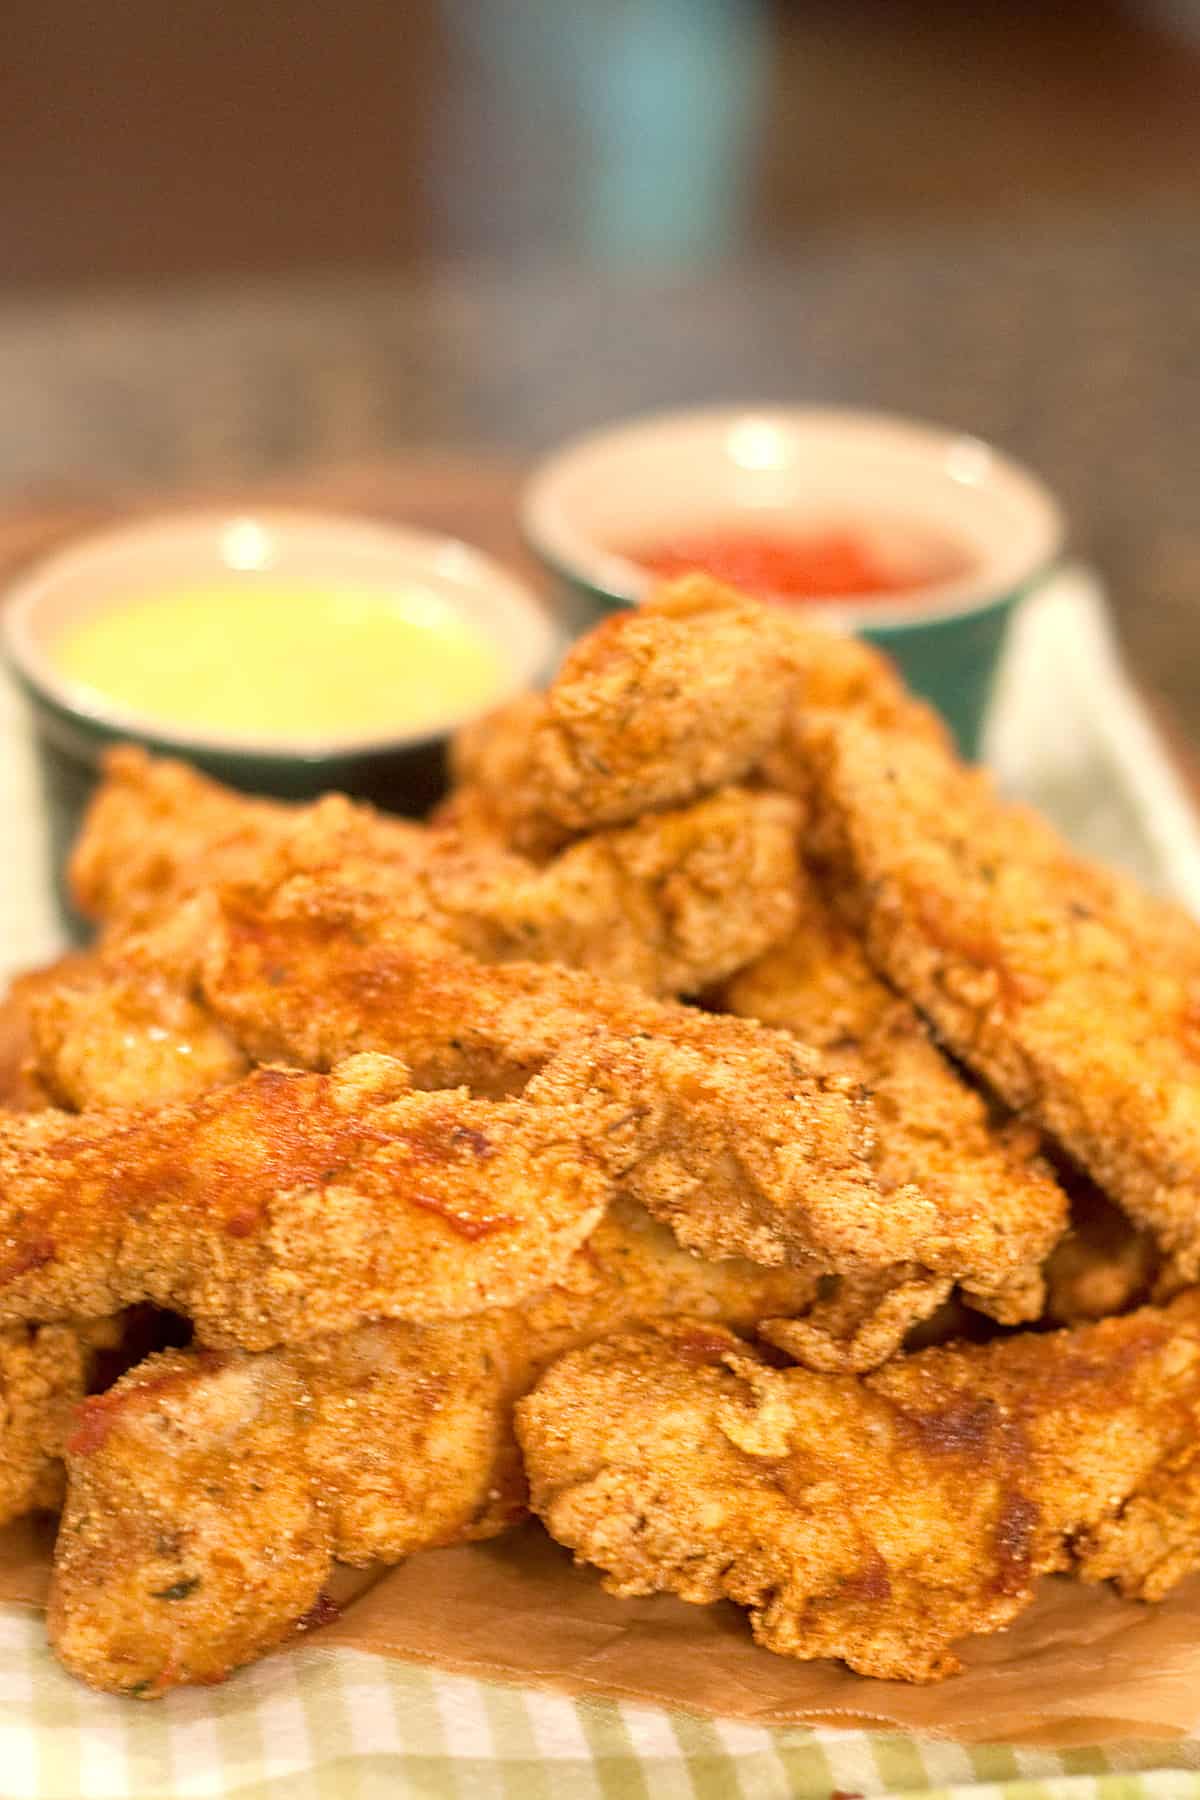
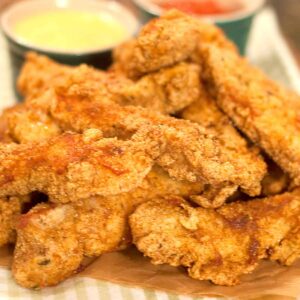
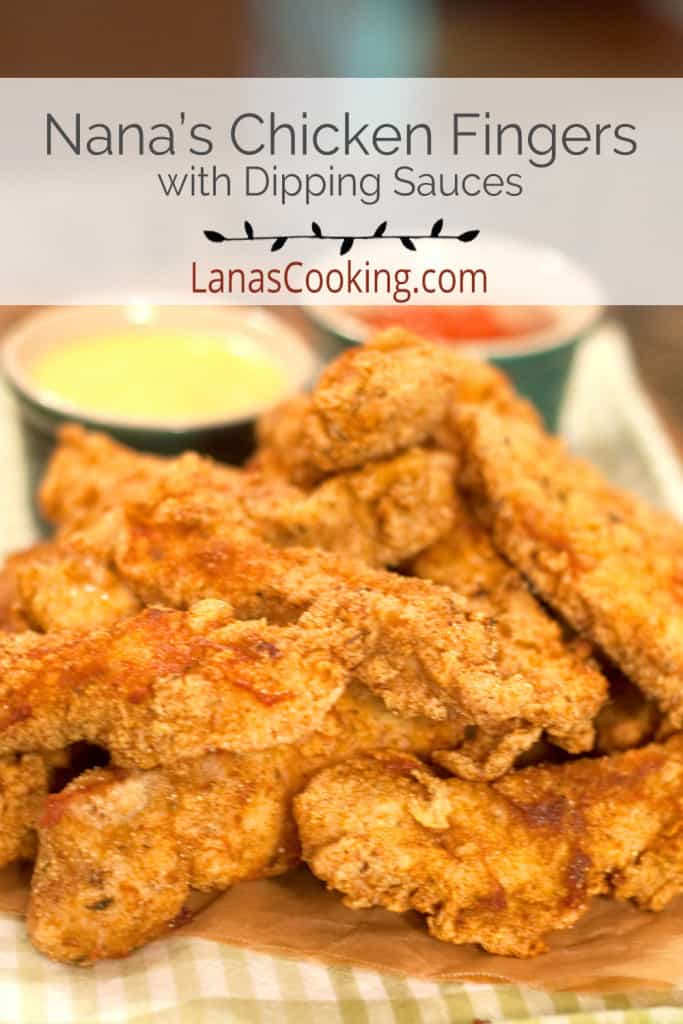
Is there anything better than crispy, crunchy fried chicken fingers? My recipe for Nana’s Fried Chicken Fingers is ridiculously easy to make and comes with a choice of two dipping sauces – honey mustard and spicy ketchup.
The recipe I have for you today is all about fun. There aren’t too many things that put smiles on kids’ faces like Fried Chicken Fingers.
For years, whenever we’d grab a quick bite to eat with our grandkids, I didn’t even have to ask the youngest what she wanted – it was always chicken nuggets. She’s a much more adventurous eater these days, but back then, it didn’t matter where we were dining – it was always chicken nuggets. Even better if they came with a “prize” in the box.
Well, I can’t guarantee a prize with these, but I can guarantee that your kids, whether they’re 3 or 83, will love Nana’s Fried Chicken Fingers.
I was looking around at other recipes online for chicken fingers, and 99% of the ones I found are baked. Now, I’m going to tell you right up front that these are not. They’re fried. In peanut oil.
So, if you’re looking for what’s considered “healthy” chicken fingers, these won’t fit your criteria. However, I’m not convinced that they’re all that bad.
When I fry anything, I make sure the oil is plenty hot, and I drain the food well on either a rack or paper towels after it’s fried.
These fingers don’t feel or taste greasy in the least because there’s very little oil absorbed. Just a delicious, crispy, crunchy coating.
I serve these with a choice of dipping sauces, and I’ve included my recipes for honey-mustard and spicy ketchup. Yum!
❤️ Why I Love This Recipe
- It’s quick to make! You’ll have the finished chicken fingers on the table in about 30 minutes.
- Uses easy to source ingredients. Even though there are a few spices in the coating mixture, they’re commonly found in any grocery store or online. You probably have every one of them in your pantry.
- They taste fantastic! Homemade fried chicken fingers beat the socks off any fast food.
🛒 Ingredient Notes
This post contains affiliate links. Lana’s Cooking is reader-supported and earns a tiny commission at no extra cost to you when you shop from our links.
- Chicken Breasts – I prefer to use boneless, skinless chicken breasts, but boneless thighs work here as well.
- Yellow Cornmeal – Adds a little extra crunch to the fried coating.
- Peanut Oil – Peanut is my preferred oil for frying because of its high smoking point. You can also use canola, sunflower, or grapeseed oil.
You’ll find detailed measurements for all ingredients in the printable version of the recipe at the bottom of this post.
🔪 How I Make Fried Chicken Fingers
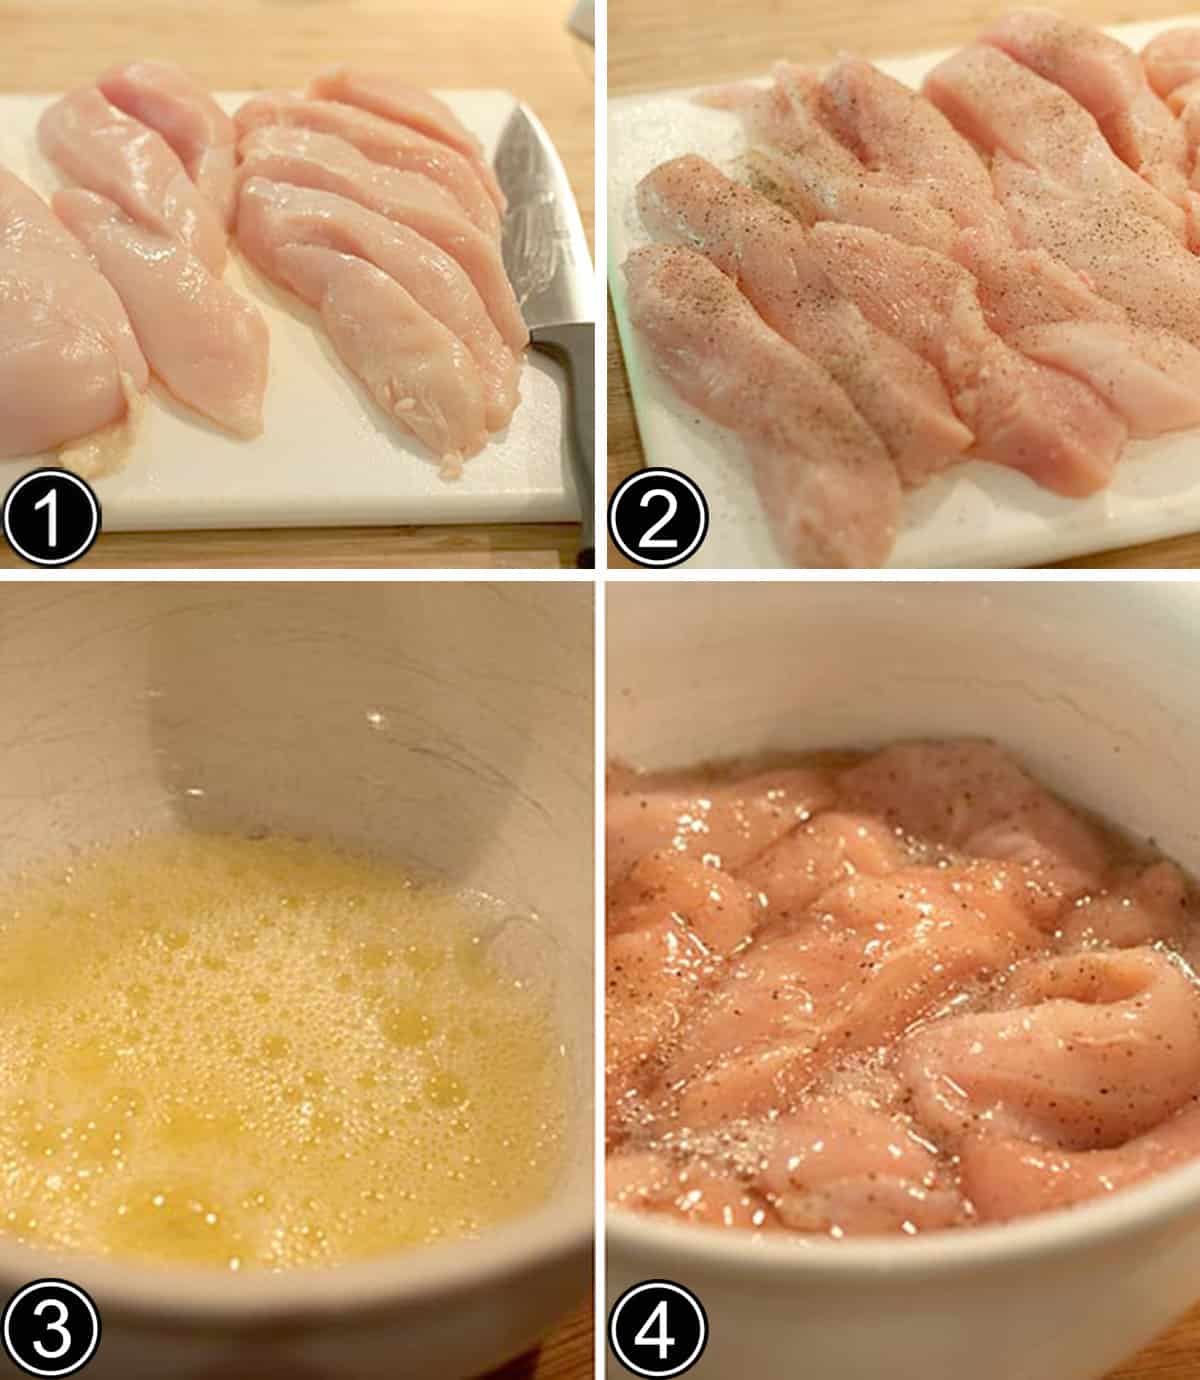
- Dry the breasts well and cut them into approximately 1” thick strips.
- Generously season all sides of the chicken strips with salt and pepper.
- Next, in a medium bowl, lightly beat the egg whites.
- Add the seasoned chicken strips and stir so that each is well coated with egg white.
👉 PRO TIP: I like to use a plastic cutting board when working with poultry so it can go directly from the work surface into the dishwasher when finished.
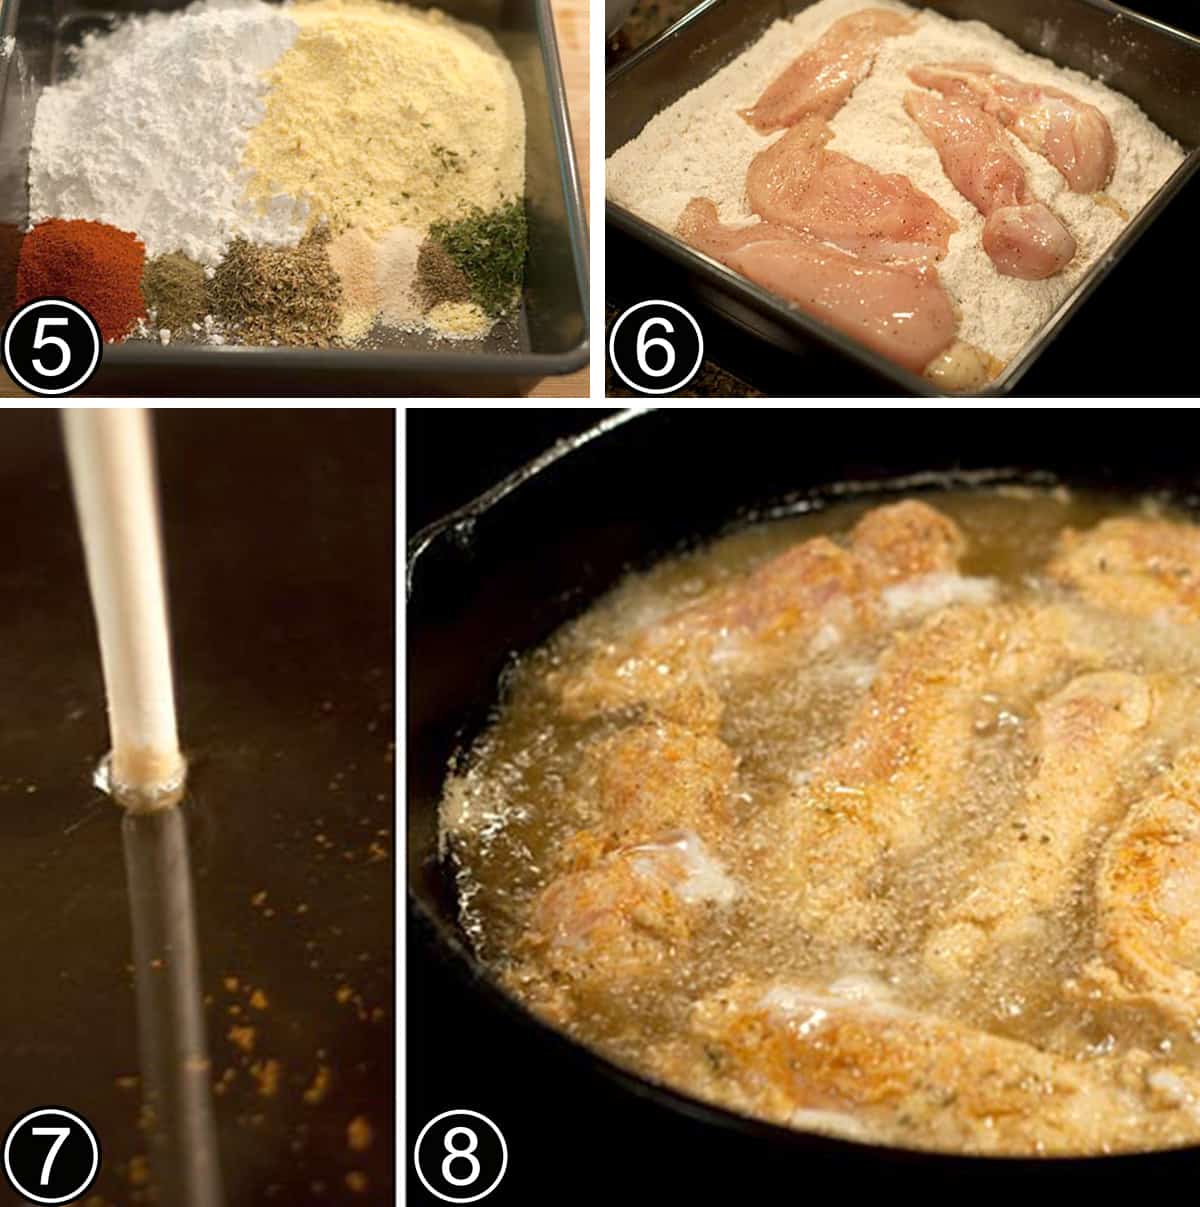
- In a small pan, combine the flour, cornmeal, paprika, poultry seasoning, dried thyme, dried oregano, garlic powder, onion powder, celery seed, and parsley flakes.
- Now place 3 or 4 chicken strips at a time into the mixture turning until each is coated. Place the coated strips on a plate or wire rack while heating the oil.
- In a deep frying pan, heat 1” of peanut oil over medium high heat.
👉 PRO TIP: My trick for telling whether the oil is ready to fry is to place the end of a wooden spoon on the bottom of the pan. If the oil bubbles nicely around the spoon handle, it’s probably ready.
- Fry the chicken strips in batches if necessary taking care not to crowd the pan. Turn the chicken strips halfway through frying – they’ll take about 5 minutes on each side. When the chicken is golden brown on all sides, remove it from the oil to drain on a paper towel lined baking sheet. Keep warm in a low oven until all the chicken strips are cooked.

- While the chicken strips are cooking, make the honey-mustard and spicy ketchup dipping sauces by combining the ingredients for each in small bowls and stirring until thoroughly mixed. Serve the warm chicken fingers with the dipping sauces.
❗Air Fryer Method
Even though it’s hard to beat a deep-fried chicken finger, I know some of you really want to try these in your air fryer. Am I right? Ok, so here’s what you do:
- Preheat the air fryer to 380 degrees F.
- Generously spray the air fryer basket with oil.
- Place the breaded chicken strips in the air fryer basket leaving about an inch between them (you’ll have to do this in batches to prevent overcrowding).
- Generously spray the prepared chicken strips with oil.
- Air fry for 10 minutes. Flip the chicken and spray with more oil.
- Cook for an additional 10 minutes. Check the internal temperature in the thickest part of a chicken strip. It should be 165 degrees. If it hasn’t reached 165 degrees, continue cooking.
(Different brands of air fryers cook differently. Yours may cook faster or slower.)
🍚 How I Store Leftovers
Fried foods are always best served and enjoyed as soon as possible. However, leftovers can be stored in the refrigerator for a day or two and reheated in a low oven for about 10 minutes. Home fried foods just don’t freeze well, so it’s not recommended.
❓ Why Aren’t My Fried Chicken Fingers Crispy?
The most likely reason that your chicken fingers aren’t crispy is oil temperature. Regardless of which type of oil you use, it should be heated to 350 degrees before adding the fingers and maintained at that temperature while cooking.
Oil that’s too hot overcooks the outside leaving the inside undercooked. Oil that’s too cool will allow the finished chicken to become too oily and soggy. Use a cooking thermometer to help you. An electric skillet with its built-in temperature control is a great option as well.
❓ What Can I Serve with Chicken Fingers?
We usually enjoy our chicken fingers with the dipping sauces in the recipe and a side of fries and coleslaw.

Questions? I’m happy to help!
If you have more questions about the recipe, or if you’ve made it and would like to leave a comment, scroll down to leave your thoughts, questions, and/or rating!
Thanks so much for stopping by!
📖Recipe
Want to save this recipe?
Enter your email below and get it sent straight to your inbox.
Nana’s Fried Chicken Fingers
Ingredients
- 4 chicken breasts boneless, skinless
- Salt
- Pepper
- 3 egg whites
- 2 cups all-purpose flour
- 1 cup yellow corn meal
- 2 ½ teaspoons paprika
- 1 teaspoon poultry seasoning
- 1 teaspoon dried thyme
- 1 teaspoon dried oregano
- ½ teaspoon garlic powder
- ½ teaspoon onion powder
- ¼ teaspoon celery seed
- 1 teaspoon dried parsley flakes
- Peanut oil
For the Honey-Mustard Sauce:
- ½ cup mayonnaise
- 2 tablespoons mustard yellow or Dijon
- Pinch garlic powder
- 1 tablespoon vinegar
- 2 tablespoons honey
- Salt and pepper to taste
For the Spicy Catsup:
- ½ cup catsup
- 1 tablespoon prepared horseradish
Instructions
- Cut the breasts lengthwise into approximately 1” thick strips.
- Generously season all sides with salt and pepper.
- In a medium bowl, lightly beat the egg whites. Add the seasoned chicken strips and stir so that each is well coated with egg white.
- In a small pan, combine all the remaining ingredients except the peanut oil.
- Place 3 or 4 chicken strips at a time into the coating mixture turning until each is coated. Place the coated strips on a plate or wire rack while heating the oil.
- In a deep frying pan, heat 1” of peanut oil over medium high heat.
- Fry the chicken strips in batches if necessary taking care not to crowd the pan. Turn the chicken strips halfway through frying.
- Remove from the oil to drain on a paper towel lined baking sheet. Keep warm in a low oven until all the chicken strips are cooked.
- For the dipping sauces, add the ingredients to two small bowls stirring until thoroughly combined.
Notes
Nutrition Information
Nutrition information is calculated by software based on the ingredients in each recipe. It is an estimate only and is provided for informational purposes. You should consult your healthcare provider or a registered dietitian if precise nutrition calculations are needed for health reasons.

Wow, amazing! do you think this recipe will this work in an air fryer?
Sorry, I just don’t know. Never used an air fryer myself.
These sound good. Thank you Lana
This looks delicious.
I will try it tonight.
Lana, it won’t let me leave a comment so I am copying and pasting on this fantastic fried chicken fingers post. “I must admit, Lana, that I never watch QVC but this recipe is fantastic. I love the Cornflex crumbs. It’s brilliant. Your grandchildren I bet think you are the best grandma ever! “
Who needs healthy chicken fingers, anywaanywaat is not what they’re designed for! I love the spices in these. Someone would have to pull me away if faced with a bowl of these.
My kids will love these!
I love mine fried too. This looks seriously scrumptious.
These look divine Lana!!
Those are some flavor packed looking chicken fingers!
When I’m eating chicken fingers, I most certainly want them fried. Especially in peanut oil! I love this recipe!
What a classic. I haven’t made chicken fingers in ages and this looks so much better then mine old ho-hum recipe.
I think kids of all ages love chicken fingers. I’d love both of those dipping sauces, too.
I wish I had had a Nana that made chicken like this! I don’t fry often but some things are just better when they’re fried.
Aren’t they!? Chicken fingers are definitely best fried, in my opinion.
I agree with you Lana. I don’t think that deep frying is always bad. Blotting works wonders. You dipping sauce sounds really good too!
Thanks, Ginny. I think if you do it right, deep frying can be okay to indulge in on occasion.
The hubby would love these!
Aww I haven’t had chicken fingers in ages!!! Now I’m craving them!
What a great recipe
I’ll bet your grandkids absolutely love coming to your house. I’m sure these are a huge hit with any kid!
I must go out and get peanut oil since I am the one that loves chicken fingers. Yes, it is true but I think your recipe will turn our entire family into fans. Perfection!
I like to use the peanut oil, Bea, because you can fry at a higher temperature with it. You could use another oil if you prefer.
I love the addition of cornmeal to the breading, makes them so crunchy!
Me too, Angie. It just gives them an extra little crunchy bite!
Move over! Elbows will by flying…. lips will be smacking. Sign me up.
Miss P