Raspberry Scones
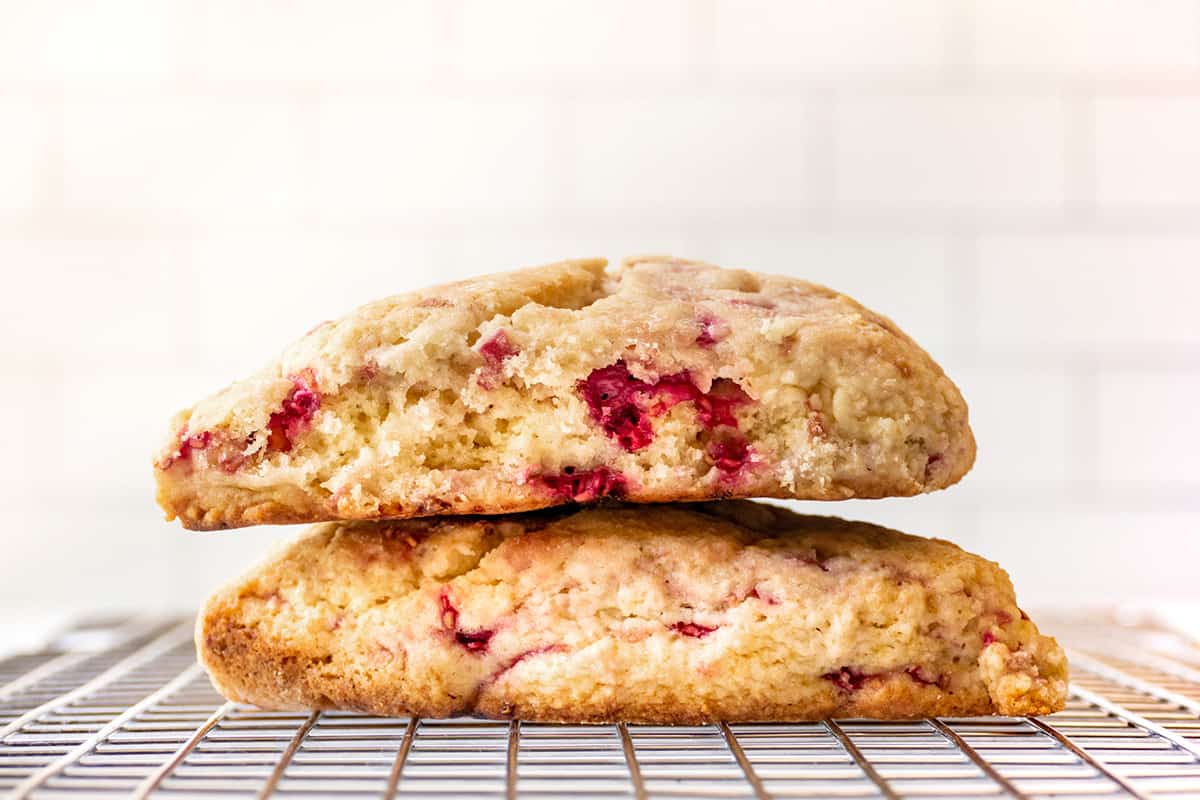
Enjoy these tender, moist Raspberry Scones at breakfast, for dessert, or as an afternoon snack. The tart, fresh raspberries are a delicious contrast to the rich, sweet scone dough.
These fresh Raspberry Scones have a subtle sweetness and the perfect amount of crumbly texture. And it’s a simple, time-honored pastry recipe that even novice bakers can master.
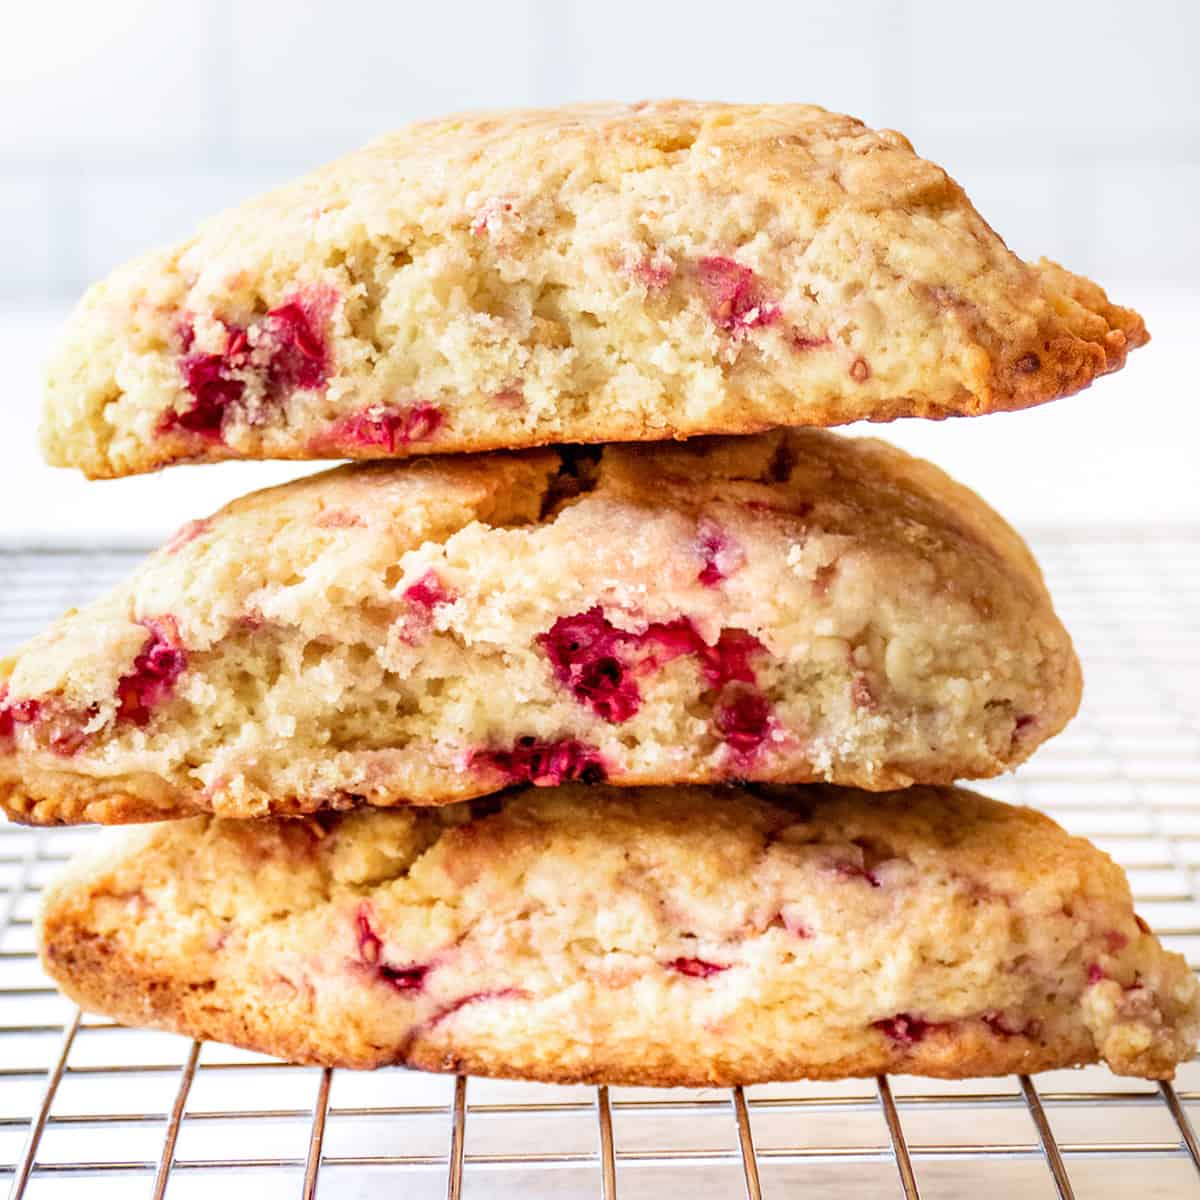
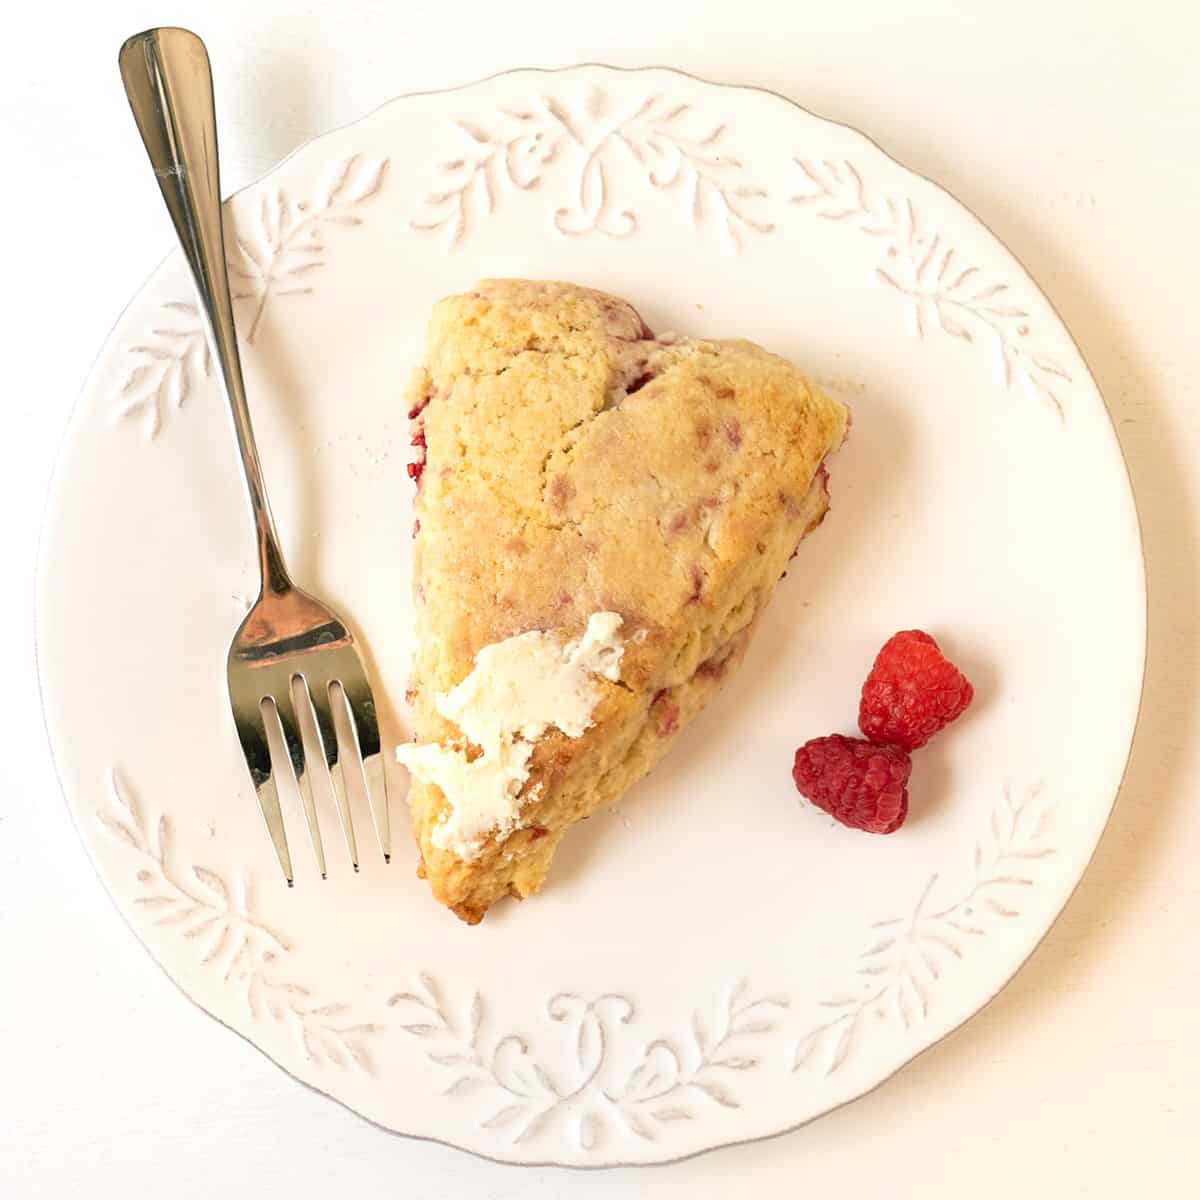
Heavy cream, flour, sugar, baking soda, butter, fragrant vanilla extract, and juicy fresh raspberries come together to create this traditional British tea time treat. Enjoy them with a smear of fresh creamery butter or a dollop of creme fraiche.
Or turn your easy Raspberry Scones into a full breakfast by adding some bacon or sausage, your favorite eggs, and a pot of coffee.
❤️ Why We Love This Recipe
- It’s a make-ahead recipe. Keeps well with no last minute baking.
- Freezes well. Keep a few in the freezer for a quick breakfast or snack.
- It’s fast. Just mix and bake.
🛒 Ingredient Notes
This post contains affiliate links. Lana’s Cooking is reader-supported and earns a tiny commission at no extra cost to you when you shop from our links.
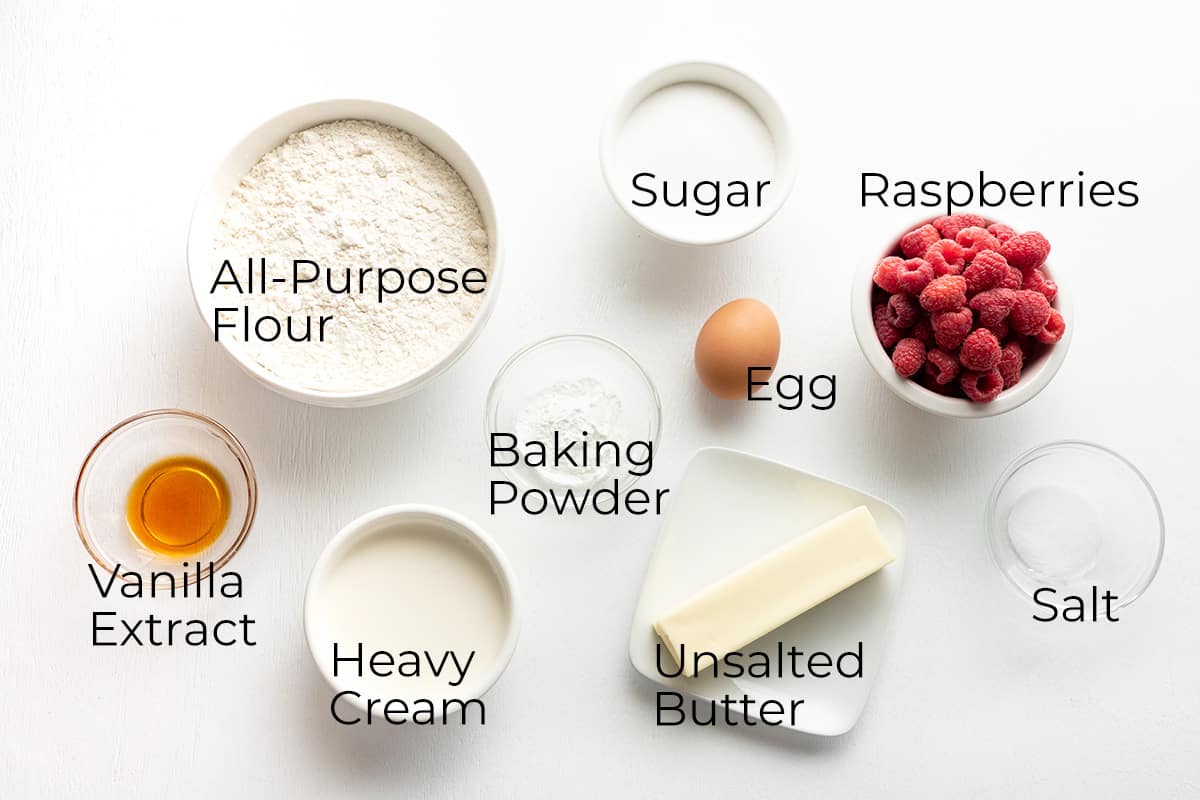
- Heavy Cream (Usually labeled “heavy whipping cream” in the grocery store.)
- Unsalted Butter (The butter should be as cold as possible.)
- Raspberries (Fresh are preferable, but frozen whole raspberries may be used. If using frozen, keep them solidly frozen until adding them to the dough.)
You’ll find detailed measurements for all ingredients in the printable version of the recipe at the bottom of this post.
🔪 How to Make Raspberry Scones
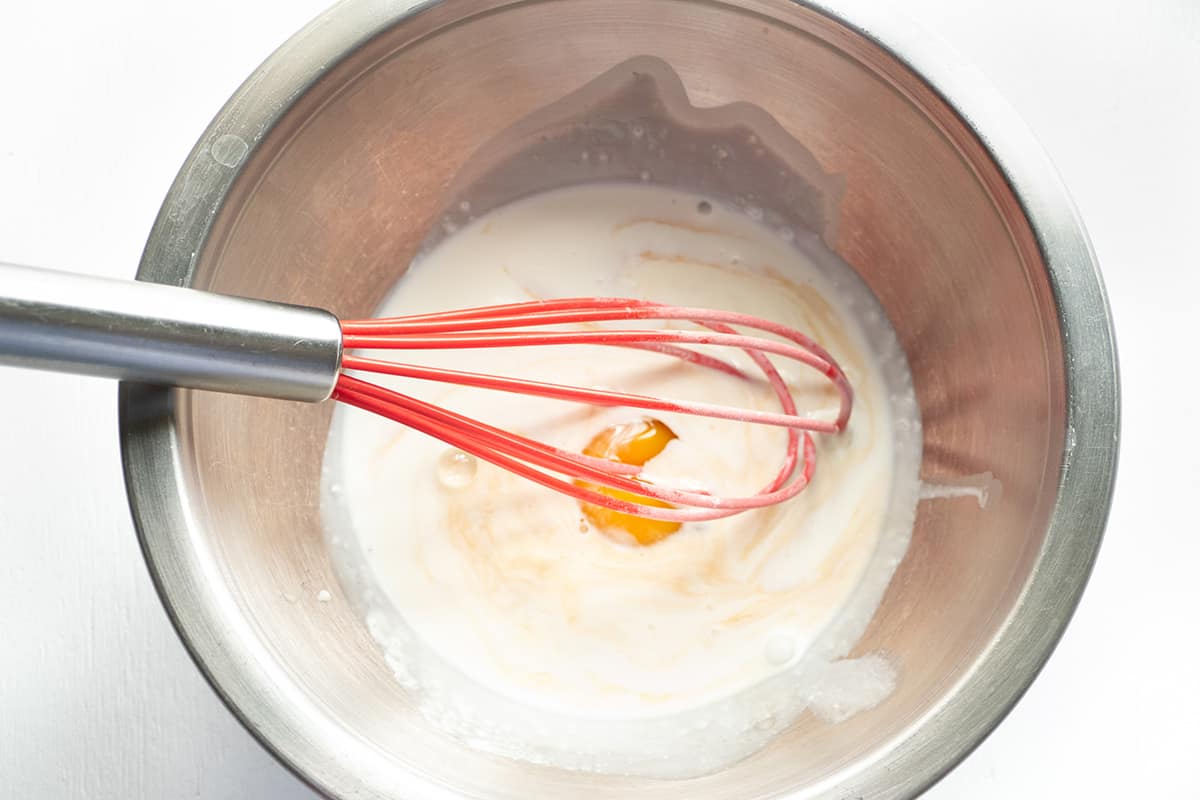
- In a small bowl, whisk together 1/2 cup of heavy cream, the egg, and vanilla extract until blended. Set aside for now.
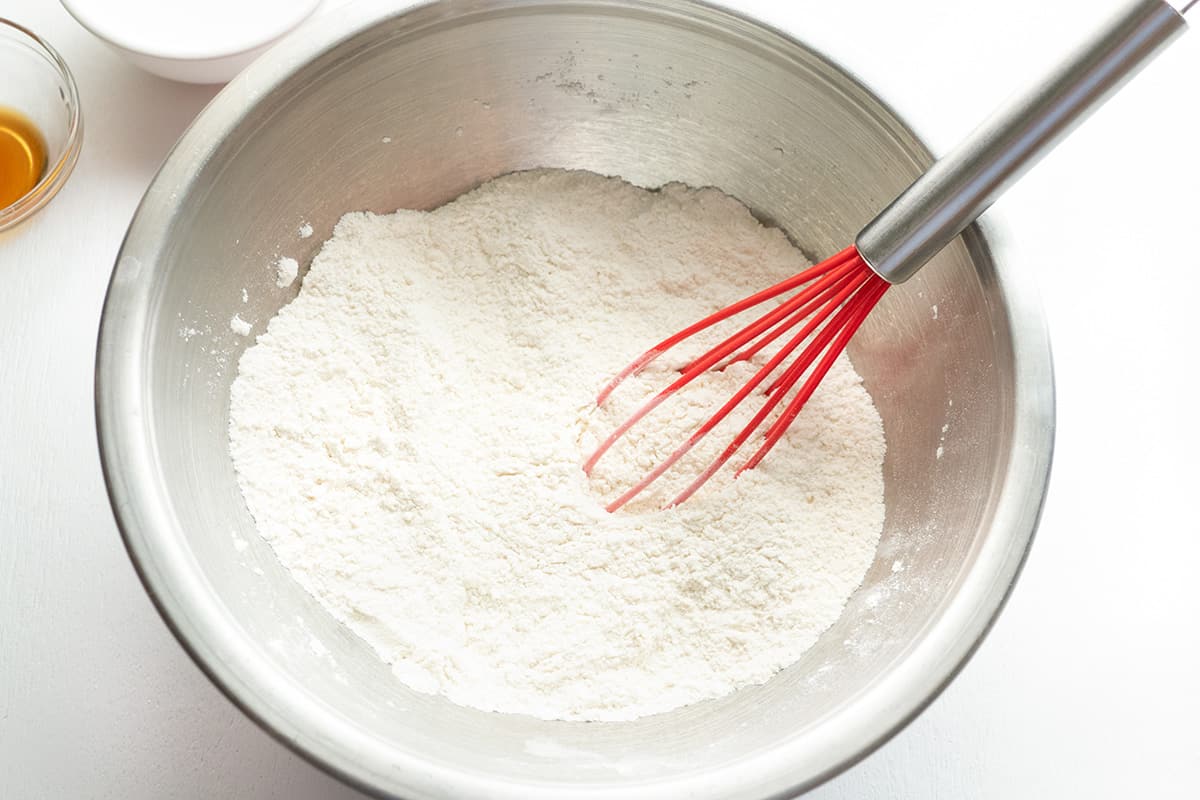
- In a large bowl, stir together the flour, sugar, salt, and baking powder.
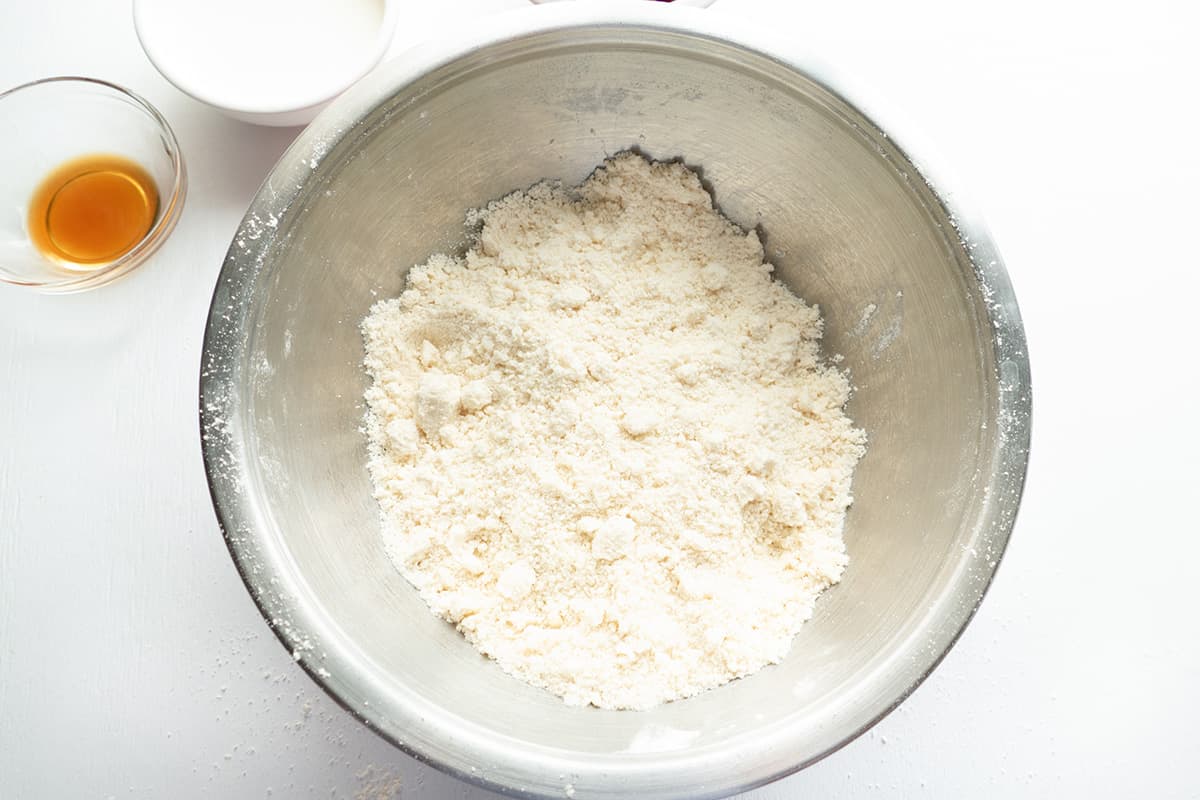
- Cut the butter into the dry ingredients (see notes below about how to cut in butter.)
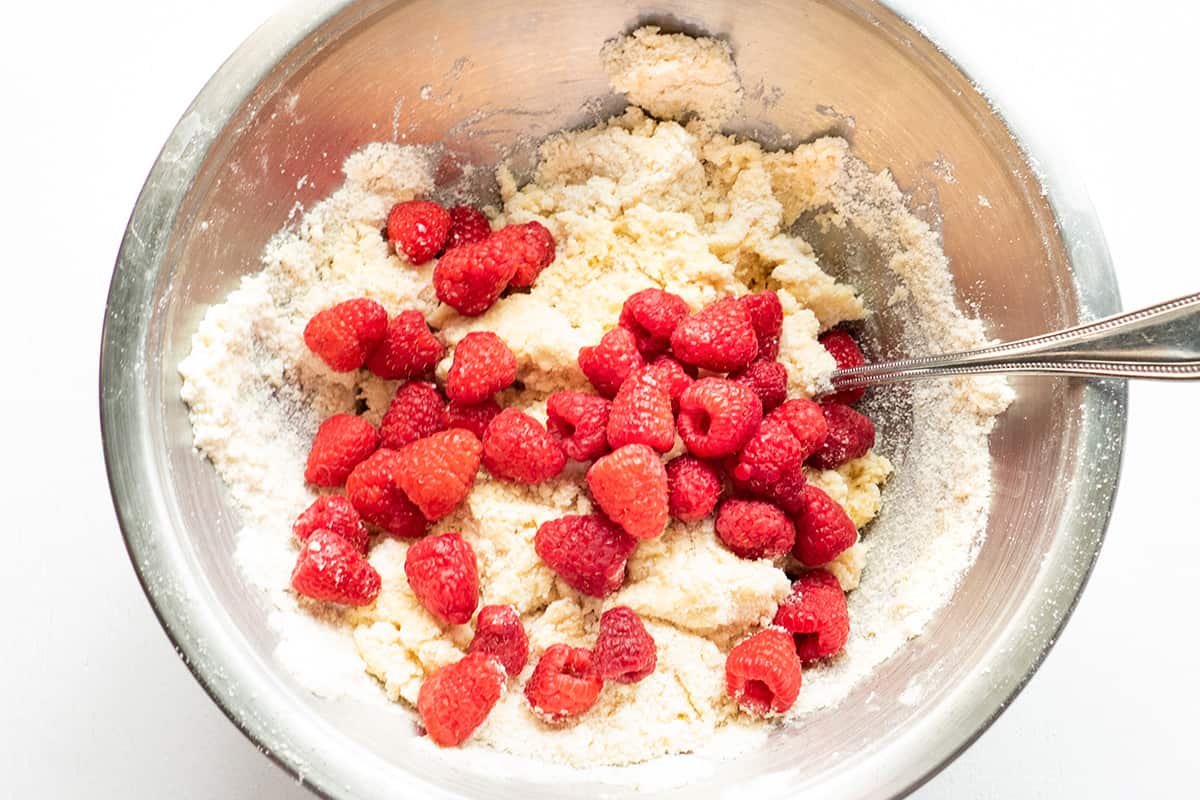
- Add the raspberries and the wet ingredients to the dry ingredients. Use a wooden spoon or spatula to combine being careful not to overmix.
Note: If the dough seems too dry, add additional cream one tablespoon at a time, until the dough is just moist enough to hold together.
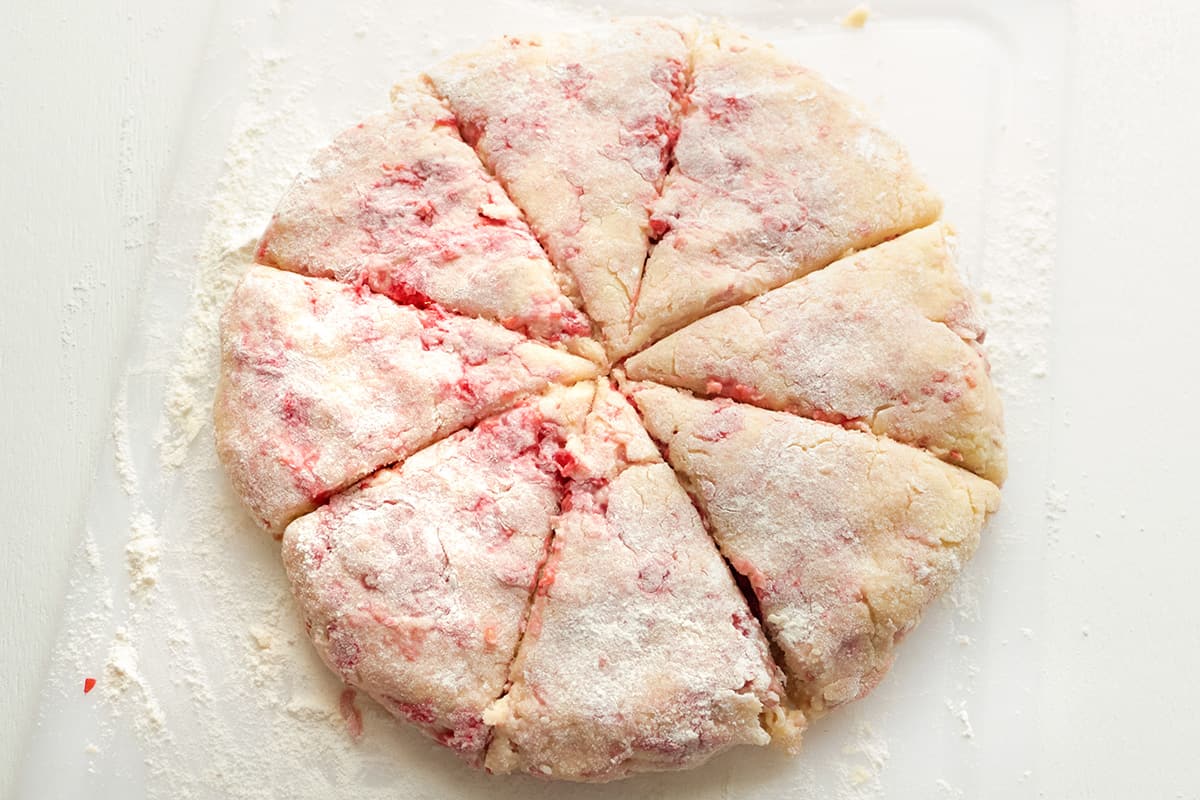

- Turn out onto a lightly floured board or countertop and use your lightly floured hands to gather the dough into a ball. (Note: Work the dough lightly and only as much as needed to gather it together.) Gently flatten the dough into a disk.
- Transfer the dough to a parchment lined baking sheet or pan. Use a sharp knife to cut the disk into 8 wedges. Separate the wedges to create one to two inches of space between each.
- Put the prepared dough in the freezer to chill while the oven preheats to 400 degrees.
- When the oven has come up to temperature, remove the dough from the freezer and brush the top of each scone with cream.
- Immediately transfer the pan to the oven and bake for 18-25 minutes or until golden brown on the edges and lightly browned on top.

- Remove from the oven and let cool briefly. Transfer the scones to a wire rack to cool completely.
🧈 How to Cut in Butter
There are several methods for cutting in butter. “Cutting in” simply means to combine the butter with the flour (or dry ingredient mixture) until a mixture resembling coarse crumbs is achieved. You may sometimes see the mixture referred to as the size of peas or pebbles.
For each of these methods, it’s necessary to have the butter as cold as possible.
Using Two Knives
Cut the cold butter into pieces about 1/2-inch square. Add the butter to the flour in a bowl and use two knives (one in each hand) to make slashing motions through the butter and flour. The objective is to cut the butter into smaller and finer pieces while coating the pieces with flour.
See this YouTube video for a visual demonstration.
Using a Pastry Blender
Start the same way as with the knife method by cutting the cold butter into small squares. Add the butter to the flour and use a pastry blender. Here’s a great video demonstration of using a pastry blender.
Using Fingers to Rub the Butter
Rubbing butter is probably the oldest method and the one which requires no special tools other than your two hands. To rub butter into flour, simply add the cold, chopped butter into the flour in a bowl. Use your fingertips to break up the flour into small pieces while mixing it into the flour. For visual learners, here’s a nice demonstration.
Grating Frozen Butter
The easiest method, in my opinion, is to grate the butter into the flour. For this method, place the butter in the freezer for several hours or overnight. Then simply grate the frozen butter on the large holes of a box grater directly into the flour in a bowl. Give it a stir to mix together and you’re ready to go!
And, here’s a video so you can see exactly what I’m explaining.
⏲ To Make Ahead
- The dough may be made up to the point of baking and frozen for cooking later. To freeze the dough, form it into a round as directed in the recipe, wrap tightly in plastic wrap followed by a layer of aluminum foil. Place in a freezer safe container and store for up to one month. Scone dough may be baked directly from the freezer but you’ll need to allow a few extra minutes when baking from frozen.
- Finished scones may be cooled completely, wrapped individually or together, and frozen for up to one month. To serve, thaw overnight in the refrigerator and serve at room temperature or rewarmed in a low oven for a few minutes.
🍚 Storage
Raspberry scones keep for up to one week when stored in an airtight container at room temperature.
❓ Questions About Raspberry Scones
In American cooking, scone dough contains egg and sweetener where biscuits are typically made with buttermilk and no eggs.
It’s my understanding that scone recipes work well with alternative flours such as almond flour. Use the recommended substitution amount for the flour you’re working with.

Questions? I’m happy to help!
If you have more questions about the recipe, or if you’ve made it and would like to leave a comment, scroll down to leave your thoughts, questions, and/or rating!
Thanks so much for stopping by!
📖 Recipe
Want to save this recipe?
Enter your email below and get it sent straight to your inbox.

Raspberry Scones
Ingredients
- 1/2 cup heavy whipping cream plus 2 tablespoons for topping
- 1 egg
- 2 teaspoons vanilla extract
- 2 cups all-purpose flour
- 1/2 cup granulated sugar
- 1/2 teaspoon salt
- 1 tablespoon baking powder
- 1/2 cup unsalted butter very cold, preferably frozen
- 6 ounces fresh raspberries
Instructions
- In a small bowl, whisk together 1/2 cup of heavy cream, the egg, and vanilla extract until blended. Set aside for now.
- In a large bowl, stir together the flour, sugar, salt, and baking powder.
- Cut the butter into the dry ingredients (see notes in the post about how to cut in butter.)
- Add the raspberries and the wet ingredients to the dry ingredients. Use a wooden spoon or spatula to combine being careful not to overmix.
- Note: If the dough seems too dry, add additional cream one tablespoon at a time, until the dough is just moist enough to hold together.
- Turn out onto a lightly floured board or countertop and use your lightly floured hands to gather the dough into a ball. Work the dough lightly and only as much as needed to gather it together. Gently flatten the dough into a disk about 8 inches across and 1 1/2 inches thick.
- Transfer the dough to a parchment lined baking sheet or pan. Use a sharp knife to cut the disk into 8 wedges. Separate the wedges to create one to two inches of space between each.
- Put the prepared dough in the freezer to chill while the oven preheats to 400 degrees.
- When the oven has come up to temperature, remove the dough from the freezer and quickly brush the top of each scone with cream.
- Immediately transfer the pan to the oven and bake for 18-25 minutes or until golden brown on the edges and lightly browned on top.
- Remove from the oven and let cool briefly. Transfer the scones to a wire rack to cool completely.
Notes
- The dough may be made up to the point of baking and frozen for cooking later. To freeze the dough, form it into a round as directed in the recipe, wrap tightly in plastic wrap followed by a layer of aluminum foil. Place in a freezer safe container and store for up to one month. Scone dough may be baked directly from the freezer but you’ll need to allow a few extra minutes when baking from frozen.
- Finished scones may be cooled completely, wrapped individually or together, and frozen for up to one month. To serve, thaw overnight in the refrigerator and serve at room temperature or rewarmed in a low oven for a few minutes.
Nutrition Information
Nutrition information is calculated by software based on the ingredients in each recipe. It is an estimate only and is provided for informational purposes. You should consult your healthcare provider or a registered dietitian if precise nutrition calculations are needed for health reasons.
— This post was originally published on May 9, 2022. It has been updated with additional information.




Can you change up on the berries? Not a big fan of raspberries
Sure. Just make sure that whatever berries you choose, they’re very ripe. Also, if they’re much larger like strawberries sometimes are, you’ll need to dice them.