

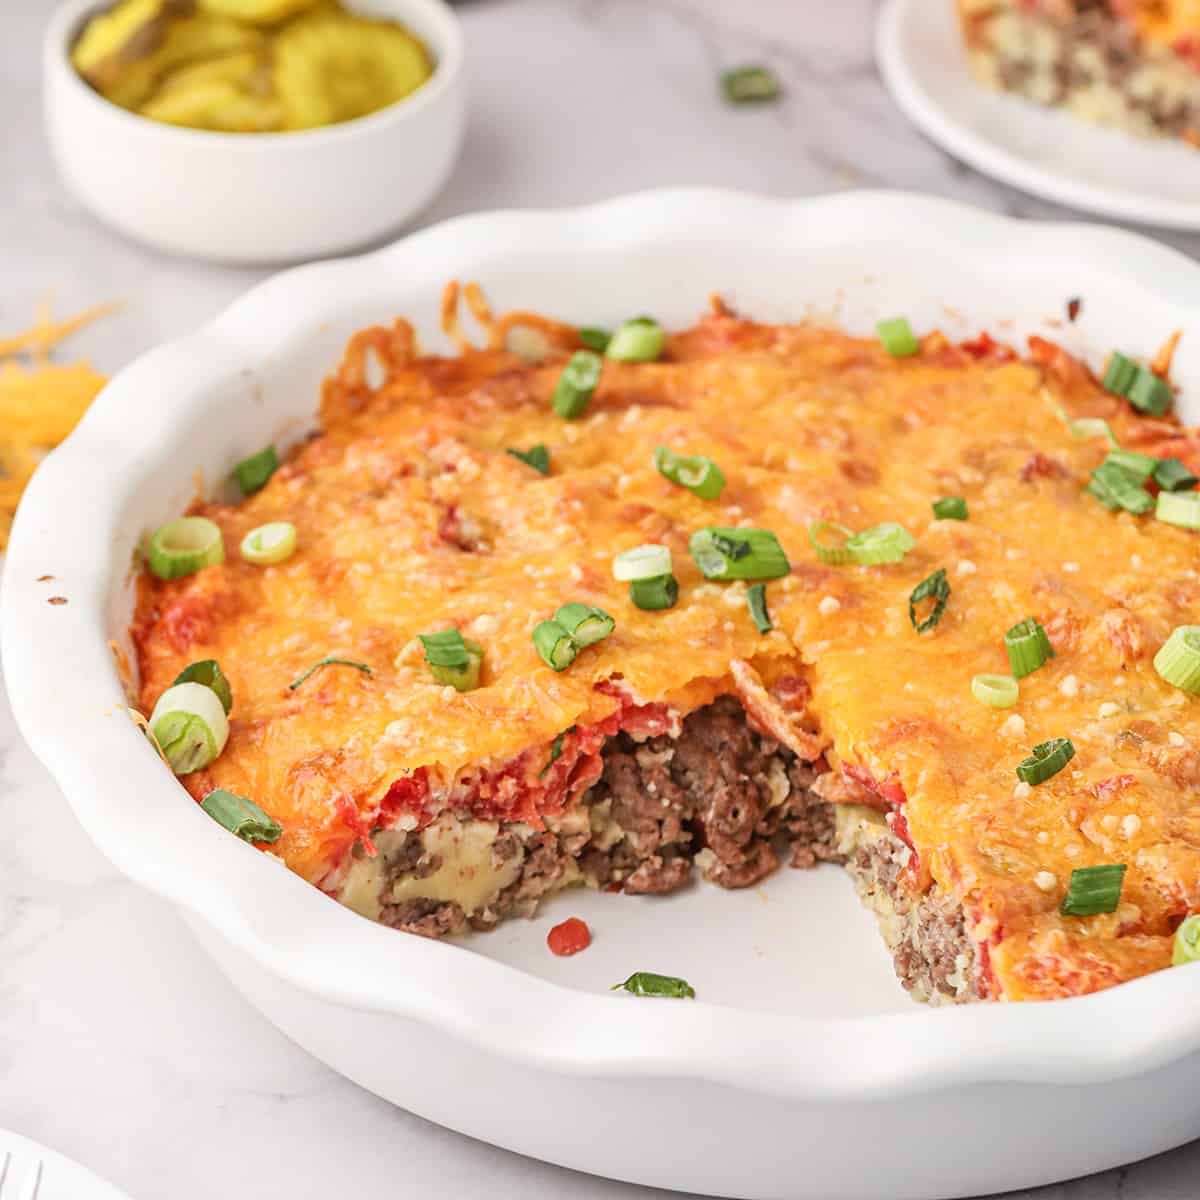
This easy Cheeseburger Pie recipe is the answer to getting a quick, delicious family friendly weeknight dinner on the table in under an hour. It serves up all the cheesy, beefy flavors you love in a burger in an easy, one dish recipe.
Cheeseburger Pie has always been a family favorite in my house. It’s a great way to serve up a basic burger in pie form for a hearty, filling dinner.
Bisquick’s “Impossible” Pies were first introduced in the ’70s as a marketing ploy for the brand and, frankly, I’d be okay if they just never go out of style. An Impossible Cheeseburger Pie recipe was one that often featured on the back of the Bisquick box. That recipe was completely delicious and I used it to create my own personal version which I’m sharing with you right here!
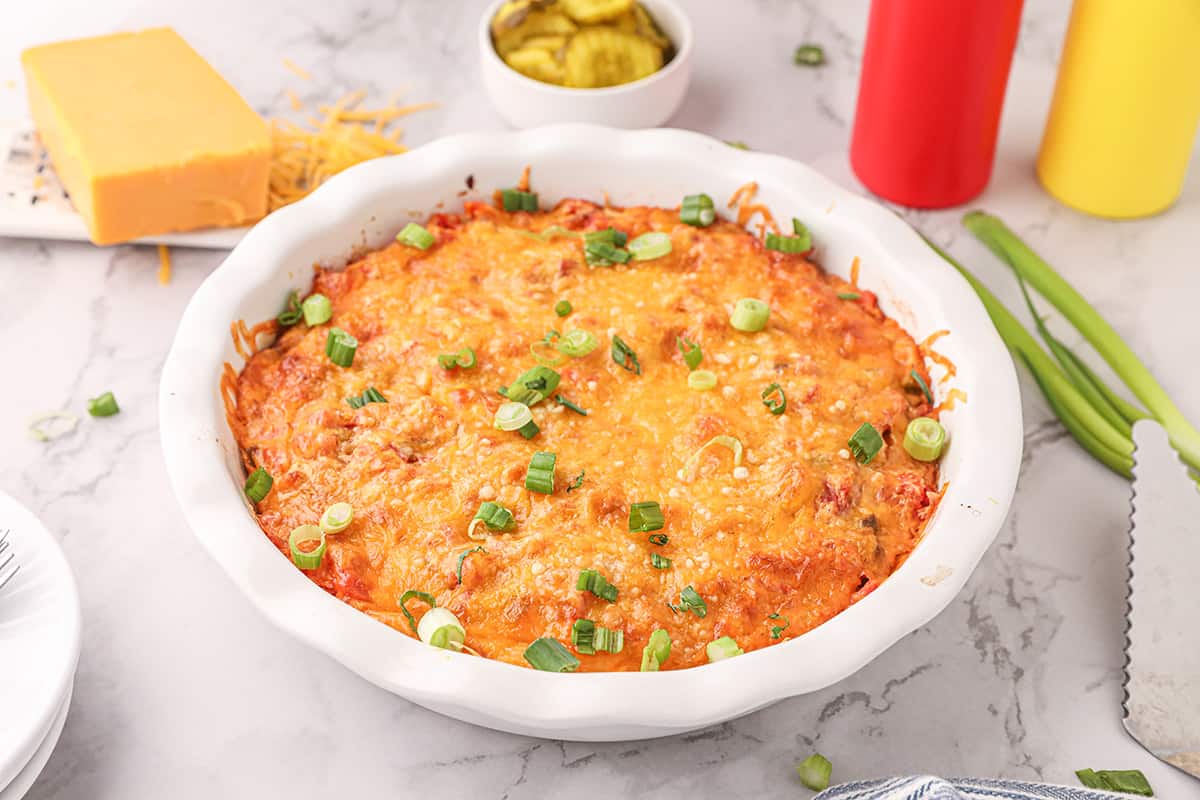
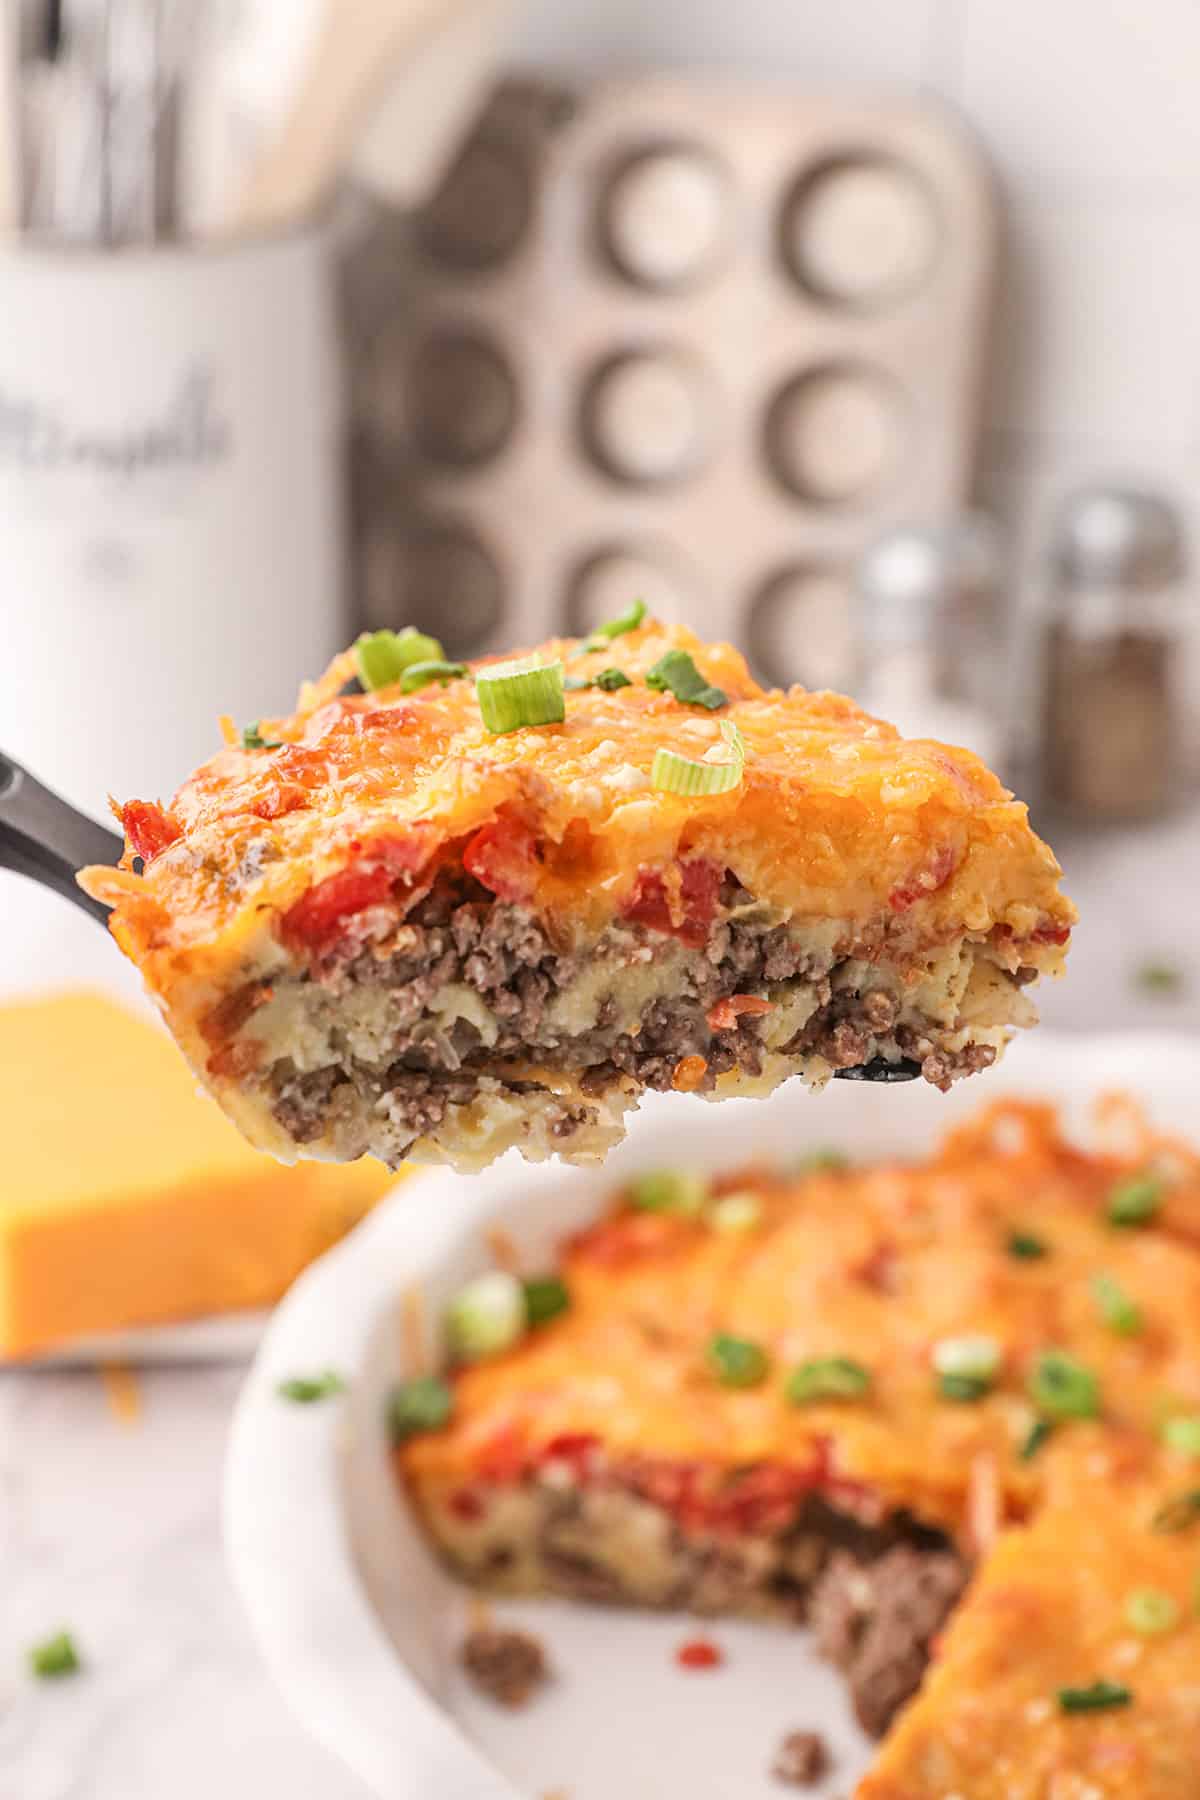
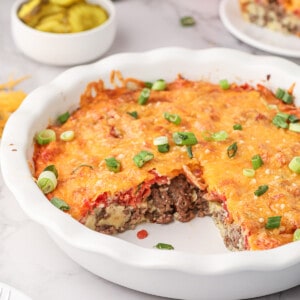
You may be wondering just what a cheeseburger “pie” might be. Well, it’s a savory pie similar to a chicken pot pie or beef and stout pie. The difference here is that, unlike those pies, this version uses a batter rather than a crust. The savory fillings are layered into a pie dish and the batter is poured over the top. As the pie bakes, the batter rises to create a fluffy brown crust on top while the savory layers stay on the bottom.
Believe me, it’s delicious and your family from the oldest to the youngest is going to love this for dinner tonight!
Recipe Snapshot
Cuisine: American
Cooking Method: Oven
Total Time: 50 Minutes
Servings: 6
Primary Ingredient(s): Bisquick, ground beef, eggs, cheese, tomatoes
Skill Level: Easy
What You’ll Like About This Recipe
- It’s a simple to make, hearty, and flavorful family dinner.
- A great way to use budget-friendly ground beef.
- Requires about 10 minutes of prep time and can be on the table in just under an hour.
Ingredient Notes
This post may contain affiliate links. Lana’s Cooking is reader-supported and earns a tiny commission at no extra cost to you when you shop from our links.
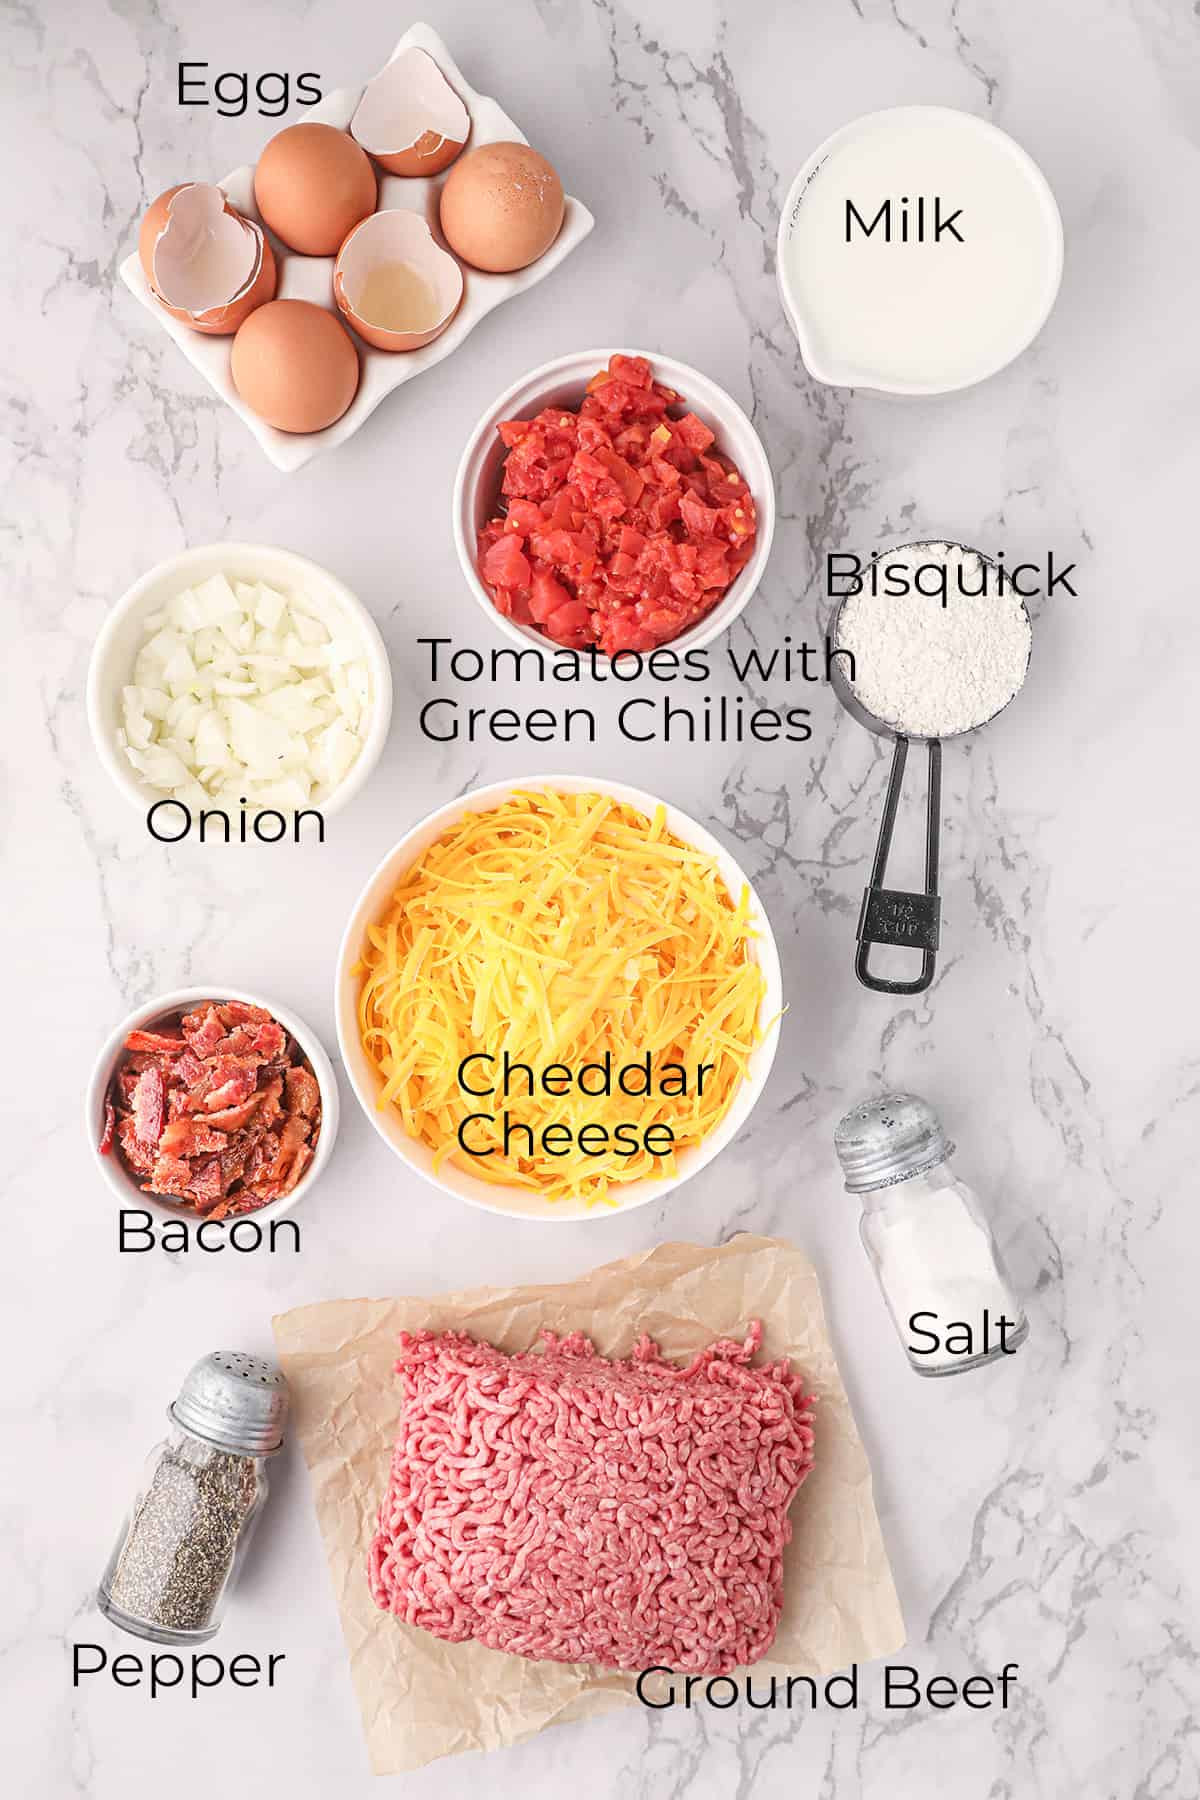
- Ground Beef – I typically use ground chuck (80/20) for my recipes. Its higher fat content creates excellent flavor in any recipe and it tends to be more tender than lean ground beef.
- Bisquick – Bisquick now offers heart smart and gluten free options along with their original version. Any of those work fine for this recipe. There are many other brands of biscuit and baking mixes on the market including Jiffy, Pioneer, and Bob’s Red Mill which you can easily substitute. Or make your own baking mix following these easy instructions.
- Shredded Cheddar Cheese – Make it easy on yourself and use the pre-shredded cheese from the supermarket.
- Bacon – If you’re looking for quick and easy, use fully cooked bacon available in your grocery store. For the most budget-friendly option, cook and crumble the bacon before starting the recipe. Or, even better, plan ahead and cook extra bacon for breakfast setting aside enough to make this recipe later in the day or week.
- Tomatoes with Green Chilies – They’re available at any heat level you like – mild, medium, and hot, so choose whatever suits your family best.
The complete ingredient list with detailed measurements is included in the printable recipe card at the bottom of this post.
How To Make Easy Cheeseburger Pie
- Preheat the oven to 350 degrees F. Prepare a 9” pie dish with cooking spray and set it aside for now.
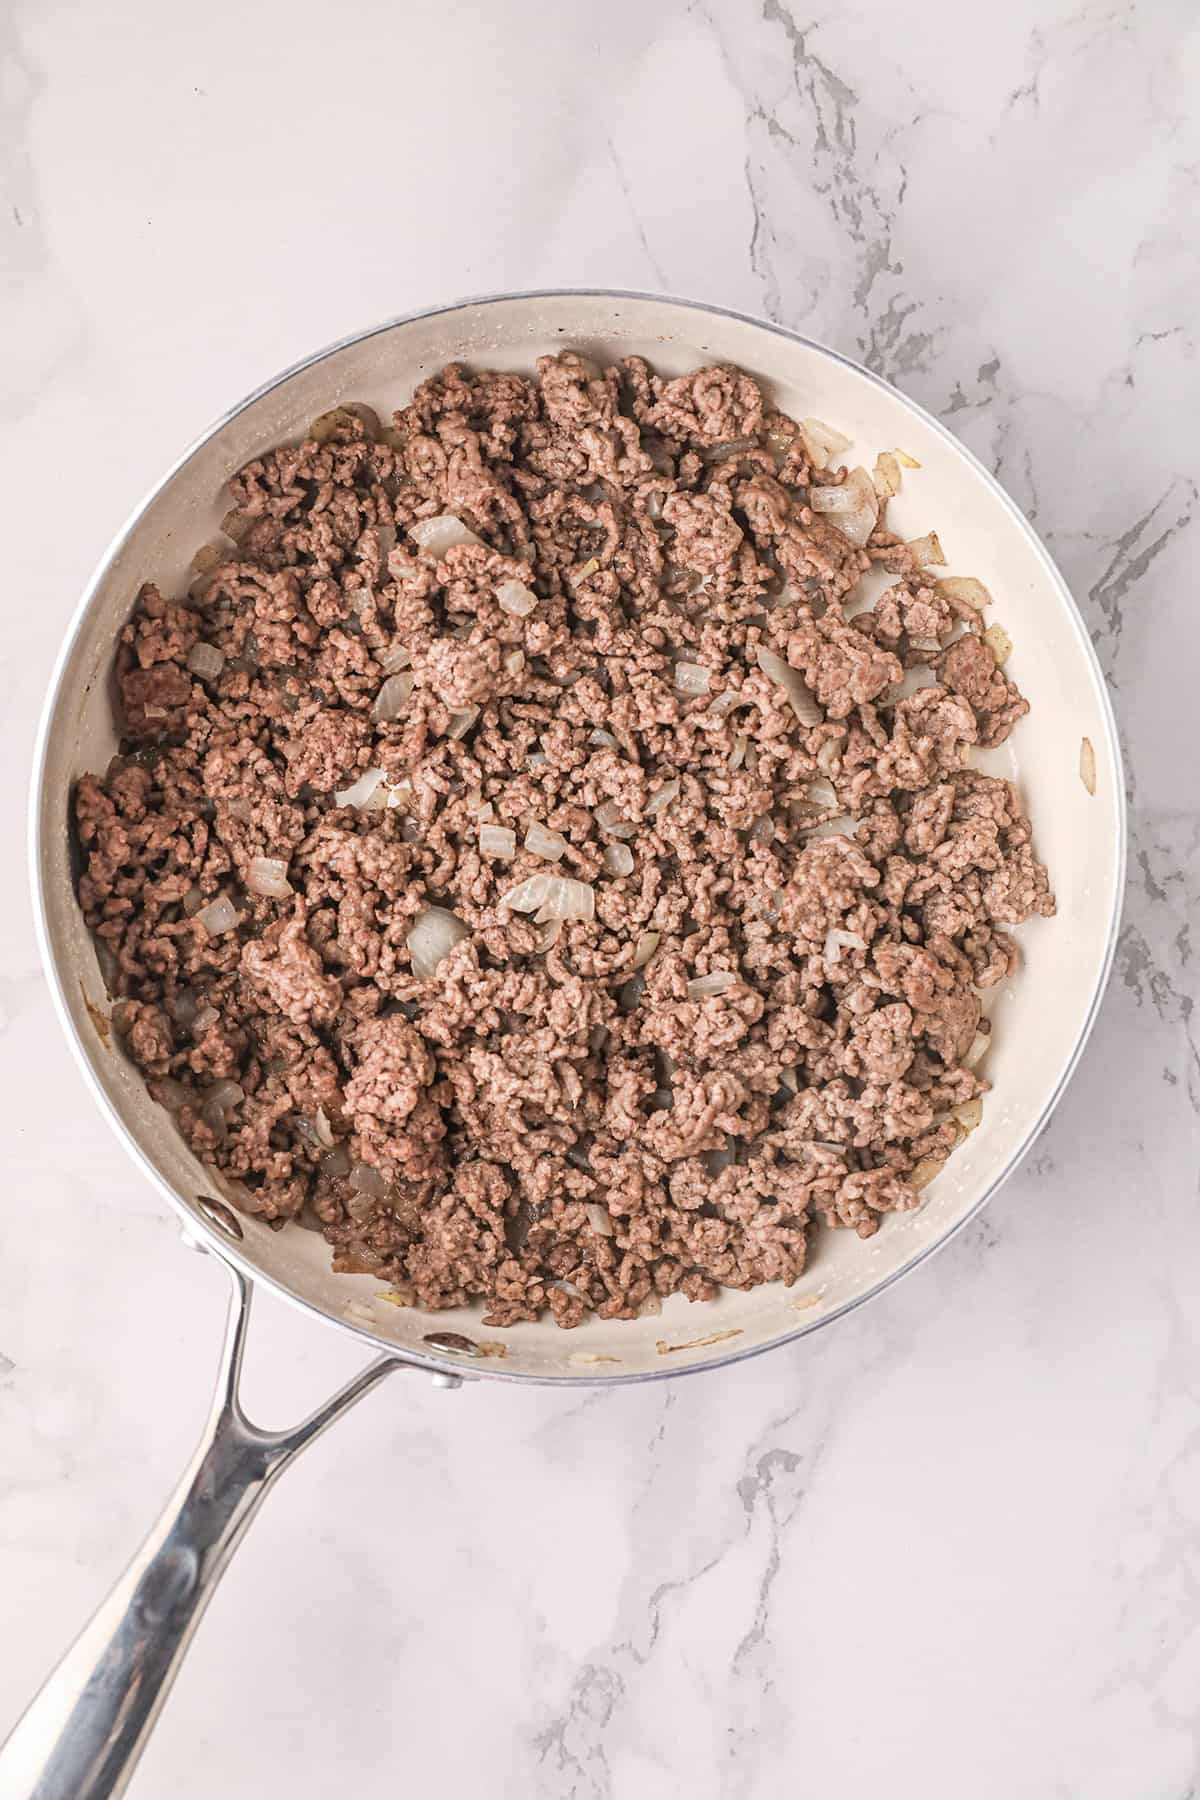
- In a large skillet over medium heat, brown the beef and onions. Drain and discard any excess fat.
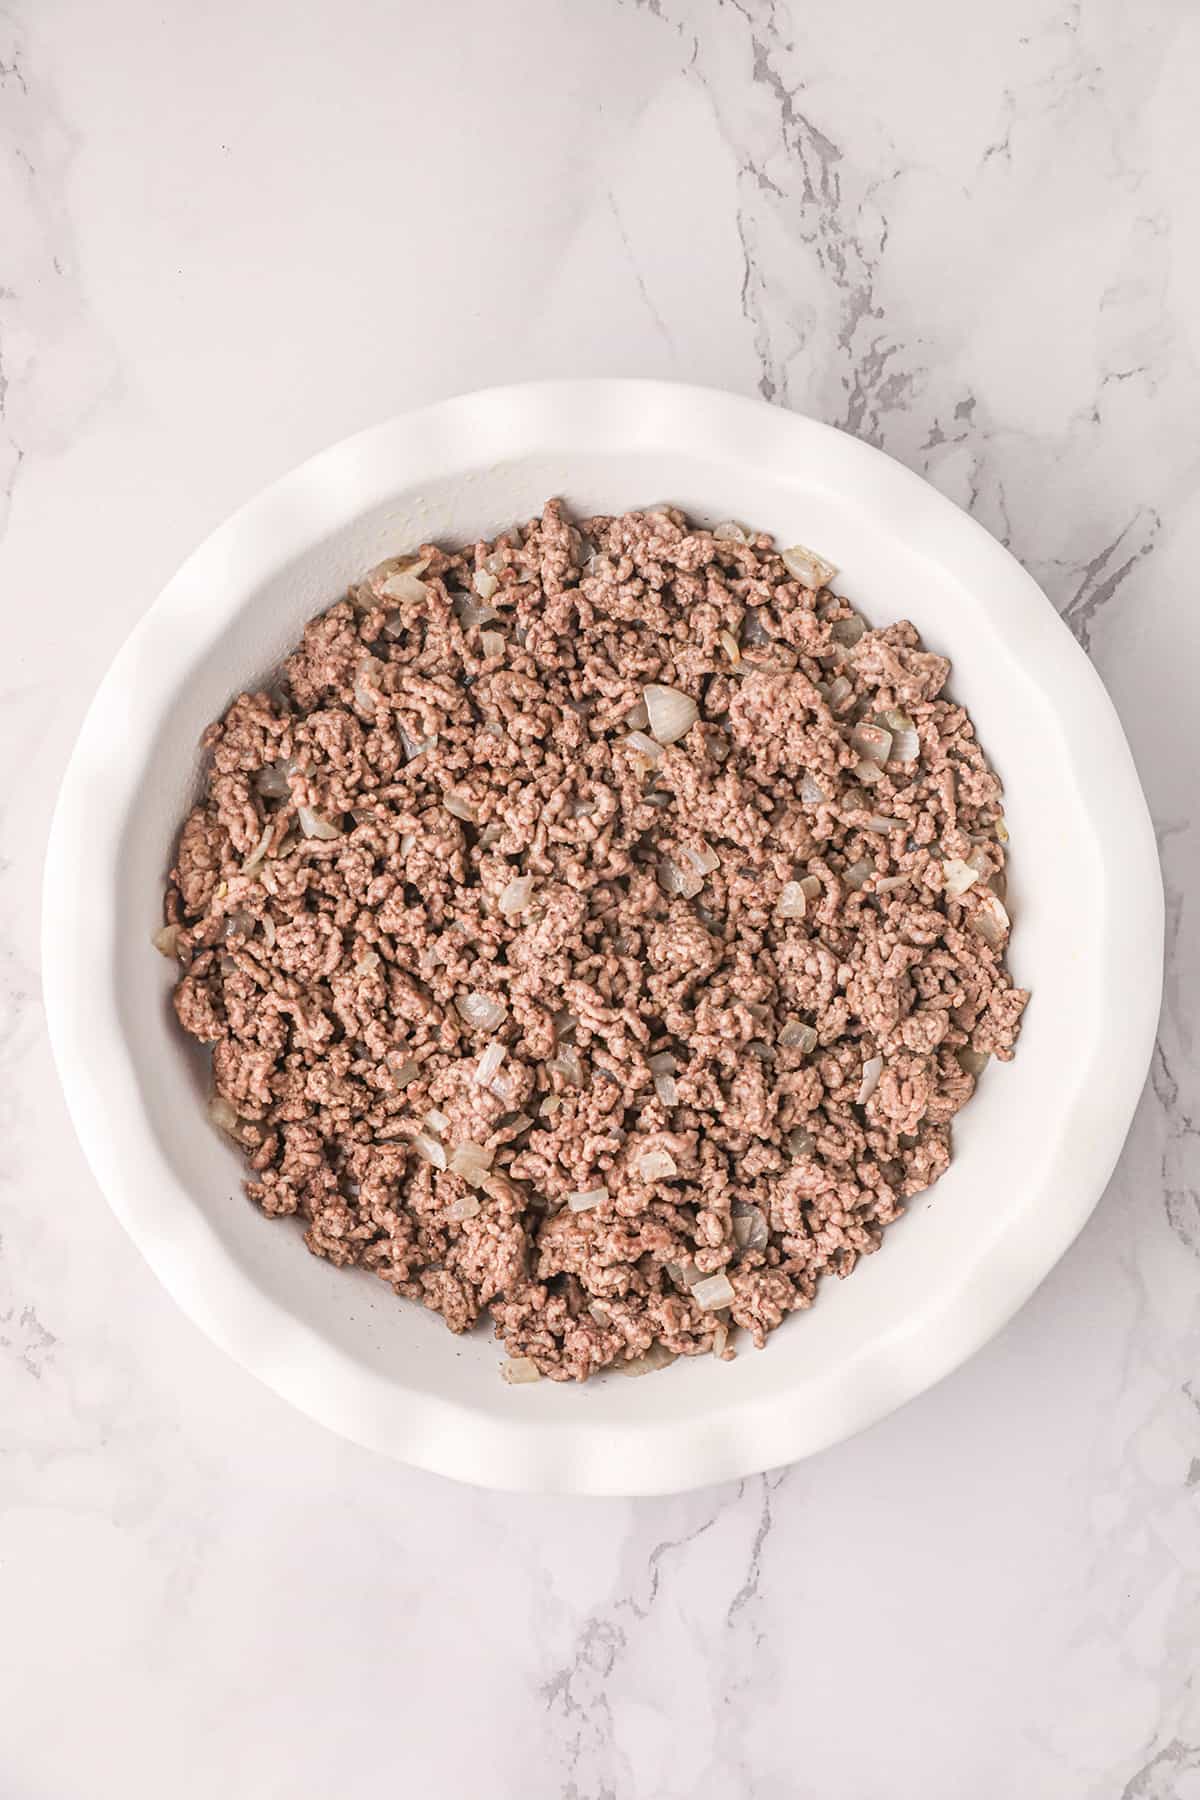
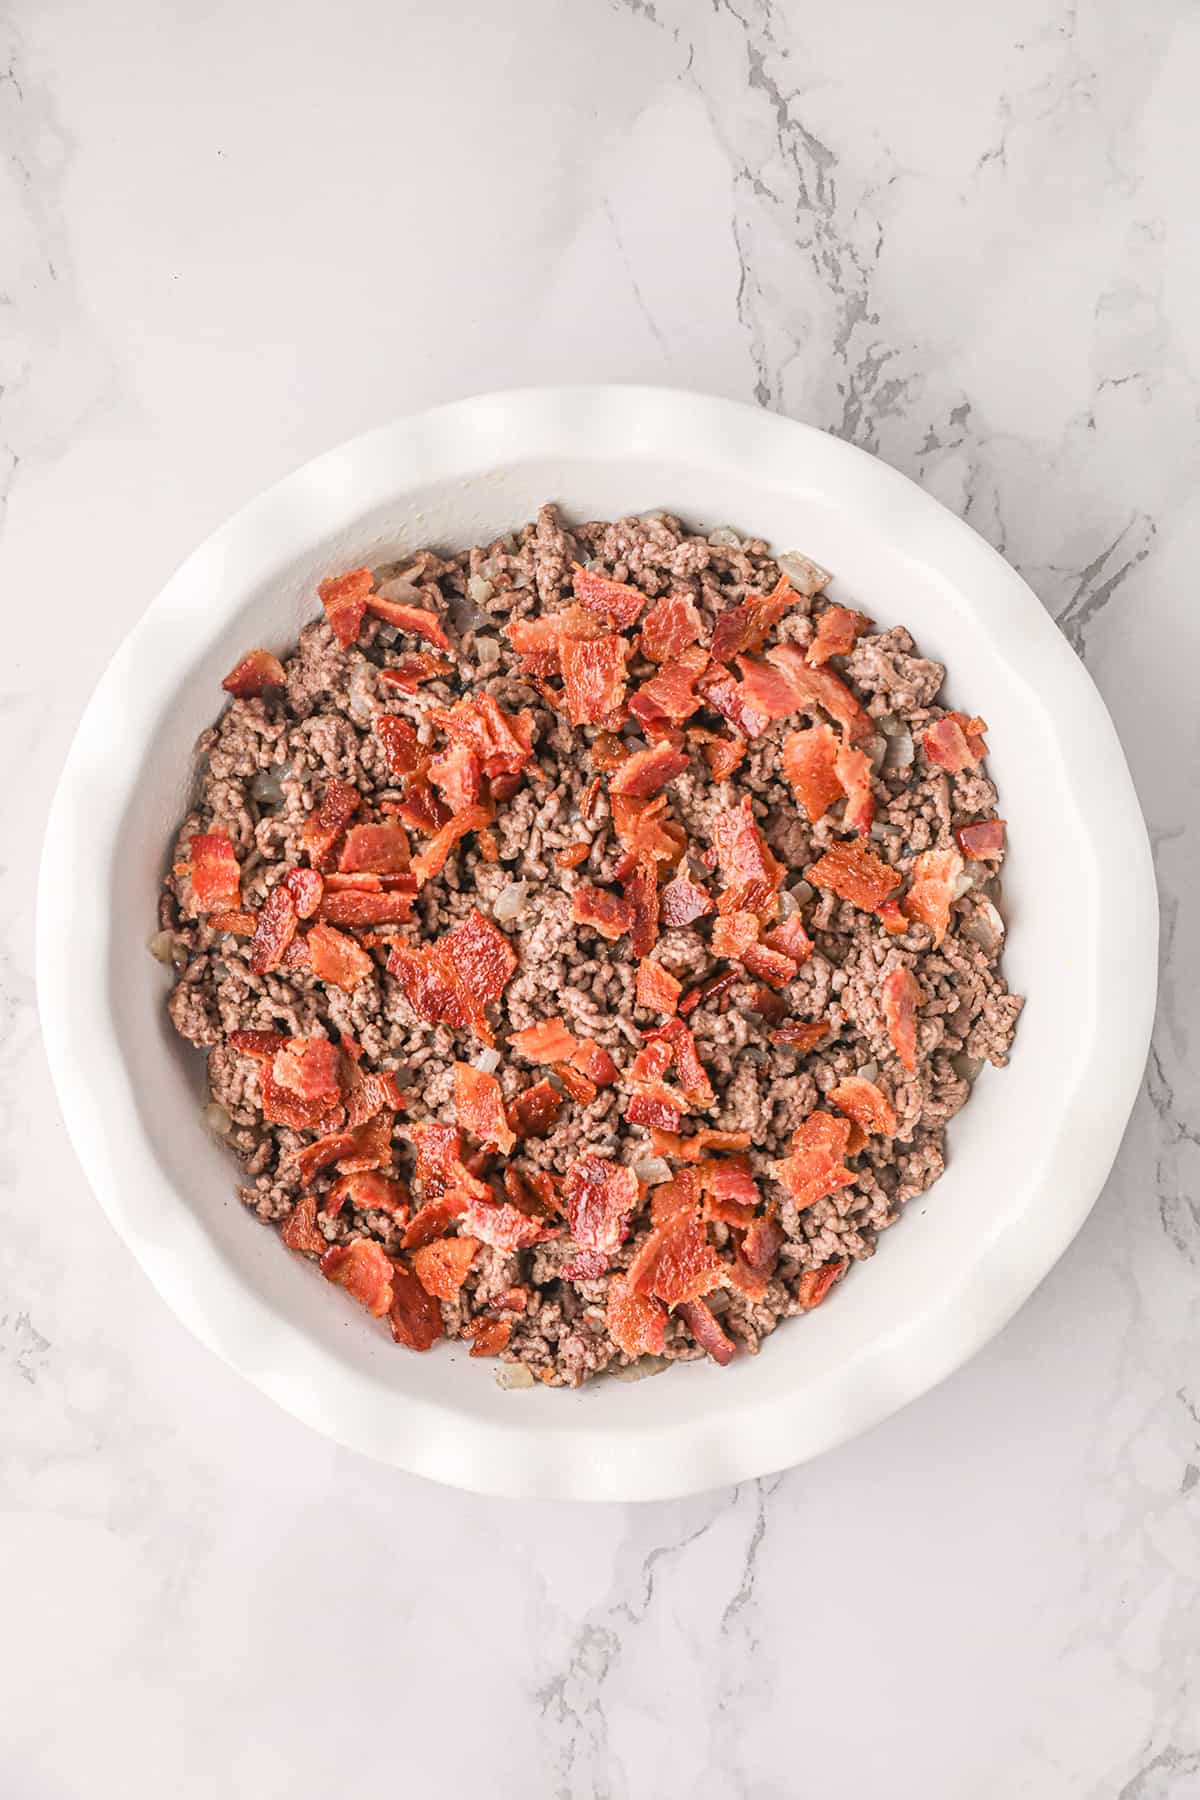
- Transfer the onion and meat mixture to the prepared pie plate.
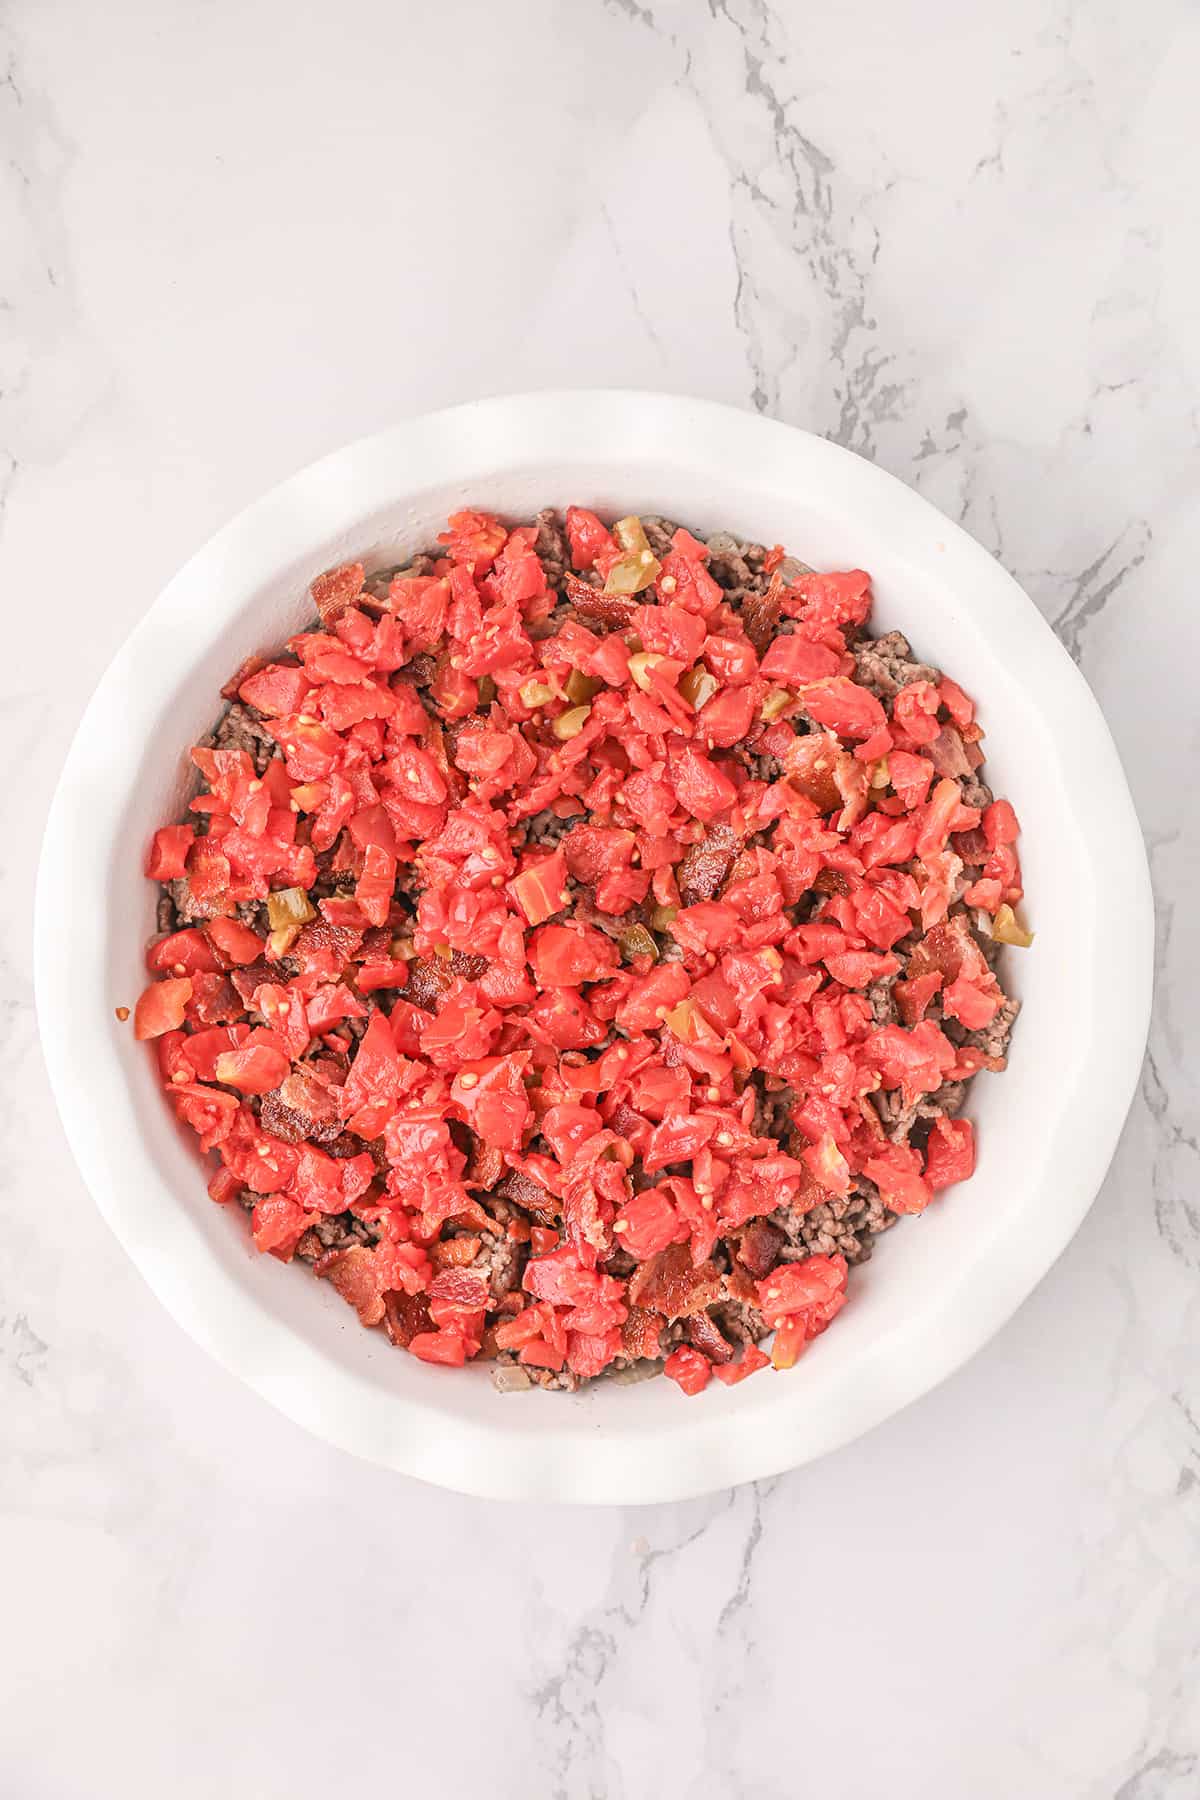
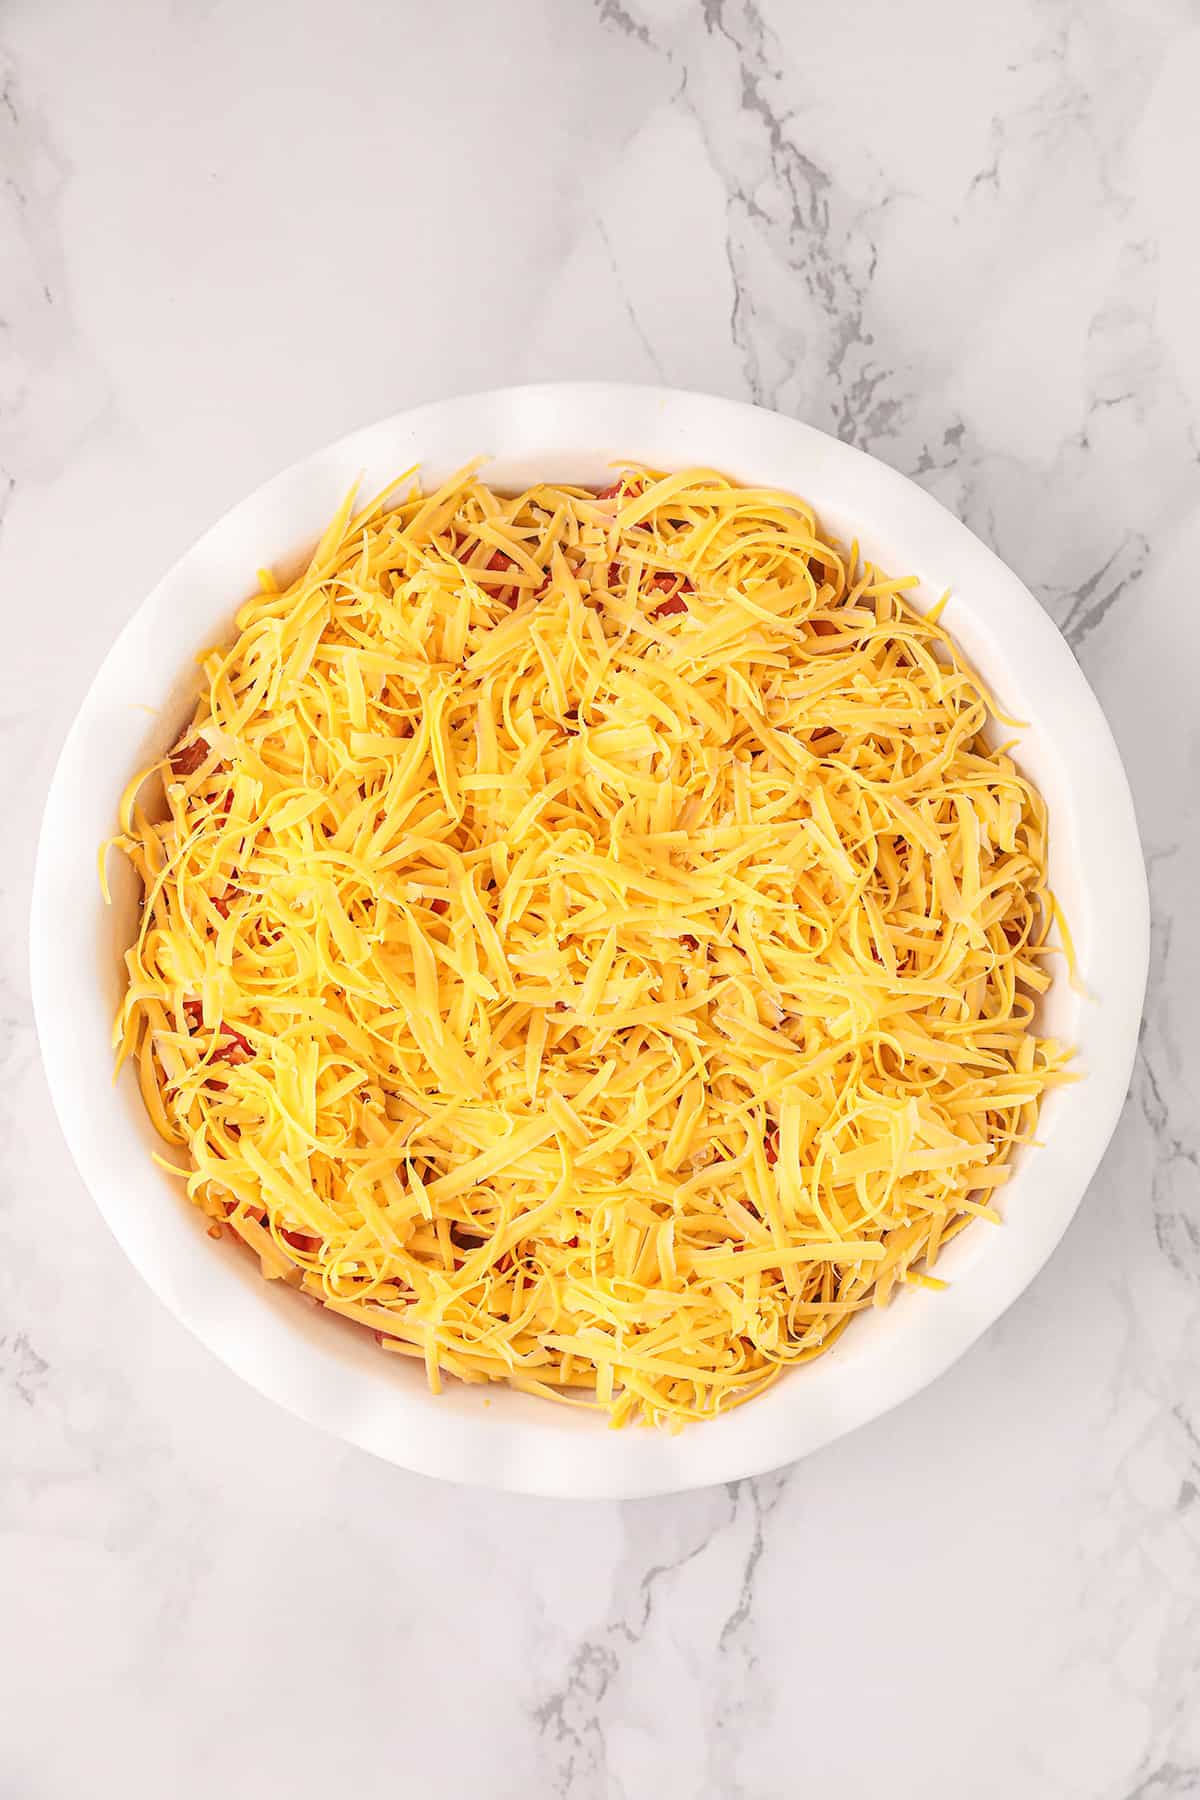
- On top of the ground beef, layer the crumbled bacon, followed by the diced tomatoes with green chilies, and the shredded cheese.


- In a large mixing bowl use a whisk to thoroughly combine the Bisquick, milk, and eggs.
- Pour the Bisquick mixture over the shredded cheese layer.
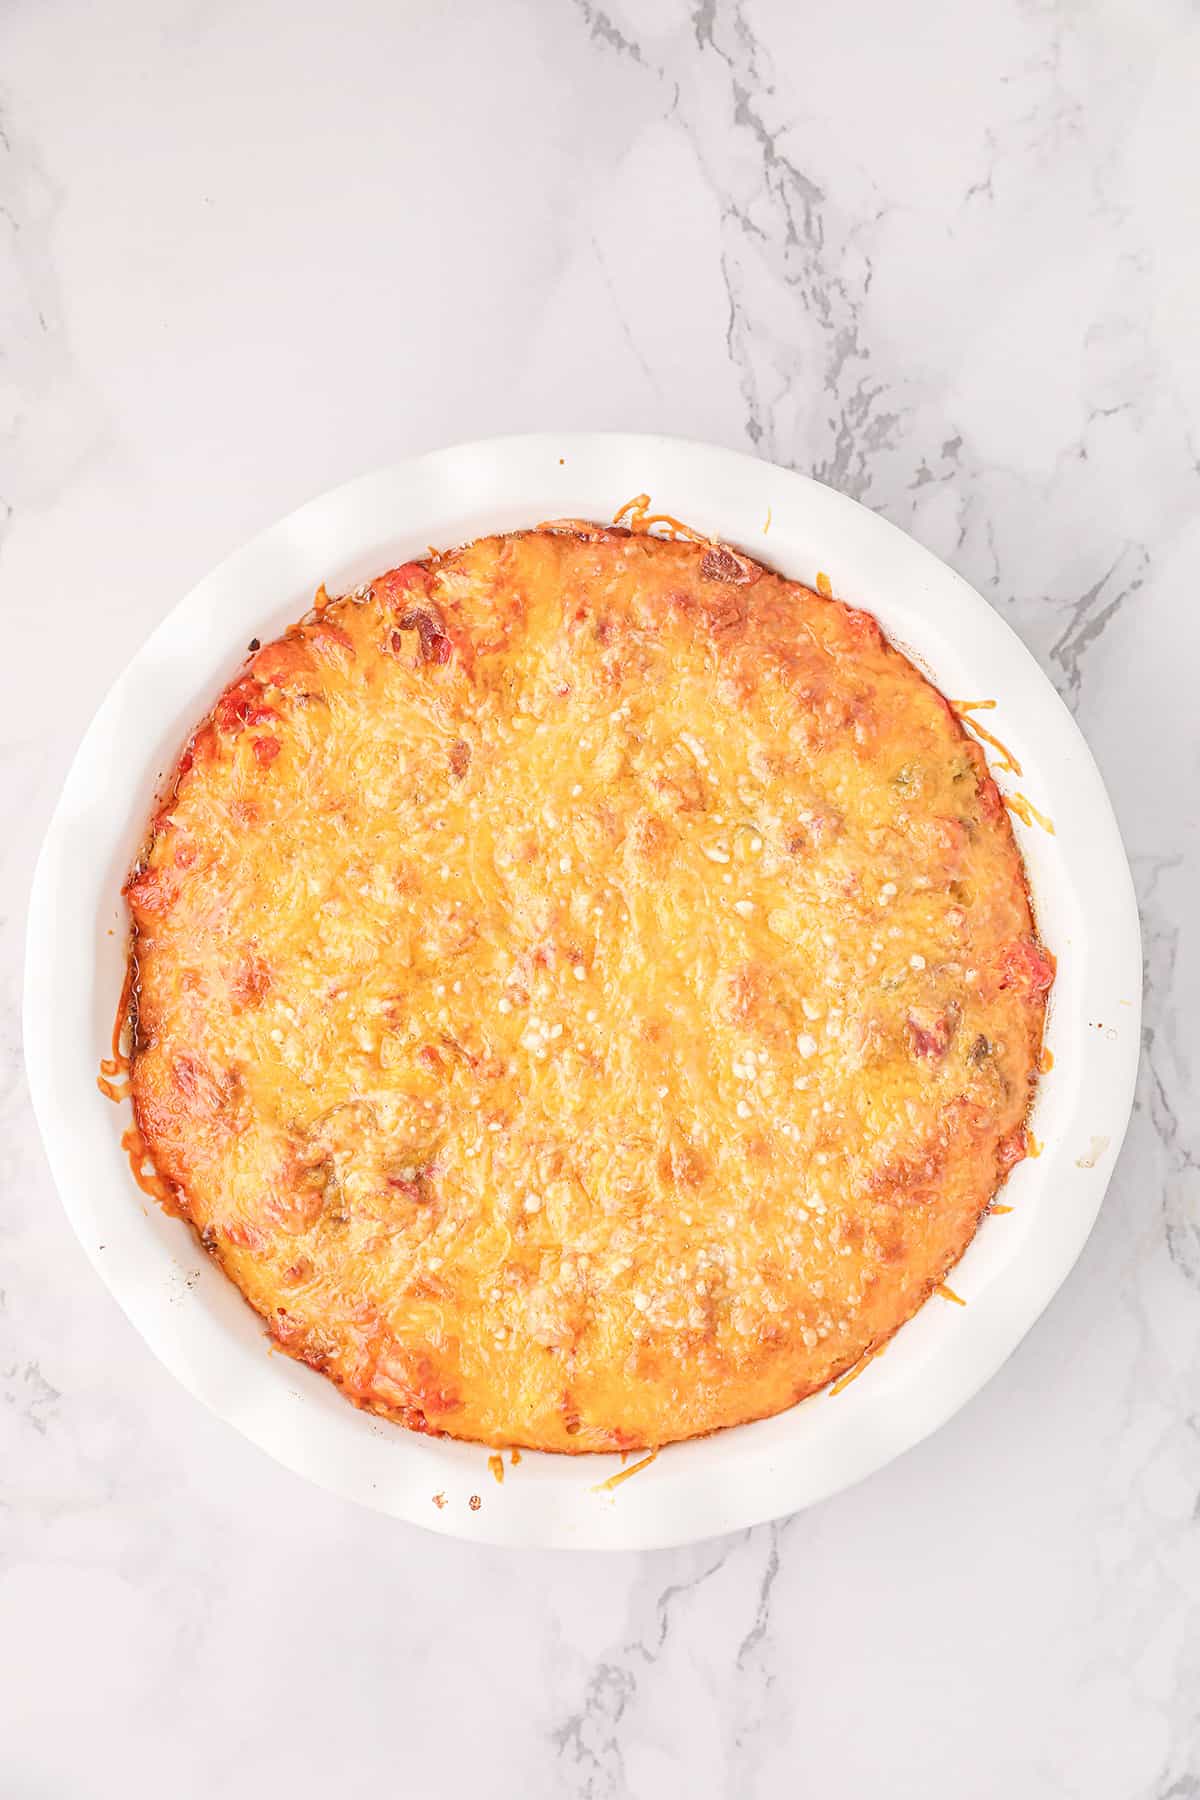
- Bake for about 30-40 minutes or until the top is golden brown.
Want to save this?
Recipe Tips
- You can use any type of shredded cheese for this recipe. For an even more distinct southwestern flavor, try pepper jack. For a more mellow, creamy taste try Monterey jack.
- Substitute the yellow onion with whatever you may have on hand such as green onions, or half a white onion.
- If your family likes pickles, add a few on top as a garnish. You can use dill, sweet, or even bread and butter.
- Ground turkey or ground chicken may be used in place of ground beef.
- For a spicy version, try using hot Italian sausage.
How to Serve
I often serve this garnished with our favorite cheeseburger toppings — dill pickle slices, lettuce, finely chopped onion, and tomato slices — either on the side or on top of each serving.
It’s also great with a fresh green salad, chips, fries, these tasty Crispy Baked Zucchini Chips, or my Crispy Air Fryer Onion Rings.
Storing Leftovers
Leftovers may be stored in the fridge in a sealed container for up to 3 days. Reheat individual portions in the microwave in 30-second increments. To reheat a larger amount, wrap in aluminum foil and place in a 250 degree oven for about 20 minutes or until heated through.
Questions About Cheeseburger Pie
Bisquick does offer a gluten free option now! Even though I don’t specialize in specific diets, it’s my understanding that using that product in this recipe would make it acceptable.
Sure! To freeze the recipe, after it has completely cooled, place it in an airtight container and store it in the freezer for up to 3 months. When you’re ready to serve it, remove it from the freezer and let it thaw overnight in the refrigerator. Follow the reheating instructions above.
Yes, you can cook the recipe and refrigerate it for up to three days. Remove it from the fridge and allow it to come to room temperature before reheating and serving.
I would stick with the pie pan for this one. The amounts in the recipe won’t fill a 9X13 pan. Do make sure that the pie dish is oven safe and that you spray it well with non-stick cooking spray.
More Recipes You’ll Like
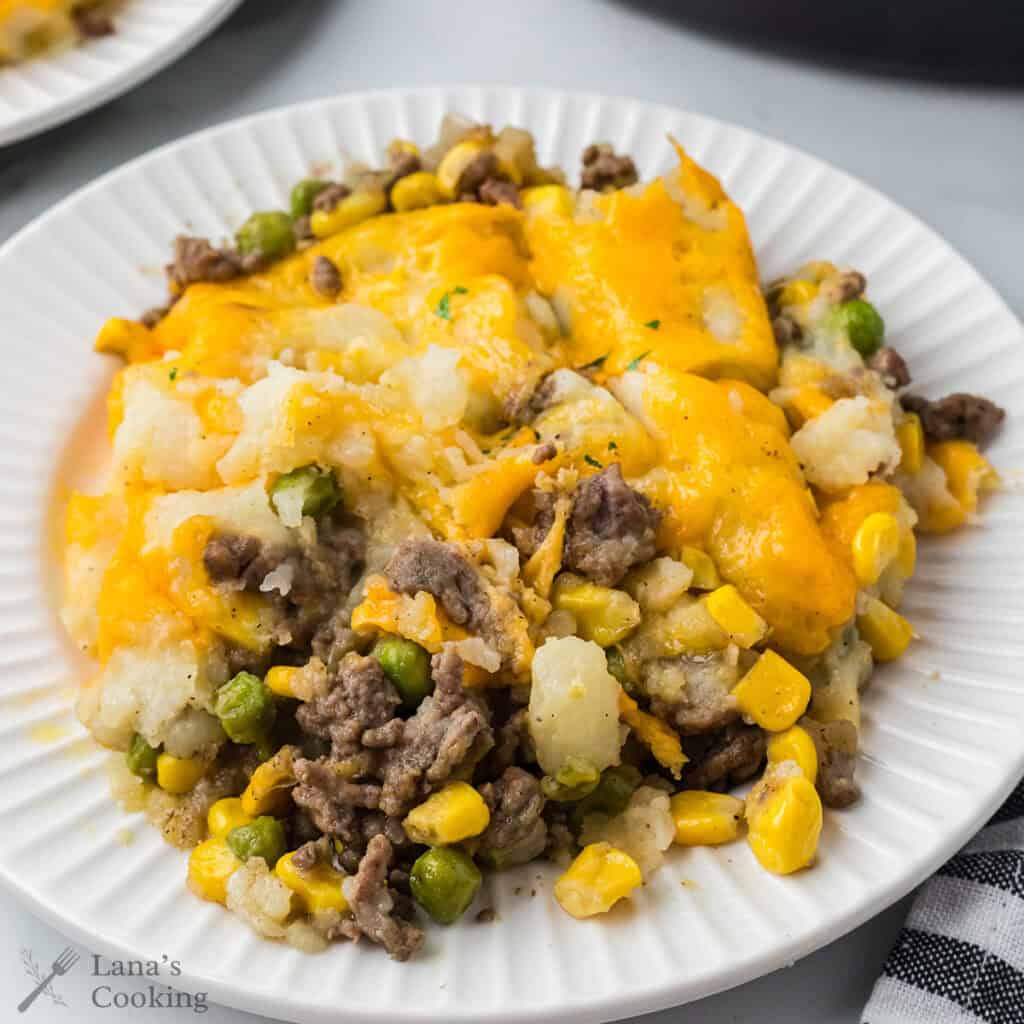
Shepherd’s Pie

Family Favorite Chili

Southern Meatloaf
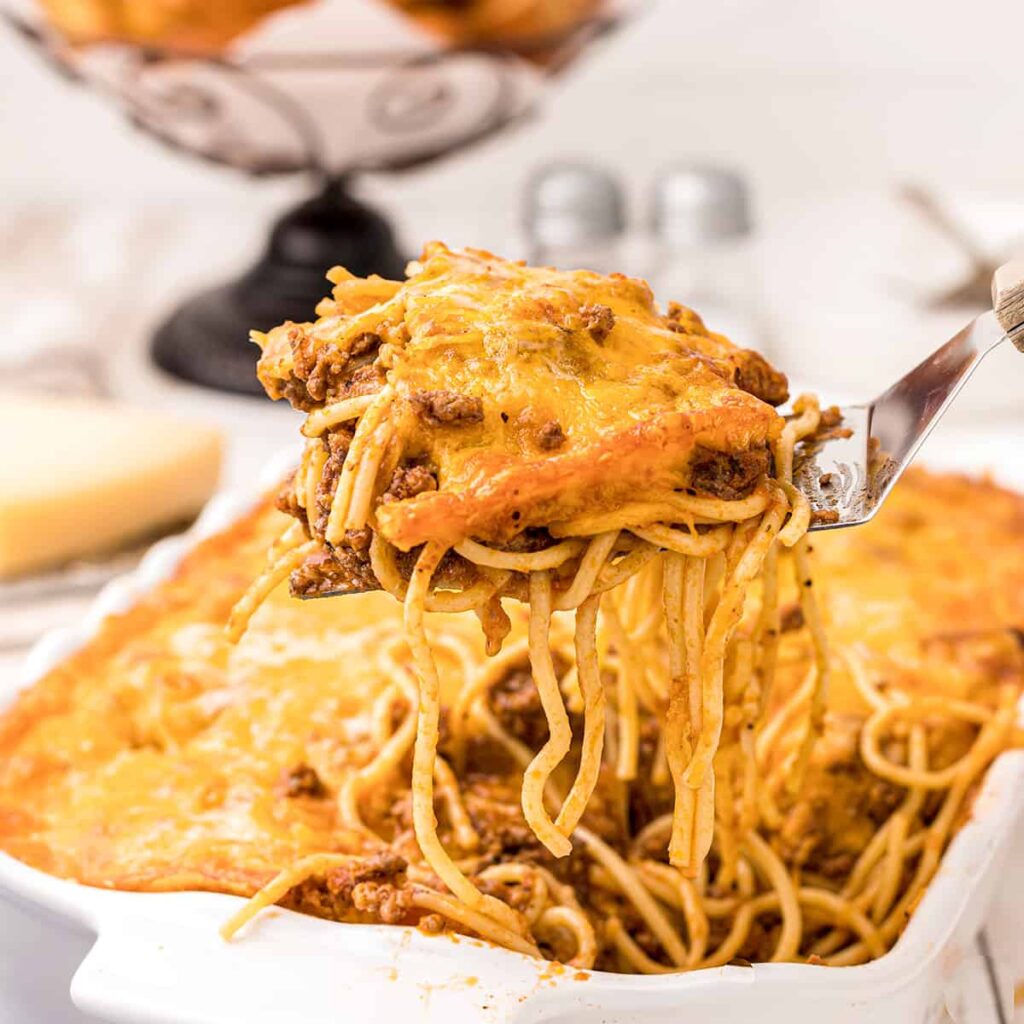
Baked Spaghetti

Have a question or thought to share?
If you have a question about the recipe or if you’ve made it and want to share how it turned out, I would truly enjoy hearing from you. Just scroll down to leave a comment or add your star rating.
Thank you for stopping by. It means a lot to have you here.
Do More With ChatGPT
Recipe
Easy Cheeseburger Pie
Ingredients
- 1 pound ground beef
- ½ yellow onion diced
- ½ cup Bisquick
- 1 cup milk
- 2 eggs
- 2 cups Cheddar cheese shredded
- 6 strips bacon cooked and crumbled
- 14.5 ounces tomatoes with green chilies drained
- 1/2 teaspoon salt
- 1/4 teaspoon ground black pepper
Instructions
- Preheat the oven to 350 degrees F. Prepare a 9” pie dish with cooking spray and set it aside for now.
- In a large skillet over medium heat brown the beef and onions. Drain and discard any excess fat.1 pound ground beef, ½ yellow onion, 1/2 teaspoon salt, 1/4 teaspoon ground black pepper
- Transfer the ground beef and onions to the prepared pie dish.
- On top of the ground beef, layer the crumbled bacon, followed by the diced tomatoes with green chilies, and the shredded cheese.6 strips bacon, 14.5 ounces tomatoes with green chilies, 2 cups Cheddar cheese
- In a large mixing bowl use a whisk to thoroughly combine the Bisquick, milk, and eggs.½ cup Bisquick, 1 cup milk, 2 eggs
- Pour the Bisquick mixture over the shredded cheese layer.
- Bake for about 30-40 minutes or until the top is golden brown.
Notes
- To make ahead – cook the recipe and refrigerate it for up to three days. Remove it from the fridge and allow it to come to room temperature before reheating and serving.
- Leftovers may be stored in the fridge in a sealed container for up to 3 days. Reheat individual portions in the microwave in 30-second increments. To reheat a larger amount, wrap in aluminum foil and place in a 250 degree oven for about 20 minutes or until heated through.
Nutrition Information
Nutrition information is calculated by software based on the ingredients in each recipe. It is an estimate only and is provided for informational purposes. You should consult your healthcare provider or a registered dietitian if precise nutrition calculations are needed for health reasons.
Lana, I agree this is so good. This makes a super breakfast made with venison sausage and a couple of over light eggs. My old rancher loves it.
That sounds delicious!