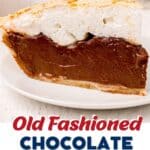


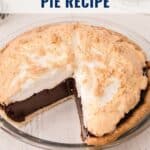
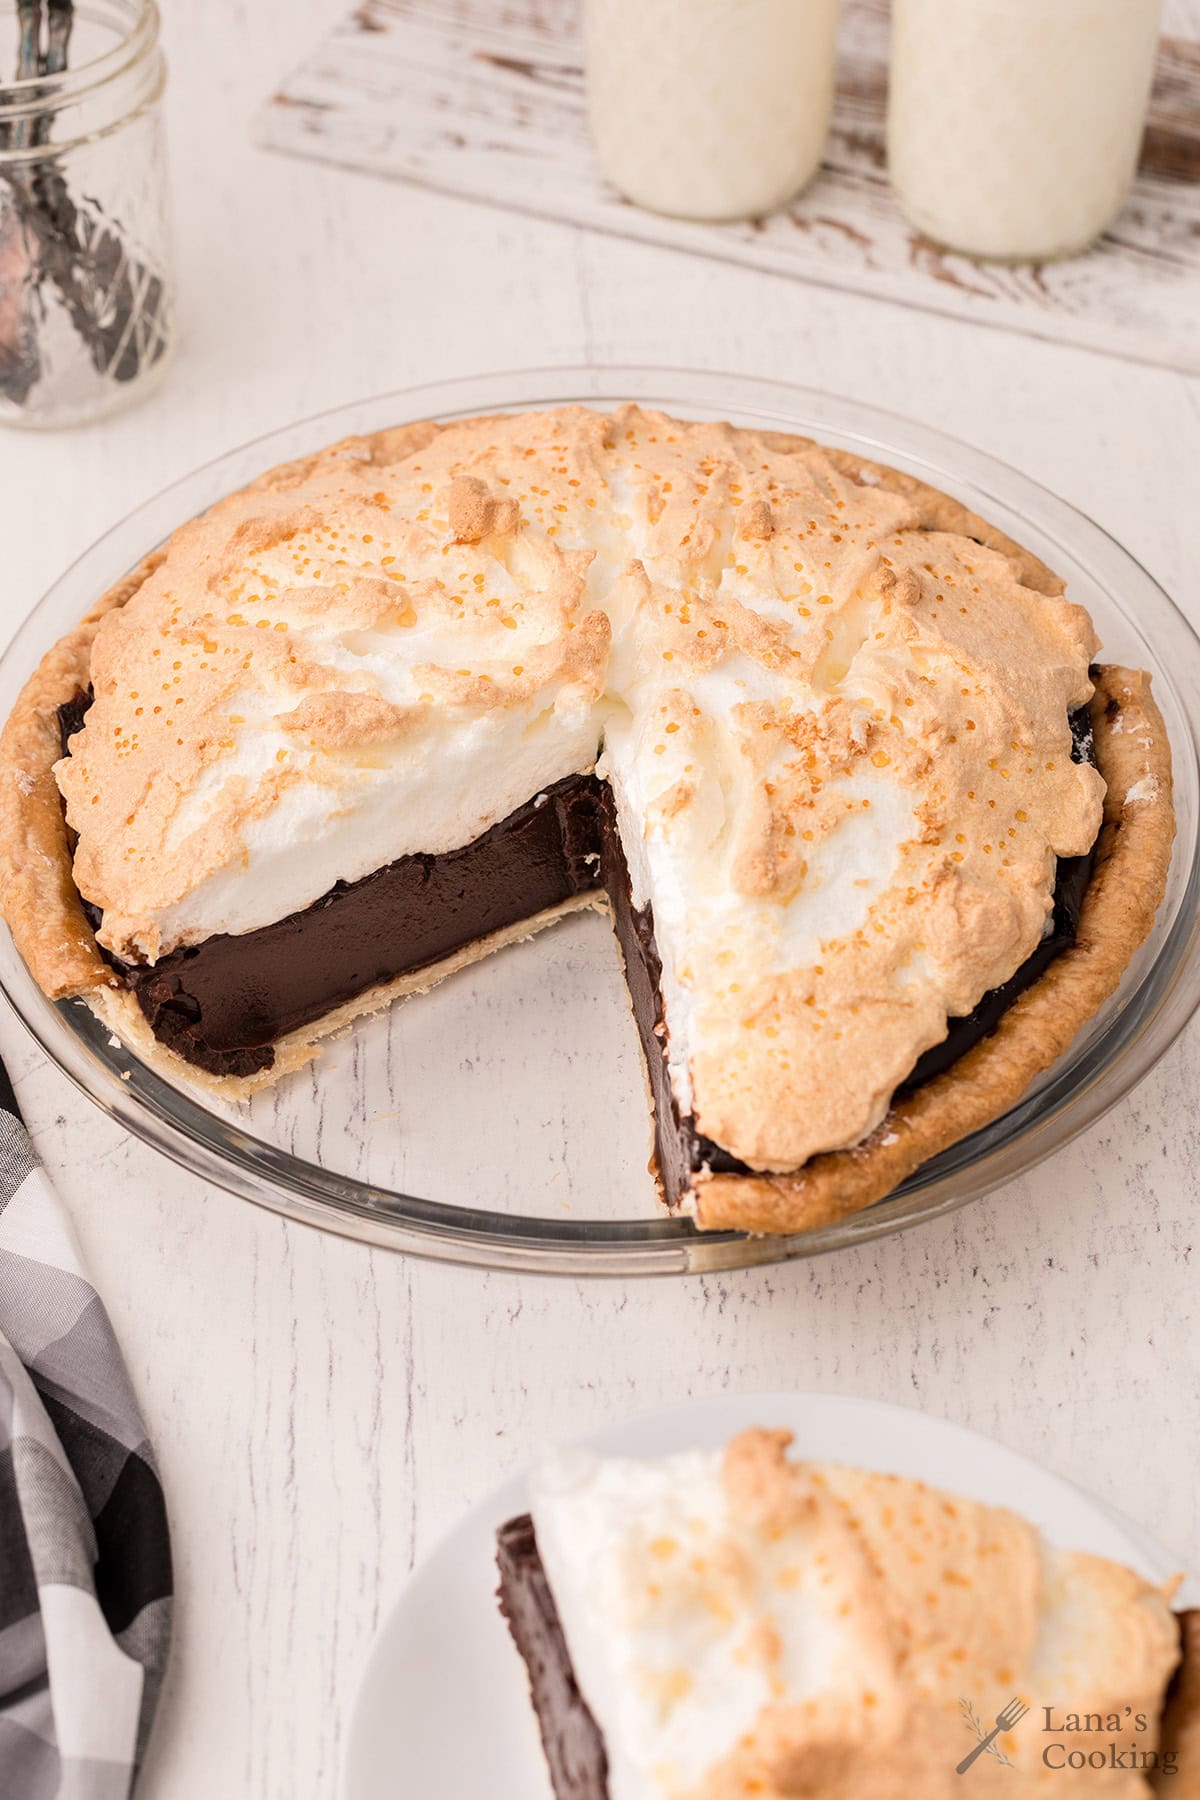
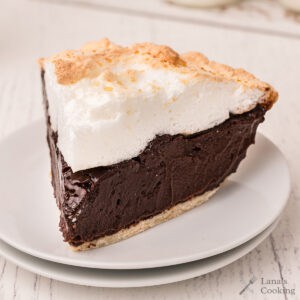
This old-fashioned Chocolate Meringue Pie is the ultimate chocolate lover’s dessert for any occasion. This decadent dessert with its rich chocolate custard filling and fluffy homemade meringue is a treasured family recipe we’ve enjoyed for years.
Any time you’re heading to a potluck, having a birthday bash, or just want a beautiful dessert to serve family and friends, this pie is a lovely choice.

A homemade pie always gives me warm feelings of home, reminding me of childhood family gatherings and holiday dinners.
With so many different varieties, fillings, and toppings, there’s a pie for even the most selective eaters. And while I would never pass up a lemon meringue pie, or an apple pie, peach pie, or strawberry pie, this chocolate meringue is undoubtedly one of my favorites.
I can’t really tell you where this recipe came from, who invented it, or who it “belongs” to, but what I can tell you is that it’s pure comfort food magic.
Fair warning – this pie is very sweet, chocolatey, and very, very rich. You’ll only need a small slice (yeah, right). It easily serves eight and could definitely stretch to 10.
Recipe Snapshot: Old Fashioned Chocolate Meringue Pie
Cuisine: American
Cooking Method: Oven/Stovetop
Total Time: 40 Minutes
Servings: 8
Primary Ingredient(s): Eggs, sugar, cocoa powder, milk, pie shell
Skill Level: Easy
WHAT PEOPLE ARE SAYING …
⭐⭐⭐⭐⭐
“This is absolutely the best recipe – identical to my own Grandmother’s – I have worn my copy of hers so thin over the years that I can barely read it – you saved Thanksgiving – thank you!“
— Tracy
What Makes This Recipe Special
This was my Aunt Marjorie’s recipe for chocolate pie. She made it often for my Uncle Bud (it was his favorite!), and I’ve been making it myself for at least 50 years.
In my opinion, the most outstanding thing about the recipe is the contrast between the meringue and the filling. This filling is deeply chocolatey and silky, while the meringue is fluffy and light, creating a nearly perfect balance of flavors and textures. It’s a familiar dessert that holds memories in every forkful.
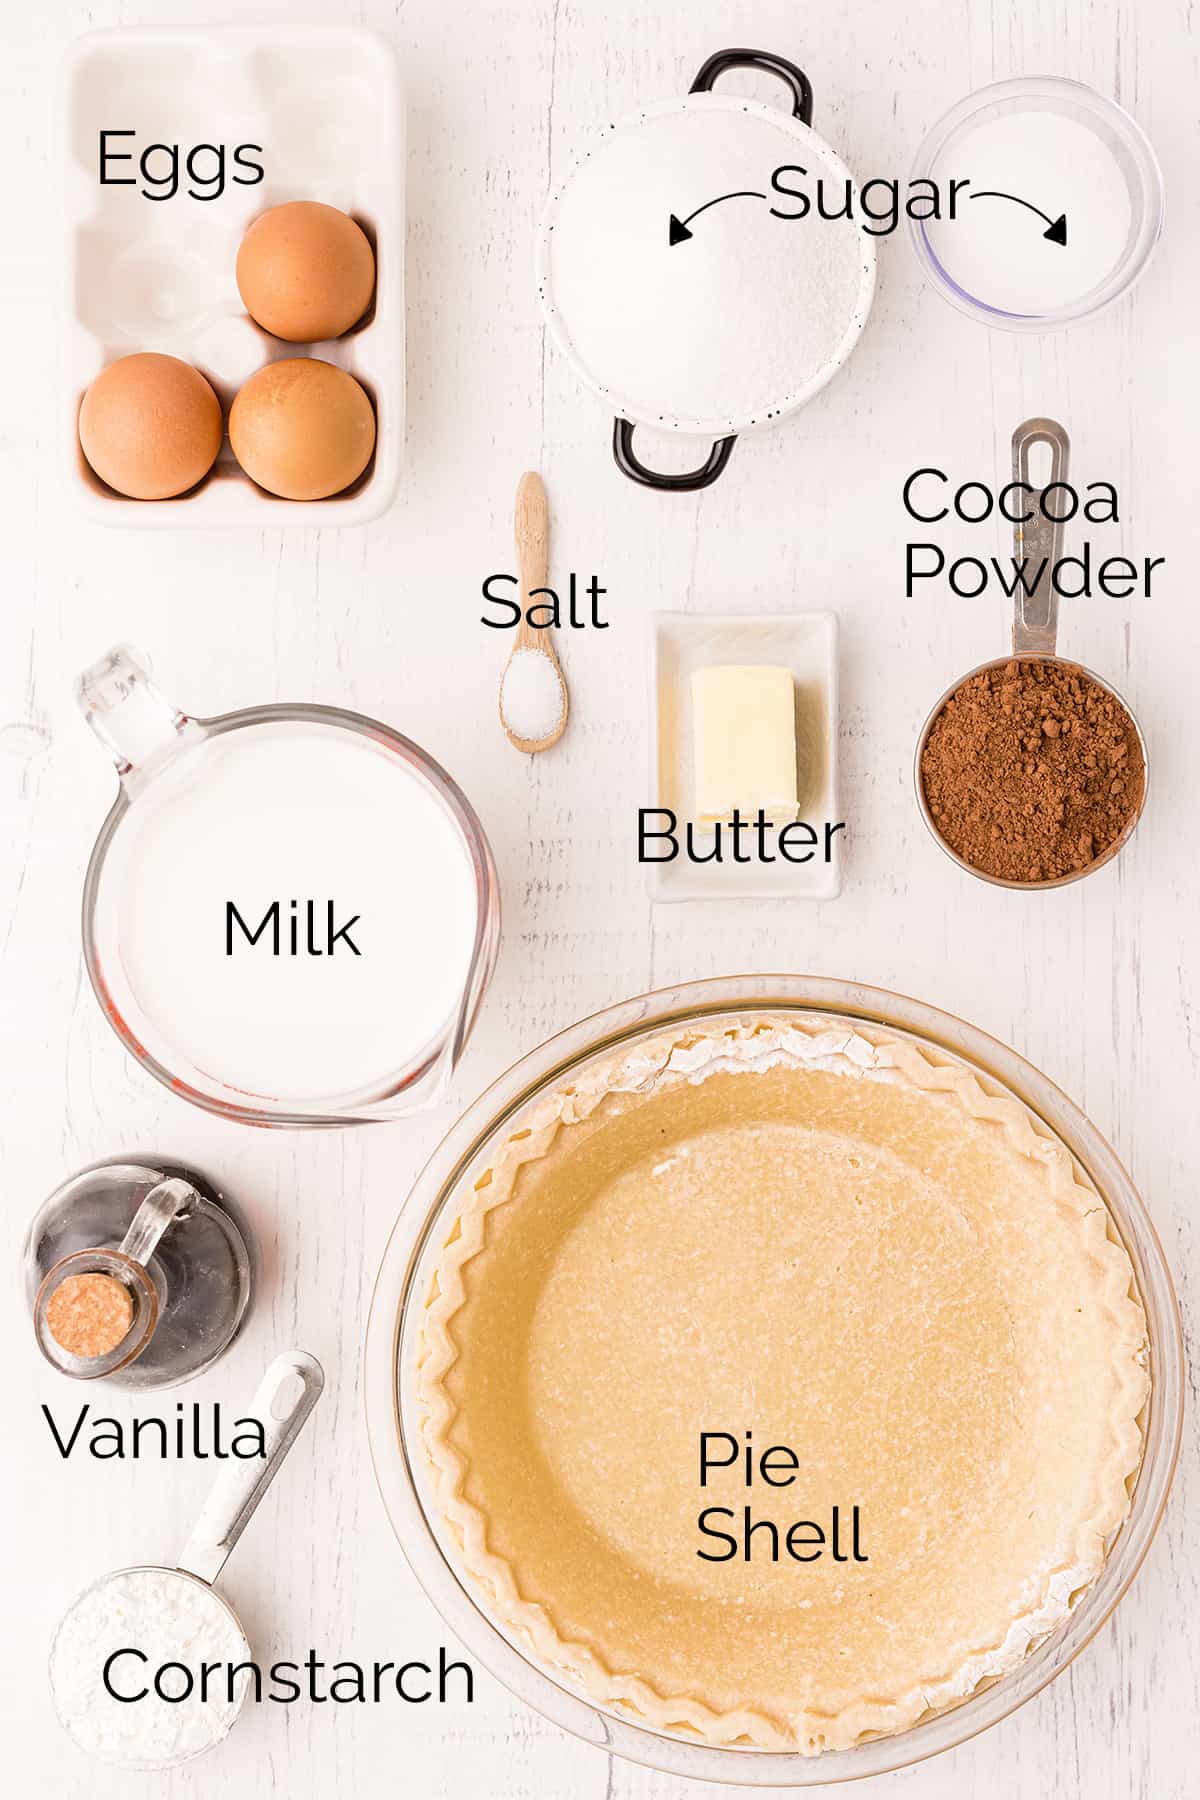
Ingredient Notes
This post may contain affiliate links. Lana’s Cooking is reader-supported and earns a tiny commission at no extra cost to you when you shop from our links.
- Eggs – Standard large eggs at room temperature.
- Sugar – White, granulated sugar, nothing fancy. I use Domino sugar.
- Unsweetened cocoa powder – You’ll get the best, most traditional flavor from Hershey’s or Nestle’s cocoa powder.
- Cornstarch – It thickens the filling.
- Milk – I recommend whole milk for this recipe and have not tested it with low-fat options.
- Butter – of course, everything’s better with butter.
- Vanilla extract – As always, vanilla brings out the flavor of chocolate.
- Pie shell – if you have a recipe you like, please use it; otherwise, purchase either a frozen or refrigerated pie crust.
The complete ingredient list with detailed measurements is included in the printable recipe card at the bottom of this post.
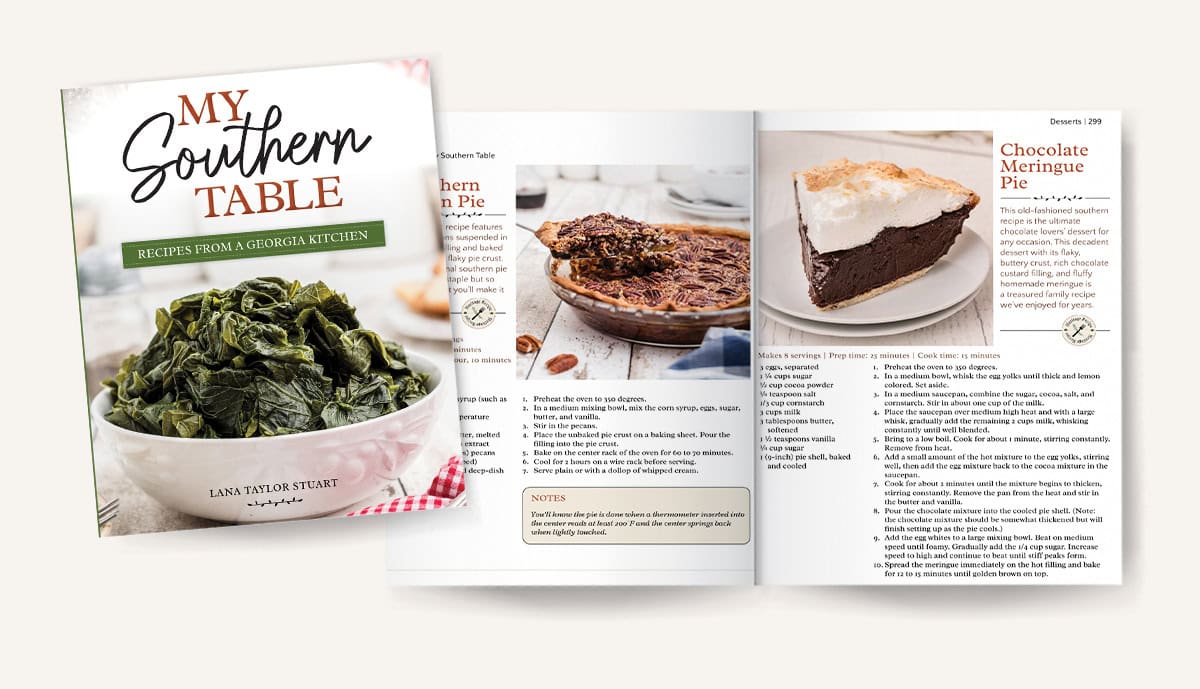
You’ll also find this recipe in my cookbook!
You can see this recipe on page 299 of my cookbook, My Southern Table! Get your signed copy today.
How to Make Old Fashioned Chocolate Meringue Pie
The Preliminaries
Before you start making the chocolate custard filling and meringue, you’ll need a baked and cooled pie crust ready to go. Use your favorite homemade recipe or a purchased refrigerated pie crust. Bake it according to the package directions, then set it aside to cool while you go on with the recipe.
- Preheat the oven to 350 degrees.
Making the Chocolate Custard Pie Filling
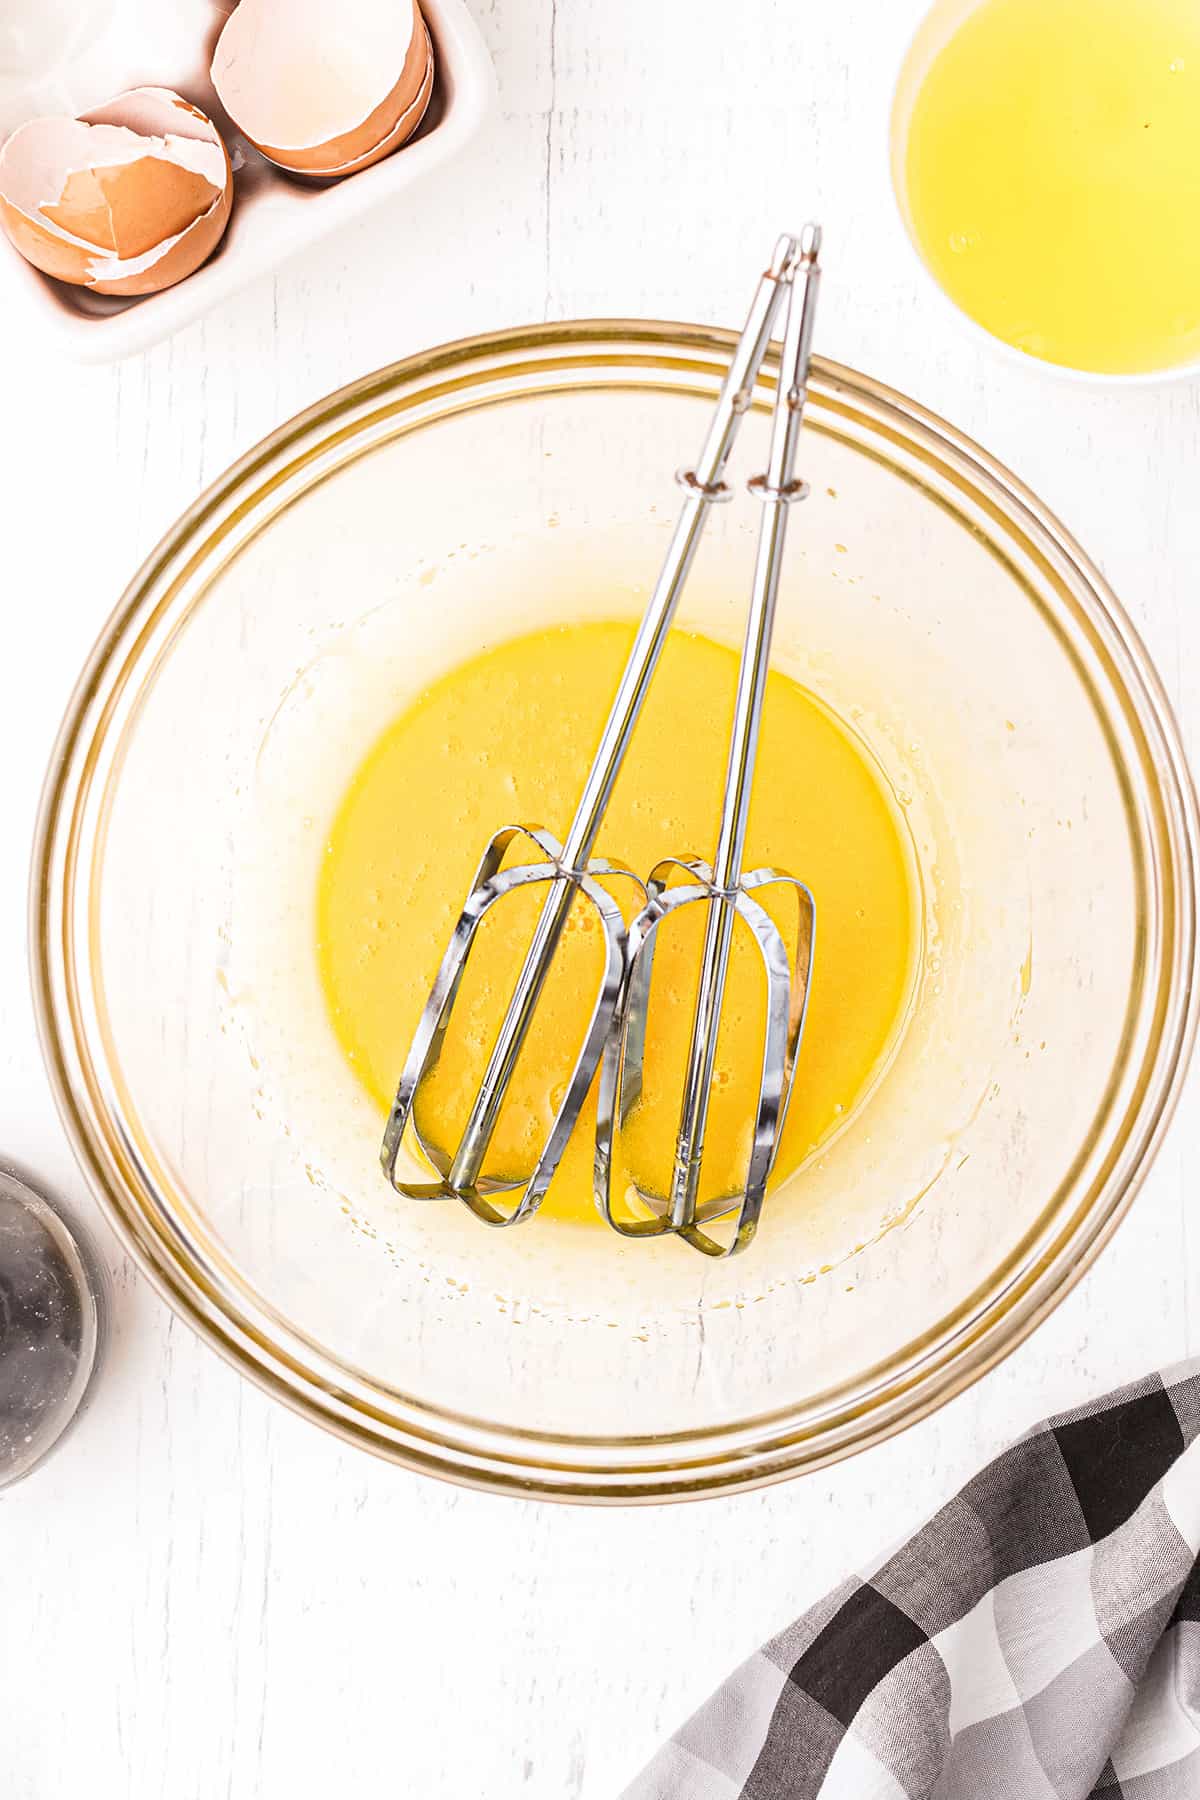
- In a medium bowl, whisk the 3 egg yolks until thick and lemon colored. Set aside.
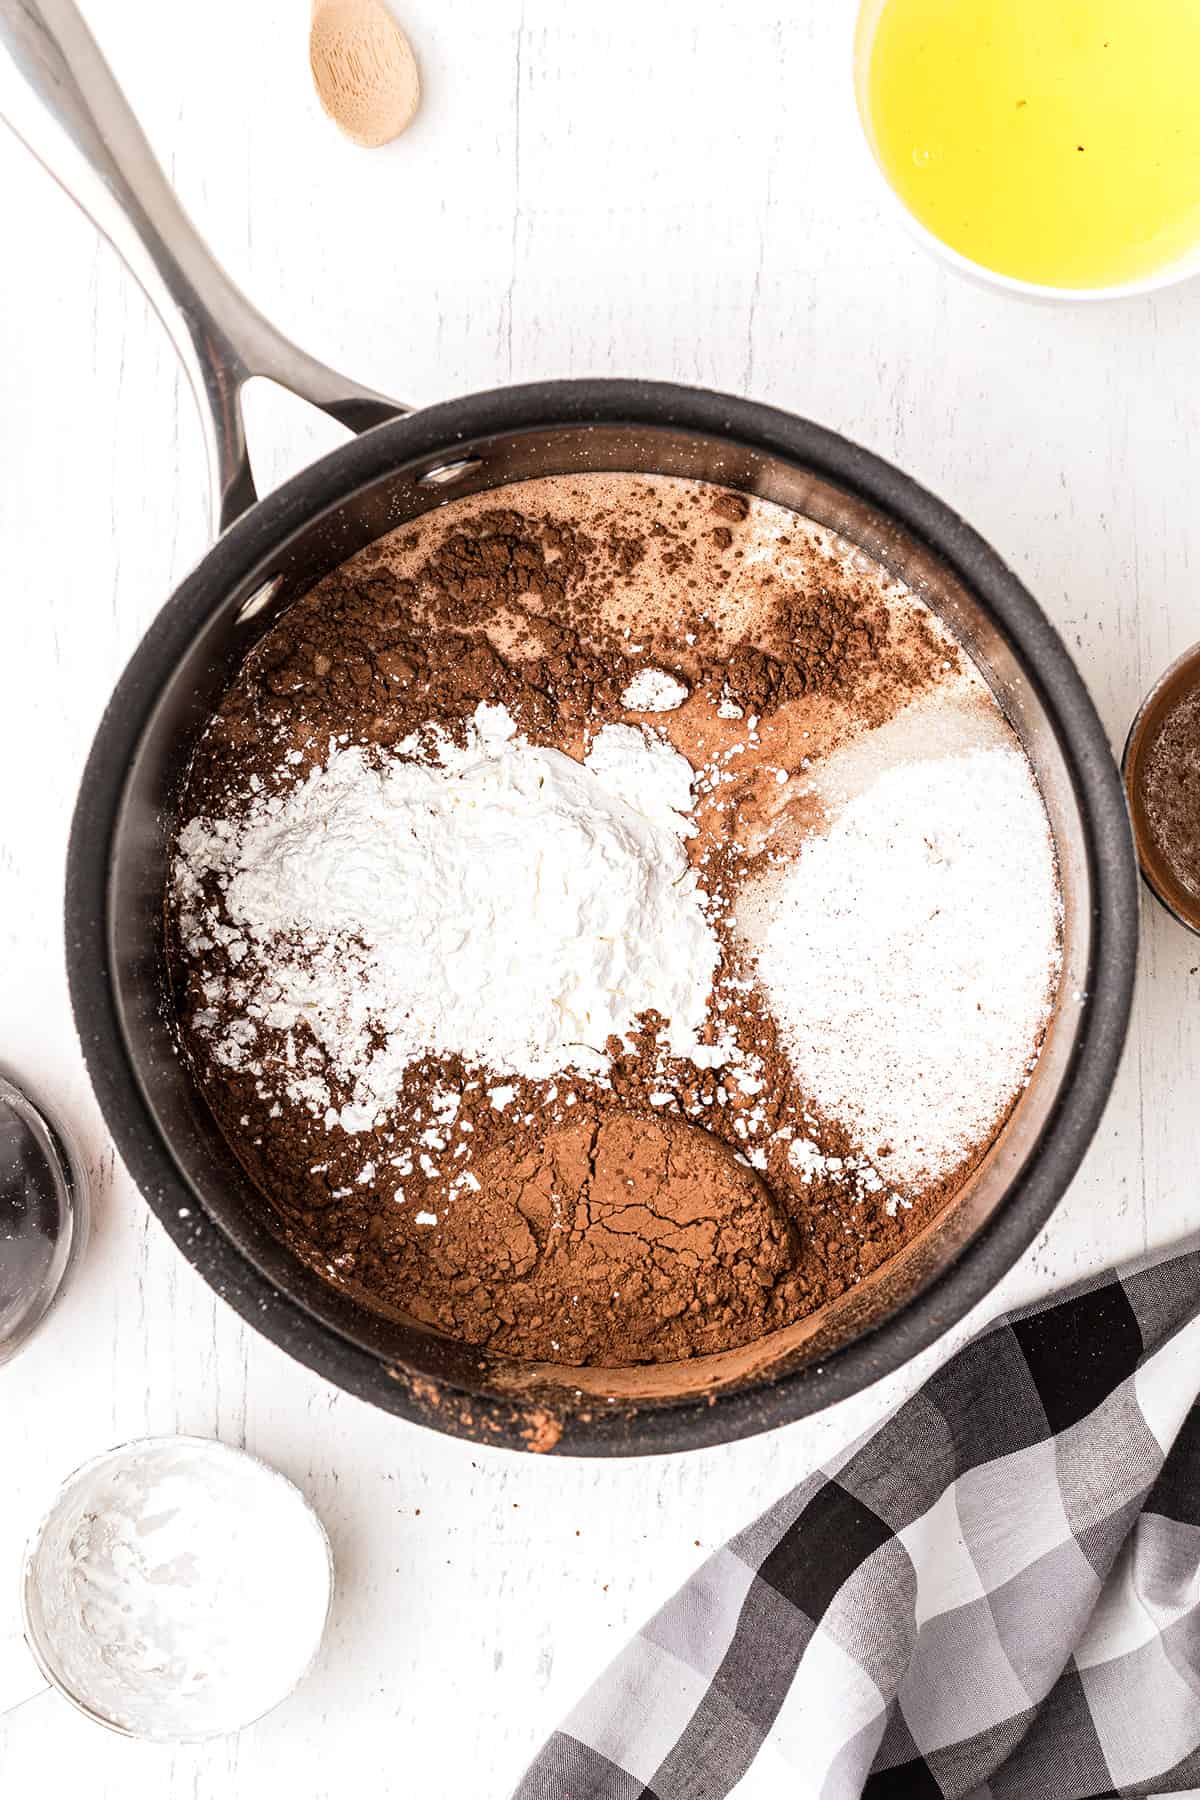
- In a medium saucepan, combine sugar, cocoa, salt, and cornstarch. Stir in about one cup of the milk.
Want to save this?
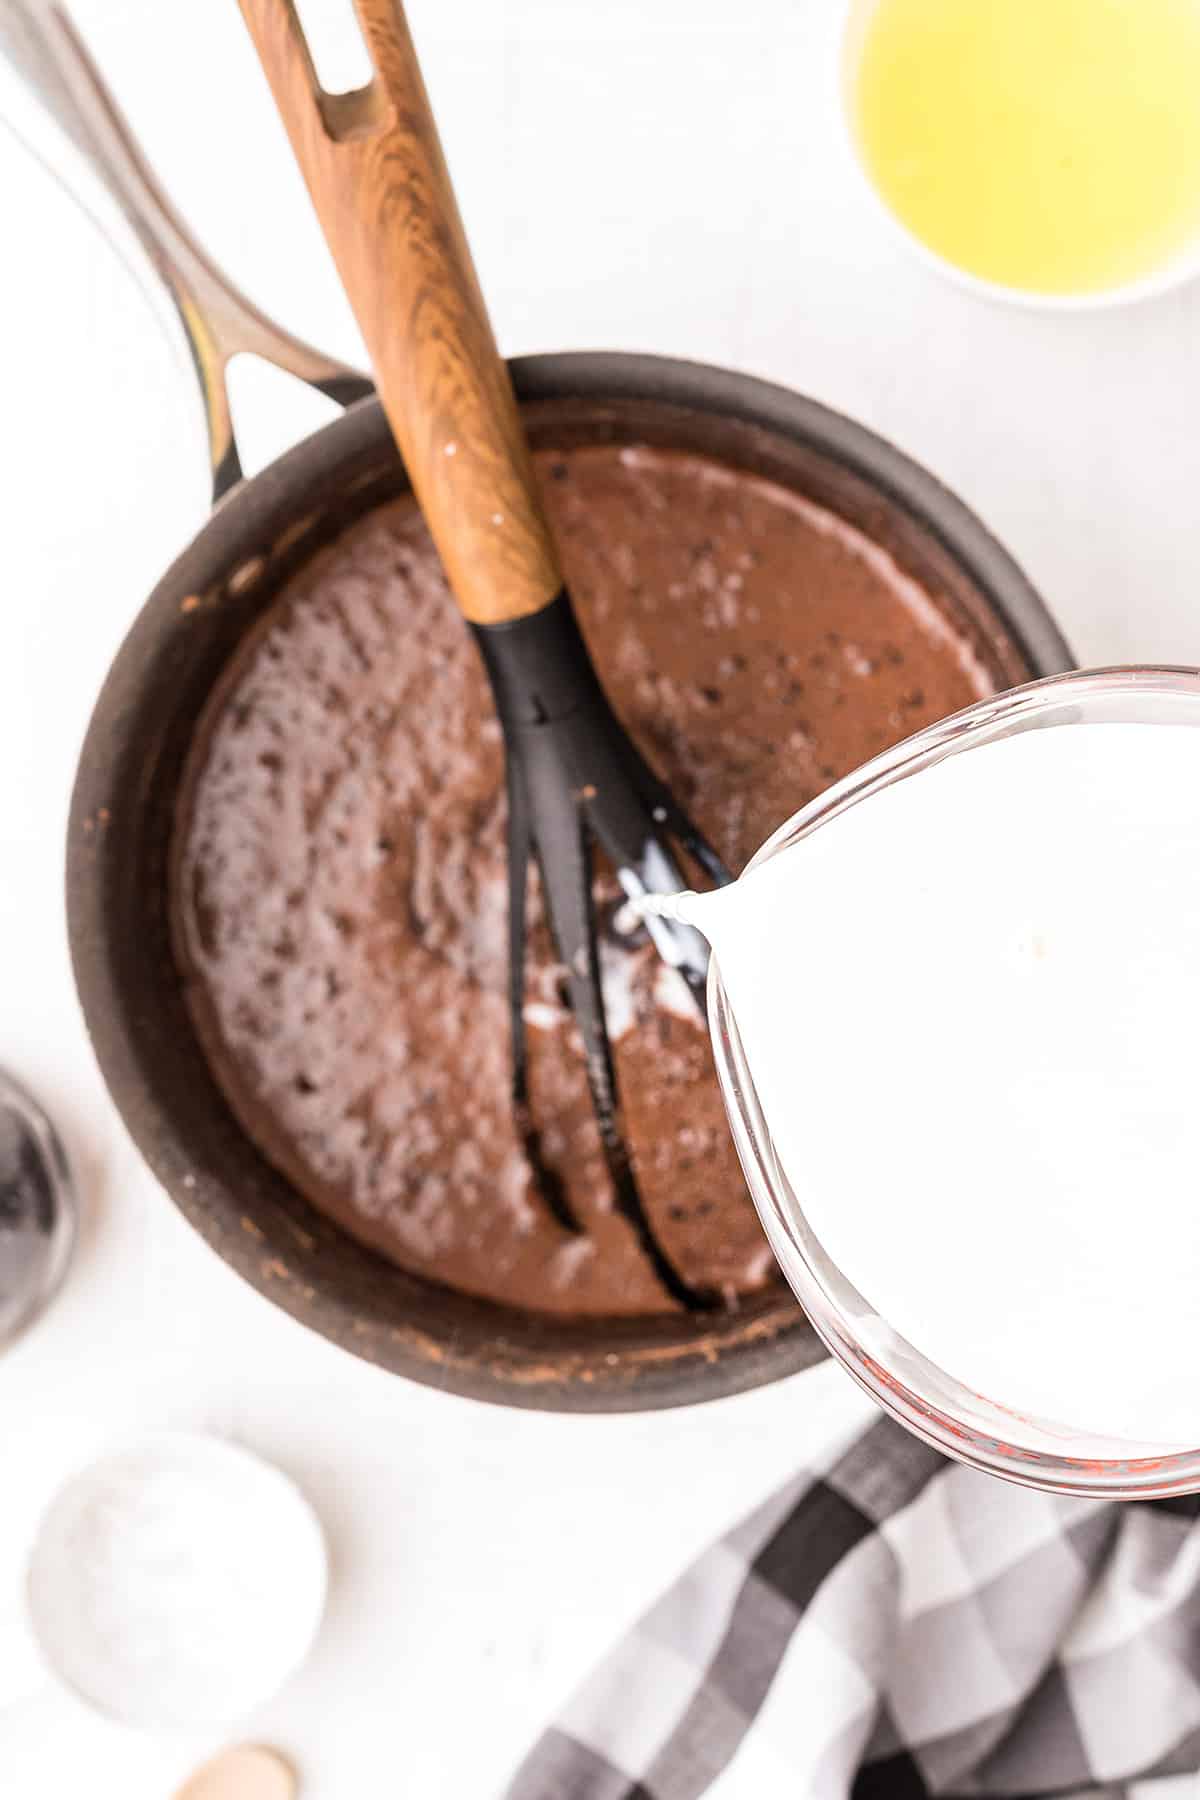

- Place over medium high heat and with a large whisk, gradually add the remaining milk, whisking constantly until well blended.
- Bring to a low boil. Cook for about 1 minute, stirring constantly. Remove from heat.
- Add a small amount of the hot mixture to the egg yolks, stirring well.
- Add the egg mixture back to the cocoa mixture in the saucepan.
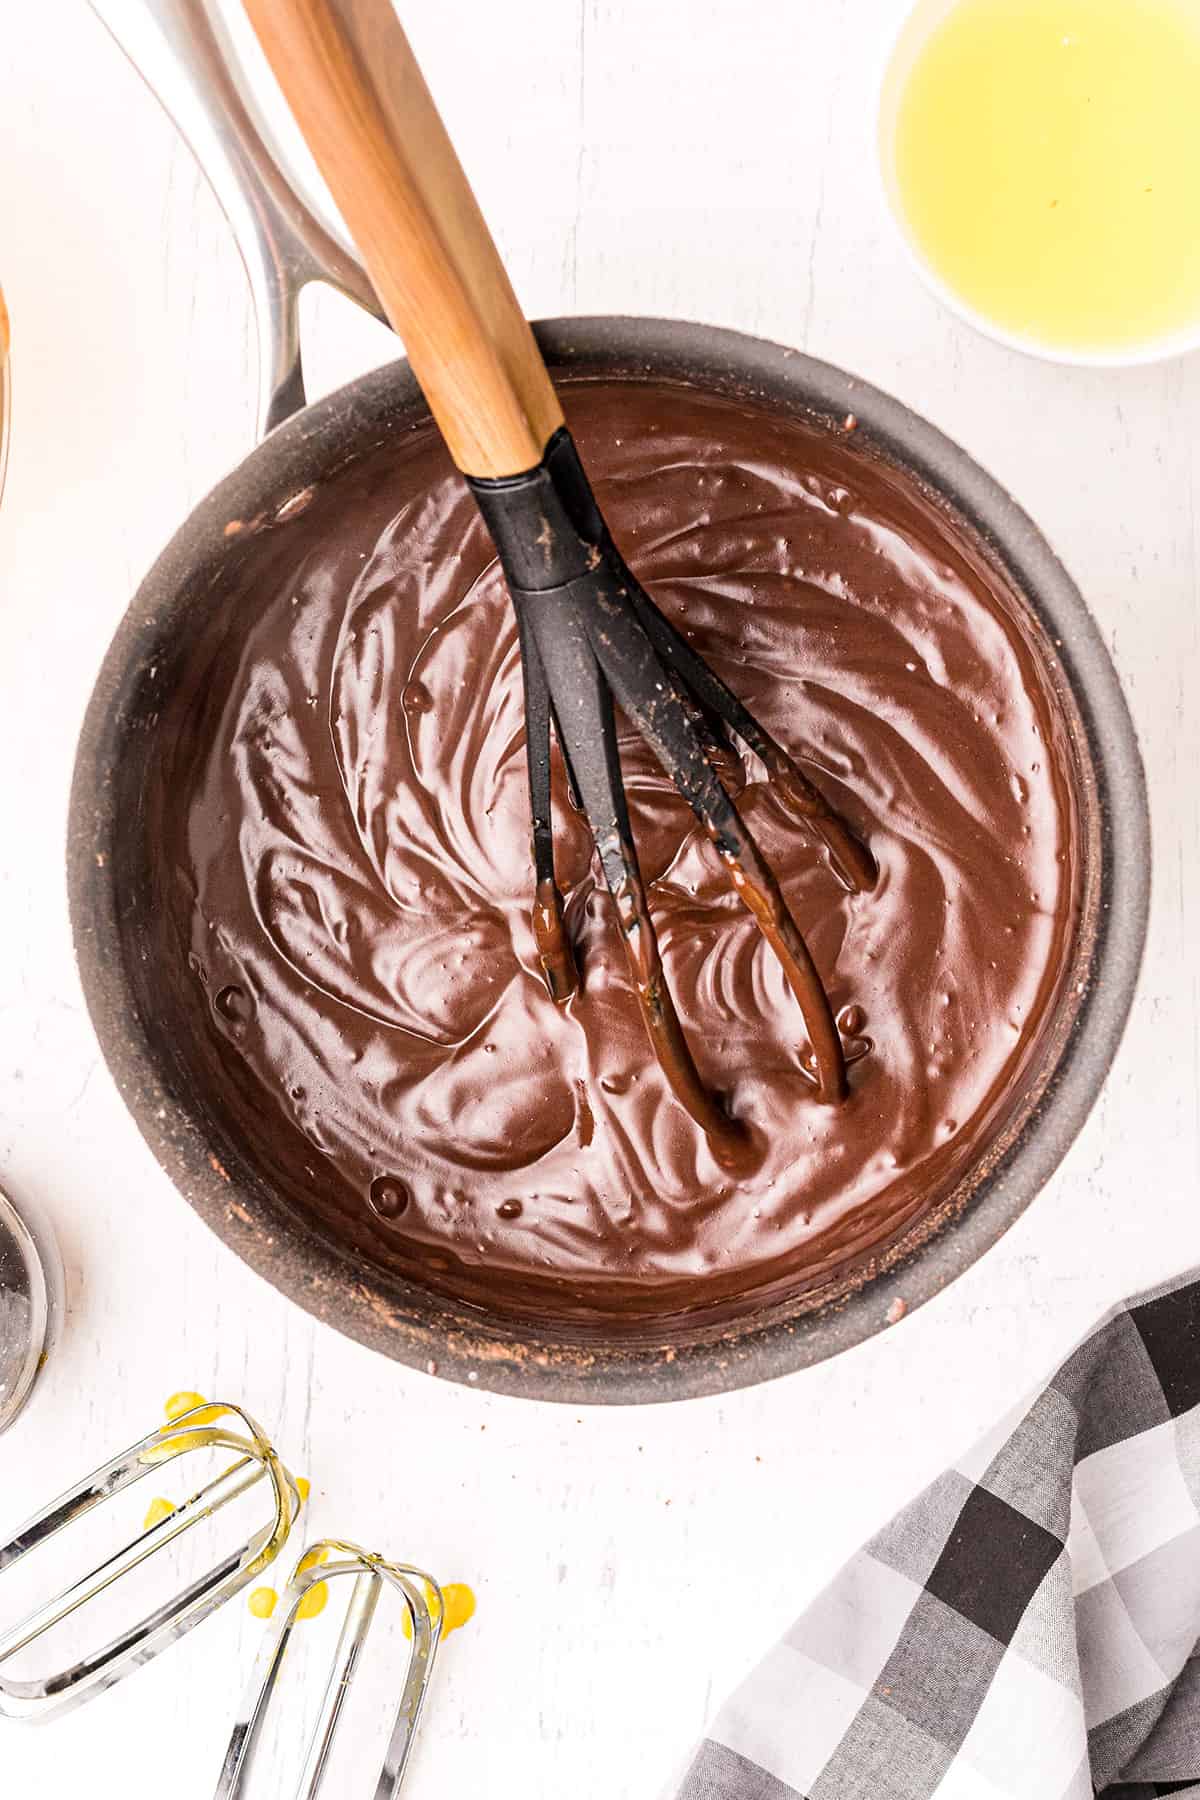
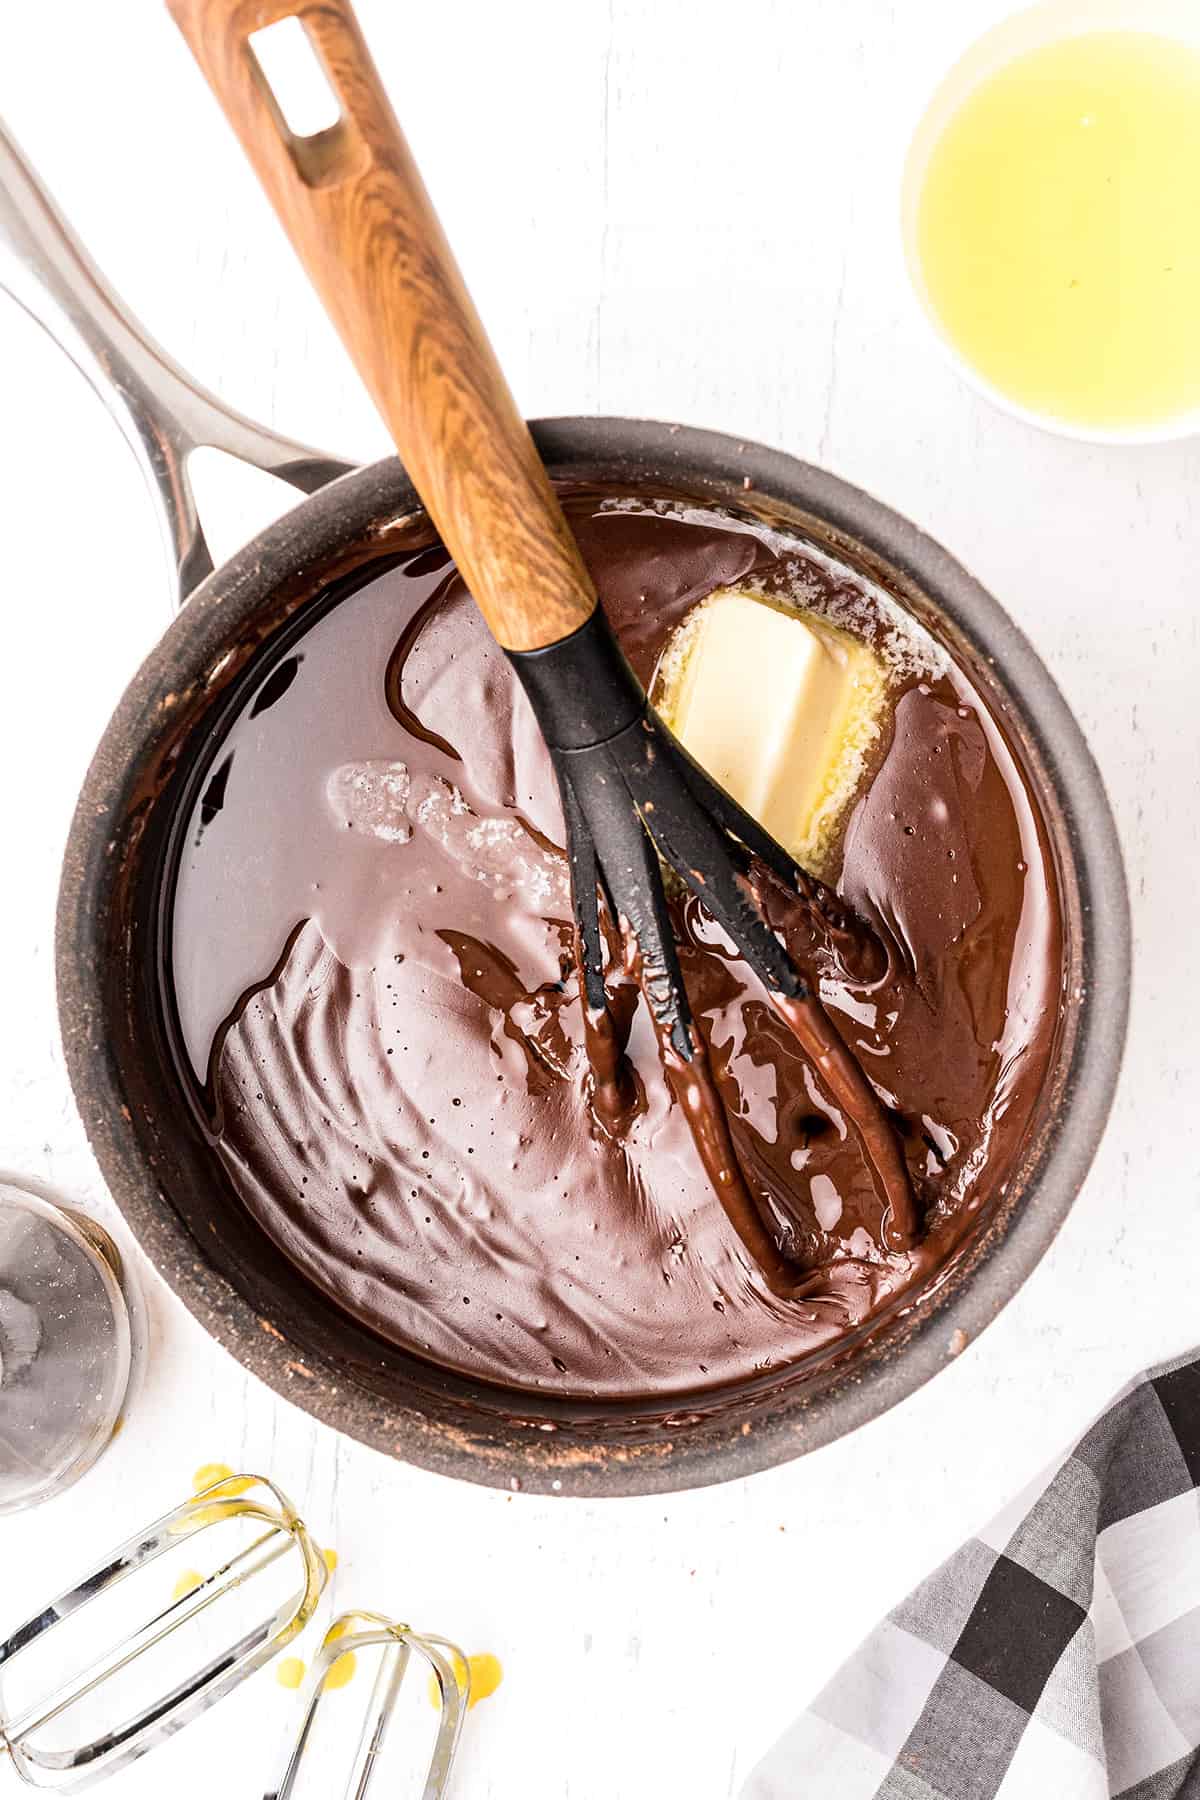
- Cook for about 2 minutes, stirring constantly, until the mixture begins to thicken. Remove from the heat and stir in the butter and vanilla.
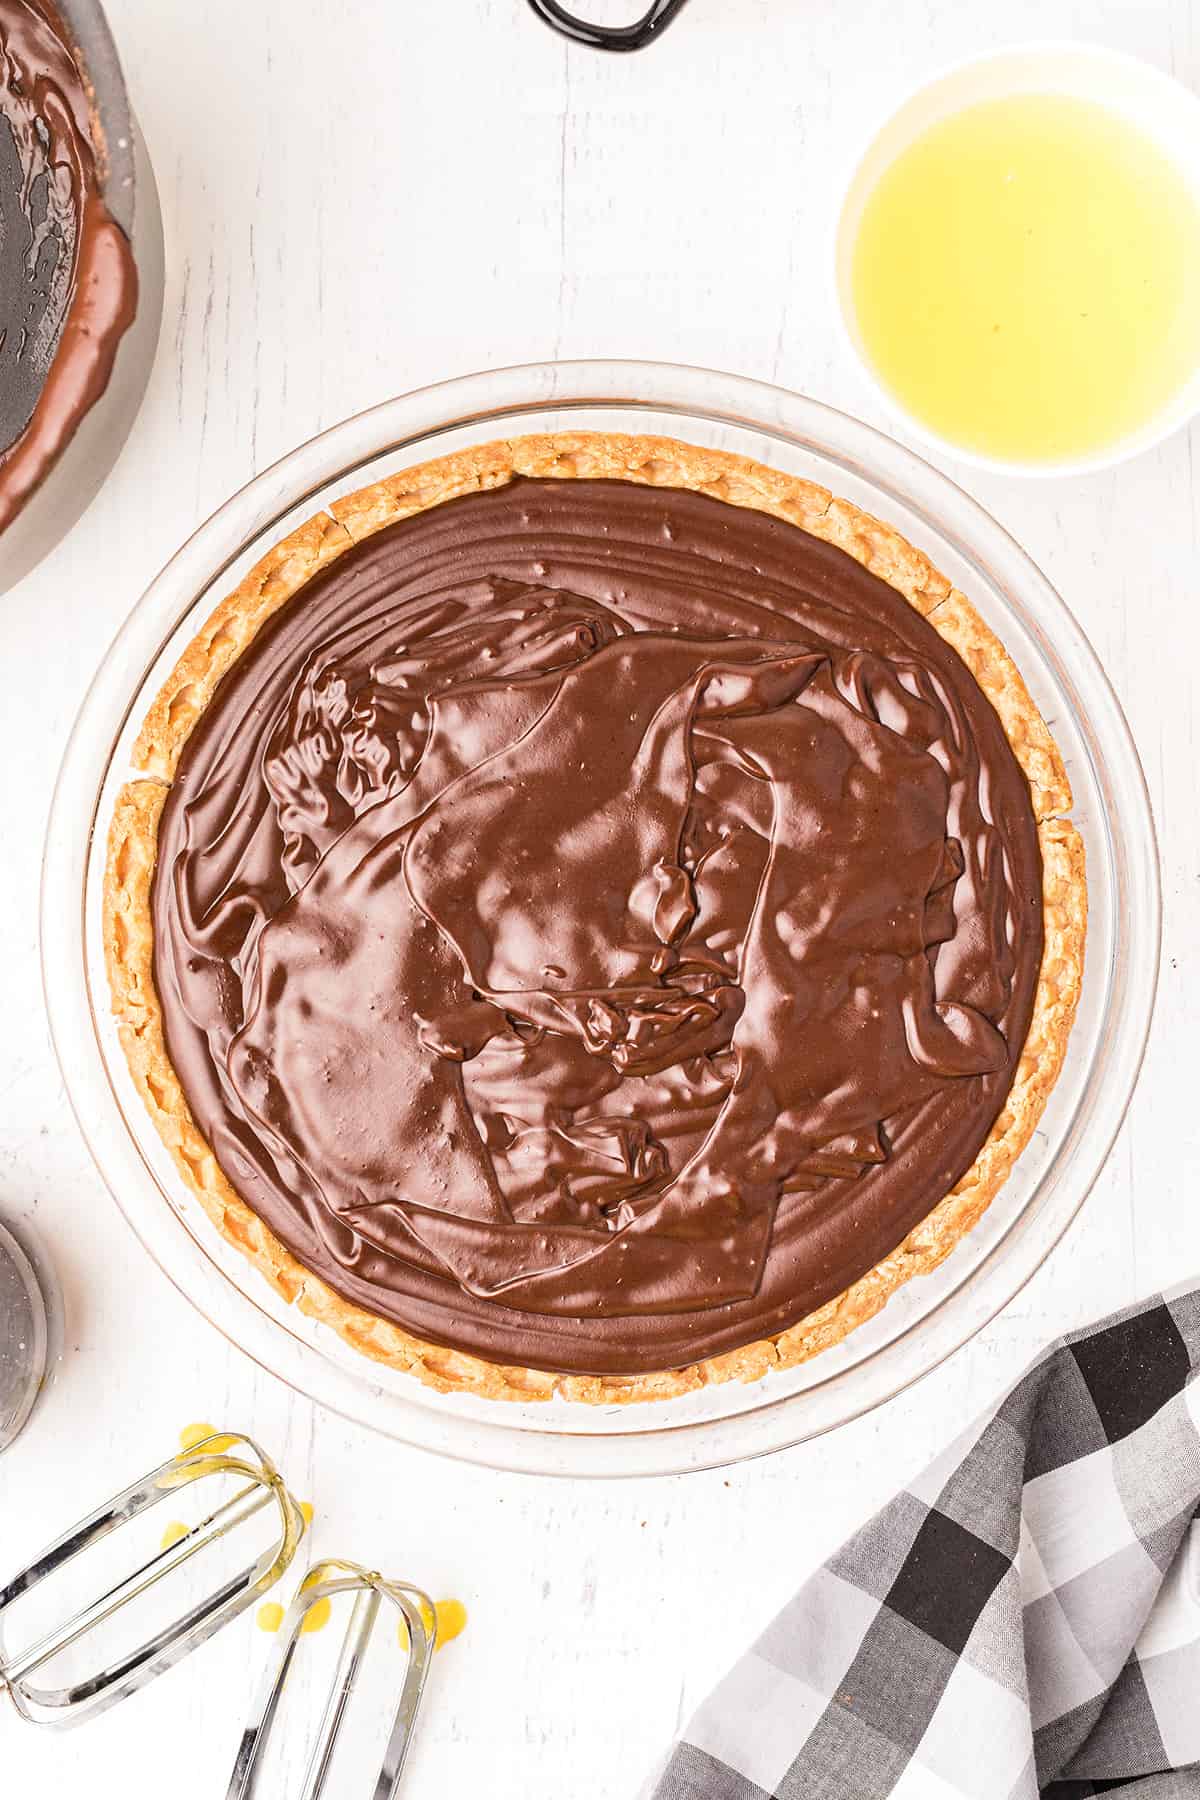
- Pour into the cooked, cooled pie shell.
Make the Meringue
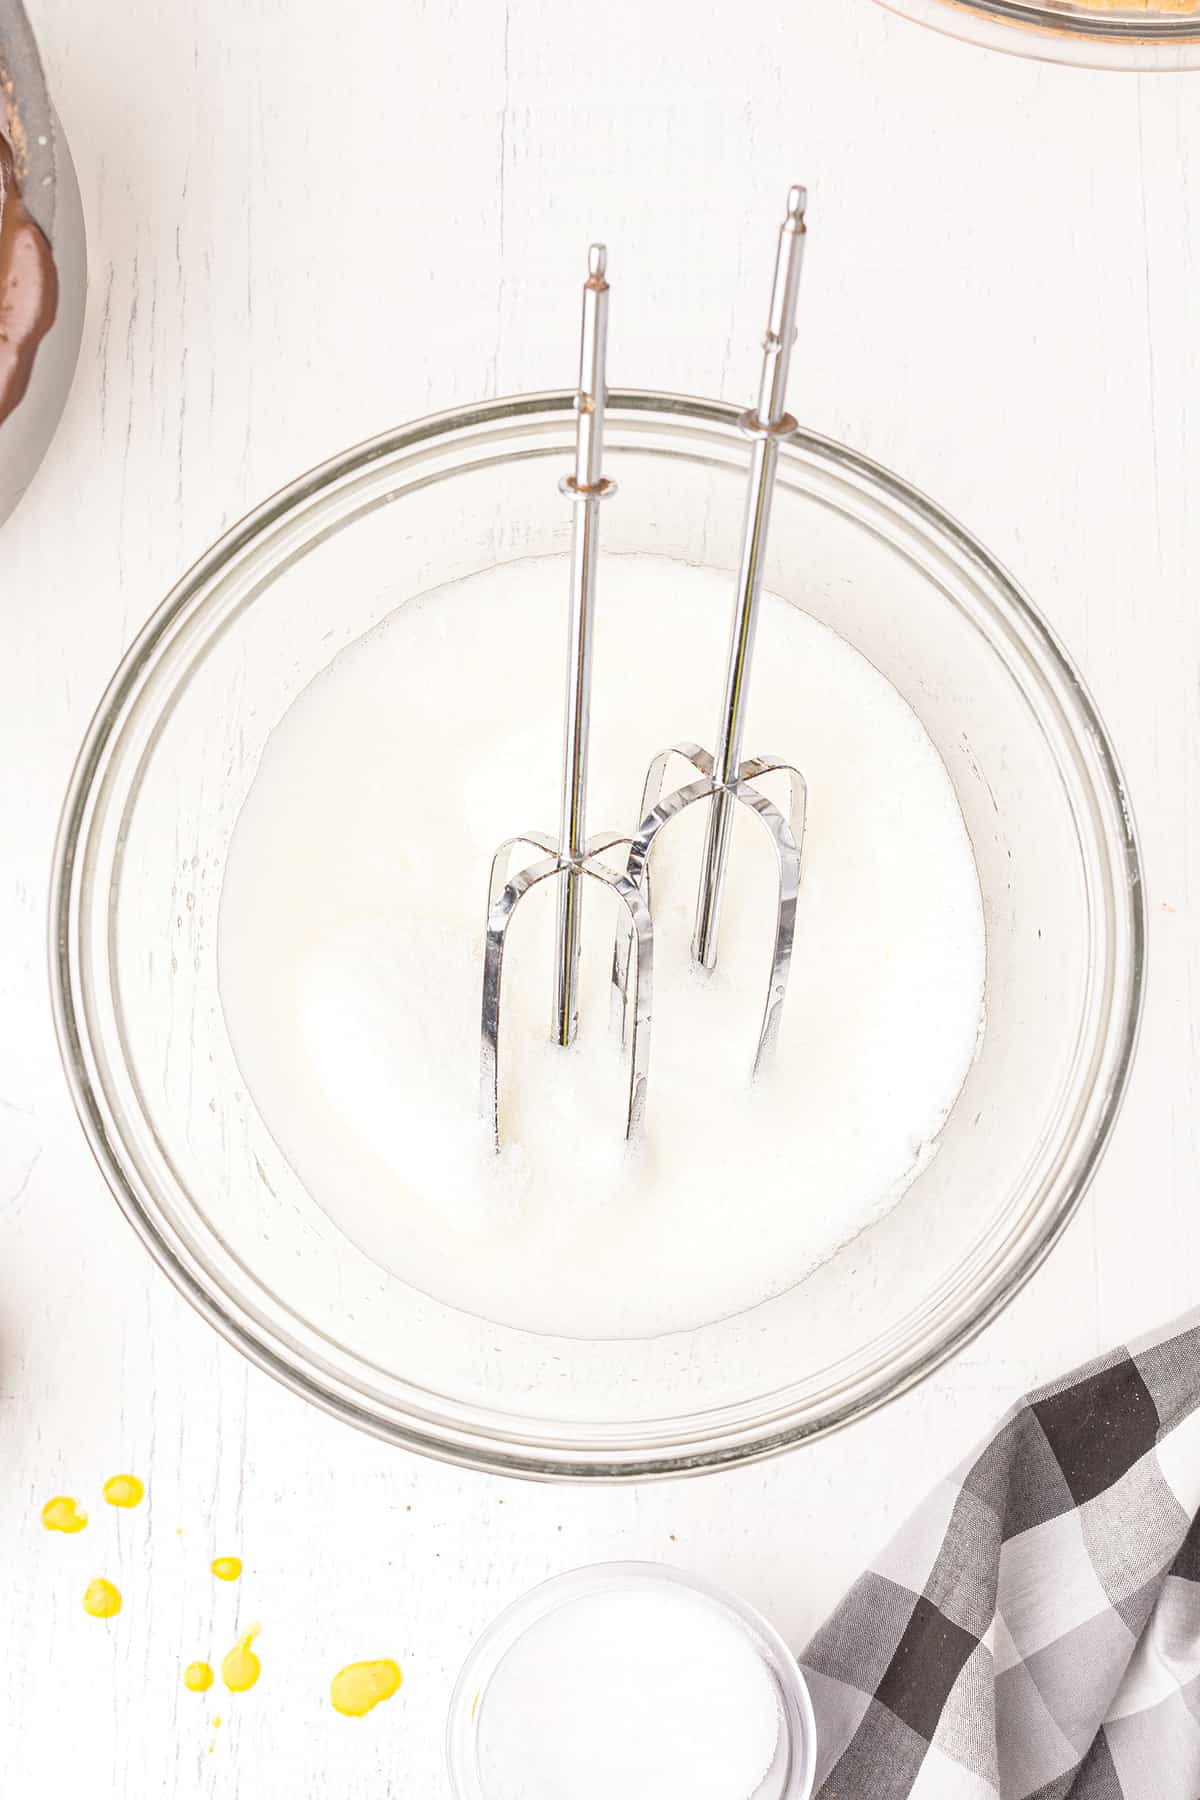
- Add the egg whites to a large mixing bowl. Beat on medium speed until foamy. Gradually add the 1/4 cup sugar. Increase speed to high and continue to beat until stiff peaks form.
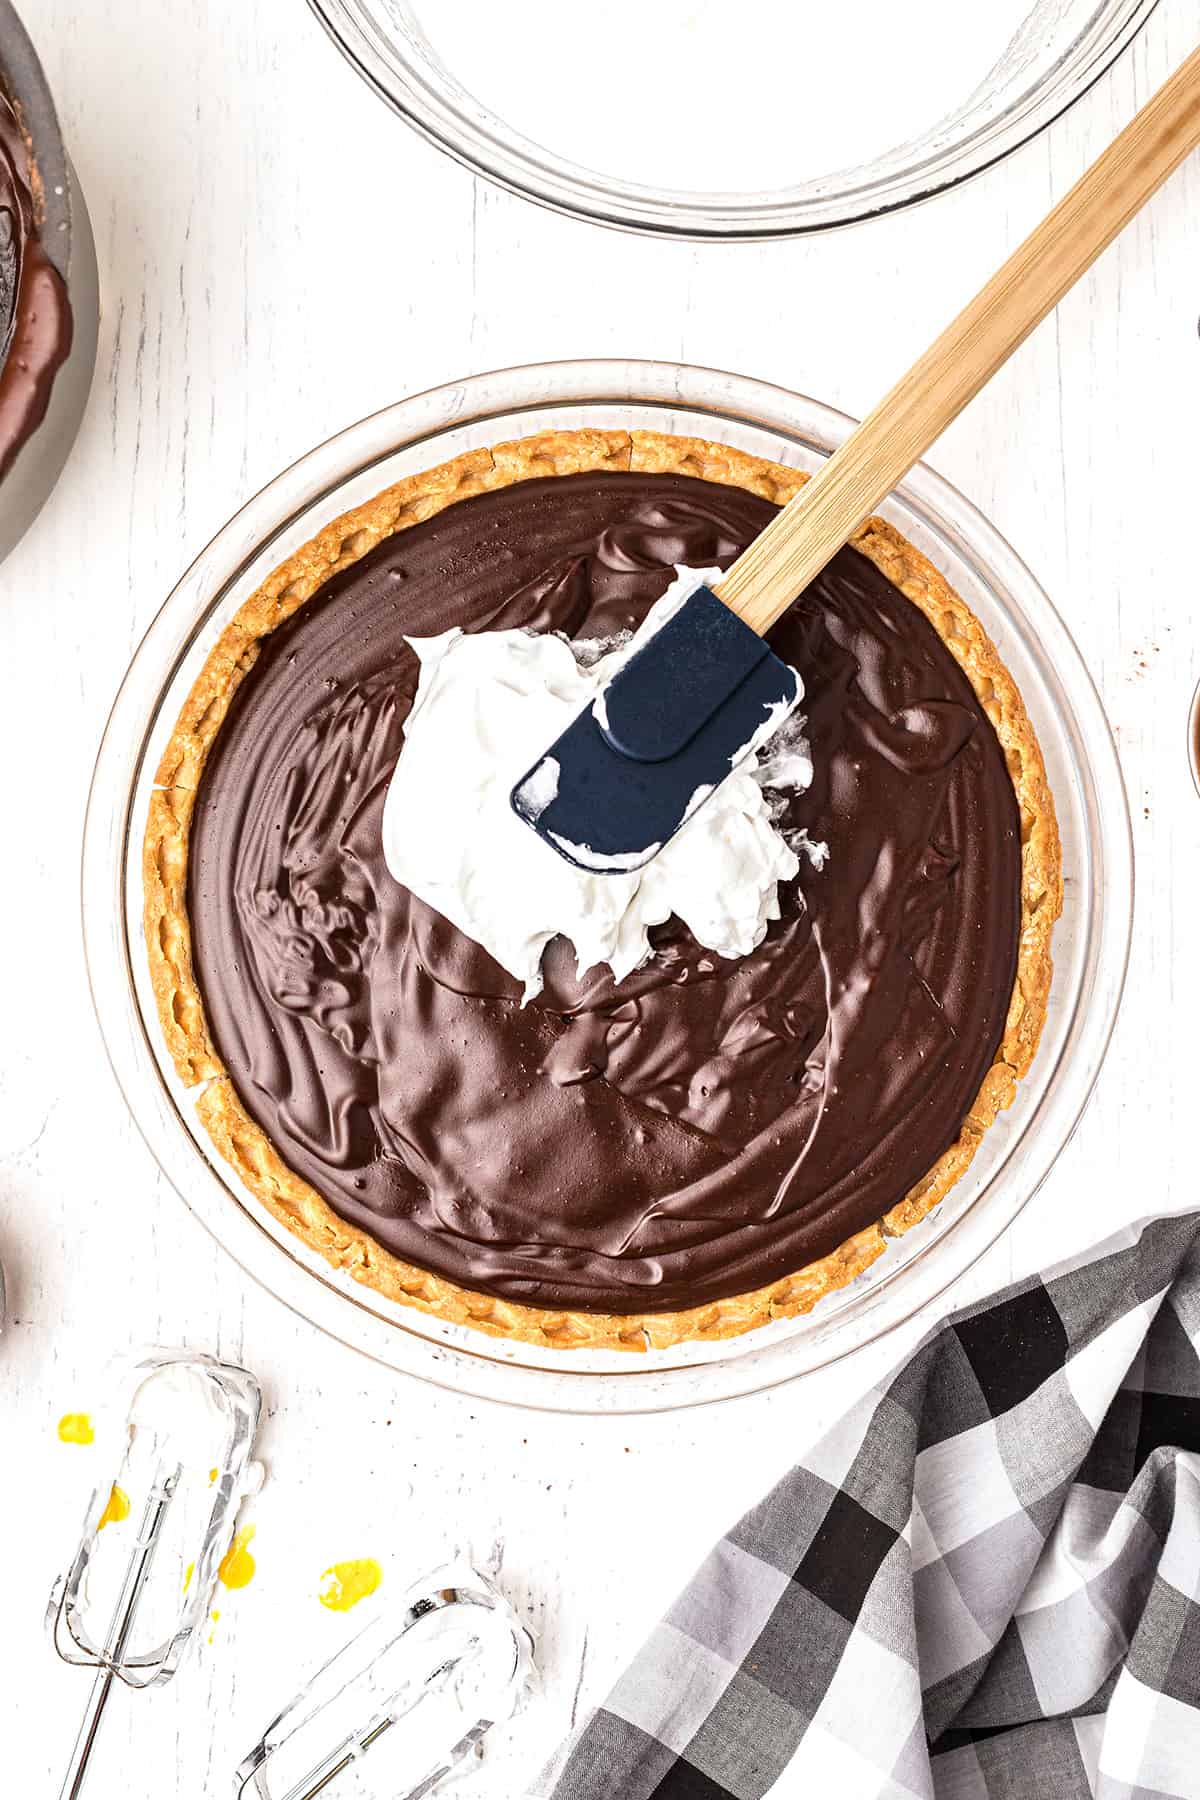
- Immediately spread the meringue onto the hot filling. Bake for 12 to 15 minutes until golden brown on top.

Pro Tip
Allow the pie to cool (refrigerating for several hours is best) before slicing and serving.

Tips for Making Meringue
When making meringue, the eggs should be at room temperature to get the most volume possible. Before starting to beat the egg whites, make sure that the bowl and beaters you are using are very clean. Even the smallest amount of fat, oil, or yolk in the bowl can prevent the egg whites from beating correctly. If you happen to get a small amount of yolk into the whites when separating the eggs, you’ll need to start over (save those for scrambled eggs!) because they’ll almost never whip up into a meringue.
Storing the Pie
Store in the refrigerator, covered, for up to 4 days. I recommend a sealable pie container rather than plastic wrap because the wrap will stick to the meringue.
When it comes to freezing meringue pies, I don’t recommend it. The texture of a meringue changes dramatically when frozen, becoming tough and rubbery. If, however, you don’t mind a tough, rubbery meringue, go right ahead and freeze your pie. Wrap it well and store it in the freezer for up to 3 months. Thaw overnight in the fridge.
Questions About Old Fashioned Chocolate Meringue Pie
Occasionally, you may find a watery layer between the filling and topping of any meringue pie. This is referred to as “weeping.” It can occur if the filling is not hot when the meringue is placed on top of it. The meringue needs the heat from a hot filling to cook its underside while the oven cooks the top. To avoid weeping, make sure your filling is hot when you add the meringue and that you put the pie directly into the oven to bake.
When using an electric mixer, it usually takes about 4-5 minutes for egg whites to create stiff peaks. If beating by hand with a whisk, it only takes slightly longer. For best results, use a stainless steel or copper bowl when beating a meringue.
I’m old fashioned, so I’ve always used plain old white sugar. However, you can use powdered sugar if you like. 1 3/4 cups of powdered sugar equals 1 cup of white granulated sugar.
That’s actually sugar syrup that has seeped out during the cooking. It’s quite typical to see beading on more rustic, country style pies, and it does not bother me in the least. If you insist on having a perfect meringue with no sugar beads on top, you’ll need to try something like an Italian meringue that requires more steps and is stabilized to prevent beading. I kinda like the little beads myself :-)
More Pie Recipes You’ll Like
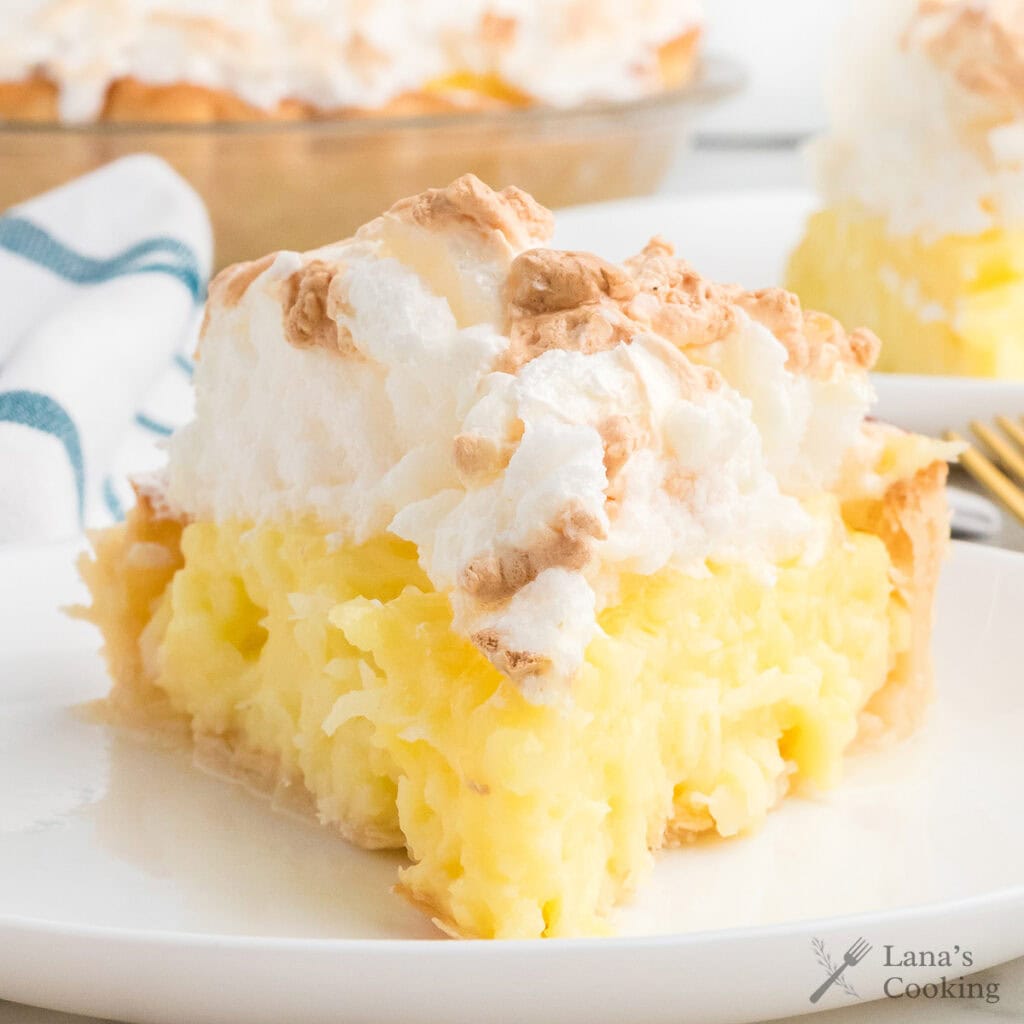
Coconut Meringue Pie

Classic Lemon Meringue Pie
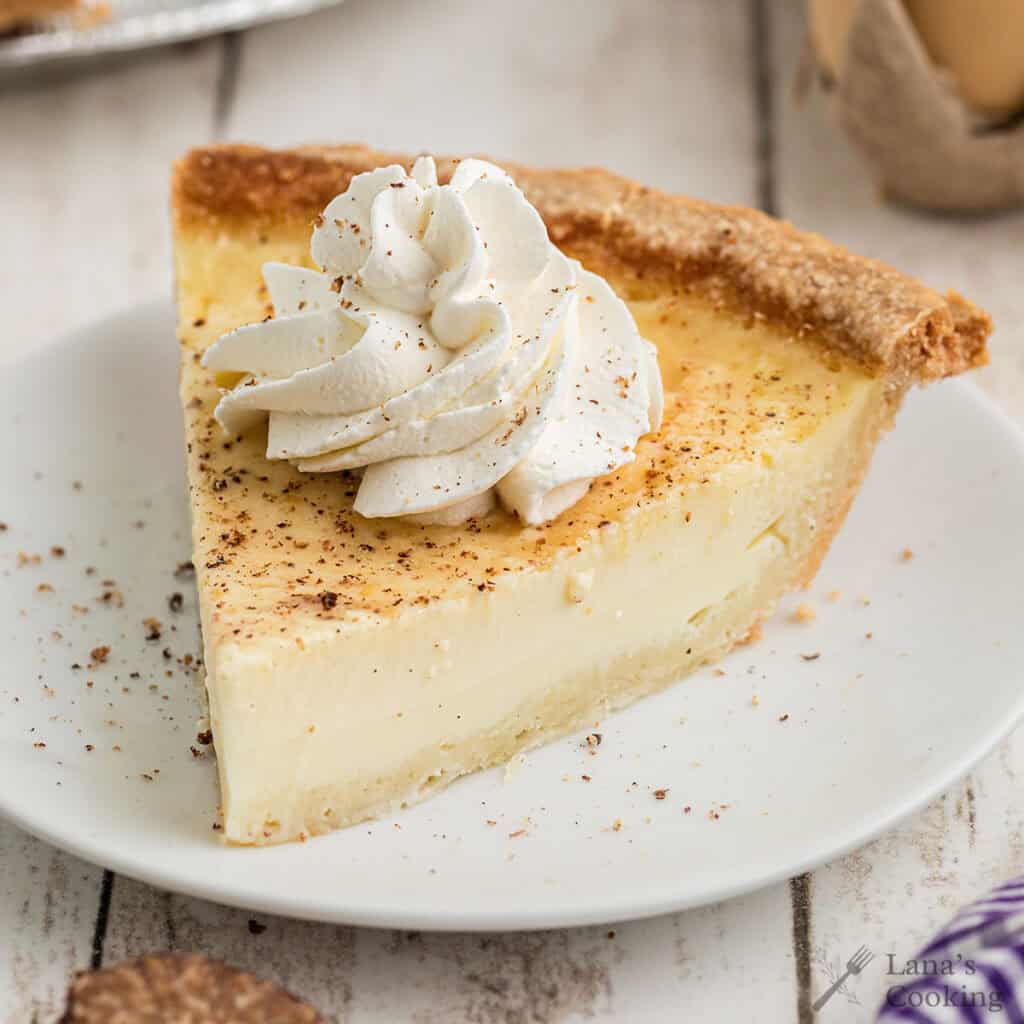
Traditional Southern Egg Custard Pie
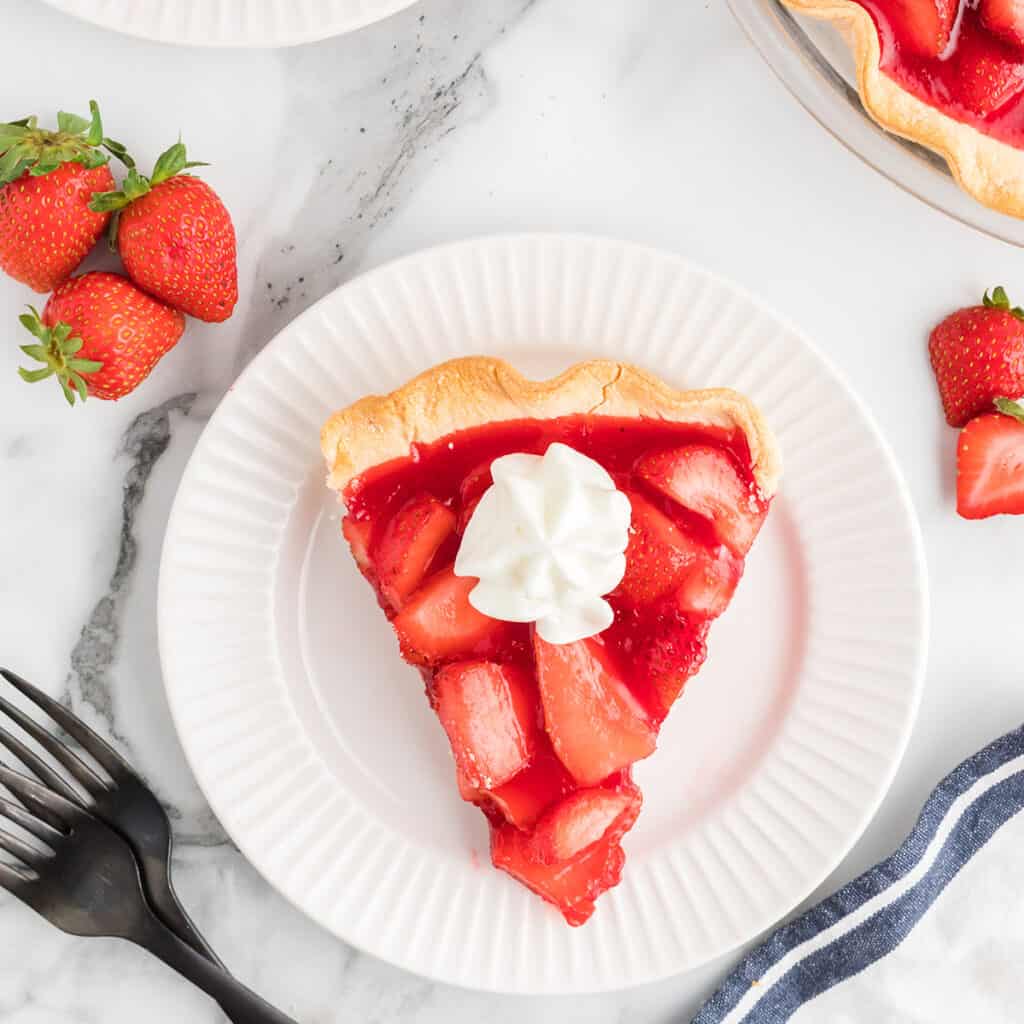
Fresh Strawberry Pie

Have a question or thought to share?
If you have a question about the recipe or if you’ve made it and want to share how it turned out, I would truly enjoy hearing from you. Just scroll down to leave a comment or add your star rating.
Thank you for stopping by. It means a lot to have you here.
Do More With ChatGPT
Recipe
Chocolate Meringue Pie
Ingredients
- 3 eggs separated
- 1 ¼ cups sugar
- ½ cup cocoa powder
- ¼ teaspoon salt
- ⅓ cup cornstarch
- 3 cups milk
- 3 tablespoons butter softened
- 1 ½ teaspoons vanilla
- 1 9-inch pie shell baked and cooled
- ¼ cup sugar
Instructions
- Preheat the oven to 350 degrees.
- In a medium bowl, whisk the 3 egg yolks until thick and lemon colored. Set aside.3 egg yolks
- In a medium saucepan, combine sugar, cocoa, salt, and cornstarch. Stir in about one cup of the milk. 1 cup milk1 ¼ cups sugar, ½ cup cocoa powder, ¼ teaspoon salt, ⅓ cup cornstarch
- Place the saucepan over medium high heat and with a large whisk, gradually add the remaining 2 cups milk, whisking constantly until well blended.2 cups milk
- Bring to a low boil. Cook for about 1 minute, stirring constantly. Remove from heat.
- Add a small amount of the hot mixture to the egg yolks, stirring well.
- Add the egg mixture back to the cocoa mixture in the saucepan.
- Cook for about 2 minutes until the mixture begins to thicken, stirring constantly. Remove the pan from the heat and stir in the butter and vanilla.3 tablespoons butter, 1 ½ teaspoons vanilla
- Pour the chocolate mixture into the cooked, cooled pie shell. (Note: the chocolate mixture should be somewhat thickened but will finish setting up as the pie cools.)1 9-inch pie shell
- Add the egg whites to a large mixing bowl. Beat on medium speed until foamy. Gradually add the 1/4 cup sugar. Increase speed to high and continue to beat until stiff peaks form.3 egg whites¼ cup sugar
- Spread the meringue immediately on the hot filling and bake for 12 to 15 minutes until golden brown on top.
Notes
- Store covered in the refrigerator for up to 4 days in a tightly closed container.
- When making meringue, the eggs should be at room temperature to get the most volume possible. For best results, make sure that the bowl and beaters are scrupulously clean.
Nutrition Information
Nutrition information is calculated by software based on the ingredients in each recipe. It is an estimate only and is provided for informational purposes. You should consult your healthcare provider or a registered dietitian if precise nutrition calculations are needed for health reasons.
I have tried, many times over the years, to make a decent chocolate pie. This recipe is a keeper! I will make this every Thanksgiving from now on!!! My family loved it and it came out beautifully! Thanks
This was my great-great-aunt’s recipe. It turns out just right for me every time! So glad you enjoyed it.
I have only ever made meringue pies 1 time in my life. That was actually about 2 weeks ago! very easy and simple! Then I came to make this one for my kiddos! First off I wanna say its super easy and not hard to get through! The meringue didn’t call for cream of tartar and I thought maybe it was a mistake so I added some in haha. I also added a splash of vanilla to it too! Also I used a deep dish, and blind baked my crusts first. And I made 2 of these pies, and between the extra filling from 2 pies, I could make a 3rd. You’ll have plenty of filling left over! Great for those kiddos that stick around to “lick the bowl”!
love this recipe and will definitely make it again!
I’m glad you’re learning to make meringue pies, Logan! The cream of tartar was not a mistake. I never use it in my meringues, nor have I ever added vanilla to a meringue. Just egg whites and sugar is all you need.
This is absolutely the best recipe – identical to my own Grandmother’s – I have worn my copy of hers so thin over the years that I can barely read it – you saved Thanksgiving – thank you!
I’m so glad you found the recipe. Hope you enjoy it!
This is the first meringue recipe I’ve seen that doesn’t have cream of tartar. I looked over the whole page several times. Did I miss it?
You didn’t miss anything. Lots of meringue recipes don’t use cream of tartar. I’ve never used it in any of my meringue pies but you can add some if you feel you must.
Just reading this recipe reminds of my granny’s chocolate pie. Thank you for reminding me of such wonderful memories! I’m definitely making this pie.
I hope you make it and thoroughly enjoy it!!
I am going to try your recipe. I usually make one from an old EMC cookbook that my Mother-In-Law had, but it’s always runny and the chocolate never sets up. Its a great tasting pie, just wish it would set up like my grandmothers did.
Hope it works out well for you, Cindy. I’ve been making this recipe for at least 30 years and it always works well for me!
Is this a deep dish pie?
I typically use a deep dish pie shell for this recipe.
Easy and delicious. Chocolate and meringue one of the greatest combos! Thanks for the recipe that so reminds me of my grandmother. Husband loves this and already wants more! I love your site and thank your for sharing so many great things. This is also pantry friendly and can be made anytime.
Made this pie tonight 8/28/2022 looks delish will let it cool then have it tomorrow.
Hope you enjoy the pie!
Usually those “beads” on meringue are because you didn’t thoroughly beat each spoonful of sugar when adding it to the egg whites. Combine the egg whites and cream of tartar in the mixing bowl. Beat on medium speed till foamy. Then gradually add the sugar, about 2 tablespooons at a time, and on high speed beat till stiff peaks form. Spread immediately on the hot filling and baking for about 12 to 15 minutes till golden brown on top. I’ve been baking for 68 years and found this “foolproof” way of doing meringue. The reason it “beads” is because the sugar is not thoroughly dissolved before spreading the meringue on the hot pie filling. Bake at 350 degrees for about 12 to 15 minutes. I’ve seen some recipes that say to just stick it under the broiler to brown the top. That won’t work!!! You must dissolve the sugar!!!!
Easy, full-proof and delicious. What else can you ask for!
I can’t think of a thing!