
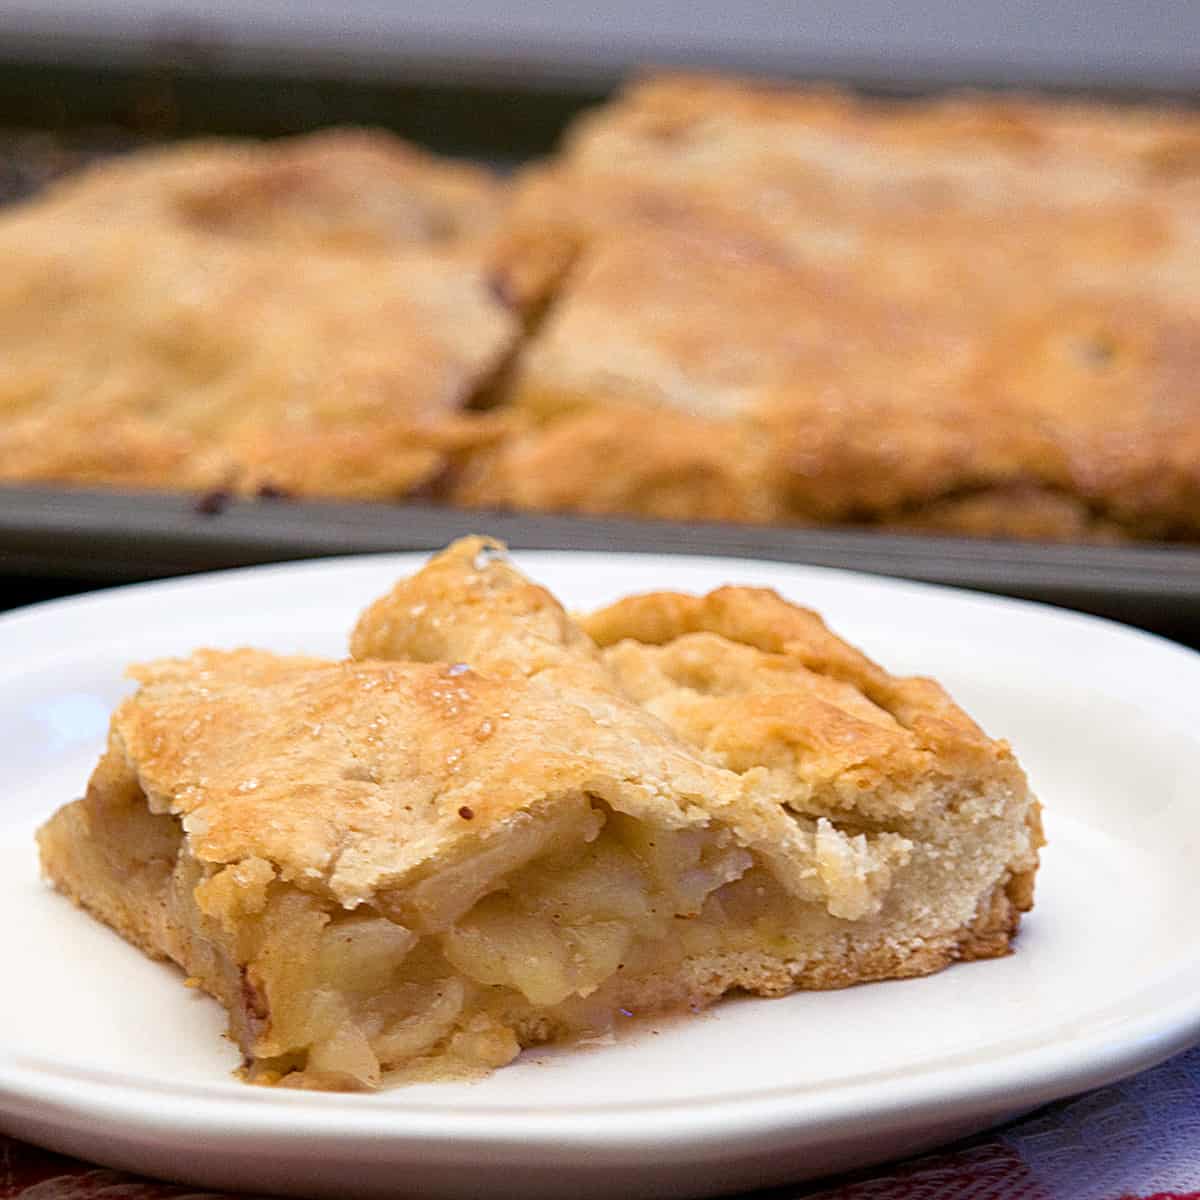
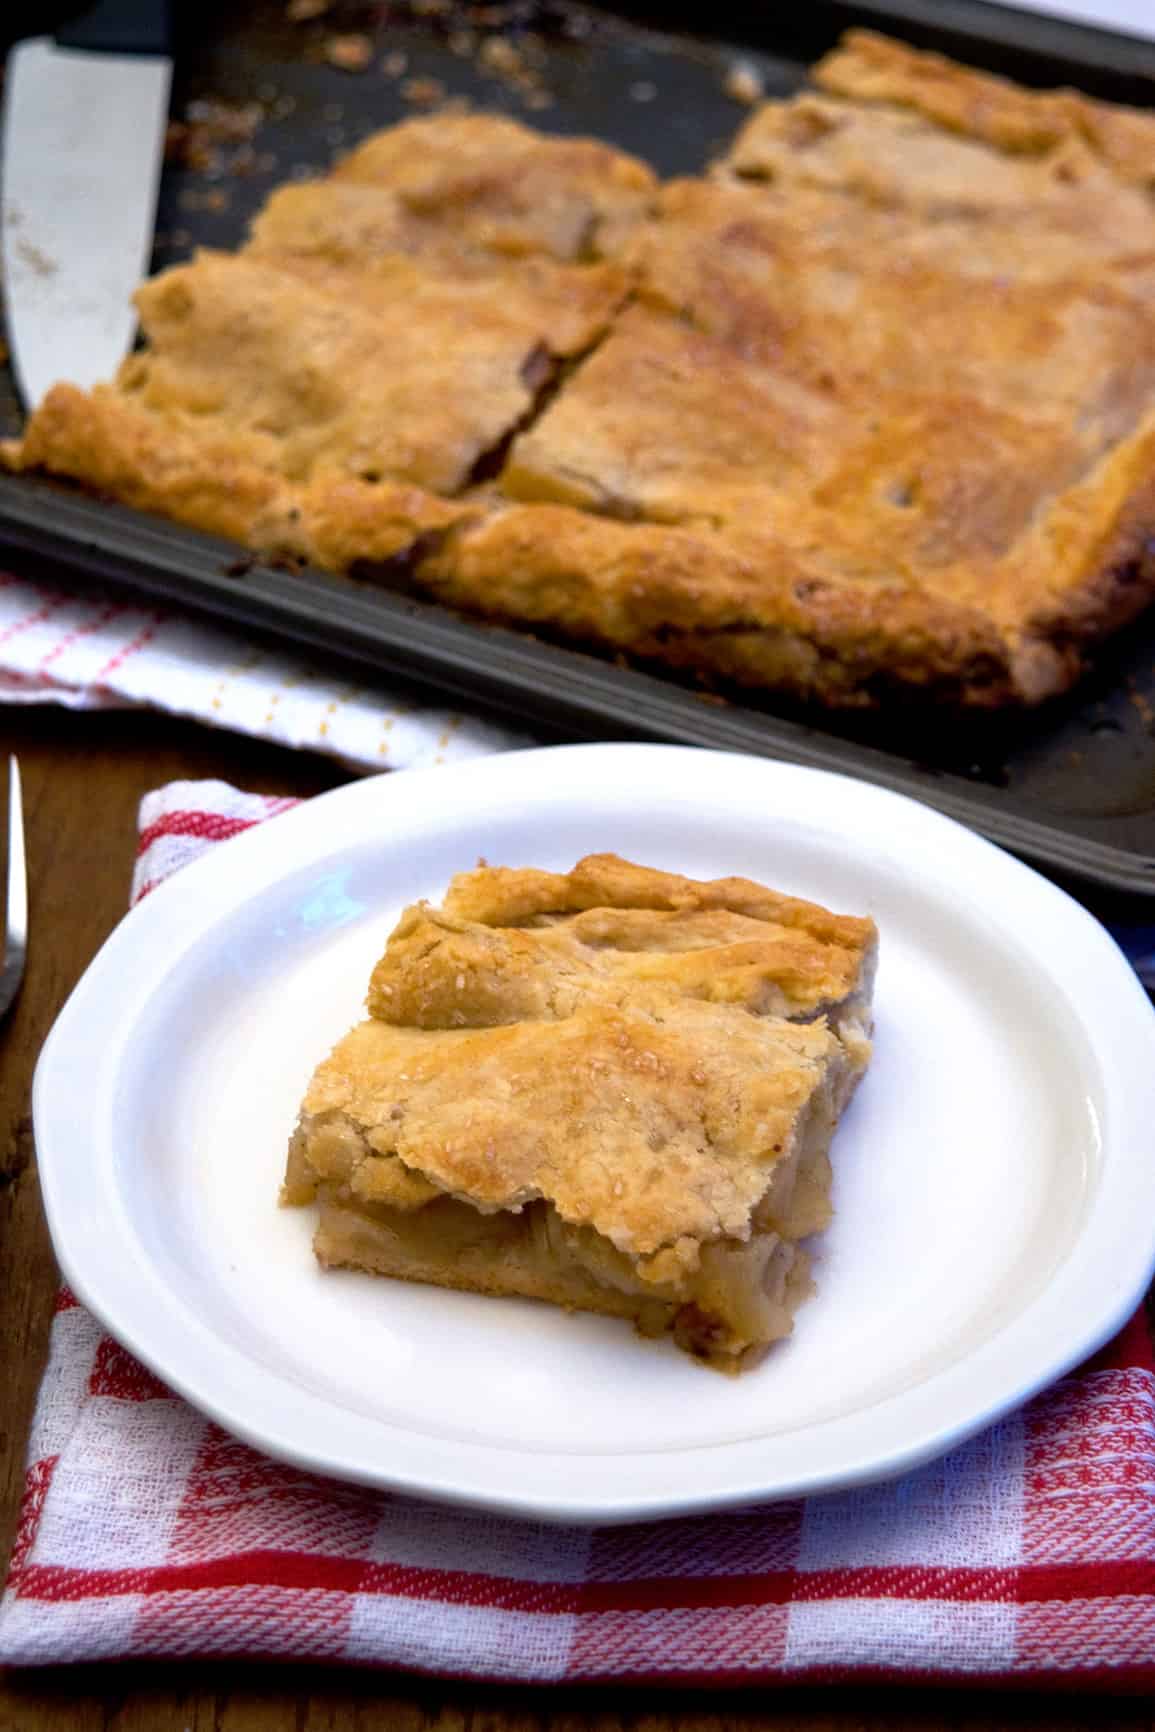
This Apple Slab Pie is a shallow, rectangular, freeform pie with sliced apples and all the delicious fall spices.
Over the more than 16 years that I’ve been blogging, I’ve found that, for some reason, people assume that because I’m a pretty good cook and fairly knowledgeable about food and cuisine, that everything I make in the kitchen must come out looking and tasting wonderful. Where in the world that misbegotten idea came from, I do not know.
I have kitchen challenges – and failures, big failures – just like any other cook. It’s just that I don’t usually share the big fails 😉. Well, today I have a treat (?) for all of you. A look behind the scenes at one of my biggest kitchen challenges – Pie Crust.
— This post was originally published on November 6, 2015. It has been updated with new information.
Recipe Snapshot
Cuisine: American
Cooking Method: Oven
Total Time: 1 Hour, 30 Minutes
Servings: 10
Primary Ingredient(s): Flour, butter, sugar, cinnamon, nutmeg, apples, lemon
Skill Level: Easy
Me and Pie Crust – Mutual Disregard
Pie. Crust. I loathe it. Despise it. And it loathes me. We do not get along, pie crust and I. And I don’t know why. I mean, I can bake. I love making yeast doughs. Beautifully shaped loaves, cinnamon rolls, and even copycat steakhouse bread. No problem! But pie crust? Nope. No way.
Pie crust has taunted me for years. And I happen to be one of those people to whom you just do not say, “you can’t do that.” Uh. Excuse me. What did you say? Watch me. And pie crust has spoken to me that way for years. It was time for me to take control of the situation and show pie crust who was boss. Or so I thought…
Maybe I’ll Try a Slab Pie
I decided that a simple, easy-to-make “slab” pie would be a good opportunity to tackle my inability to create a pie crust. After all, with a slab pie, there’s no fitting the crust into a pan and no need to make a perfect edge. Just make the crust, roll it out, and lay it flat. Easy-peasy. Or so I thought.
I’ve included each individual step below, followed by my thoughts in brackets as I worked through the “easy-peasy” making of pie crust. Did I master my kitchen nemesis? Hmmphmmm.
How to Make Apple Slab Pie
Measure the Dry Ingredients
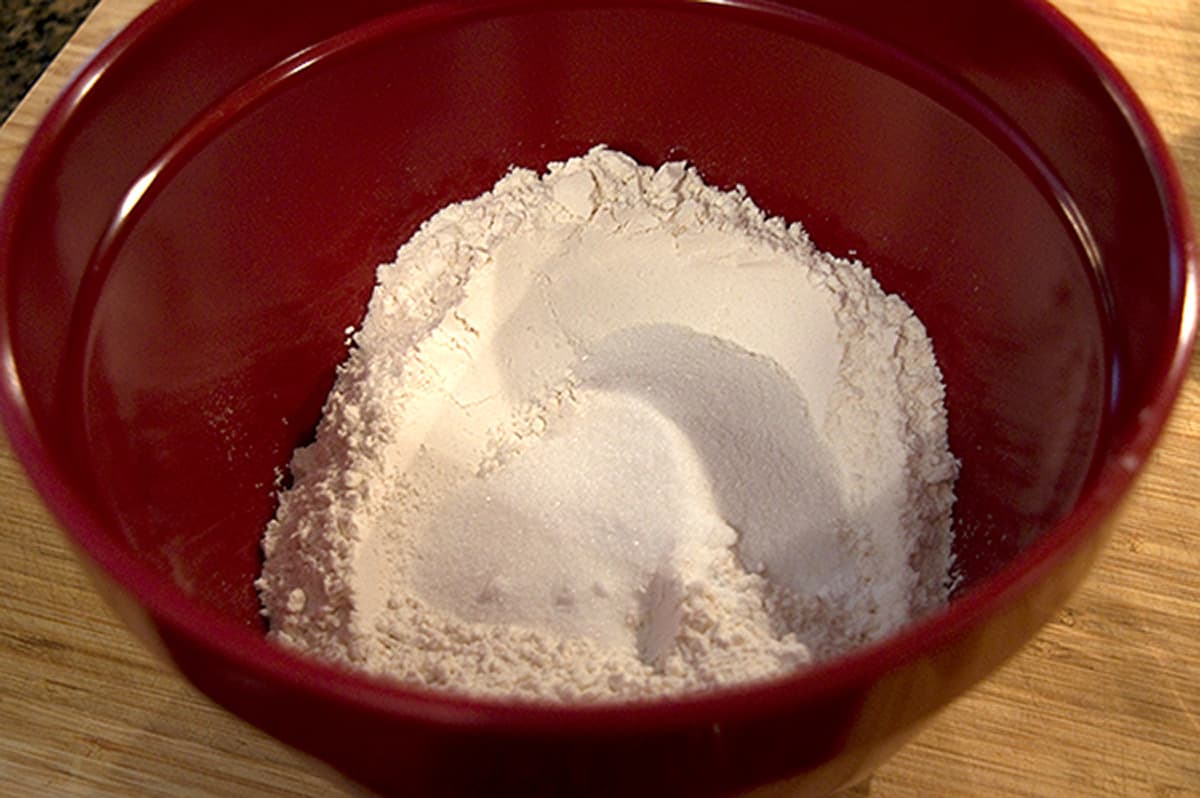
Start by making the crust: In a large bowl, whisk together the flour, salt, baking powder, and sugar.
[Okay, got that! I can mix dry stuff together.]
Prepare the Butter
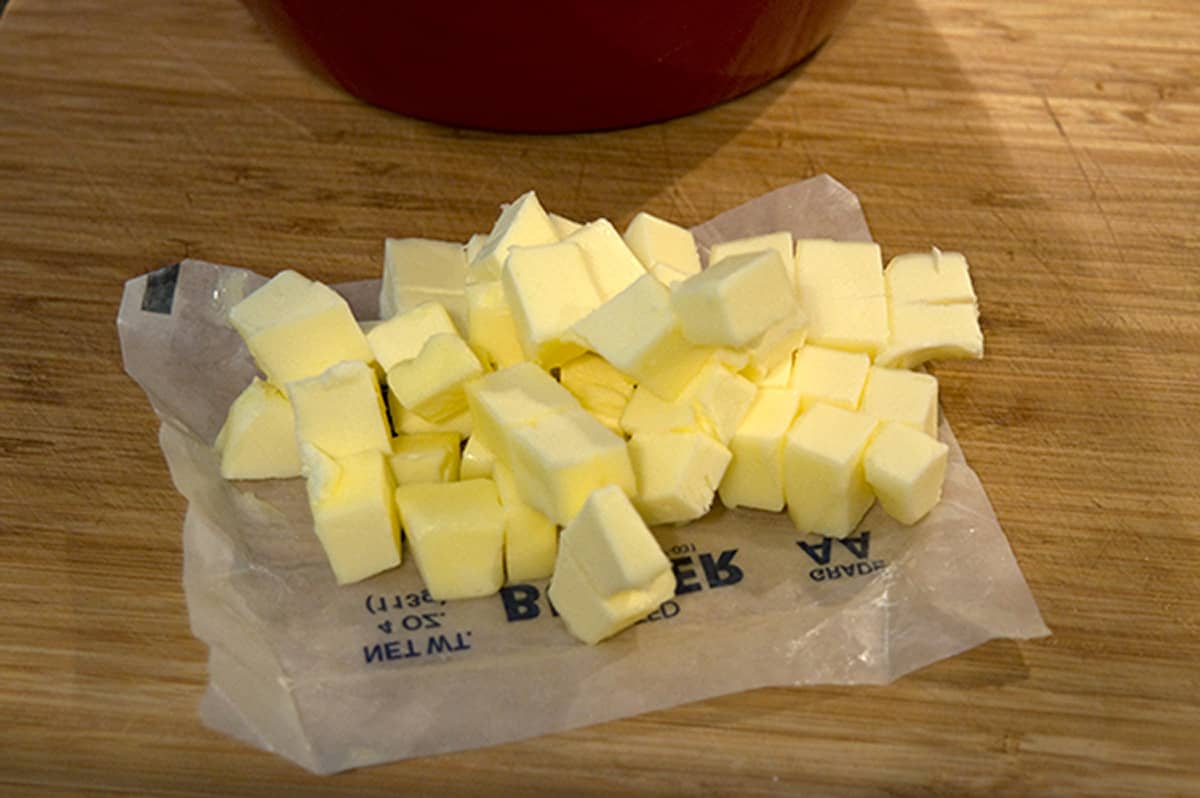
Cut the cold butter into cubes.
[I know that the butter should be really, really cold, but is that freezer-cold or refrigerator-cold? I decided refrigerator-cold was good enough. Got that step, then.]
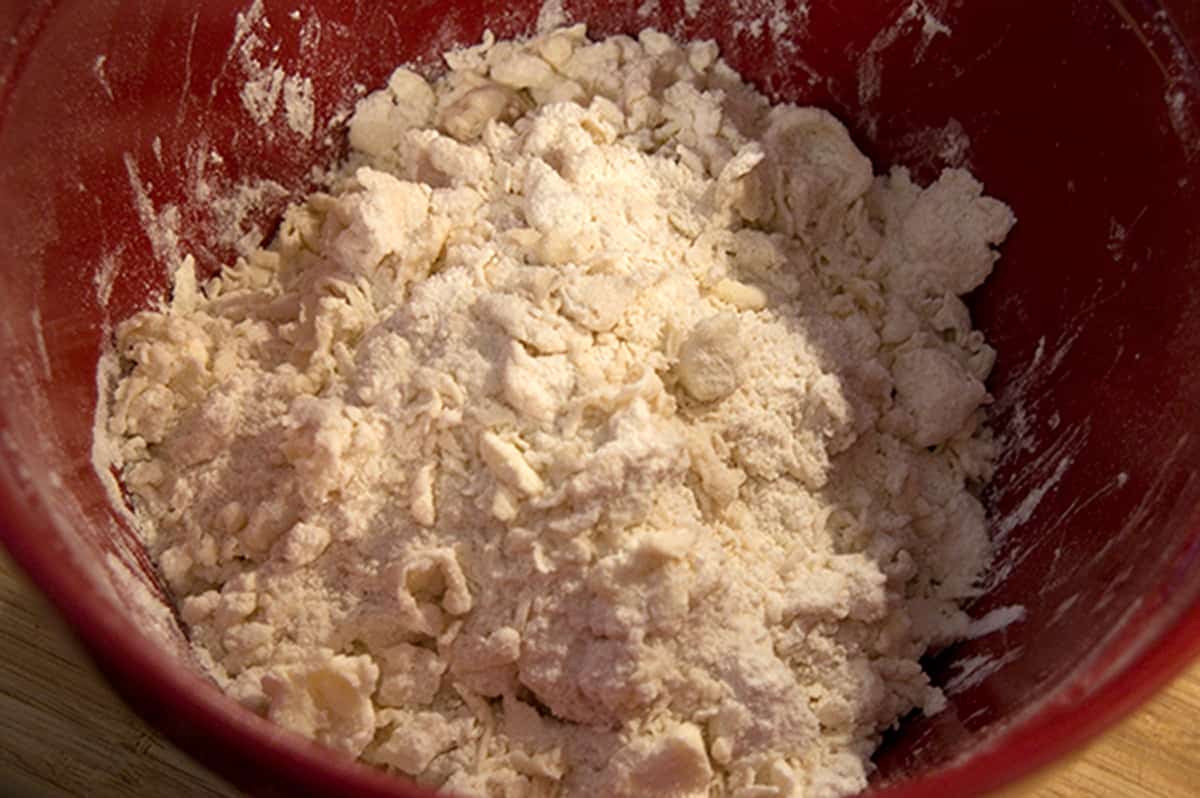
Combine the Butter and Dry Ingredients

Work the cubed butter into the dry ingredients with your fingers or a pastry cutter. Don’t overwork the mixture. There should be larger chunks of butter among the smaller ones.
[I used a pastry cutter because even though my hands are not very warm, I wasn’t taking any chances. I think I’m good with this step, but how much work is overworked? I’m not sure, but I wound up with some big chunks and some smaller chunks of butter. Maybe I’m still doing okay, but who knows? I don’t.]
Add Vinegar and Water
Add the vinegar and 4 tablespoons of water. Toss to combine. Continue adding water one tablespoon at a time to make a chunky, cohesive mixture. The mixture should hold together when you squeeze a handful of it.
[Uh oh, now I’m in trouble. I’ve added the vinegar and water. I’m tossing it all together. I squeeze a handful, and it holds, but is that because it’s full of butter or because it has enough water? Beats me. I decide it’s wet enough and go on to the next step.]
Divide the Dough
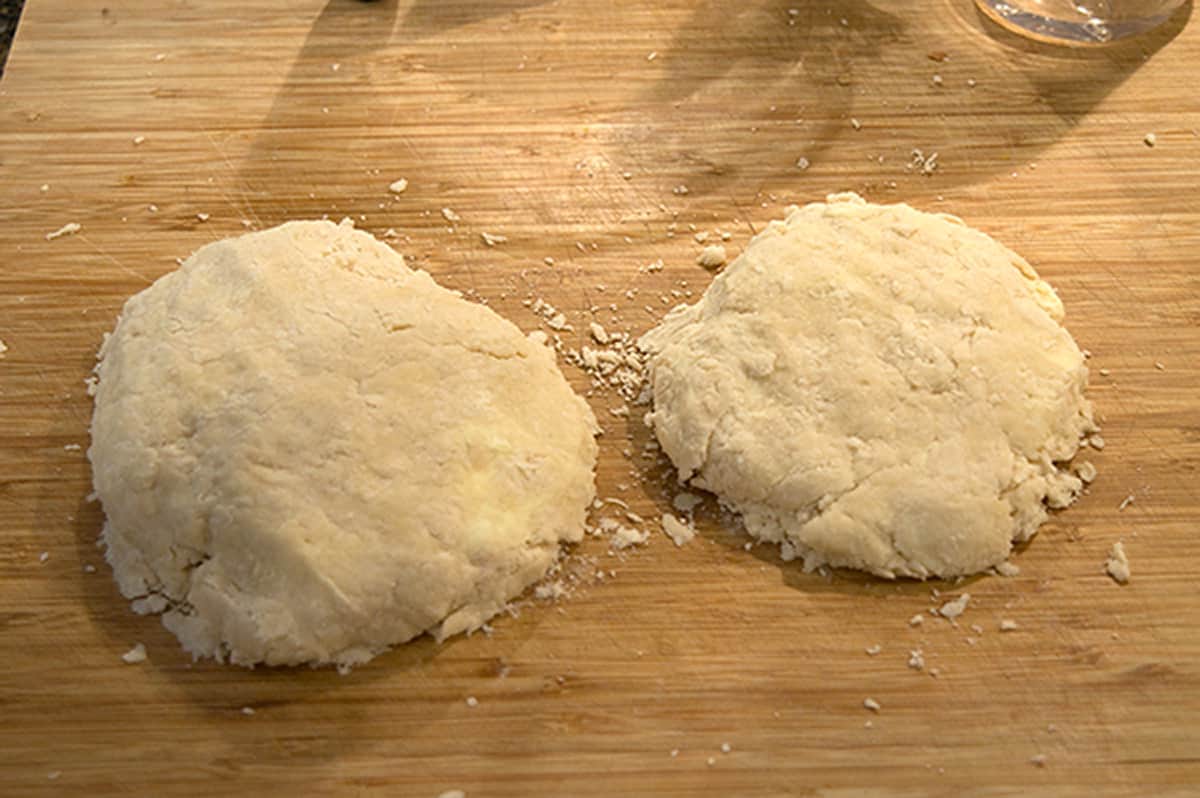
Divide the dough into two pieces, one containing about 60% of the dough and the other containing about 40%.
[Looks like about a 60-40 split, and I’m happy with that, but I also notice all these little pieces flaking off around the two rounds. Maybe that means the dough is dry? Maybe I just didn’t gather it together well enough. Sigh. I loathe pie crust dough. Truly.]
Let the Dough Rest
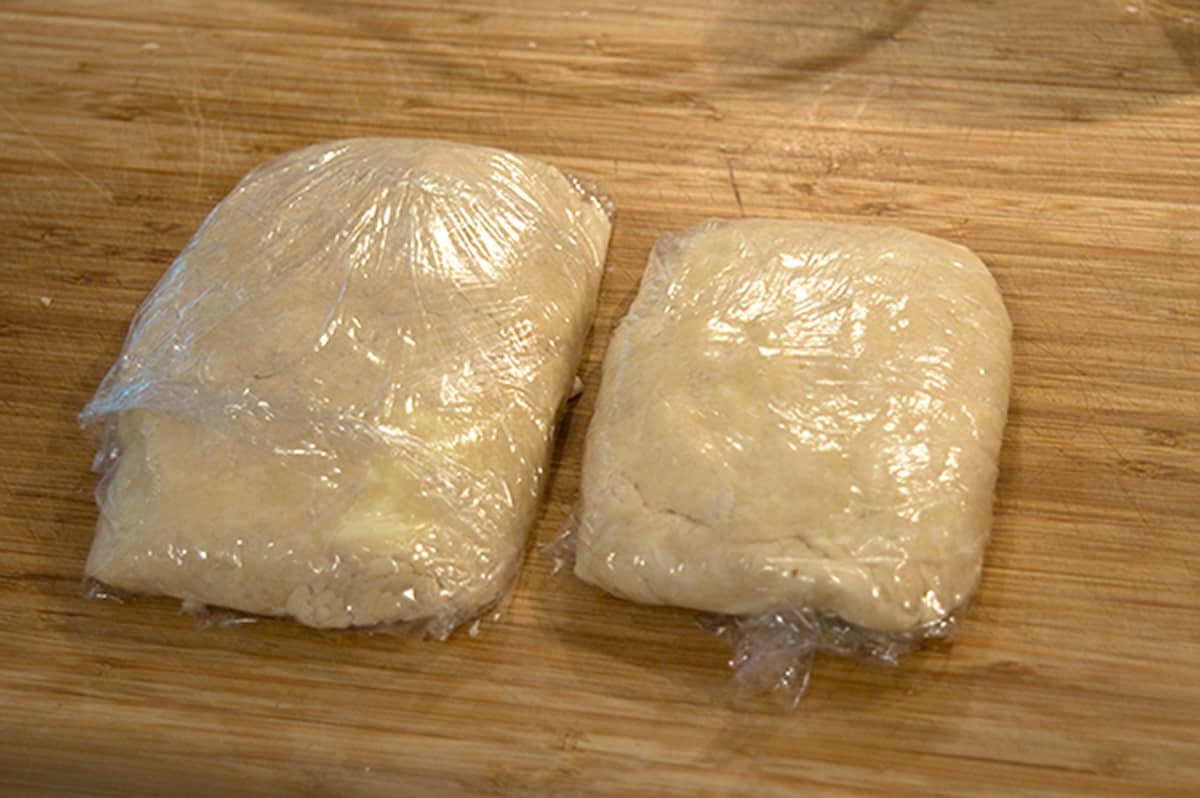
Wrap each individually in plastic wrap and refrigerate until cold (at least 30 minutes and up to an hour).
[This part I got! I’m a master with plastic wrap.]
Roll Out the Dough
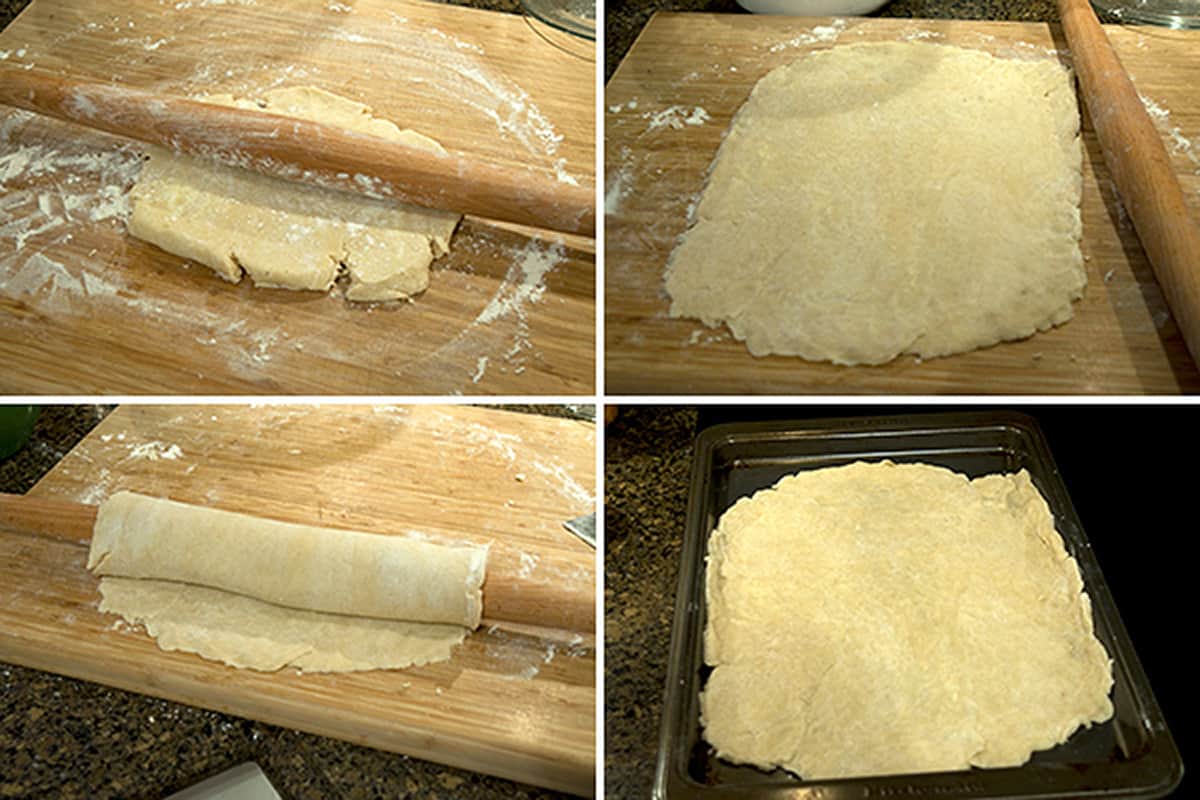
When chilled, remove the larger piece of dough from the refrigerator and roll it out on a lightly floured surface to a rectangle approximately 11×15 inches. Place on a baking sheet and return to the refrigerator while mixing the filling.
[And…here’s the part I despise the most. Rolling out the dang crust. So I start rolling it out and, of course, the edges are cracking like thin ice in the winter. I keep pushing it back together and rolling and pushing it back together and rolling until I get something that looks kinda sorta like a rectangle. Roll it up on my pin and transfer it over to the pan. Whew. Well, at least it’s on the pan. Sorta. Whatever. It’s staying there whether it’s right or not.]
Start preheating the oven to 350 degrees.
[That I can do. By this time, I’m wondering why the heck I wanted to try making this dadgum slab pie. Who even wants pie for Pete’s sake? Just let them eat cake. <feels some vague kinship with Marie Antoinette>]
Make the Filling
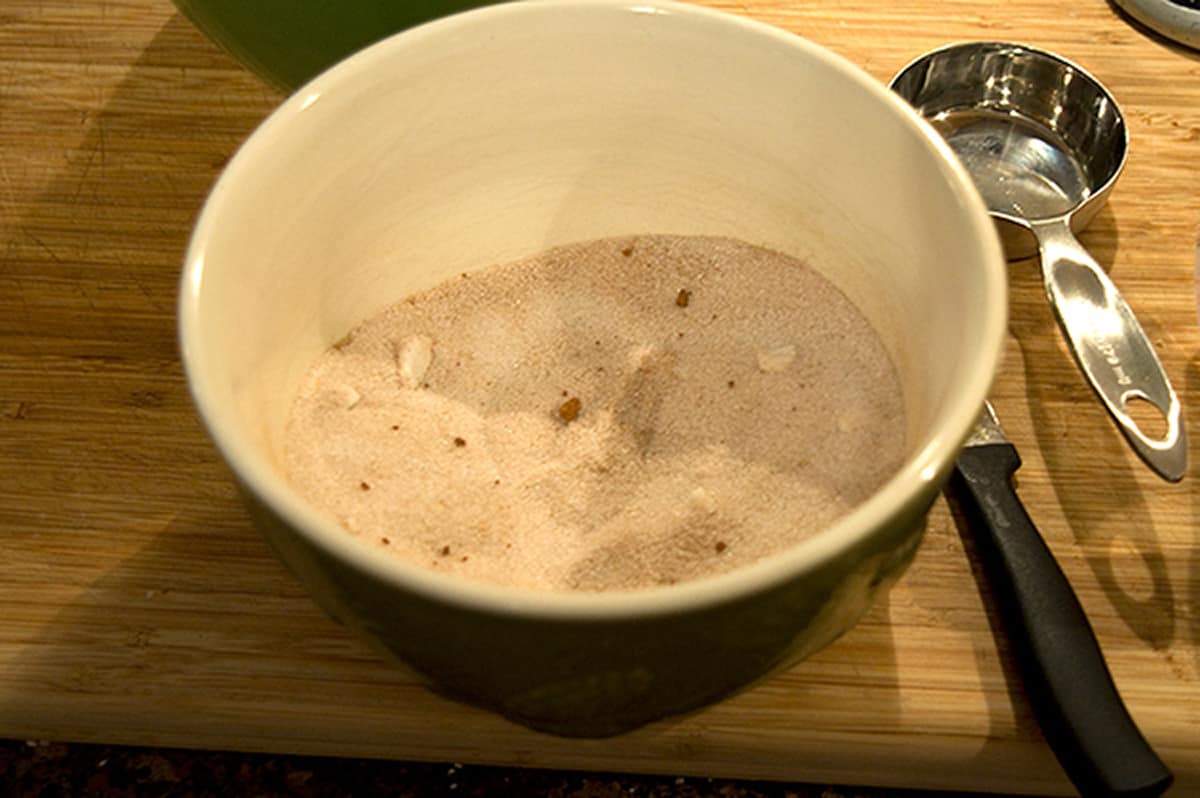
In a small bowl, combine the sugar, flour, cinnamon, nutmeg, and salt.
[At least I can measure dry ingredients together and stir them. I think. I’m not sure I should even be allowed in the kitchen by this time.]
Prepare the Apples
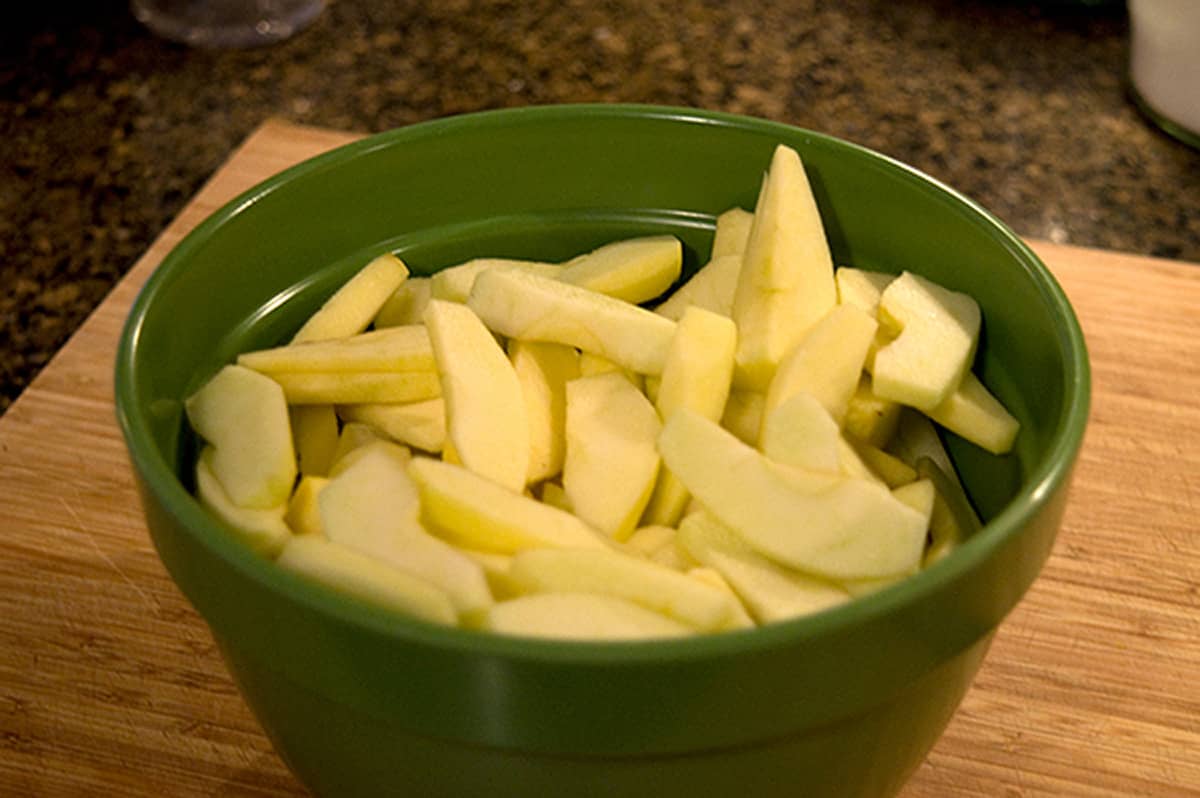
Place the apples in a large mixing bowl and sprinkle with the lemon juice. Pour over the sugar mixture and toss until evenly coated.
[So it took forever to peel and slice all those apples, but I got it done. Poured the sugar and spices over and let it sit. Why? I don’t even remember, I was so rattled by this time. But do you know what happens if you let sugar sit on fruit for a while? Oh yeah. It starts to draw the moisture out, and you wind up with a lot of liquid in the bottom of your bowl. But did I think of that? Noooo…..]
Add the Filling to the Crust
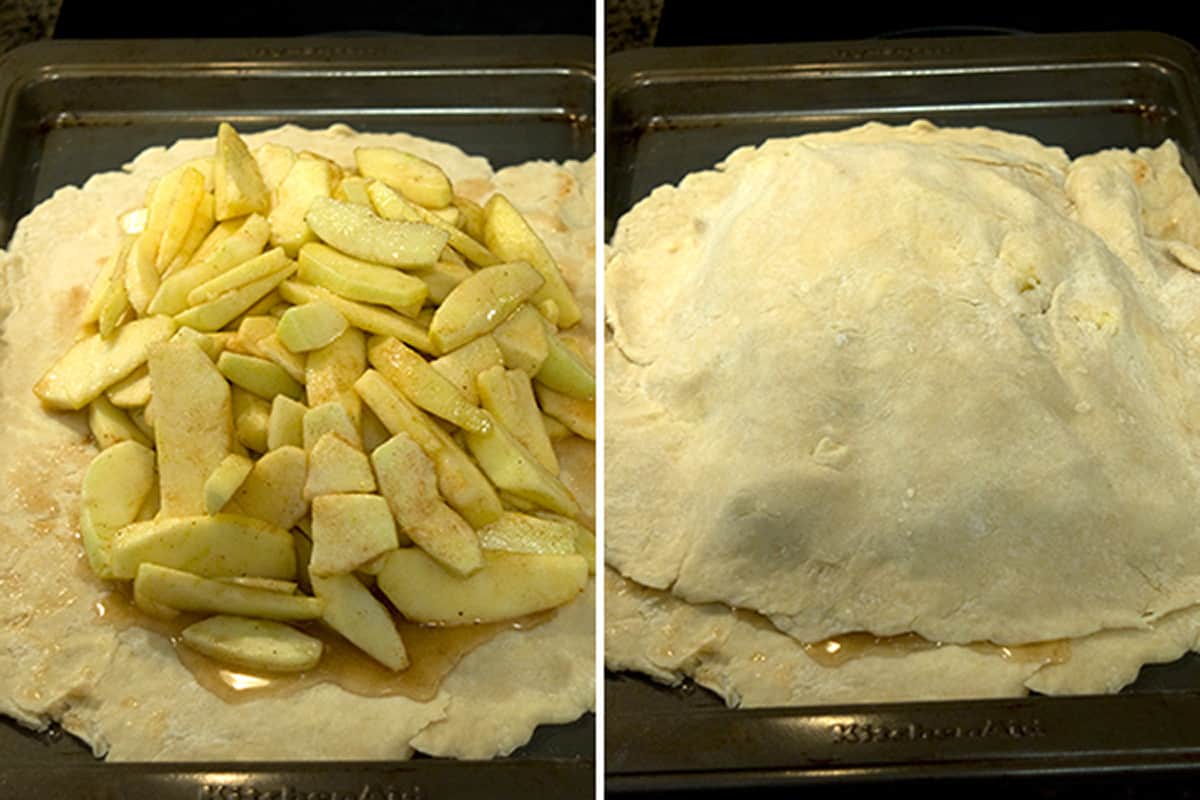
Remove the baking sheet from the refrigerator and place the apple mixture evenly on top leaving at least a one-inch border all around. Roll the remaining dough into a rectangle approximately 9×13. Lay the top crust over the apples.
[So what did I do? Yes. Poured the apple slices with all the liquid that had pooled in the bottom of the bowl right on top of the crust. Aw, frig it. Just slap the top crust on there and be done with it.]
Seal the Top and Bottom Crusts
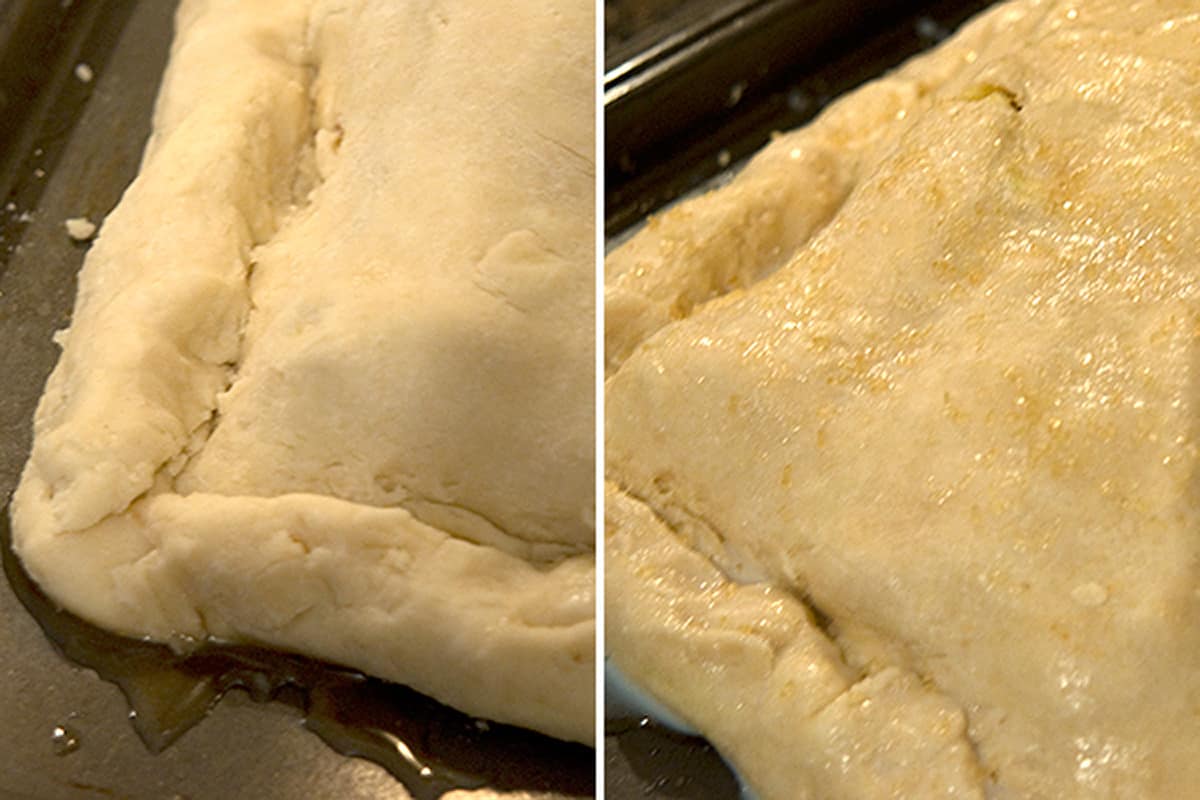
Seal the edges of the two crusts, bringing the bottom crust up and over the top crust and folding them together. Brush the entire top and edges of the crust with milk or cream. Sprinkle evenly with your choice of sugar. Slash the top a few times to allow for venting.
[Uh huh. That apple juice is now running all over the baking sheet. What’s that going to do in the oven? Yeah, you know. It’s going to cook and stick to the pan, adhering the crust to it like it was welded together in a metalworking shop. Slapped on the cream (which I didn’t have, so I used 2% milk) and sprinkled that sucker with some turbinado sugar left from last Christmas’ baking because by this time, who gives a crap.]
Bake the Pie

Bake for 1 hour. If the crust starts to get too brown before the end of the baking time, cover loosely with a sheet of aluminum foil and continue baking.
[Um, yeah. Brown. Try black, burned on apple juice and sugar. Foil’s going to help that, right?]
Remove the pie from the oven and allow it to cool for 30 minutes before serving.
Serve with ice cream if desired.
[But do you know what? Even though we had to chisel it off the baking sheet (literally), that dang slab pie was delicious! I mean, really, put enough vanilla ice cream on anything and it tastes pretty good!]
Want to save this?
More Pie Recipes on Lana’s Cooking (and every one of them uses a purchased crust)

Have a question or thought to share?
If you have a question about the recipe or if you’ve made it and want to share how it turned out, I would truly enjoy hearing from you. Just scroll down to leave a comment or add your star rating.
Thank you for stopping by. It means a lot to have you here.
Do More With ChatGPT
Recipe

Apple Slab Pie
Ingredients
For the crust:
- 2 ½ cups all-purpose flour
- 1 teaspoon salt
- 1 teaspoon baking powder
- 2 tablespoon sugar
- 16 tablespoons very cold butter cut in small cubes (2 sticks butter)
- 1 teaspoon white vinegar
- 6 tablespoons ice water may need more
For the filling:
- ⅔ cup sugar
- 3 tablespoons all-purpose flour
- 1 teaspoon cinnamon
- ¼ teaspoon nutmeg
- ¼ teaspoon salt
- 8 cups peeled, thinly sliced apples (Granny Smith or Golden Delicious recommended)
- juice of a medium lemon
For the topping:
- 2 tablespoons milk or cream
- 2 tablespoons white sparkling sugar or turbinado sugar
Instructions
- Make the crust: In a large bowl, whisk together the flour, salt, baking powder, and sugar.2 ½ cups all-purpose flour, 1 teaspoon salt, 1 teaspoon baking powder, 2 tablespoon sugar
- Add the cubed butter and work it in with your fingers or a pastry cutter. Don’t overwork the mixture. There should be larger chunks of butter among the smaller ones.16 tablespoons very cold butter
- Add the vinegar and 4 tablespoons of water. Toss to combine. Continue adding water one tablespoon at a time to make a chunky, cohesive mixture. The mixture should hold together when you squeeze a handful of it.1 teaspoon white vinegar, 6 tablespoons ice water
- Divide the dough into two pieces, one containing about 60% of the dough and the other containing about 40%. Wrap each individually in plastic wrap and refrigerate until cold (at least 30 minutes and up to an hour).
- When chilled, remove the larger piece of dough from the refrigerator and roll it out on a lightly floured surface to a rectangle approximately 11×15 inches. Place on a baking sheet and return to the refrigerator while mixing the filling.
- Start preheating the oven to 350 degrees.
- Make the filling: In a small bowl, combine the sugar, flour, cinnamon, nutmeg, and salt. Place the apples in a large mixing bowl and sprinkle with the lemon juice. Pour over the sugar mixture and toss until evenly coated.⅔ cup sugar, 3 tablespoons all-purpose flour, 1 teaspoon cinnamon, ¼ teaspoon nutmeg, ¼ teaspoon salt, 8 cups peeled, thinly sliced apples, juice of a medium lemon
- Remove the baking sheet from the refrigerator and place the apple mixture evenly on top leaving at least a one-inch border all around.
- Roll the remaining dough into a rectangle approximately 9×13. Lay the top crust over the apples and seal the edges of the two crusts bringing the bottom crust up and over the top crust and folding them together.
- Brush the entire top and edges of the crust with milk or cream. Sprinkle evenly with your choice of sugar. Slash the top a few times to allow for venting.2 tablespoons milk or cream, 2 tablespoons white sparkling sugar or turbinado sugar
- Bake for 1 hour. If the crust starts to get too brown before the end of the baking time, cover loosely with a sheet of aluminum foil and continue baking.
- Remove pie from the oven and allow to cool for 30 minutes before serving.
- Serve with ice cream if desired.
Nutrition Information
Nutrition information is calculated by software based on the ingredients in each recipe. It is an estimate only and is provided for informational purposes. You should consult your healthcare provider or a registered dietitian if precise nutrition calculations are needed for health reasons.
I did not inherit my mothers ability to make pie crust. However you recipe turned out for me. Currently I have 10 more minutes in the oven. So far so good. I certainly did feel your pain through your pie crust journey.
I really hope it turned out great for you, Carol!
Thank you for sharing your thoughts on pie crust. I have the same problem. Mine is more like a hockey puck, but you gave me new hope. I’m going to try it one more time.😃
I’ve have just never, ever mastered pie crust. Just cannot do it!
Cute post. Loved it. Fun and honest. Sole is probably my favorite. Happy Thanksgiving.
Happy Thanksgiving to you, too, Katrina!
I so enjoyed the laugh today! Thank you!
My pleasure!!
Oh, yes I hear you. Eons ago, when my son was only 10, he made a great pie crust. So, I haven’t tried it since then. Breads, yes, all kinds of other stuff, yes. Pie crust, no way!
I don’t know what it is about pie crust, but I just cannot do it!!
Lana, Thank you for taking one for the team for us! I had one can of apple pie filling. I had two frozen crust. I had 2% milk, just regular old table sugar and an oven. I was looking for apple pie to apple slab recipes and yours is the only one that didn’t tell me I needed two cans of pie filling. So, I made it and it turned out so pretty and tasty. Thank you!
I’m so glad yours turned out good! I still haven’t tried making a pie again.
I missed this when you first published it but thankful I somehow ended up here today. Forget the recipe, you had me rolling with just the commentary!
I’ve been there and while I think I’ve finally mastered your nemesis I can SO identify. Still it looks like you have too, not fair to blame the poor crust on those evil juices! :)
I wrote it exactly the way it happened, Barb. My thoughts and all :-) though I may have cleaned those up just a bit.
Lana, I owe my daughter a trek through the kitchen – making an apple pie……. & I’m worse with pie crust than anything *you* can imagine………, I felt your pain so much, it *hurt* to read along…..so I (grinningly) skipped reading portions of it (which is saying something…. I usually love stopping by your kitchen for a brief e-tour….., it’s a nice way to slow down in a fast paced world……). That said, I still owe my daughter a …. (ROFL) ‘pie baking lesson’! …… (hand to forehead…..) AND BELIEVE IT OR NOT, YOU HAVE NOW OFFICIALLY OFFERED THE NEW INSPIRATION FOR EVEN TRYING!! SLAB PIE: and your reader’s solution of parchment paper, combined with the slab version? I’m hopeful that my daughter won’t be laughing *too much* at my slaughter of pastry……, and, who knows?…. she might even break the curse – and actually learn to make a *great* crust….. (which means she can make the crusts so I don’t have to!….. now, *that’s* a plan!)
That’s a plan for sure!! I’m quite certain that I’ll never be a pastry crust maker. Never. I think everybody has at least one thing they just never can master and pie crust is mine!! Thanks so much for stopping by, Rainah, and for being a loyal reader :-)
How comforting to know others struggle with certain baking activities as much as I do!! ;)
Having said that, your pie looks absolutely fabulous and I appreciate you sharing your tips, tricks and mistakes!
I’d love to try your recipe – it always helps to have step-by-step directions! YUM!!