



DIY Make Your Own Butter – heavy cream and salt are all you need to make homemade butter that is more delicious than any you ever bought at the grocery store. Spread some on warm bread for a heavenly treat.
Making your own butter is easier than you think! You just need two ingredients – heavy cream and salt. And the best part? It’s cheaper than store-bought and doesn’t have any additives at all. Plus, you can customize the flavor of your DIY butter to your liking by adding salt, herbs, and other spices.
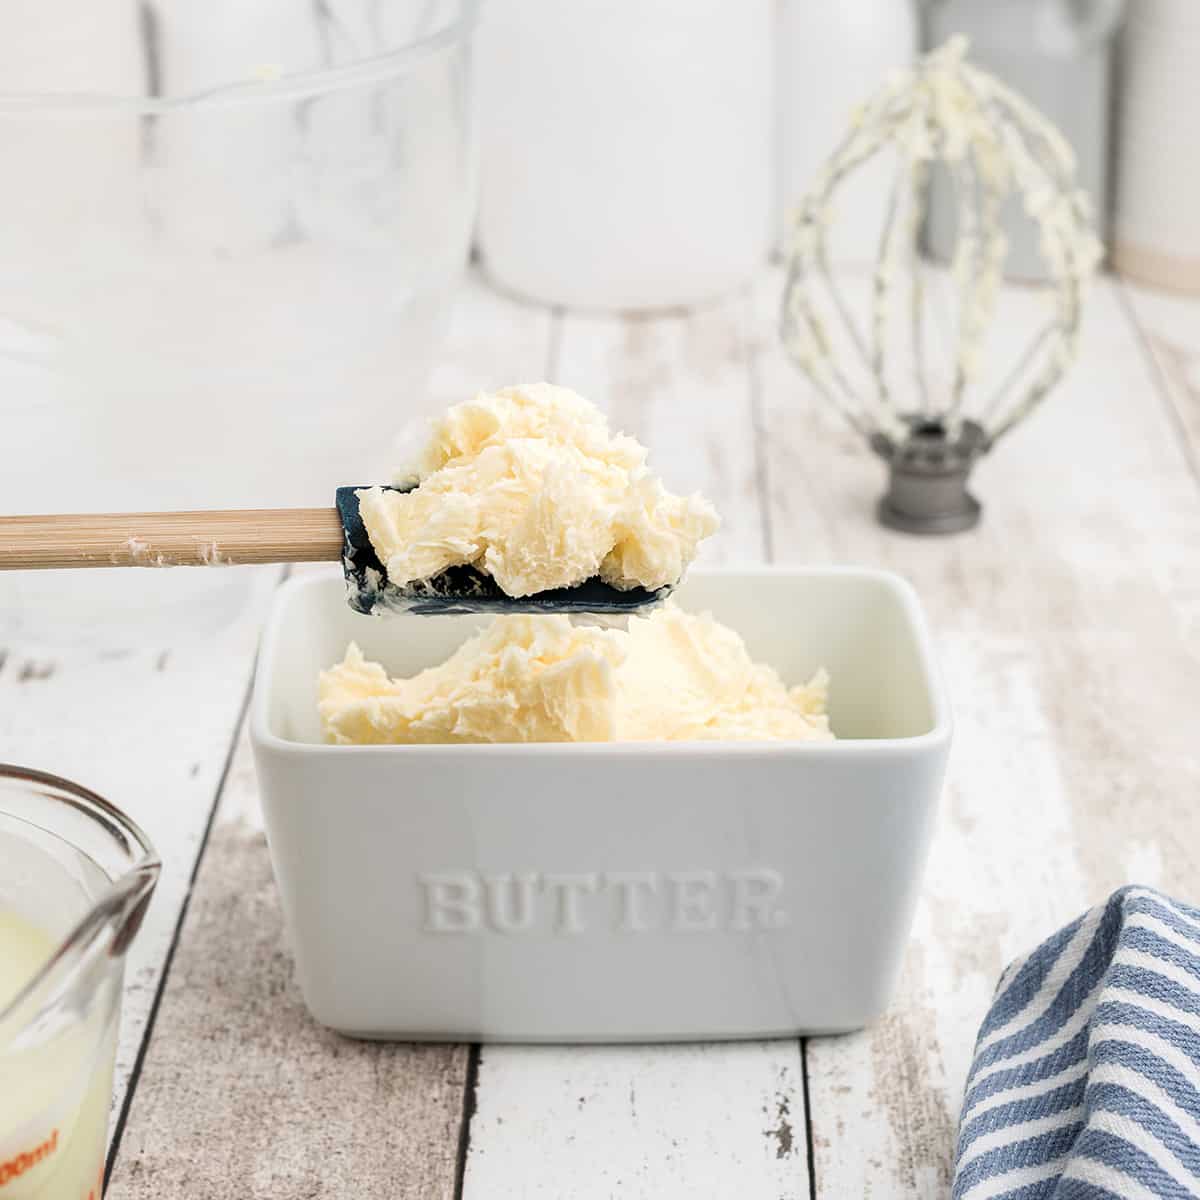
In this recipe post, I’ll show you how to make butter using a stand mixer or hand mixer. Let’s get started!
Okay. I know there’s a less than zero chance that anyone who reads this blog is ever going to make their own butter. I also already know that you think I’m totally crazy for doing it, too, so please don’t feel that you have to comment on that :-) Thank you very much.
It was just one of those things I’d never done, and I wanted to see if I could do it. You understand, right?
And let me tell you something…you have never, ever tasted butter that tastes like this! Oh. My. Gracious. Goodness. It’s so much sweeter, so much butterier than any I’ve ever had. And it only took about ten minutes from start to finish.
So, some weekend when you have nothing else to do, buy a quart of heavy cream and make yourself some homemade butter. Then spread it on some lovely warm bread. You’ll absolutely love it!
Recipe Snapshot: How to Make Homemade Butter
Prep Time: 15 minutes
Inactive Time: 7 hours
Total Time: 7 hours 15 minutes
Servings: 32
Cuisine: Worldwide
Cooking Method: N/A
Primary Ingredients: Heavy cream, salt
Skill Level: Easy
DO MORE WITH CHATGPT
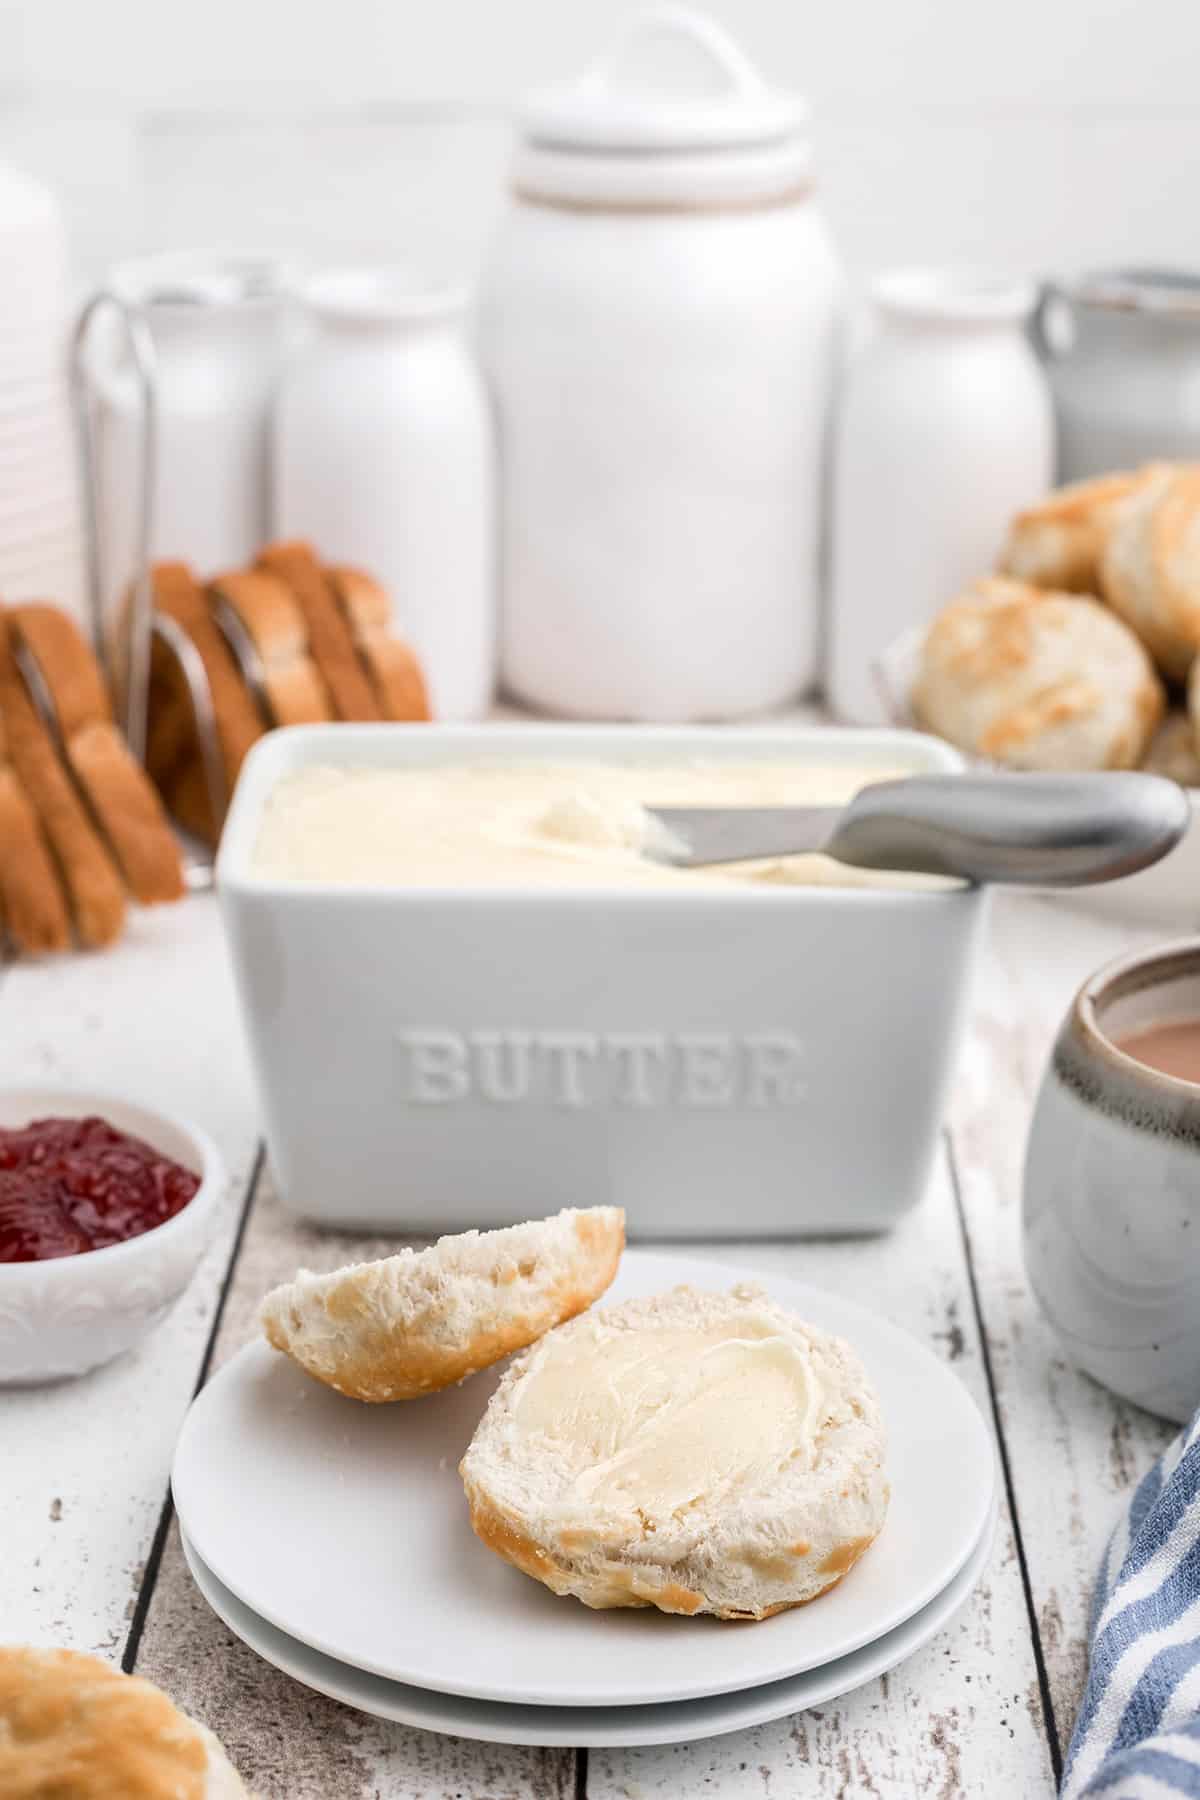
What You’ll Like About This Recipe
- This DIY butter only requires two ingredients – heavy cream and salt.
- It’s the freshest-tasting butter you’ll ever have – much sweeter and richer than store-bought.
- You can customize the flavor by adding salt, herbs, and other spices to make a delicious compound butter for freezing.
- It’s a fun and easy kitchen project to do with kids.
WHAT PEOPLE ARE SAYING …
“I just made butter with half gallon of cream and no food coloring! I got a quart of buttermilk and … a couple of pounds of butter! So tasty!!”
— Karen
Ingredient Notes
This post may contain affiliate links. Lana’s Cooking is reader-supported and earns a tiny commission at no extra cost to you when you shop from our links.
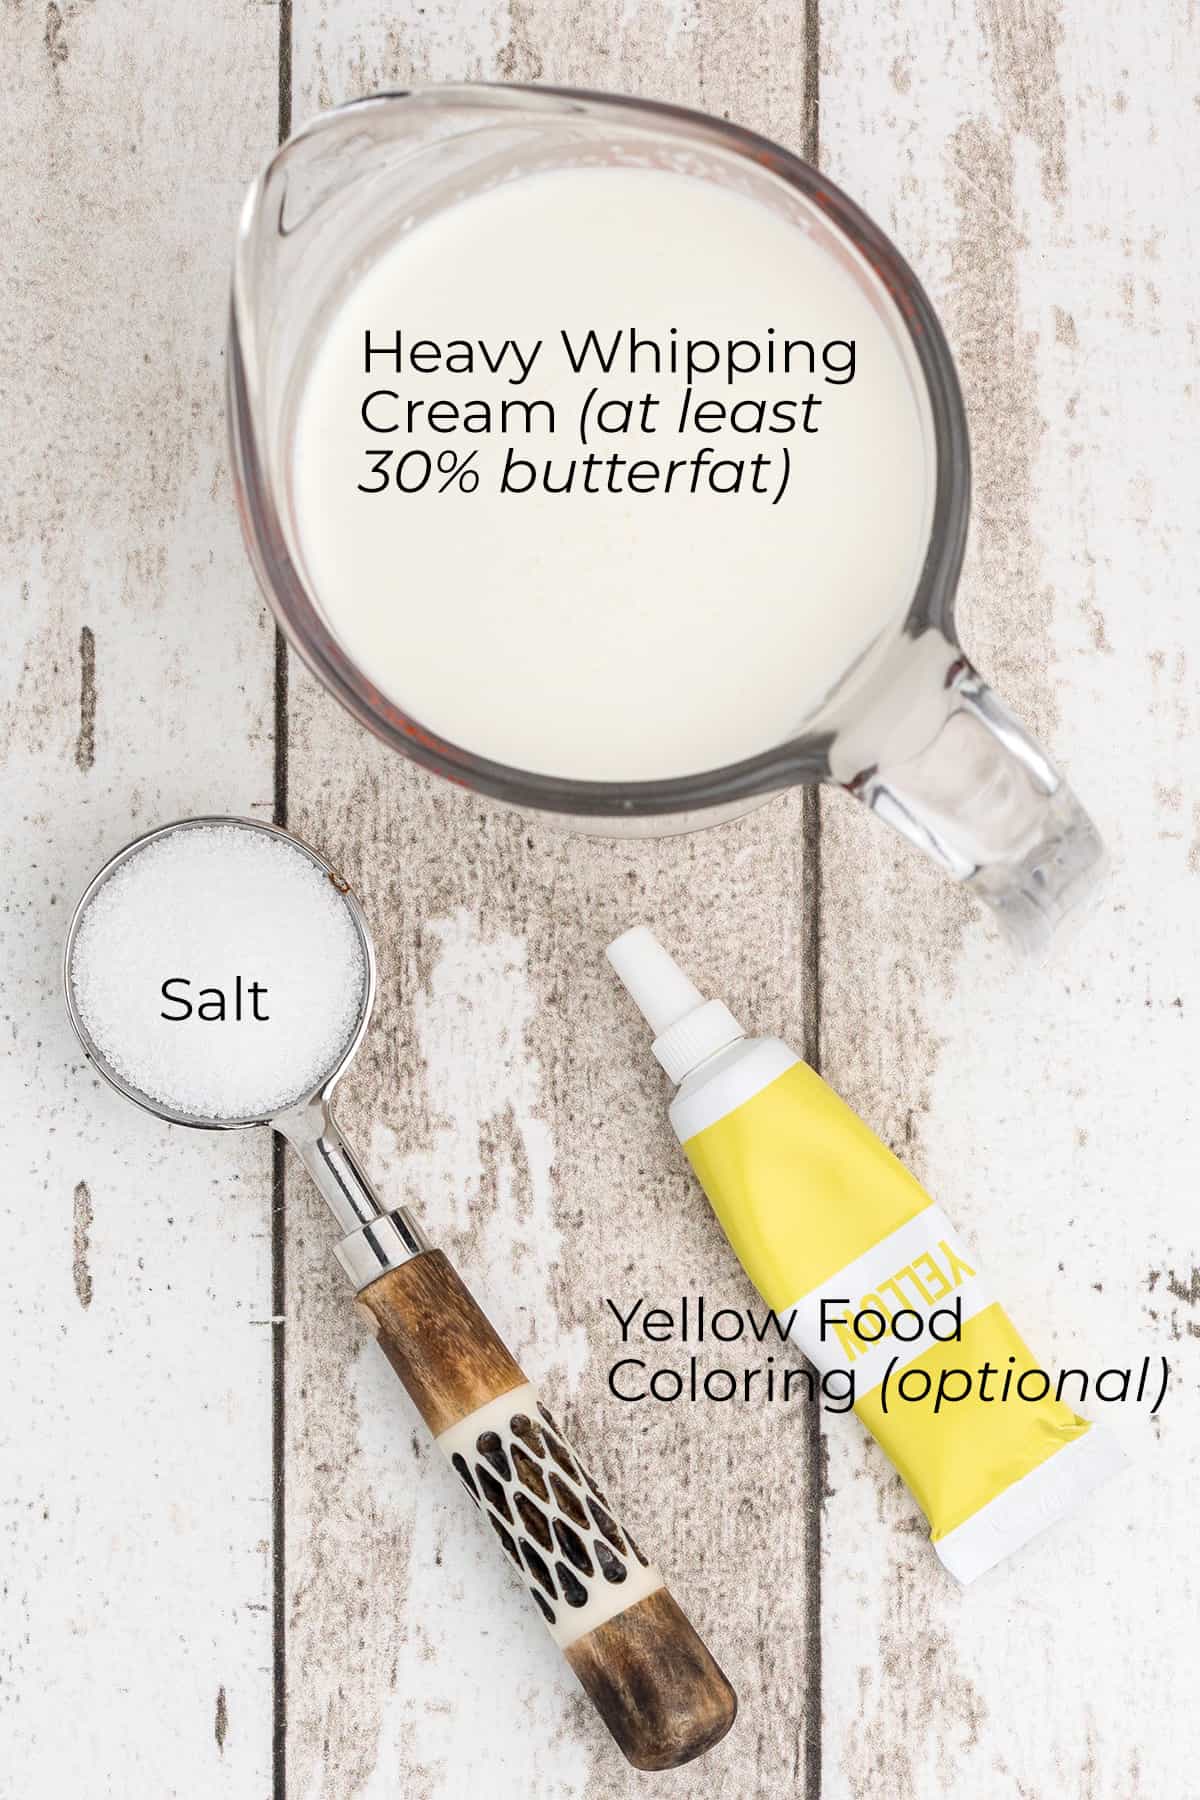
- Heavy Whipping Cream — You’ll need cream that is at least 30% butterfat, or heavy whipping cream. I can’t find the percentage of butterfat printed on any of the cream at my grocery store, so I just trust that heavy whipping cream will work. I typically purchase Organic Valley Heavy Whipping Cream for making butter.
- Salt
- Yellow Food Coloring — Totally optional, but it gives the butter a nice color.
The complete ingredient list with detailed measurements is included in the printable recipe card at the bottom of this post.
How to Make Homemade Butter
Before You Start
- Before starting, you’ll need to “ripen” the cream by letting it stand at room temperature for 4 to 6 hours. During the ripening, it will thicken and become just mildly sour. This helps to give the butter a good, rich taste. After ripening, cool the cream again in your refrigerator for about an hour.
Beat the Cream Until the Butter Separates
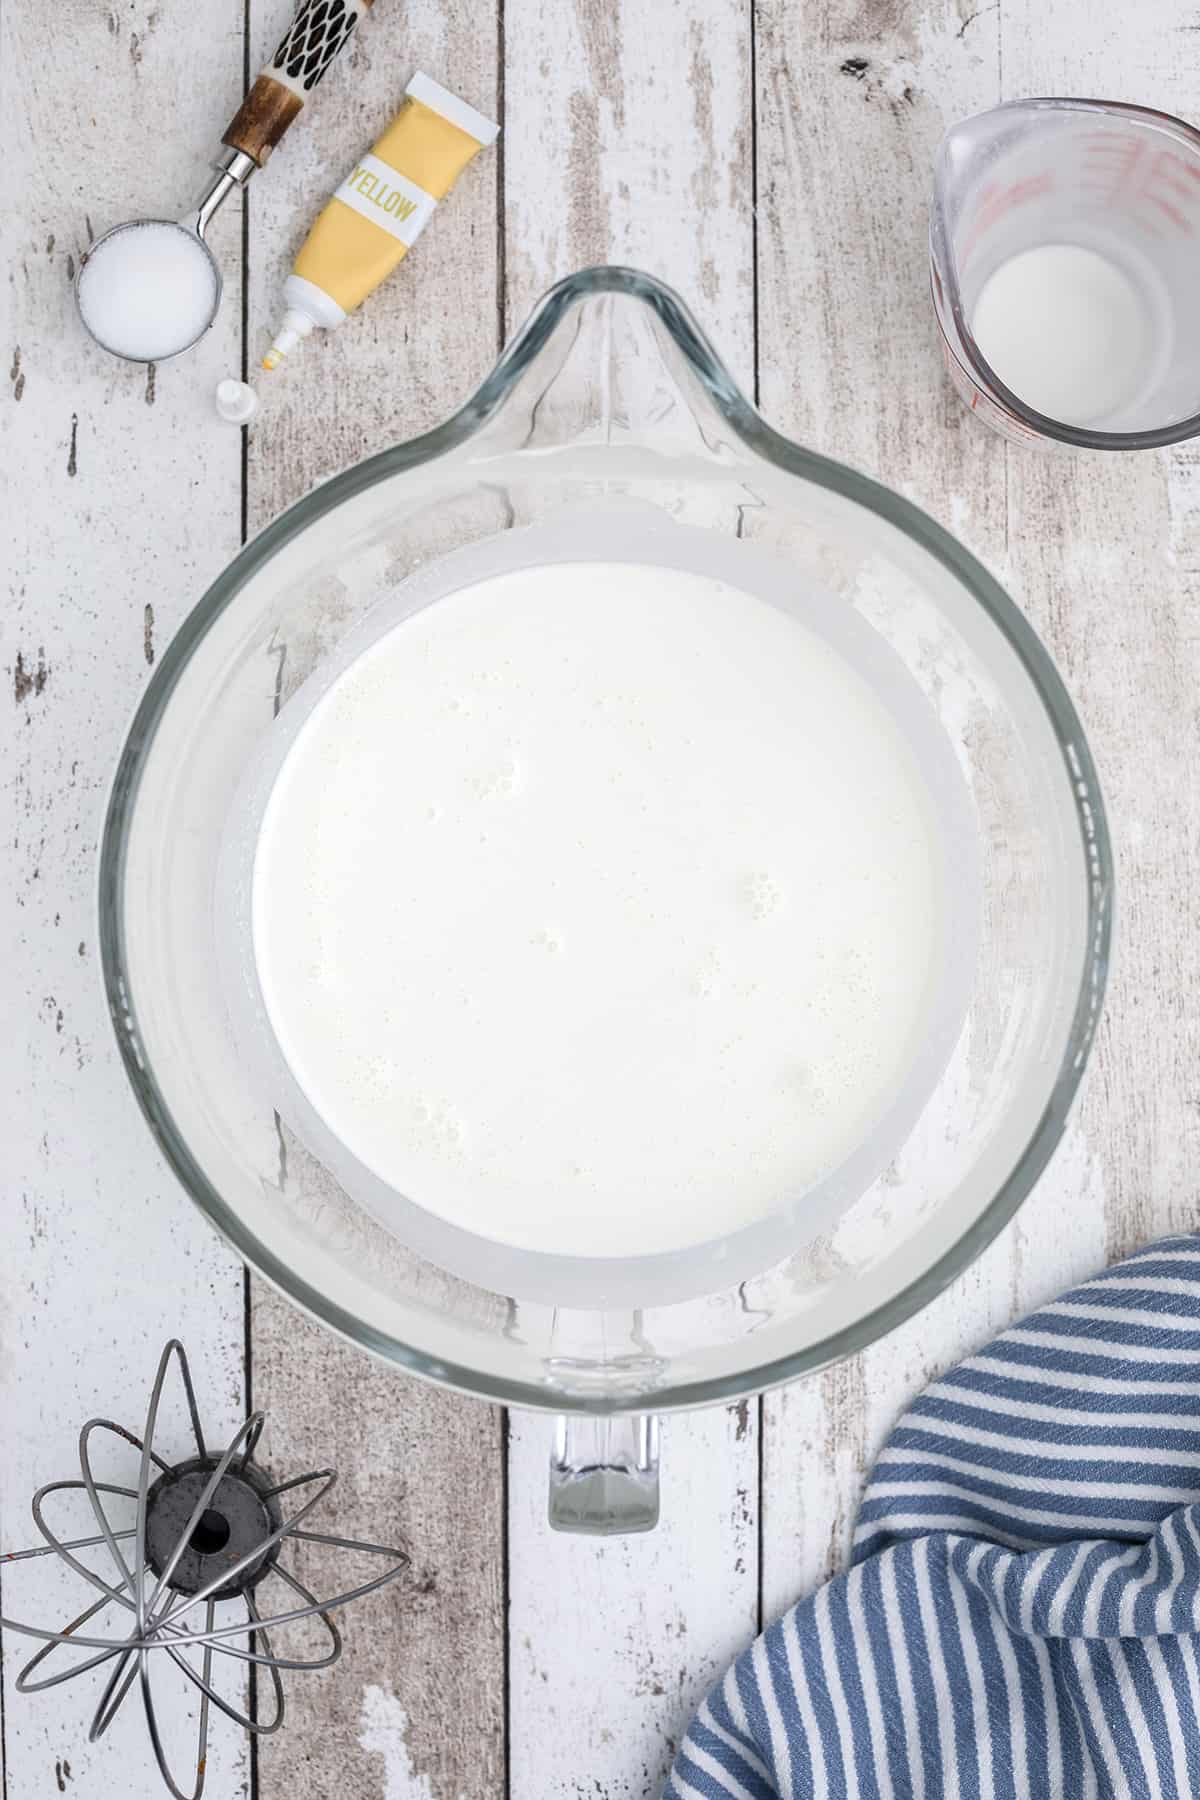
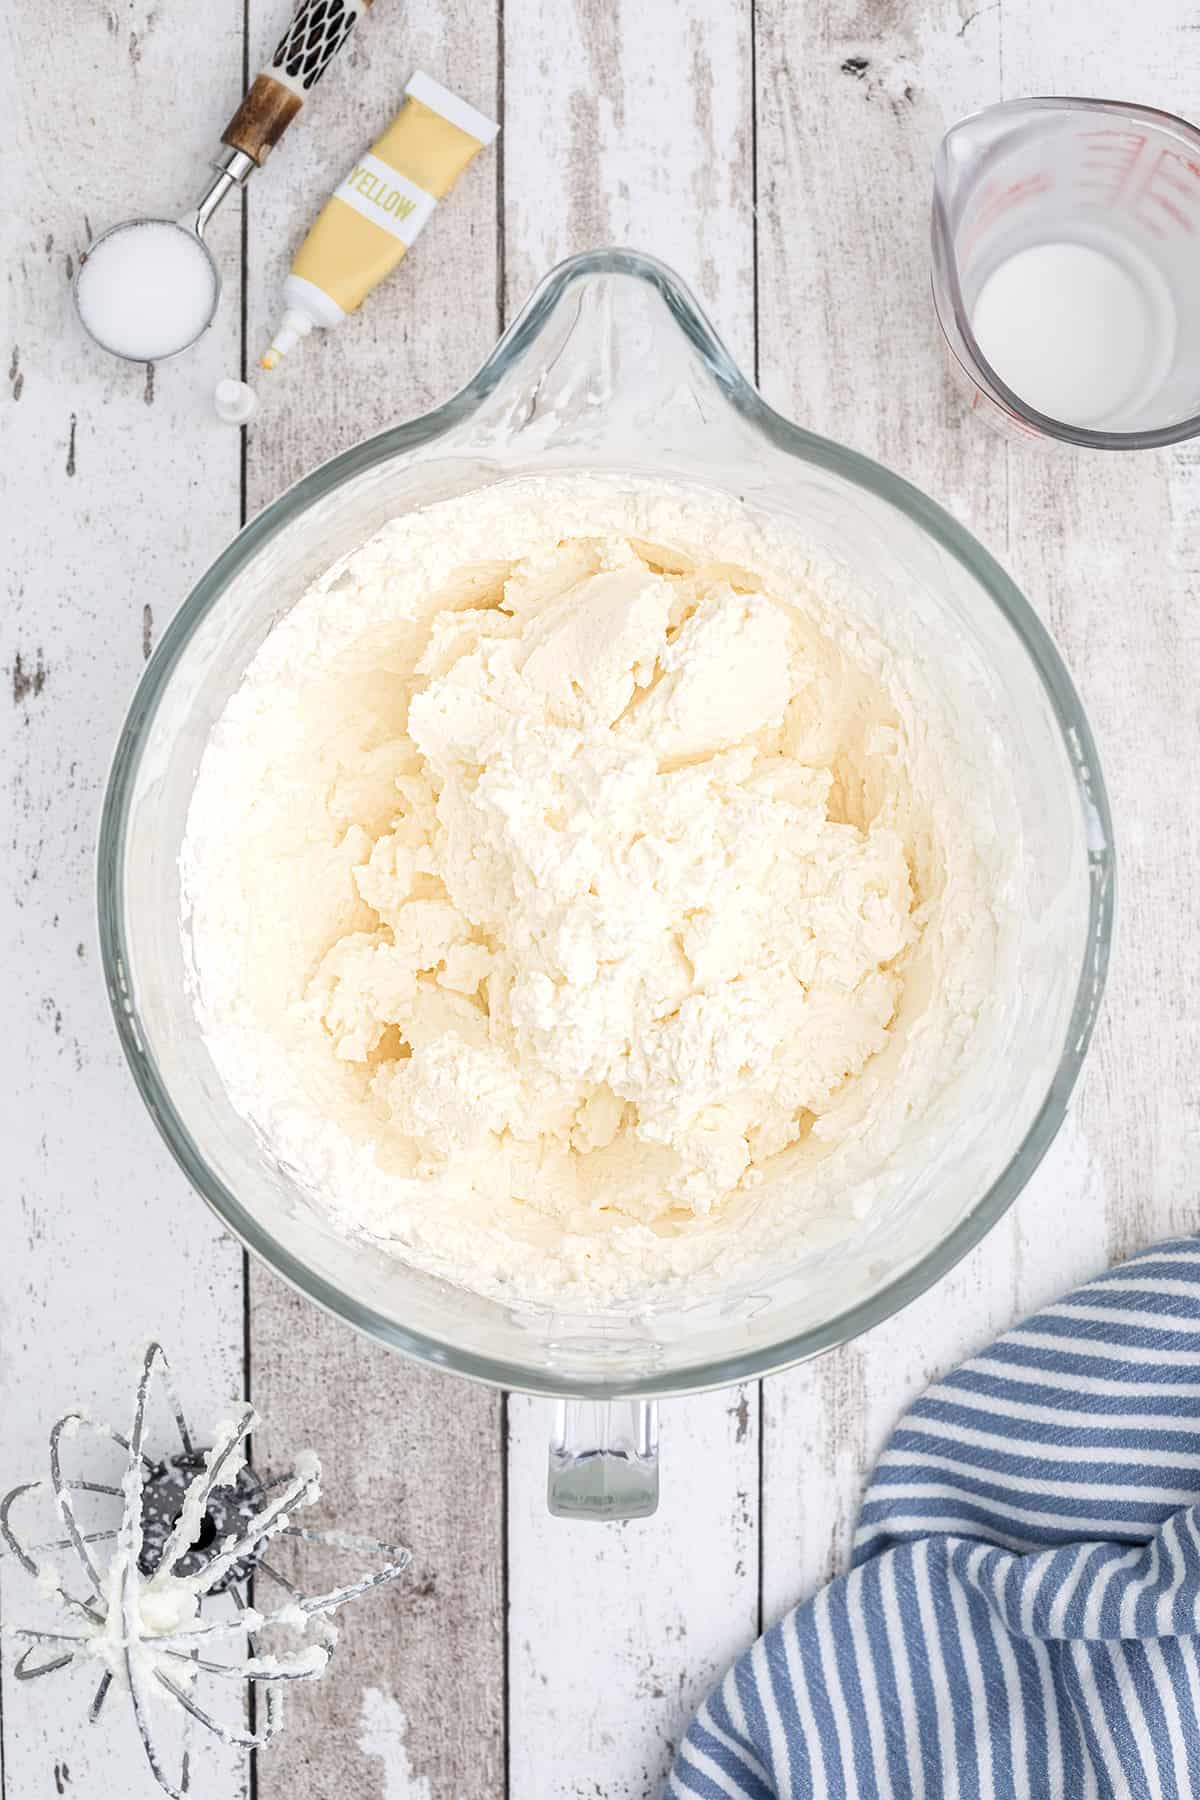
- Pour the cream into a large electric mixer bowl. Add a few drops of yellow food coloring if desired. (I find that four drops are just about right.)
- Beat at high speed until flecks of butter begin to form. This will start to happen when it has passed the “whipped cream” stage. Just keep watching, and you’ll see it start to separate.
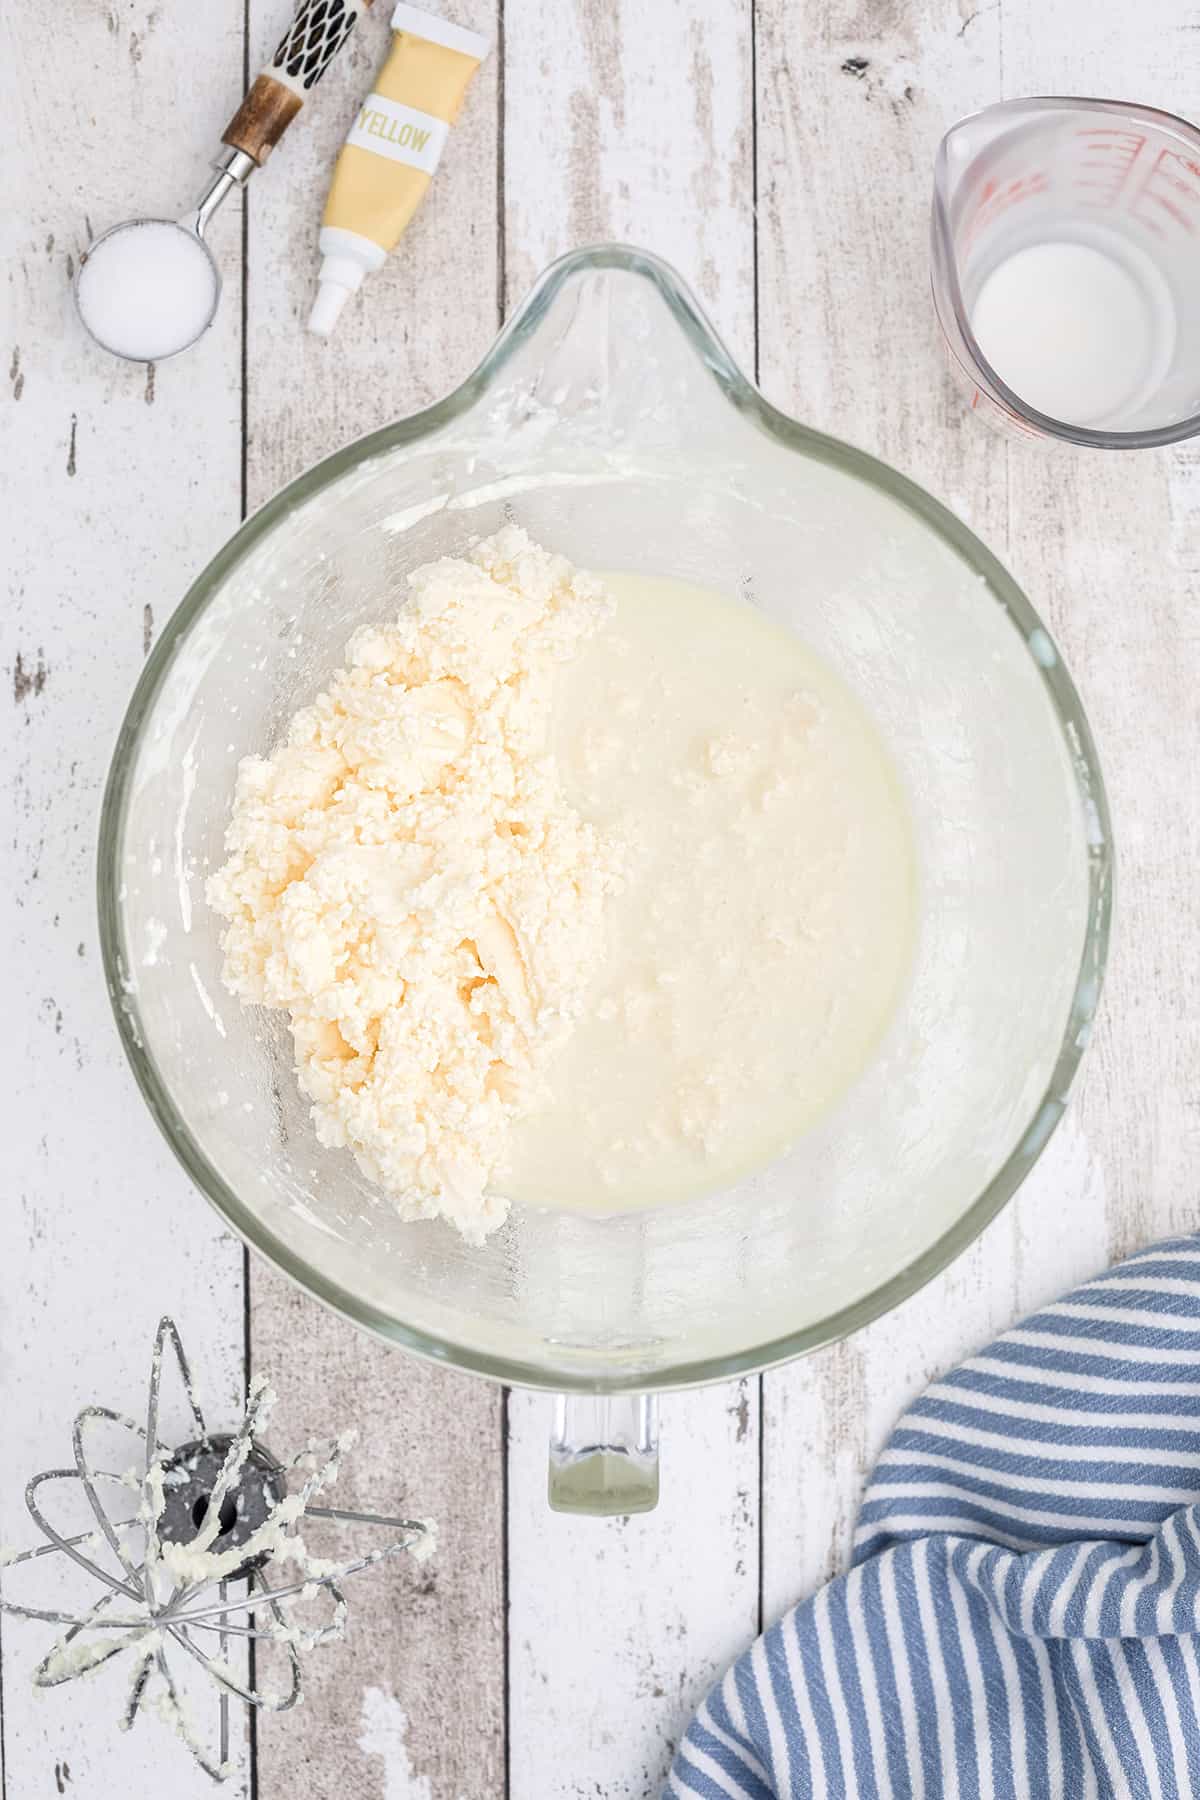
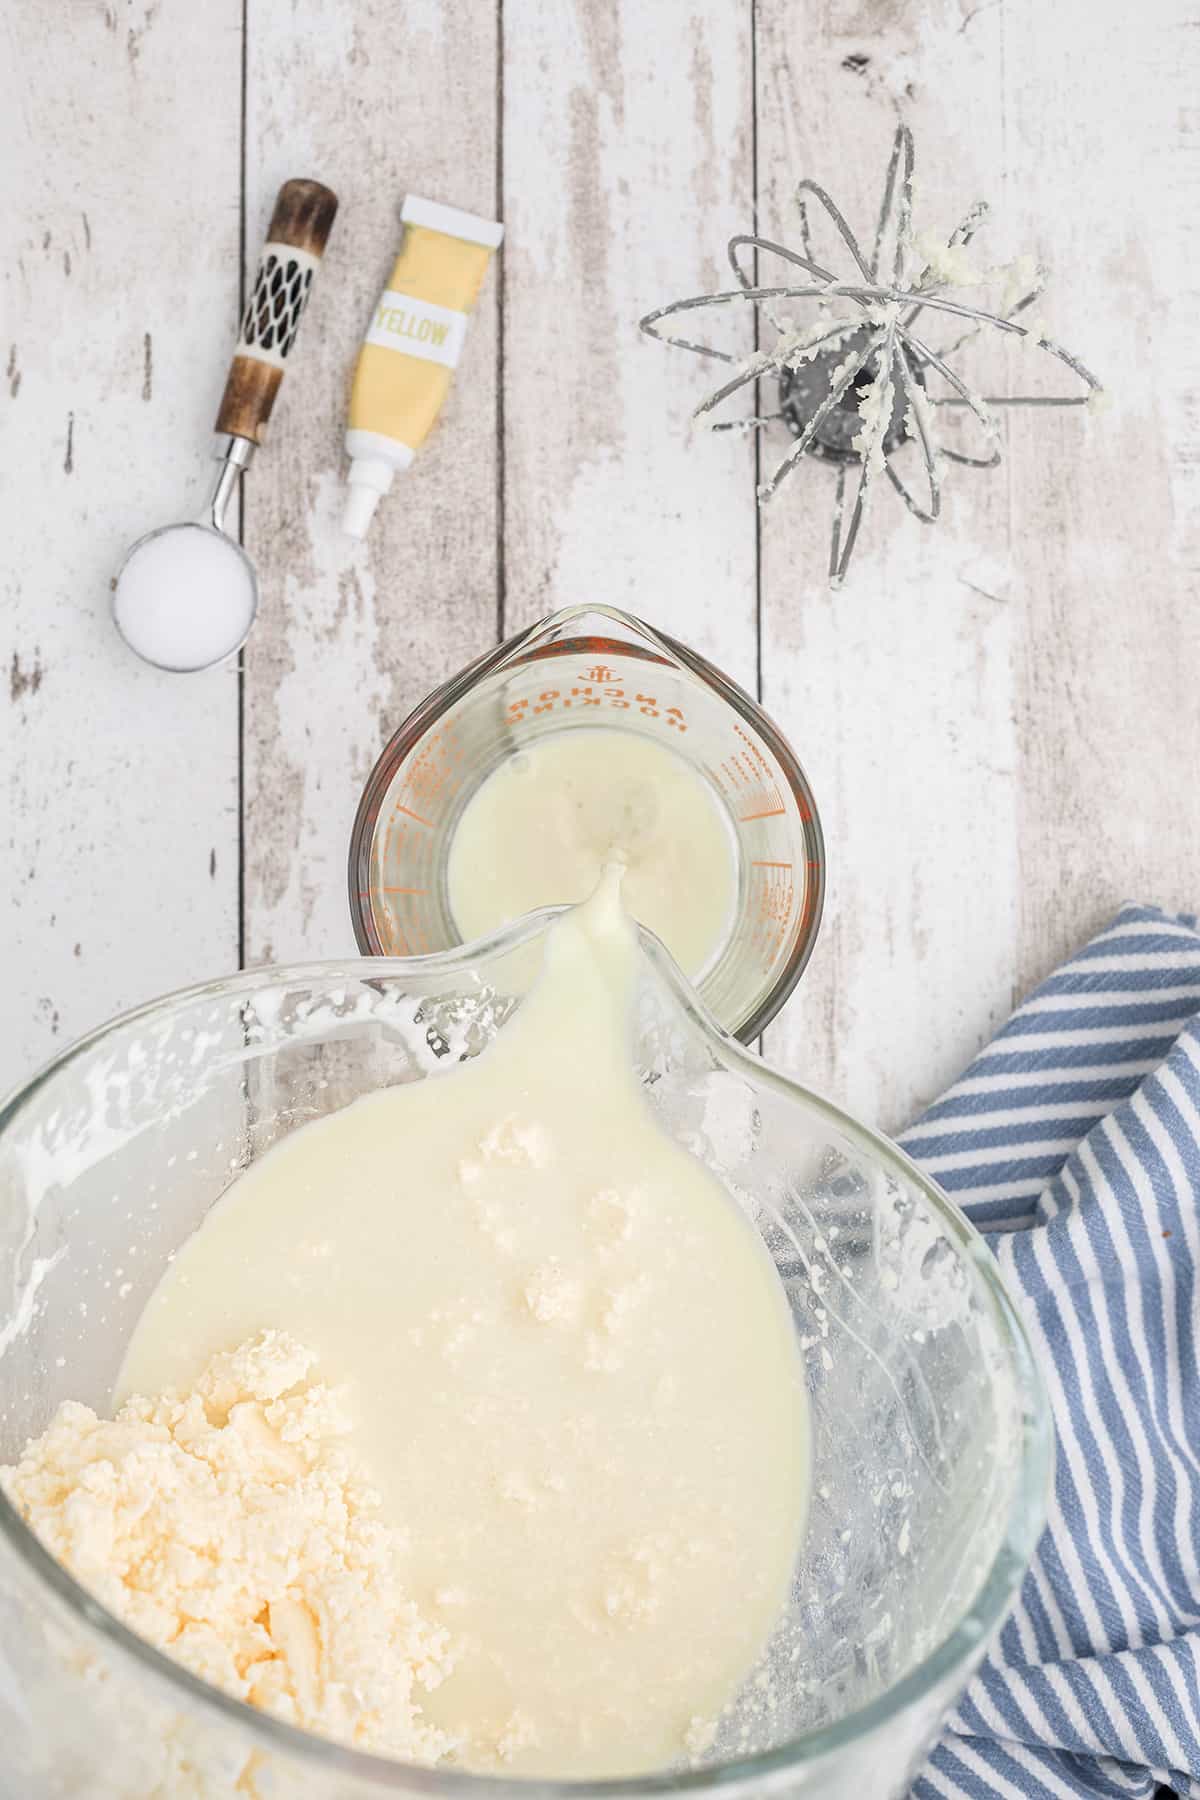
- Turn the mixer to low speed until the butter separates from the milk. Watch to keep the spattering to a minimum. Scrape down the sides of the bowl with a spatula as the cream whips. You’ll definitely know when it separates. All the butter will clump together and mass around the beater or whisk.
- Once the butter has separated from the milk, strain off the buttermilk. The buttermilk is what’s left when the butter separates out from the cream. Don’t throw that away, though! It’s great for making biscuits or pancakes or anything that uses buttermilk.
Wash the Butter
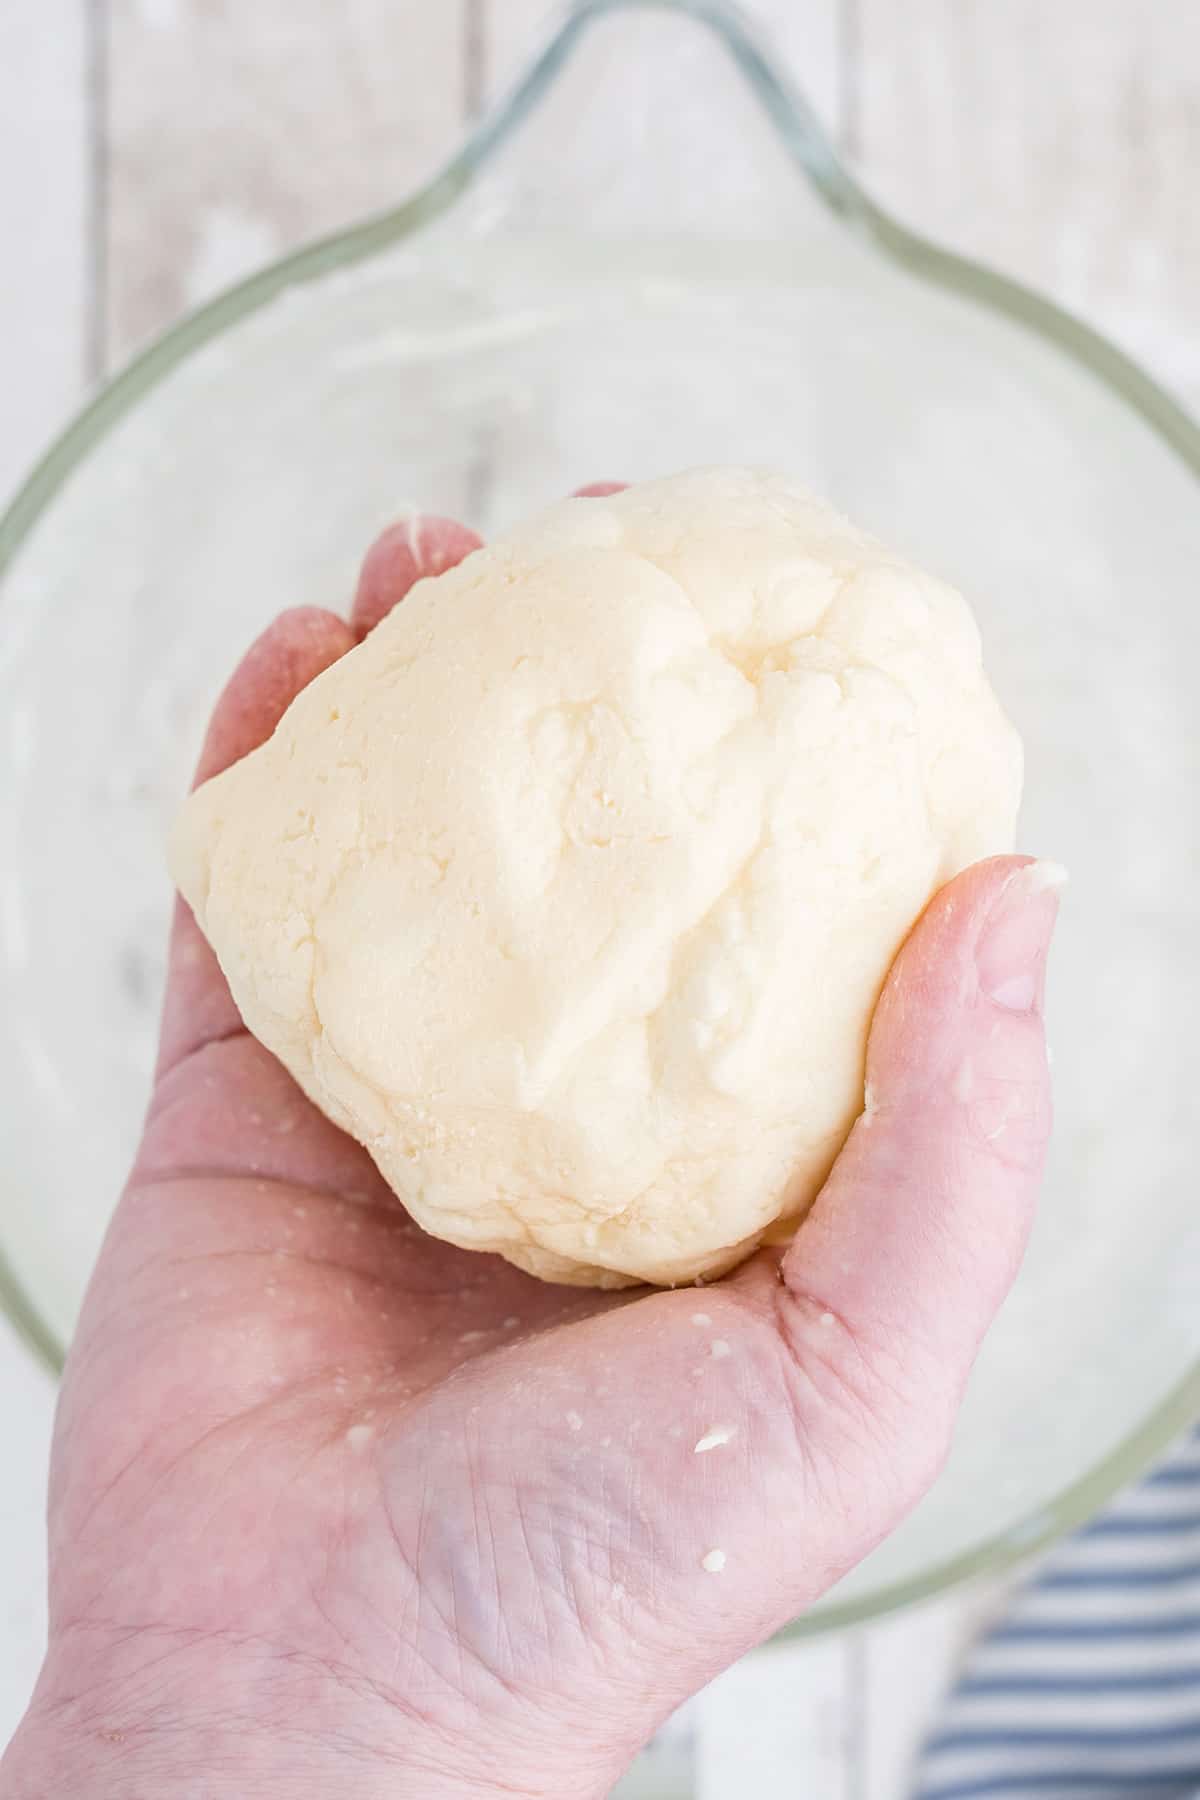
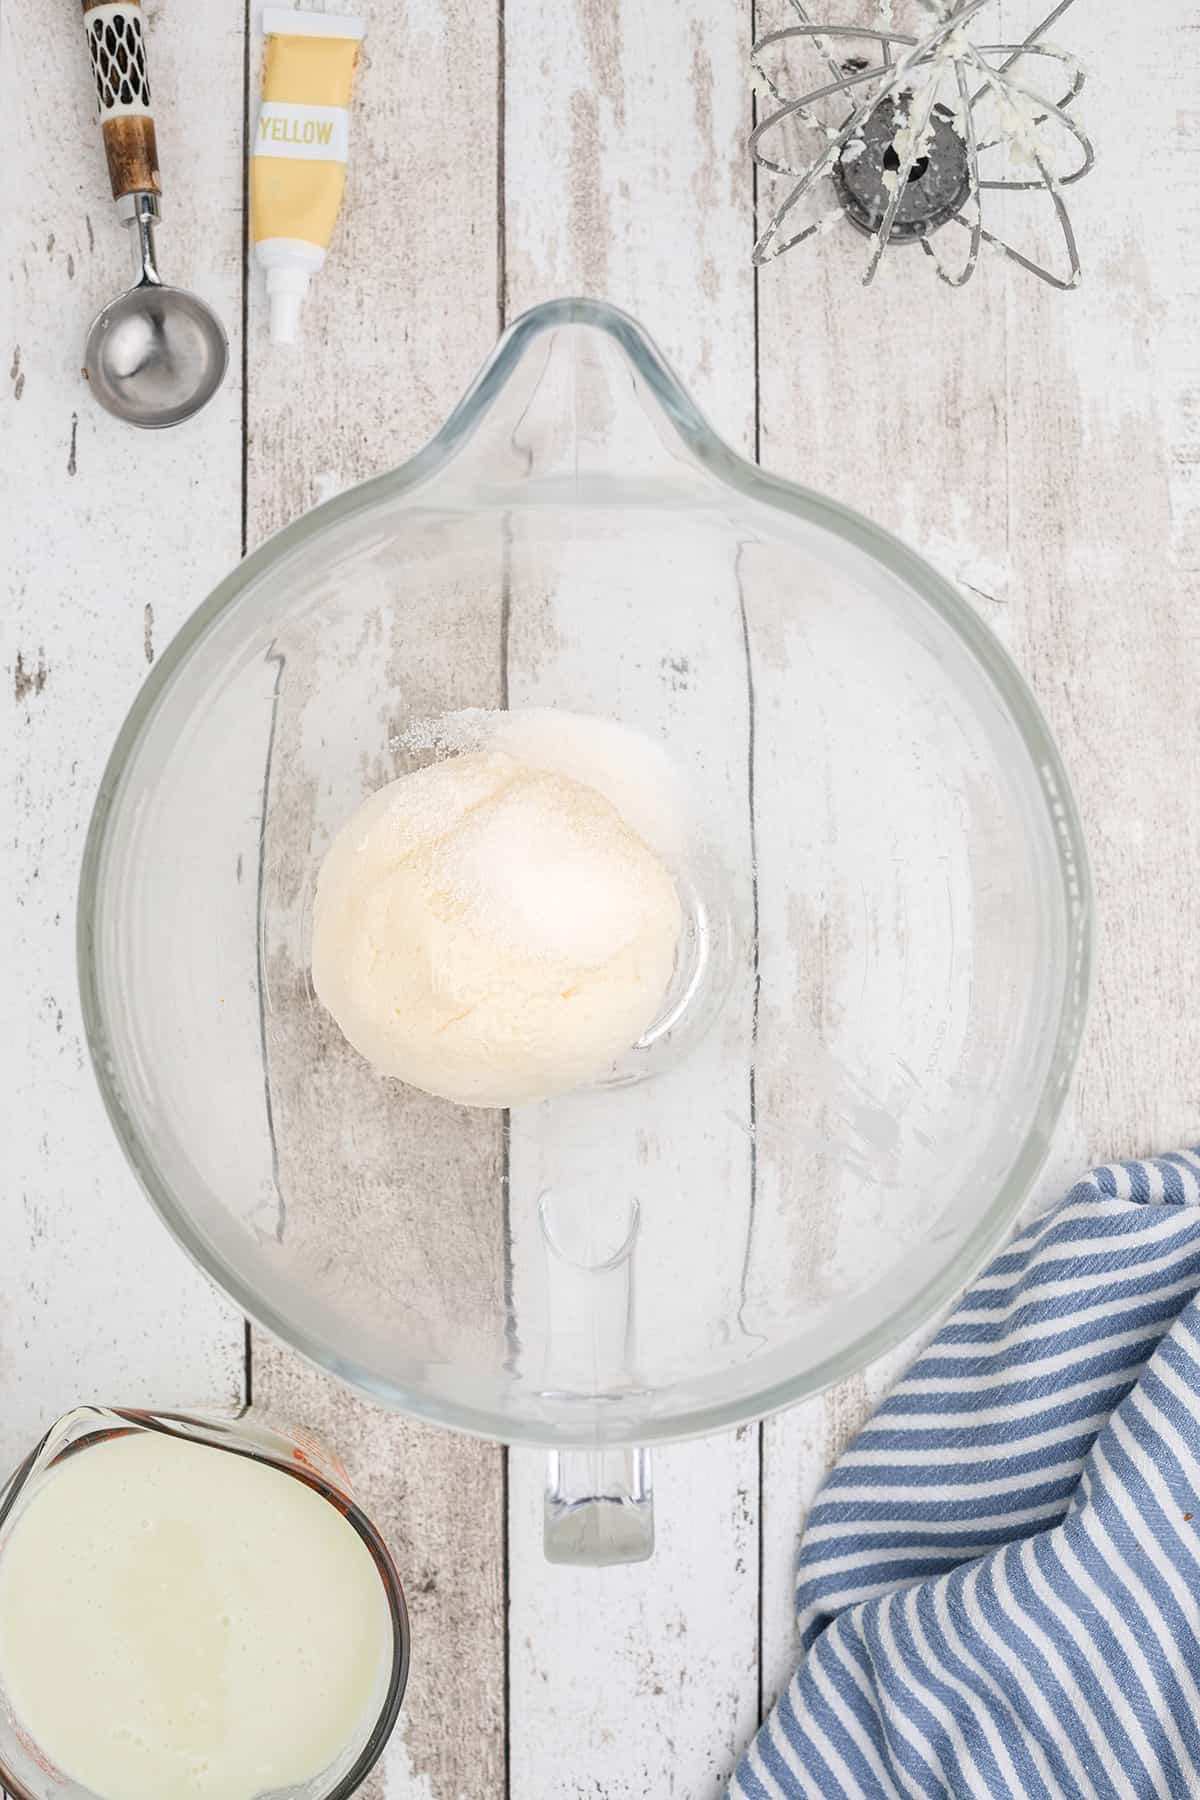
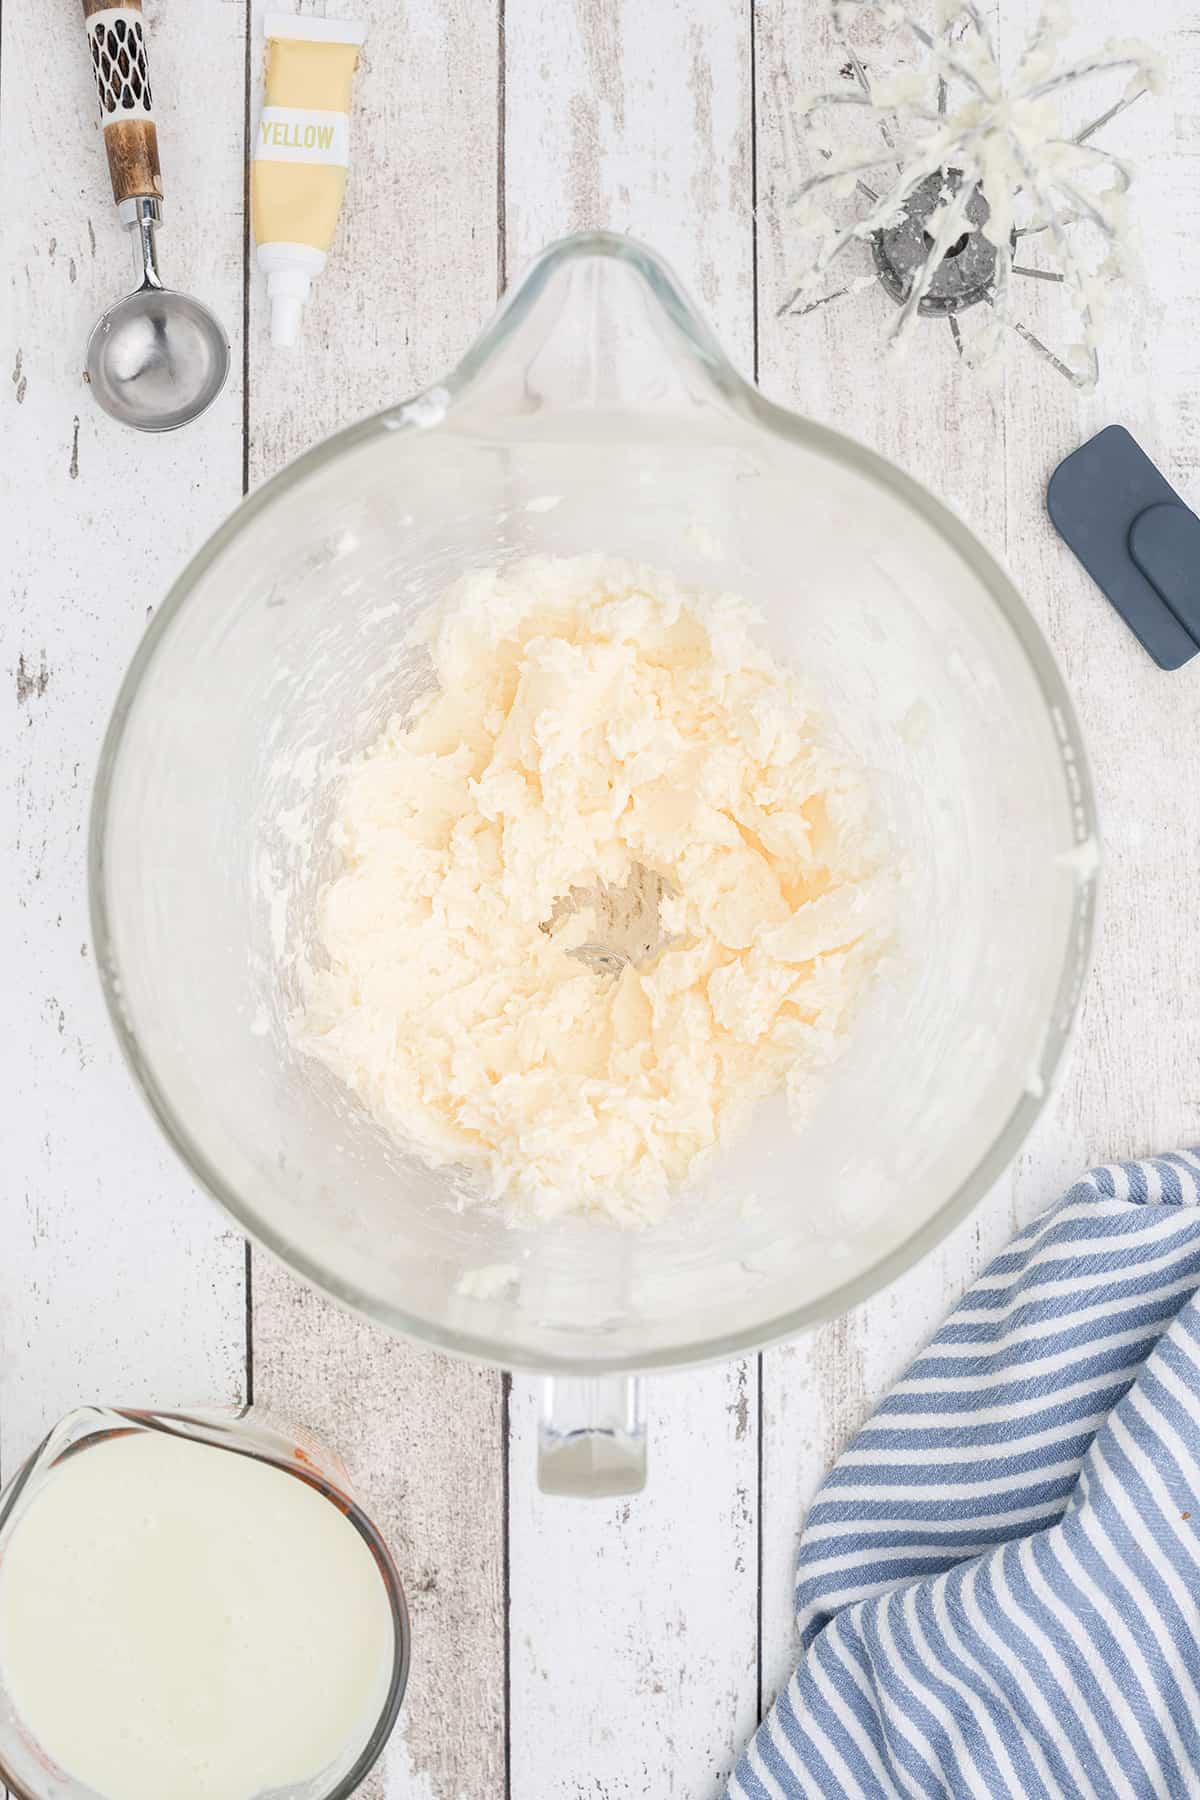
- Now, you’ll “wash” the butter either by hand under cold running water or in the mixer. If washing by hand, gather the butter into a mass in your hands and “knead” it very gently under cold running water until the water runs clear. You really have to wash out all of the buttermilk that was caught up with the butter. It will make your butter go bad much more quickly if you don’t. If using the mixer, place the butter back in the bowl and add very cold water, about as much as the amount of buttermilk you poured off. Let the mixer run at its lowest speed. Pour off the water; repeat until the water poured off is clear.
- Return the washed butter to the bowl and add a scant tablespoon of salt. On the lowest possible speed, mix in the salt. Remove the beater(s) and scrape off the butter with a spatula. Work out any remaining water with a spatula by pressing the butter against the side of the bowl. Be sure to work out as much water as possible.
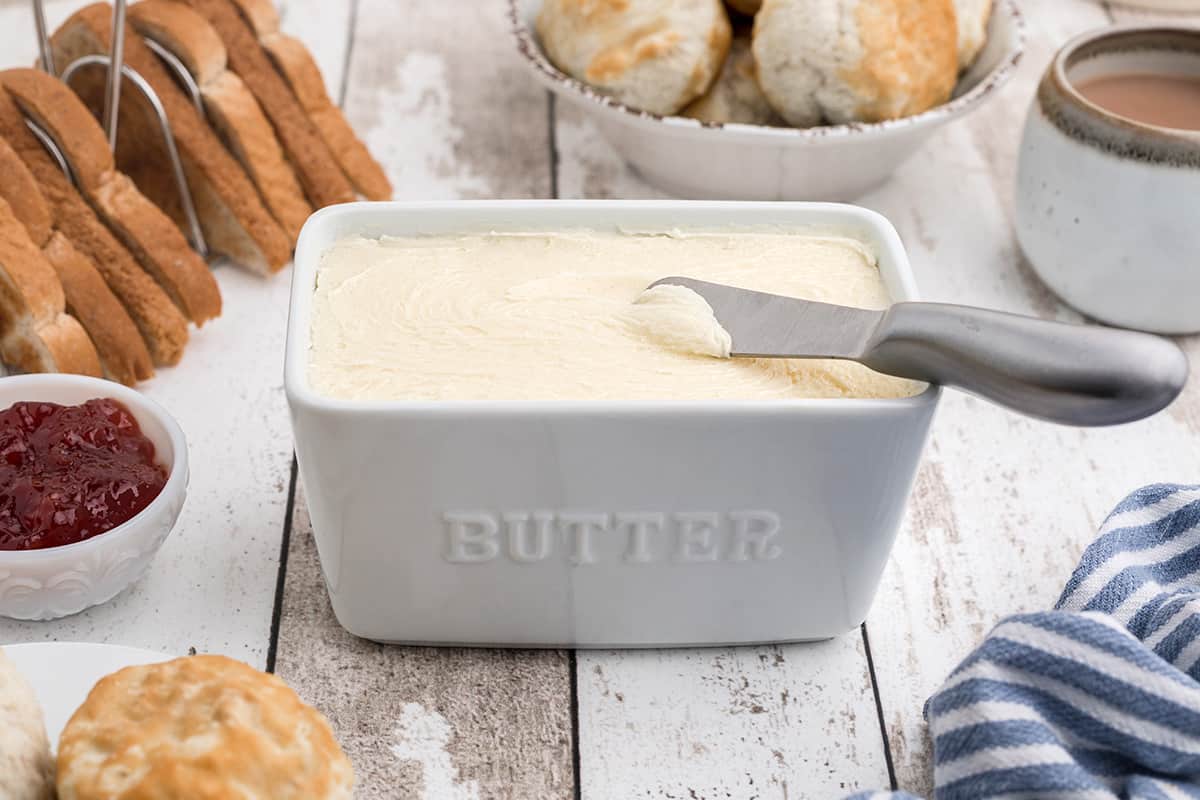
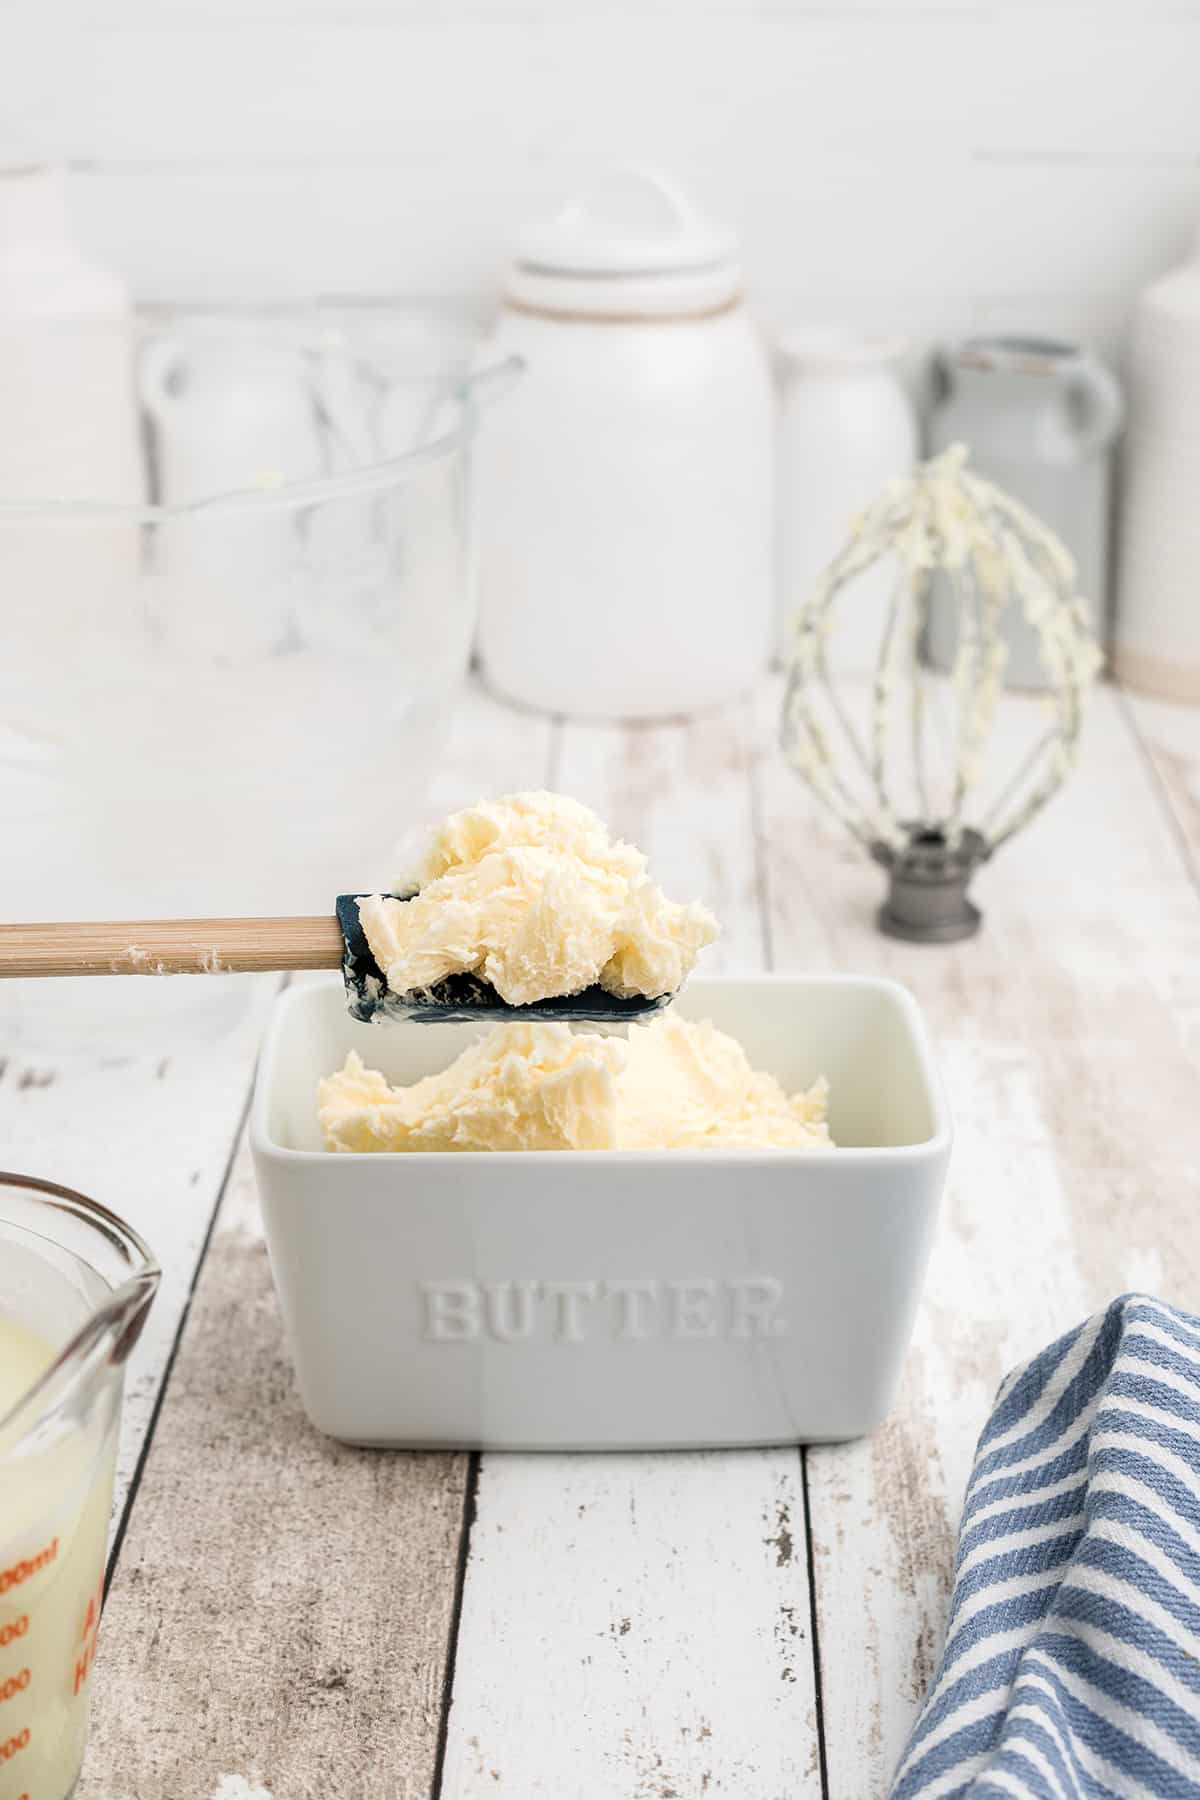
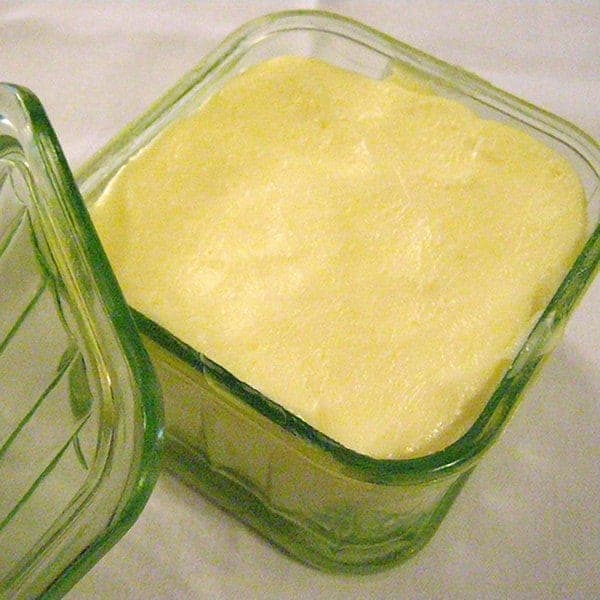
- Mold the butter in a butter press or empty it into a container with a tightly fitting lid.
Want to save this?
How to Store Homemade Butter
Use a glass or ceramic jar or container to store the butter, as it’s known to absorb flavors, and plastic containers tend to have residue.
The leftover liquid that you poured off is the buttermilk. It can be saved for later use as well. You’ll just need to store it in a jar with a tight-fitting lid. Store both the butter and buttermilk in the refrigerator.
Serving Suggestions
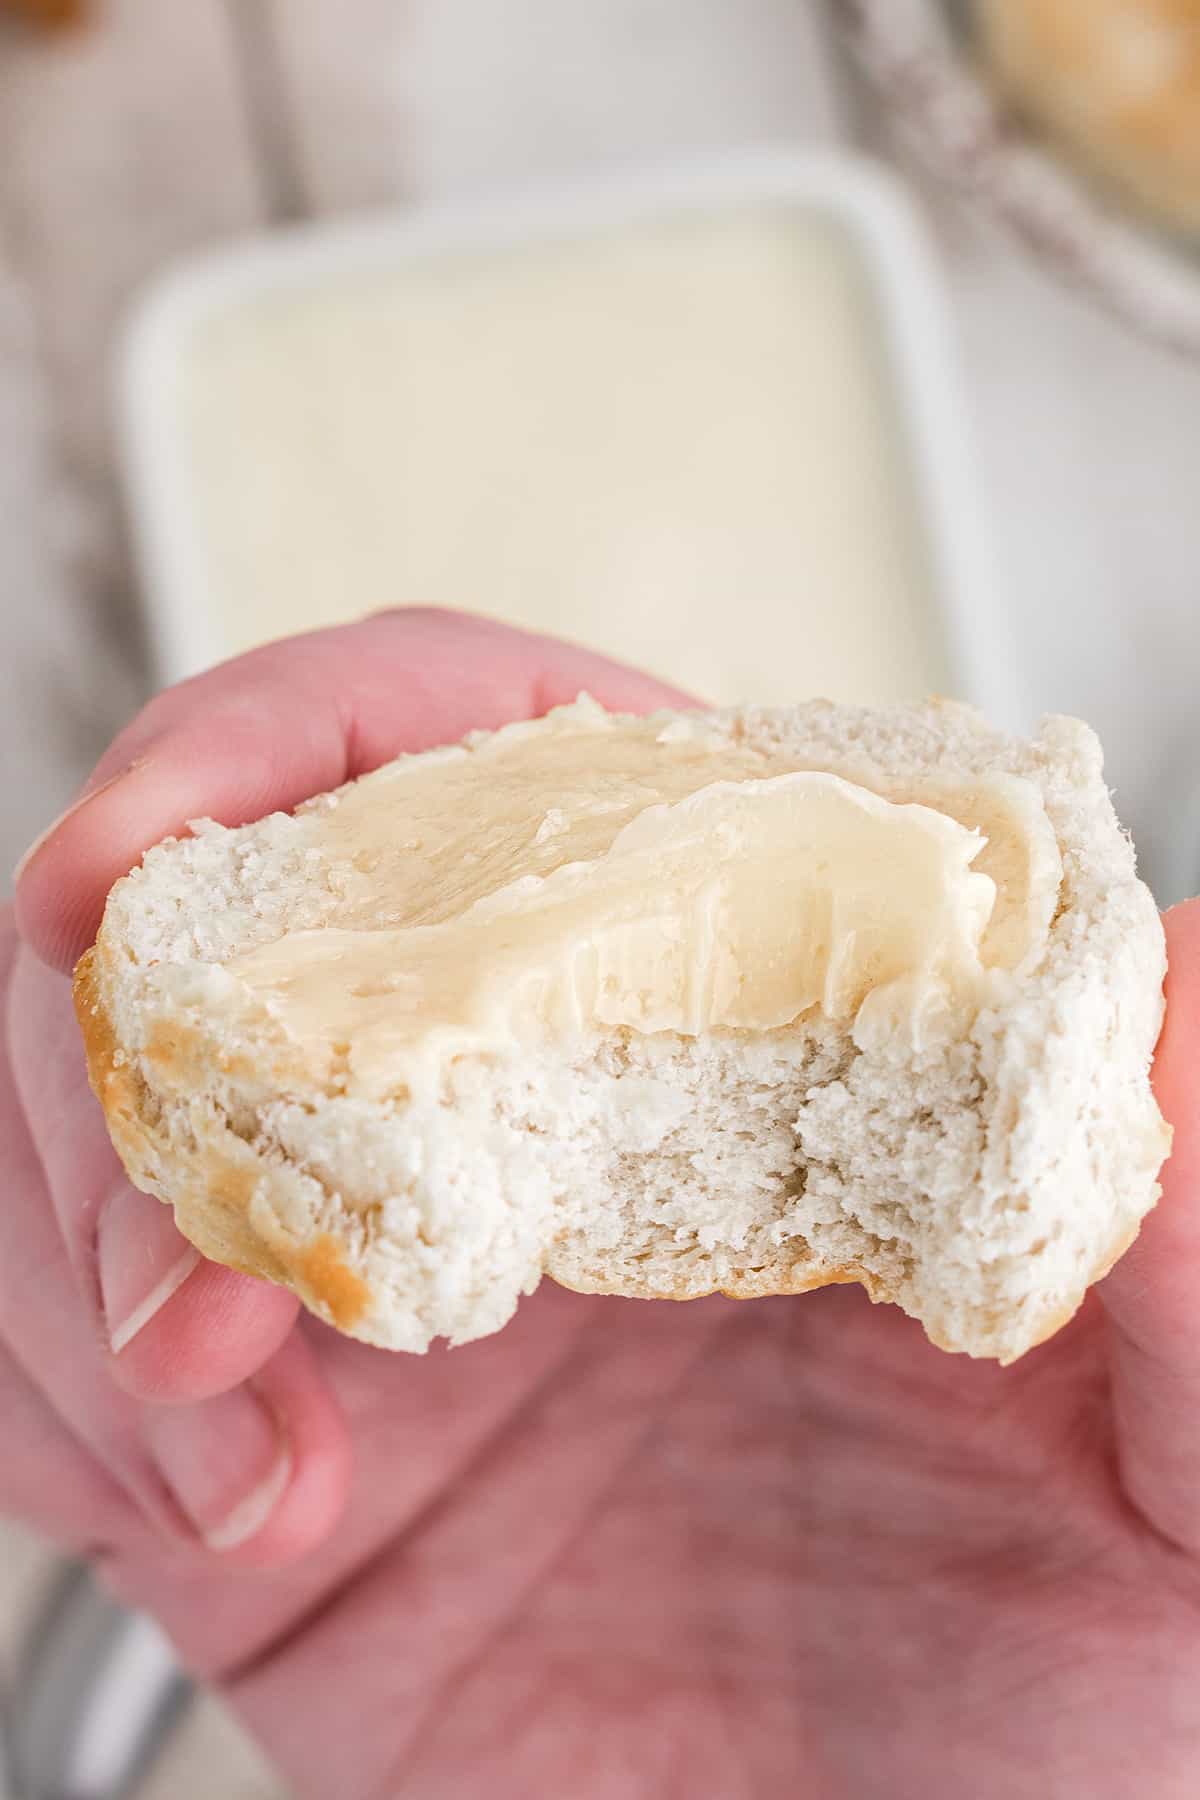
Besides freshly baked bread, homemade butter goes great in all types of recipes, from savory to sweet. I recommend trying it in my Champ (Irish Potatoes), Cheese Grits, and on top of my Cheesy Chile Cornbread!
If you’re looking for a decadent dessert, go with a Mississippi Mud Cake, Saltine Cracker Toffee, or delicious Classic Peanut Brittle.
Questions About Homemade Butter
One quart of cream makes about one pound of butter, although it depends on how heavy (fat) the cream is.
The buttermilk is great for making biscuits or pancakes! It also works well in any recipe that calls for regular milk, such as homemade macaroni and cheese, lazy daisy cake, and more.
No, you can make butter with cold cream, but the flavor will be much richer if you let the cream mellow at room temperature before you begin.
Absolutely! You can use a food processor. Just be sure to watch the butter closely for separation, and once that happens, turn off the processor.

Have a question or thought to share?
If you have a question about the recipe or if you’ve made it and want to share how it turned out, I would truly enjoy hearing from you. Just scroll down to leave a comment or add your star rating.
Thank you for stopping by. It means a lot to have you here.
Recipe
How to Make Homemade Butter
Ingredients
- 2 pints heavy cream (1 quart)
- 4 drops yellow food coloring optional
- 1 tablespoon salt optional
Instructions
- Ripen the cream by letting it stand at room temperature for 4 to 6 hours. It will thicken and become mildly sour. This helps to give the butter a mild, good taste. Cool cream again in the refrigerator for about an hour.2 pints heavy cream
- Pour cream into large electric mixer bowl. Add a few drops of yellow food coloring, if desired.4 drops yellow food coloring
- Beat at high speed until flecks of butter begin to form. This will begin to happen once the cream has passed the "whipped cream" stage.
- Then turn to low speed until butter separates from milk. Watch to keep the spattering to a minimum. Scrape down the sides of the bowl with a spatula as the cream whips.
- Pour off the buttermilk.
- Now, “wash” the butter either by hand under cold, running water or in the mixer. If washing by hand, gather the butter into a mass in your hands and “knead” it gently under running water until the water runs clear. If using the mixer, place the butter back in the bowl and add cold water, about as much as there was buttermilk. Let beater run at lowest speed. Pour off water; repeat.
- Add a scant tablespoon of salt. Let beater mix it into the butter. Remove the beaters, scrape off the butter with a spatula and work out any remaining water with a spatula by pressing the butter against the side of the bowl. Be sure to work out all of the water.1 tablespoon salt
- Mold the butter in a butter press or empty it into a container with a tightly fitting lid. Store in the refrigerator.
Notes
- One quart of cream makes about 1 pound of butter, although it depends on how heavy (fat) the cream is.
- Please refer to the post for very detailed information regarding the individual steps of the process.
Nutrition Information
Nutrition information is calculated by software based on the ingredients in each recipe. It is an estimate only and is provided for informational purposes. You should consult your healthcare provider or a registered dietitian if precise nutrition calculations are needed for health reasons.
— This post was originally published on April 2, 2009. It has been updated with new photos and additional information.
I just made butter with half gallon of cream and no food coloring! It took a bit longer to separate and I was worried that it wouldn’t but with patience it happened and I got a quart of buttermilk and what I think is a couple of pounds of butter! I flavored with salt, salt and garlic and salt garlic and basil! So tasty!!
That’s great! It’s the best butter and I’m sure you’ll enjoy using it.
I think this is such a a easy thing to make it the process from when you start mixing it to putting it in jars does not take to long it tastes so much better than store bought I’m going to do this from now on
Thank You we read it and now saved it as we are going to make our own butter and buttermilk.
Wishing you good luck with your butter and buttermilk!
Love it, very rewarding. We have been having trouble with our cookies sticking and not holding their shape. Made homemade butter and a batch of cookies. Wonderful !!!!! Cookies are perfect. Everybody kept telling us it was the store bought butter. Highly recommend it !!! Problem solved. So good and sweet.
If I want to make Ghee (clarified butter) do I still need to go through the washing process ?
Yes, you’ll need to wash the butter.
Super easy and yummy
Is this butter able to be used in baked goods or is it just for spreading type purposes? Butter is getting so expensive so thought I would try this. Mostly my purchased real butter is used for baking/cooking while my tub butter, Melt (organic from plants), is used for other stuff. How would I thicken up the left over buttermilk for baking, or would I need to? Thanx for everyone’s reply.
I’m not sure exactly what you’re asking, Cindy. This is real butter. You use it just like any other butter. It’s the way butter was made from the beginning of time until it started being produced commercially just a few decades ago. The remainder is real buttermilk and can be used in any way you like.
I made better from 32 oz organic heavy cream. I only got 9 and 1/2 ounces butter. What am I doing wrong? It tasted like butter with no buttermilk taste
The amount of butter you get depends on the fat content of the heavy cream you use. If your cream contains less fat, it will produce less butter.
I just made a couple pounds of butter today. I’ve never heard of “ripening” the cream. Great post!
I have a question I hope you receive right away. I left the cream out to sit for 4 hours, but I didn’t have enough time to make it after chilling. I had to go out for the evening.
Is this going to be okay to use the next day to make the butter?
Thanks. I also appreciate your sharing the recipe!
As long as the cream hasn’t soured or curdled it should be fine.
I made butter!!! First time in my life. It was easy and delicious!! Thank you for sharing your experience ❤️
Good for you!
I’m TOTALLY doing this!!!
You’re going to love the butter you make!
I just found this recipe and thought it would be great fun for my kids and I to make it! It was delightful and delicious! I wish I could share a picture.
I’m so glad you and your kids enjoyed it!
Homemade butter looks so … so…… just so wonderful.
I want to try this….. and serve it with hot from the oven Buttermilk Biscuits. I make some pretty good biscuits!
I just made my homemade butter using a different recipe and it turned out wonderful! My husband found this site as he was amazed by how easy it was to do so he went looking. I’m in Canada so I used Quebon 35% whipping cream and I did not leave it at room temp but straight from the fridge to my kitchen aid bowl. Whipped it until it became a solid. It was a wonderful yellow colour not needing any food colouring. I did not put salt in as most of my recipes call for unsalted butter. The liquid that is left is good to use in any recipe where you need some liquid.